
Viewing the metadata embedded in an image file is ExifTool’s most fundamental capability — and it does it more thoroughly than anything else available.
Graphical apps like Lightroom and Photo Mechanic read standard EXIF and IPTC fields, but they routinely skip proprietary manufacturer MakerNotes — the undocumented metadata blocks where camera makers store granular hardware data like specific autofocus modes, in-body stabilization settings, and face detection results. ExifTool reads all of it. If you want to see everything that’s actually inside a file, the terminal is the only place to do it with confidence.
Lightroom plugins like Jeffrey Friedl’s Metadata Viewer have historically bridged this gap — they work by running ExifTool under the hood — but Friedl is now largely retired and his plugins haven’t been actively maintained for some time. For anything more than occasional use, going directly to ExifTool in the terminal is the more reliable path.
I’m assuming ExifTool is already installed. If not, here’s the installation guide.
Viewing image metadata with ExifTool
All metadata for a single image
Navigate to the folder containing the image and run the base command with the filename:
exiftool myimage.jpg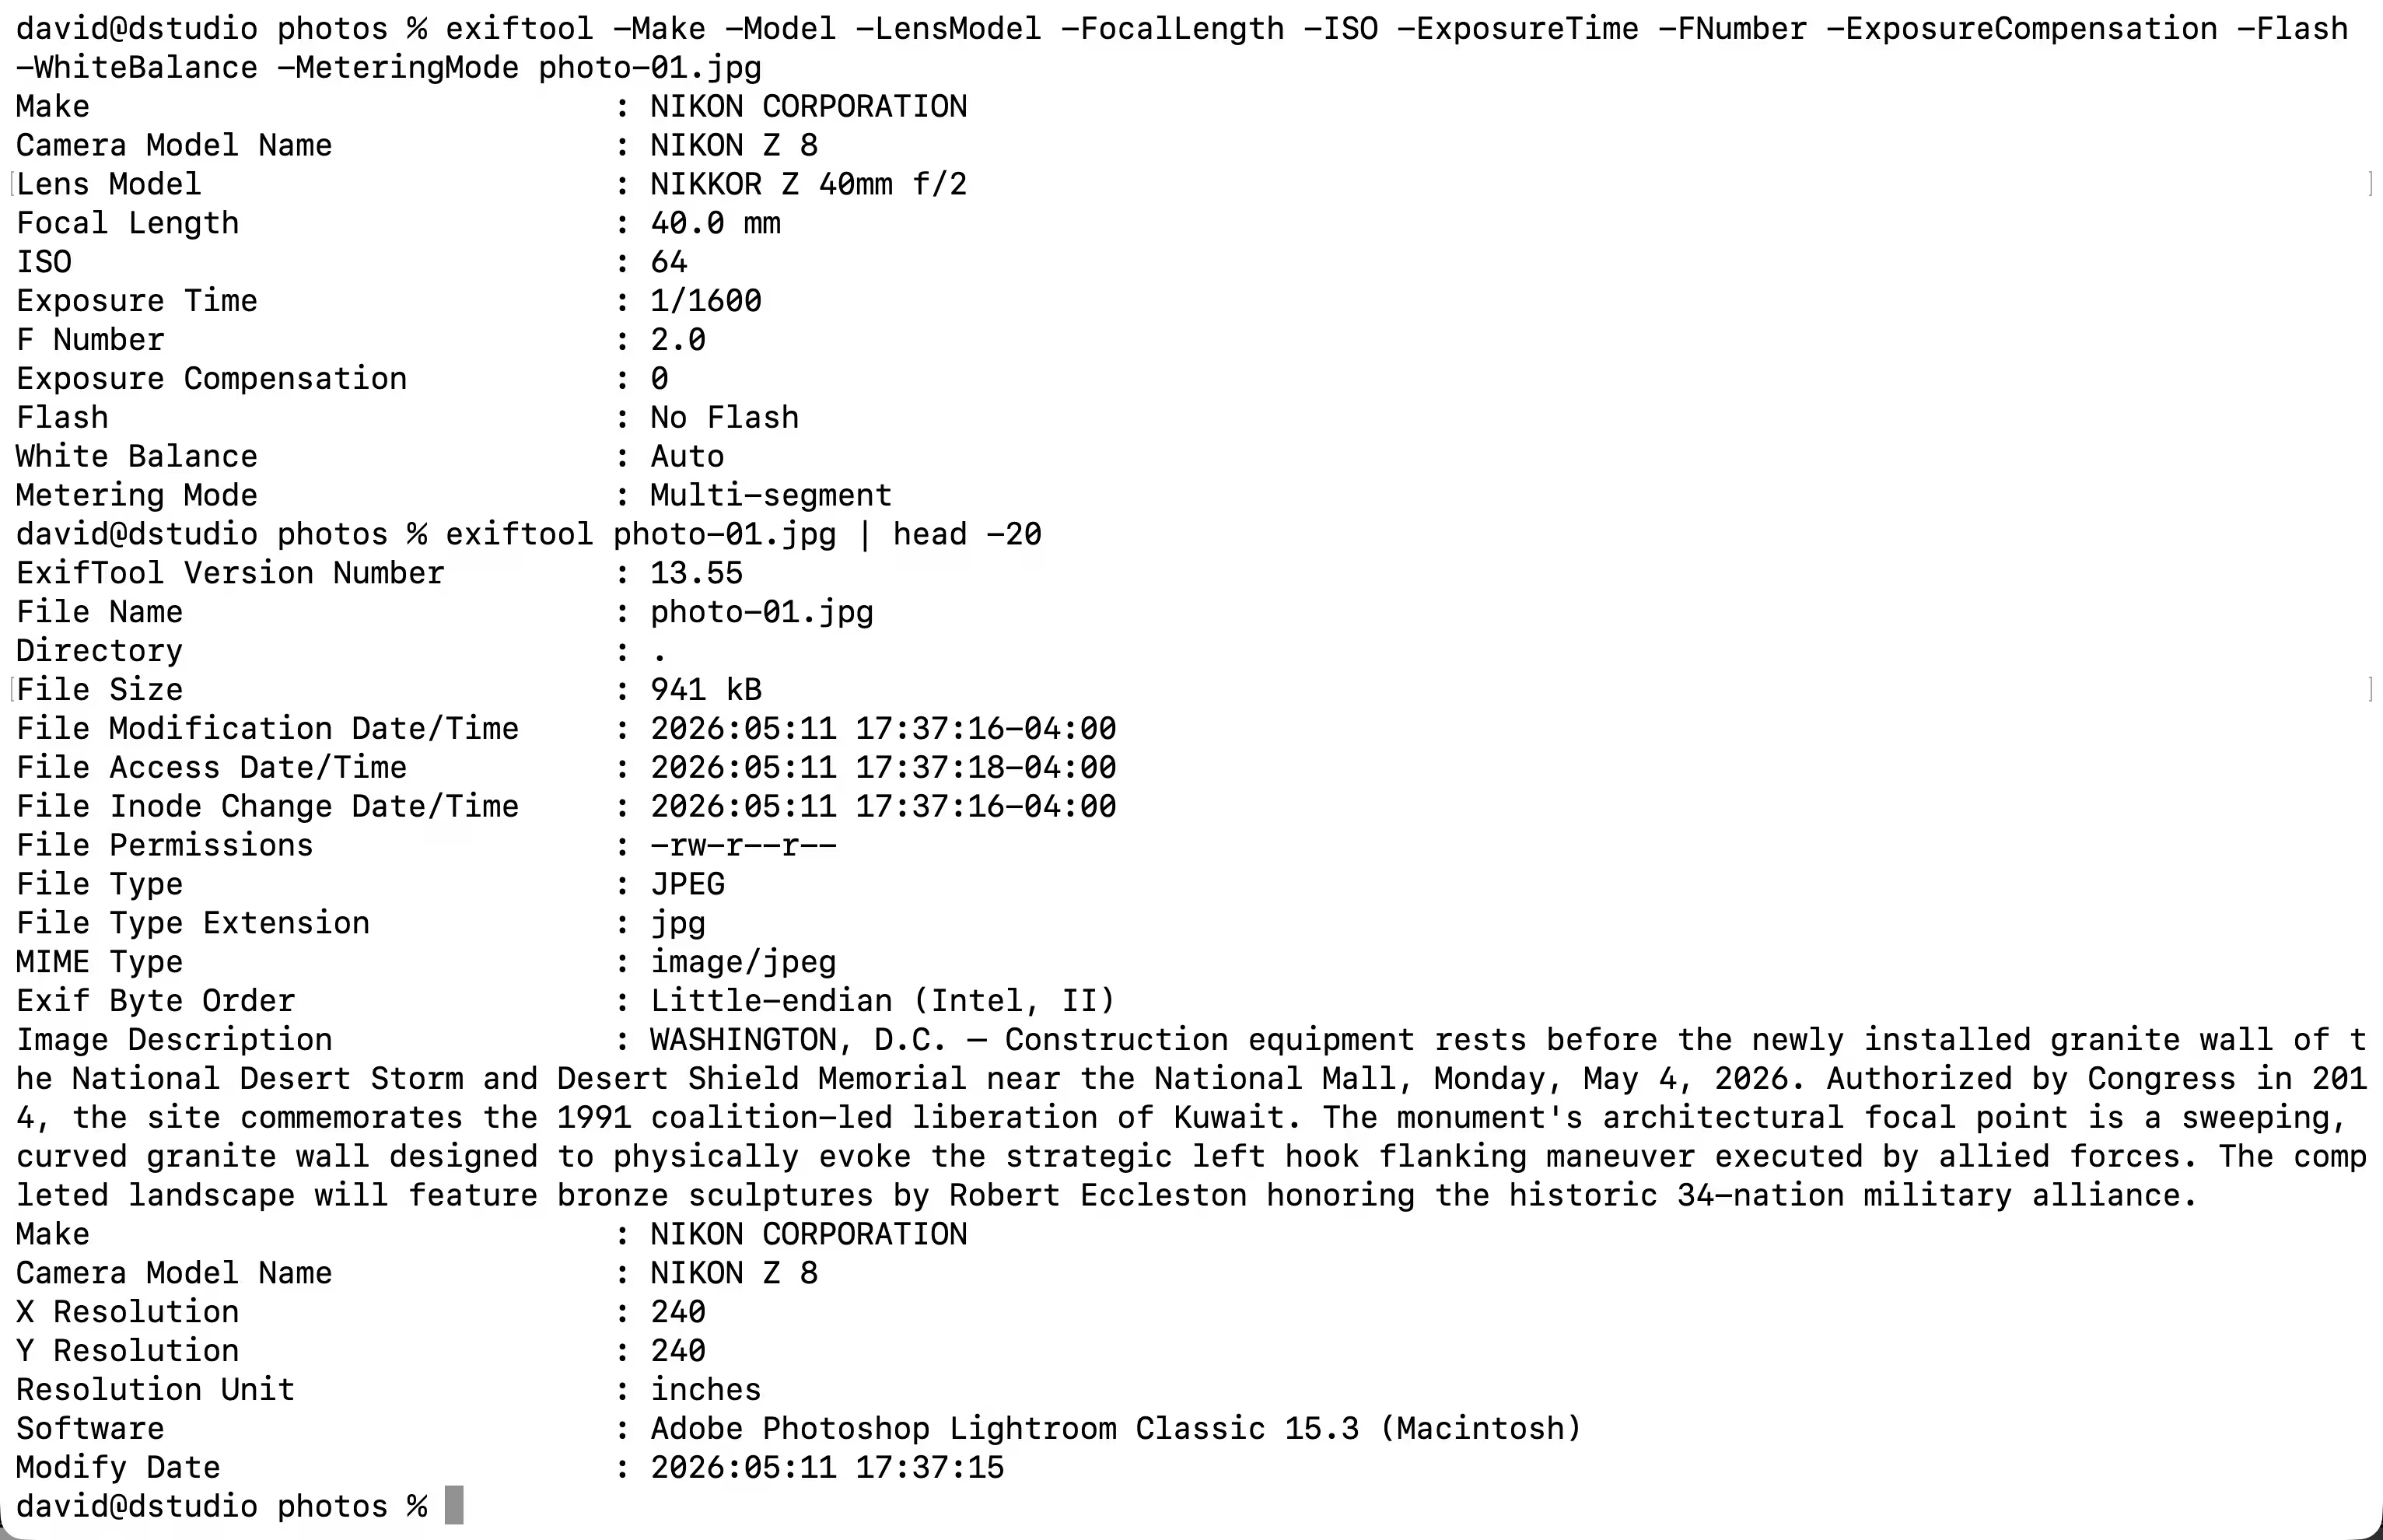
Tip: Instead of typing the full file path, type
exiftool(with a trailing space) and drag the image file from Finder directly into the Terminal window. macOS fills in the path automatically. The same works with folders.
Save metadata to a text file
For documentation or auditing purposes, redirect the output to a .txt file using the > operator:
exiftool image.jpg > metadata.txtThis creates a text file in the current working directory with the full metadata readout.
Generate a text file for every image in a folder
To produce a separate metadata text file alongside each image in a folder:
for f in *; do
    txtfile="${f%.*}.txt"
    exiftool "$f" > "$txtfile"
done
ExifTool skips files it can’t read on its own — no validation check needed in the loop.
Export metadata to a CSV
For analyzing metadata across a shoot — gear usage, GPS coverage, exposure settings — a spreadsheet is far more useful than individual text files. ExifTool outputs CSV directly:
exiftool -csv . > metadata.csvThe period tells ExifTool to operate on the current directory. Replace it with a full path if you’re running the command from elsewhere.
One caveat: running this unrestricted pulls every available tag. Modern RAW files can contain hundreds of distinct fields, which produces a CSV with an unwieldy number of columns. For practical use, filter to just the fields you need.
Filtered CSV — only the fields you need
Specify the tags you want by listing them with a leading dash before each one:
exiftool -csv -Model -DateTimeOriginal -GPSLatitude -GPSLongitude . > metadata.csvTag names must match ExifTool’s exact schema — they don’t always match what Lightroom shows in its panels. To find the correct name for a tag, run ExifTool against a sample image and look through the output:
exiftool myimage.jpgOr search for tags related to a specific topic using grep:
exiftool myimage.jpg | grep -i GPS
Useful tag names for photographers
Here are the exact ExifTool tag names for the fields most relevant to a photography workflow:
- DateTimeOriginal — capture timestamp
- Make — camera manufacturer
- Model — camera body model
- LensMake — lens manufacturer
- LensModel — specific lens
- FocalLength — focal length in mm
- FocalLengthIn35mmFormat — 35mm equivalent field of view
- ISO — sensor sensitivity
- ExposureTime — shutter speed
- FNumber — f-stop value1
- ExposureCompensation — EV shift applied
- Flash — flash firing status
- WhiteBalance — in-camera white balance setting
- MeteringMode — spot, matrix, center-weighted, etc.
- GPSLatitude and GPSLongitude — geographic coordinates
- GPSAltitude — elevation data
- ImageWidth and ImageHeight — pixel dimensions
- FileType — RAW, JPEG, HEIC, TIFF, etc.
- Creator or Artist — embedded authorship
- Copyright — copyright declaration
A practical full-shoot analysis command using these tags:
exiftool -csv -Make -Model -LensModel -FocalLength -ISO -ExposureTime -FNumber -Flash -WhiteBalance -MeteringMode -GPSLatitude -GPSLongitude -Creator -Copyright -ImageWidth -ImageHeight -FileType . > shoot_metadata.csvAutomating metadata extraction with a macOS Folder Action
If you regularly audit files for stock agencies or client deliverables, a Folder Action makes the process frictionless. Drop images into the watched folder and the metadata CSV is generated automatically — no terminal required after the initial setup.
- Open Automator and create a new Folder Action. Assign it to the folder you want to watch.
- Add a Run Shell Script action. Set Pass input to
as argumentsand the Shell to/bin/zsh. - Enter the following script:
for f in "$@"
do
    dir=$(dirname "$f")
    /opt/homebrew/bin/exiftool -csv \
        -Make -Model -LensModel -FocalLength \
        -ISO -ExposureTime -FNumber \
        -GPSLatitude -GPSLongitude \
        -DateTimeOriginal -FileType \
        "$f" >> "${dir}/metadata.csv"
done
This appends a row to metadata.csv in the same folder for each dropped file, building up a running log. A few notes:
- The
>>operator appends rather than overwrites — each new file adds a row rather than replacing the previous output. - The first file dropped will write the header row; subsequent files append data rows only. If you drop multiple files at once, the CSV header may repeat — worth cleaning up manually or adjusting the script with a file-exists check if that’s an issue.
- Adjust the tag list to match whichever fields matter for your workflow.
- Save the action with a descriptive name — “Extract Metadata to CSV” works well.
Intel Mac note: The script uses /opt/homebrew/bin/exiftool, which is the correct path for Apple Silicon Macs. On older Intel Macs, replace it with /usr/local/bin/exiftool. Run which exiftool in Terminal if you’re unsure which applies.
Notes & References:
- Note: the tag name is
FNumber, notAperture. ExifTool has a compositeAperturetag but it’s not reliably present in all files —FNumberis the standard EXIF tag and the more dependable choice. [↩︎]


