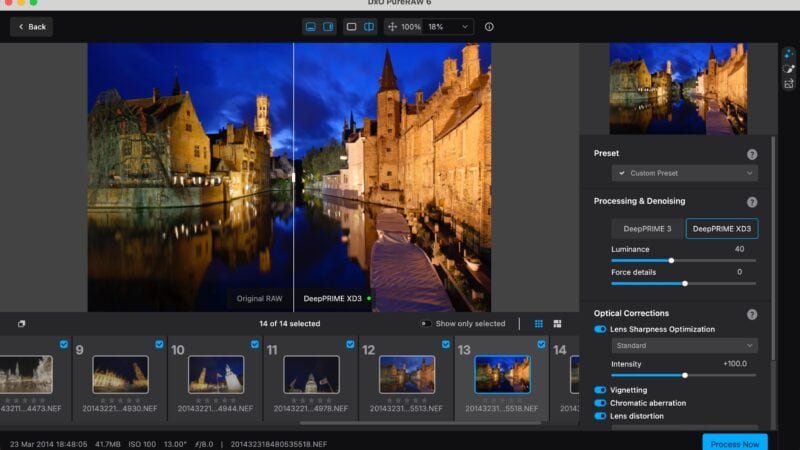
Update: my full, hands-on DxO PureRAW 6 review, including standardized before/after tests on six cameras, is now live. What follows is my launch-week first look.
DxO has been on an absolute tear with their development cycle lately. They’ve been continually updating their own PhotoLab RAW processing engine. They’ve completely rebuilt the legendary Nik Collection from the ground up (I’ve used Nik Color Efex and Silver Efex for years, and they remain my absolute go-to tools), the team in Paris is staying incredibly busy.
In fact, the release cycle for PureRAW has become remarkably fast, too. They’ve just released version 6; version 5 was released less than a year ago, in April of 2025.
I’ve been playing with an advance copy of PureRAW 6 for the past week now, and it’s given me a chance to put it through its paces, look past the press release buzzwords, and see how it actually handles a high-volume workflow.
I’m currently working on some in-depth RAW examples that I’ll be posting separately very soon. But first, here’s my quick overview of what’s actually new, what matters, why PureRAW remains a core part of my editing workflow, and why I’ll be paying for the upgrade to version 6.
Why RAW Demosaicing Beats the Old School Noise Reduction
If you haven’t used one of this new generation of RAW noise reduction and enhancement tools before, it’s worth knowing that they’re very different from the old-school pixel-based noise reduction software (like the classic NoiseNinja, which is what I used to use back in the day).
The core of these newer engines is a process known as demosaicing.
When your camera takes a picture, it doesn’t actually capture a full-color image. It captures millions of tiny, individual data points of red, green, or blue light. Demosaicing is the complex mathematical process of translating that raw data of 1s and 0s into the actual colored pixels you see on your screen.
The old-school noise reduction apps operated after the demosaicing process. The software looked at the finished, noisy picture and essentially tried to smudge or blur the noise away, which is why older high-ISO photos often looked like they were made of plastic.
DxO’s DeepPRIME engine does things fundamentally differently. As does Lightroom’s Denoise function. They use artificial intelligence to attack the noise during the demosaicing process, before the image is even fully built. They figure out what’s noise and what’s actual texture while the file is still just raw data. The results are sometimes like magic: cleaner, sharper, more natural-looking images. And it can breathe new life into high-ISO images or RAW files shot with older cameras.
Why Not Just Use Lightroom’s Built-In Denoise?
Adobe recently added a great AI Denoise feature directly into Lightroom. It works really well too, but I still prefer running my high-ISO files through PureRAW first for two main reasons:
- The Database Size Tax: Lightroom’s Denoise generates absolutely massive Linear DNG files. If you batch process an entire reception, Lightroom will bloat your catalog and chew through your hard drive space at a terrifying rate. PureRAW results still create large files (though with PureRAW 6, they’re much smaller than they were with 5!), but you can separate those files and put them on an external drive where they won’t clog and slow your primary operating drive.
- Superior Optical Corrections: While Lightroom has built-in lens profiles, DxO actually takes the cameras and lenses into a laboratory and physically measures their flaws. That’s what they became famous for, and their real-world data is absolutely massive now. Their optical correction modules are significantly more comprehensive than those in Lightroom, fixing edge softness and distortion better than anything else on the market.
PureRAW 5 vs. PureRAW 6: What Actually Changed?
Let’s cut through the tech-speak. Here is what you need to know about the jump to version 6.
The XD3 Engine (In Plain English)
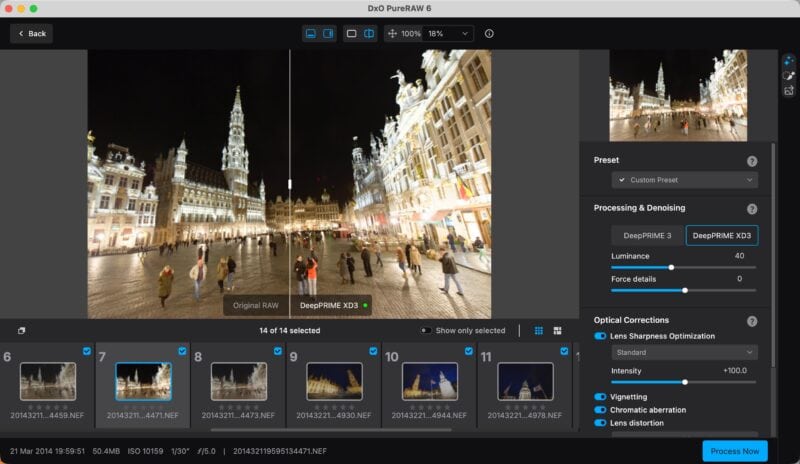
PureRAW has two ways to process images. The simpler and more conservative is known as DeepPrime 3. But the really cutting edge one, and the one that will often give you even better results, is known as DeepPrime XD3.
“XD” stands for eXtra Detail. XD3 is simply the third, smartest generation of DxO’s artificial intelligence engine. It doesn’t just guess what missing pixels should look like; it actively corrects tiny color bleeding at the pixel level and pulls actual, usable detail out of high-ISO mush. In XD and XD2 versions, I sometimes found them to be a little too aggressive in very high-ISO images, and so I’d often dial it back. But I’ve found XD3 to be far more reliable in its results.
In version 5, the availability of XD3 was limited. It was added in beta form for Fuji X-Trans sensors. But now, XD3 has been rolled out for everyone:
- Standard Sensors: If you shoot Canon, Nikon, Sony, or Panasonic, you are finally getting the full power of the XD3 engine.
- Fuji Sensors: Fuji cameras use a unique sensor design that captures light differently than everyone else. In version 5, the XD3 engine for Fuji was technically just a “beta” test. In version 6, it is fully finalized and stable.
Finally, Much Smaller Files!
This is the big one. In my testing of the advance copy, the new “High-Fidelity Compression” is a game-changer.


One of the drawbacks of the process is that the output files are bigger than the camera-crunched RAW files. That is just the nature of a demosaiced Linear DNG. They’ve often been two or three times bigger.
But this has been a main focus of the DxO engineers with 6: making the output files smaller. And they’ve found ways to make the DNG generation far more efficient.
The resulting DNG files are significantly smaller than they were with version 5. To be clear, they’re still larger than your original, unedited RAW files from the camera, but the compression finally makes batching these files manageable without instantly maxing out your external drives.
It Is Actually Faster
Software companies always promise speed bumps, but thanks to the new “Batch Parallelization” (which prepares the next image while the current one is still rendering), I found that PureRAW 6 is significantly quicker when churning through a large folder of reception photos.
Automated Dust Removal
This, honestly, isn’t a core feature for me. I often shoot wide open, or close to it, which makes dust spots much less likely. So it’s not something I’ve spent any time testing on this one. Lightroom also recently added a very similar tool, and I don’t use it there either.
But I’ll mention it for completeness. The gist is that PureRAW 6 includes a new AI tool that automatically identifies and removes sensor dust spots across an entire batch of images. It saves you from having to manually sync the spot-removal tool across 400 photos in Lightroom just because you shot a landscape at f/11.

Is it Worth Upgrading?
If you’re still on PureRAW 3 or 4, the combination of the XD3 engine, the new file compression, and the speed bump makes version 6 an absolute no-brainer upgrade. If you just upgraded to version 5 less than a year ago, it’s a closer call.
The output quality is to my eye notably better than 5. But the output quality of 5 is still pretty good and already a vast improvement over the original RAW file.
But if you’re only running the occasional image through it, version 5 might well still be a great fit.
But, for me, the improvements in 6 are worth it. And I suspect that anyone who’s running batches of files through it will quickly appreciate both the faster processing and the smaller filesizes.
And the same reasons I outlined at the top for why I bother forking out for a separate app when there’s already a similar feature built into Lightroom stand out even more starkly.



“Lightroom’s Denoise generates absolutely massive Linear DNG files.”
This hasn’t been true for well over a year, maybe two years. However, for a while it was producing large increase to catalog files (lrcat.data). But with the recent update to 15.5.1, I now see only 31 mb increase for each file processed with denoise (.arw files from a7r4a). It will still require some sharpening to make it equivalent to the Pure Raw XD2s dng, but I must confess that I can’t discern any significant difference. The pure raw dng is 95 mb larger than the raw file. So it seems that Adobe is making an effort to keep up with its competitors.
It’s true that they’ve added a lossy compressed DNG option as output (High Fidelity Compression), which certainly helps and can make the output DNG signficantly smaller than the original (depending on what, if any, compression you’re applying at capture). And the visual quality is excellent. But without that, my 65MB uncompressed NEF files from my Z8 balloon up to around 170MB as uncompressed DNG.
I don’t run into any issue with catalog bloat with PureRAW, but I definitely run into that with Lightroom’s baked-in denoise feature.