Unless you’re deliberately aiming for a lo-fi or retro lomography look, purple fringe in your photos is something you want to avoid. It’s more properly called chromatic aberration, and it’s not always purple — it can also be green and on some occasions closer to blue, magenta, or even red.
Basically, it’s an issue with lenses where different wavelengths of light — different colors — don’t all focus at exactly the same point on the sensor.1 One day it might be possible to build flat lenses with zero chromatic aberration. But for now it’s a character flaw of many of the lenses we use.
It tends to be an issue particularly with wide-angle and cheap lenses. Although it’s not always a sign of a cheap lens. Even my favorite lens, the Nikon 24mm f/1.4, is susceptible to CA — especially shot wide open. And that’s definitely not what you’d call a cheap lens.
It’s not something that you’ll see in every shot. It appears with very high contrast along sharp edges, and typically shows up first at the very edges of a wide-angle view. It’s one of those things that has become so ubiquitous that we quite often naturally filter it out. But if you’re looking for it, it really leaps out at you. Many stock agencies and photo editors will reject photos with significant chromatic aberration.
Two flavors of chromatic aberration (and why it matters)
Before we get to the fix, it helps to know that there are actually two different kinds of CA, because Lightroom uses two different tools to handle them. If you’ve ever clicked the Remove Chromatic Aberration checkbox and wondered why some fringing stubbornly refused to budge, this is why.
Lateral (or transverse) CA is the classic version: pairs of opposing colors on opposite sides of a high-contrast edge–purple on one side, green on the other, say–and it’s worst toward the corners of the frame. It’s almost never visible in the center. It’s caused by different wavelengths landing in slightly different spots across the sensor plane.2
Axial (or longitudinal) CA is the other one: a halo of a single color that can show up anywhere in the frame, not just the corners. It’s typically purple in front of the plane of focus and green behind it. Fast wide-aperture lenses shot wide open are the usual culprits, and it’s worst at the edges of objects just in front of or just behind whatever you focused on. Backlit purple fringing from flare looks the same and gets treated the same way, even though strictly speaking, it isn’t axial CA.3
The reason this matters: lateral CA gets fixed by a single checkbox. Axial CA needs the Defringe sliders. Different tools, different tabs.
Examples of chromatic aberration
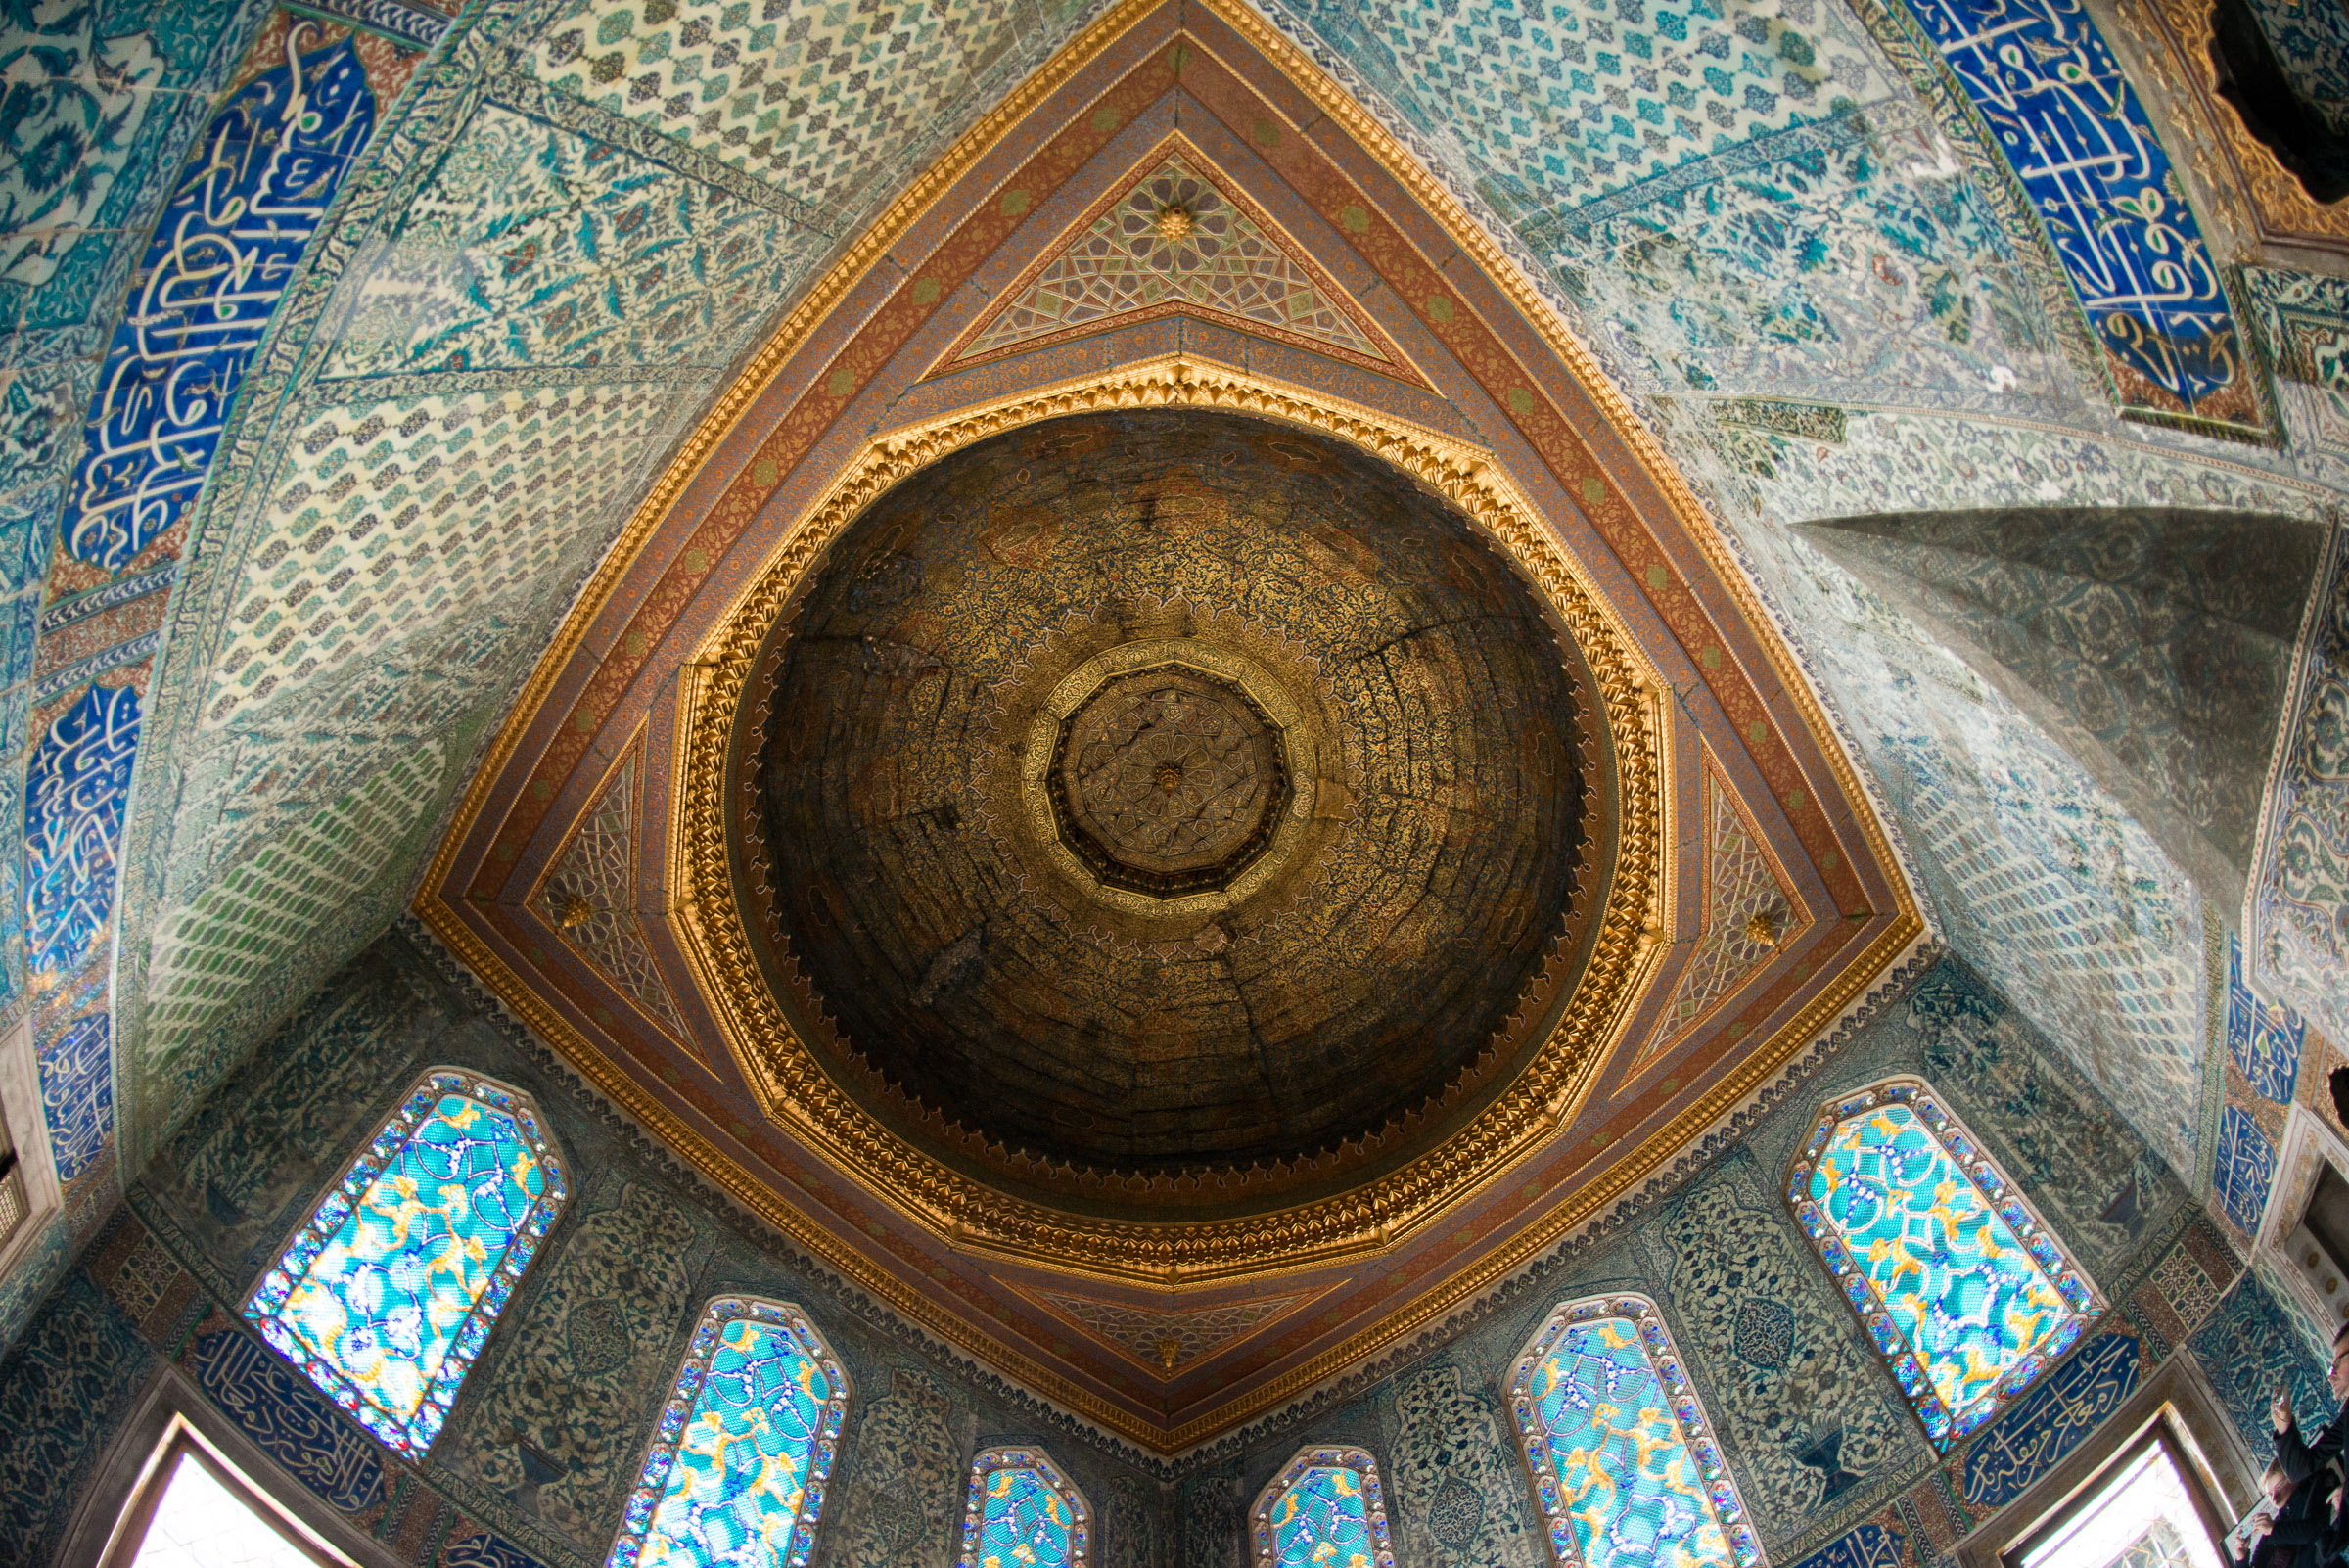
Here are some examples from some wide-angle shots inside one of the ornately decorated rooms of the Harem at the Topkapi Palace in Istanbul. It was taken with a Nikon 16mm f/2.8 fisheye.
The first is the wide shot. At this resolution, you don’t really notice any chromatic aberration. And because the image is busy with colors and detail otherwise, your eye isn’t drawn to it.
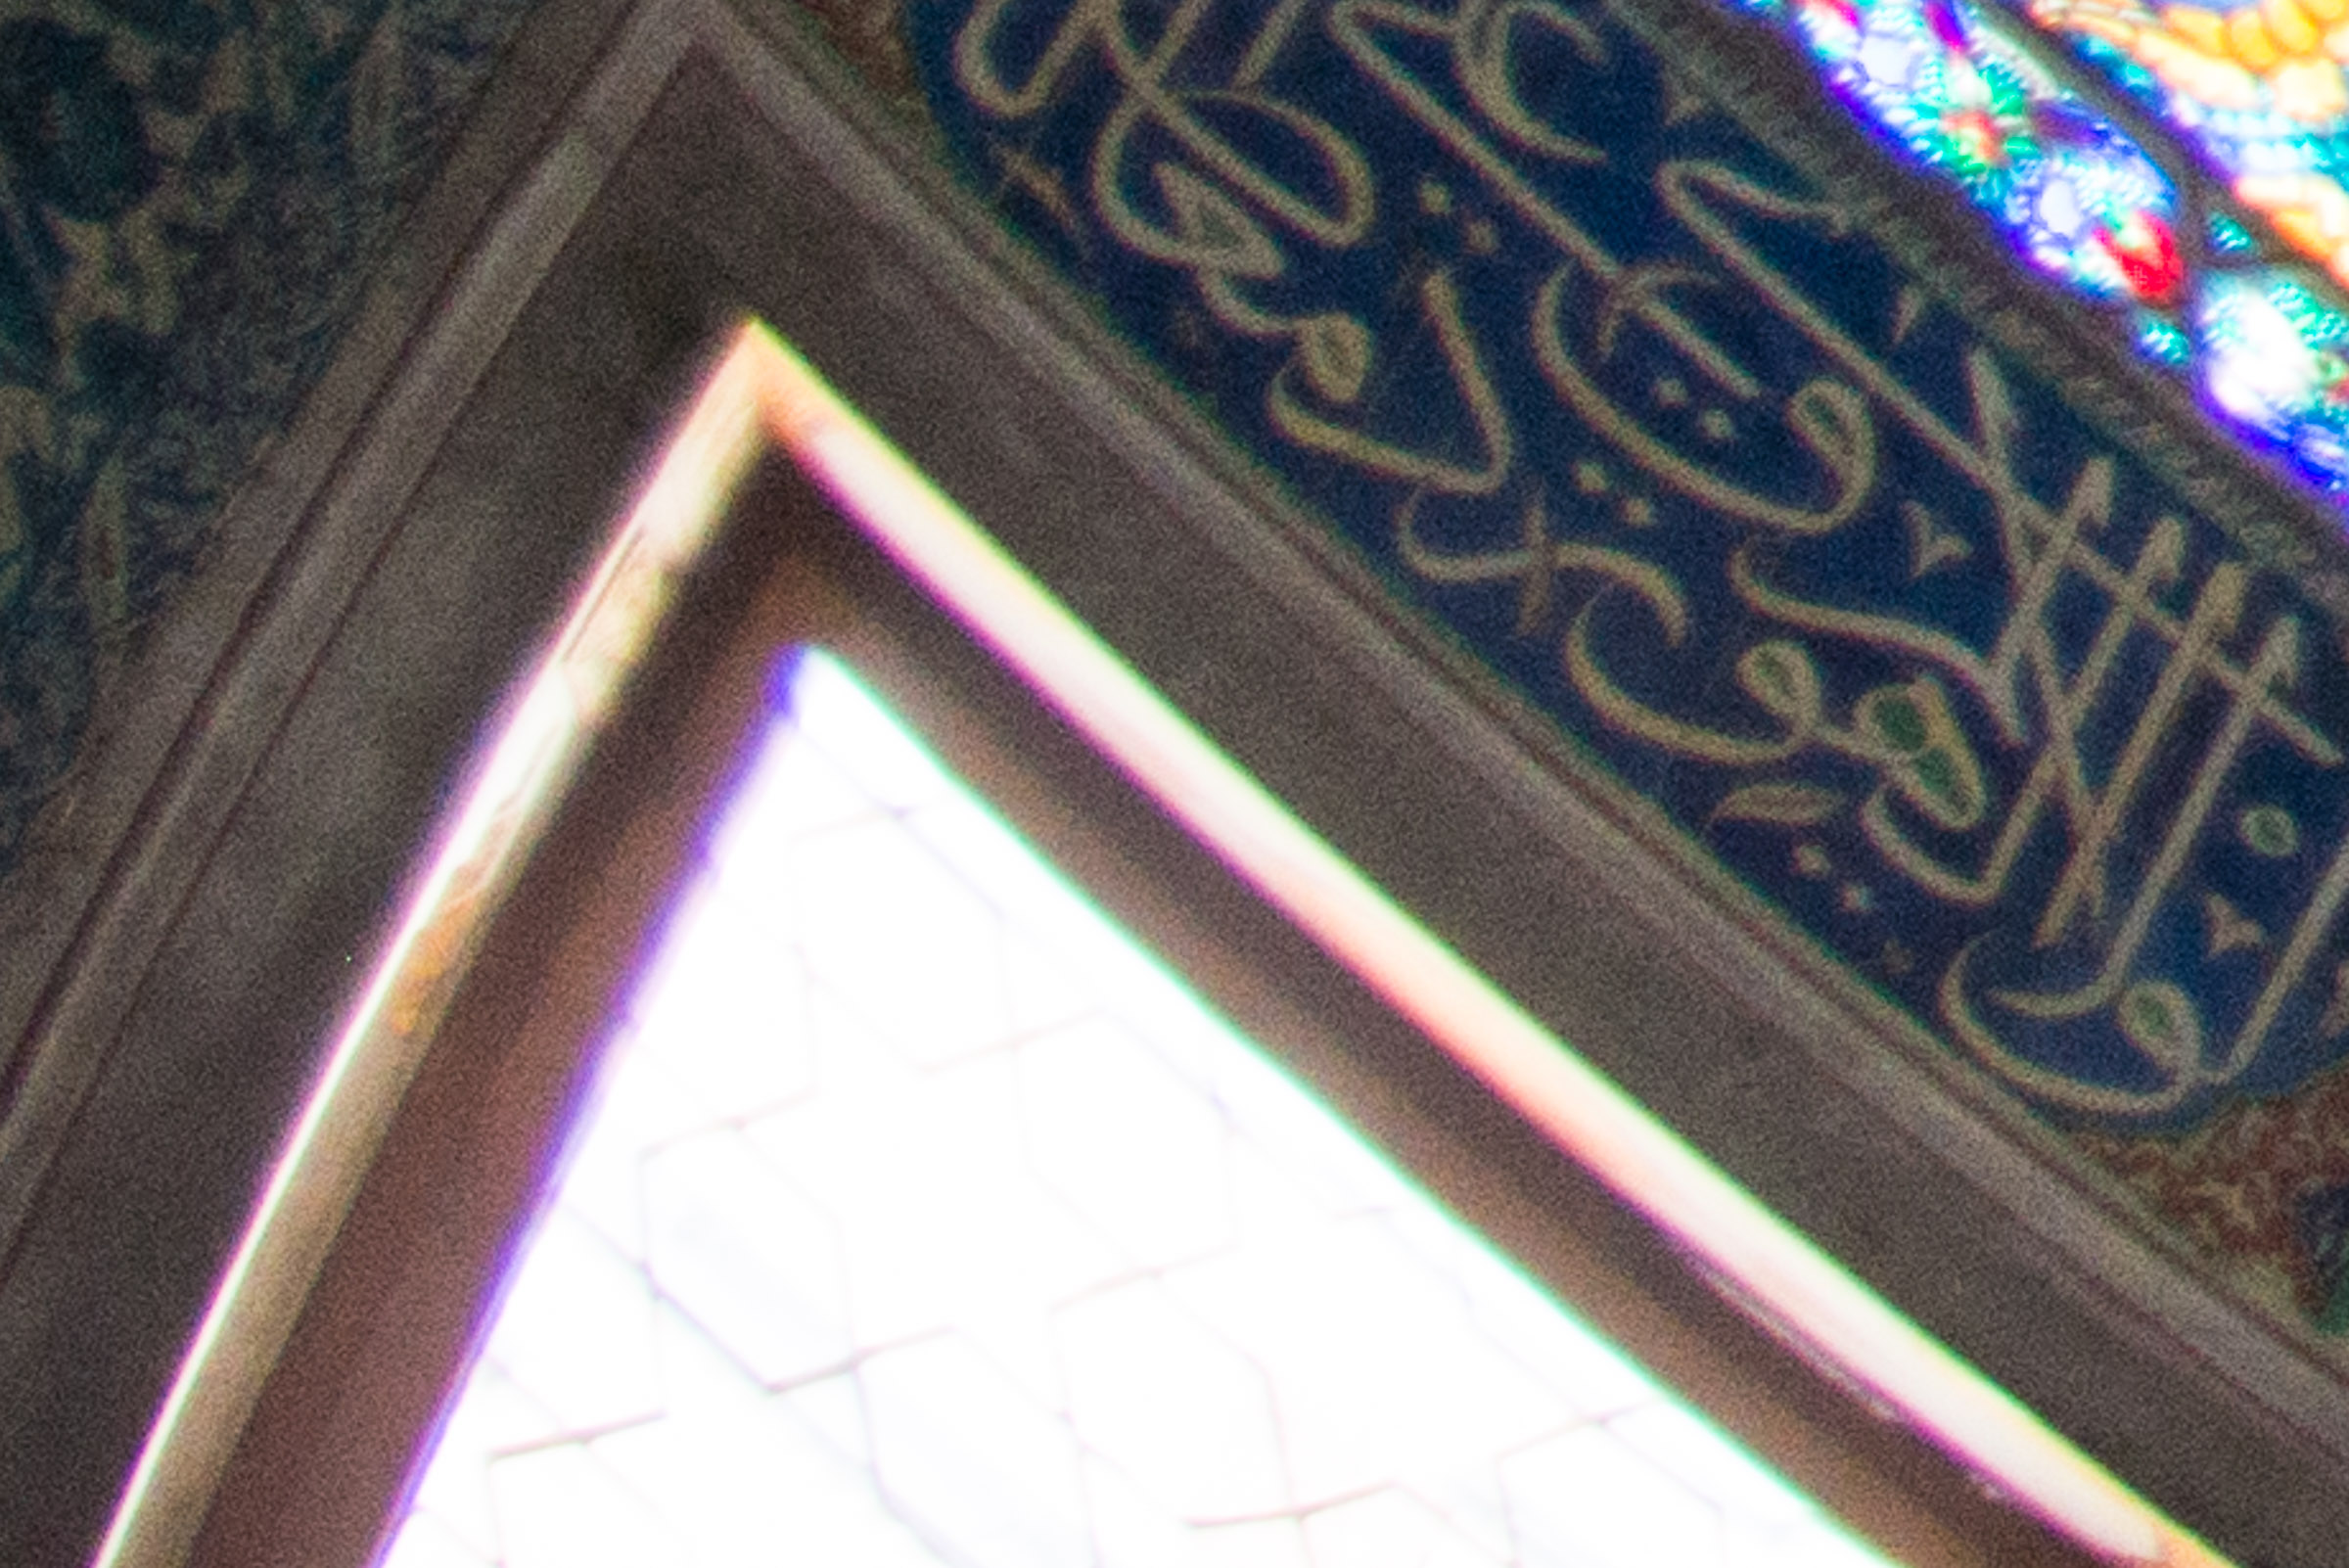
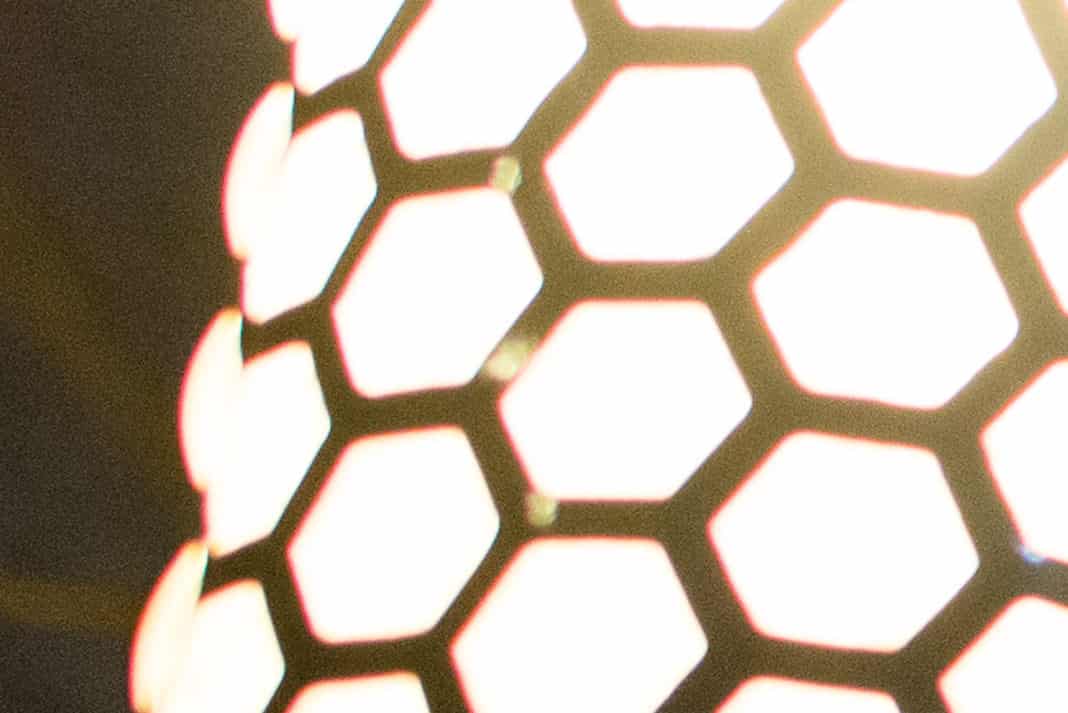
But if you zoom in to 100% and go looking for it, it’s there in the bottom corners of the plain windows. This is a small part of that image zoomed right in the bottom left corner. It’s an area with sharp contrast between the blown-out highlights of the outdoor light and the dark window frame. As you can see, in this example, we have both purple fringing and green fringing along the edges–classic lateral CA.
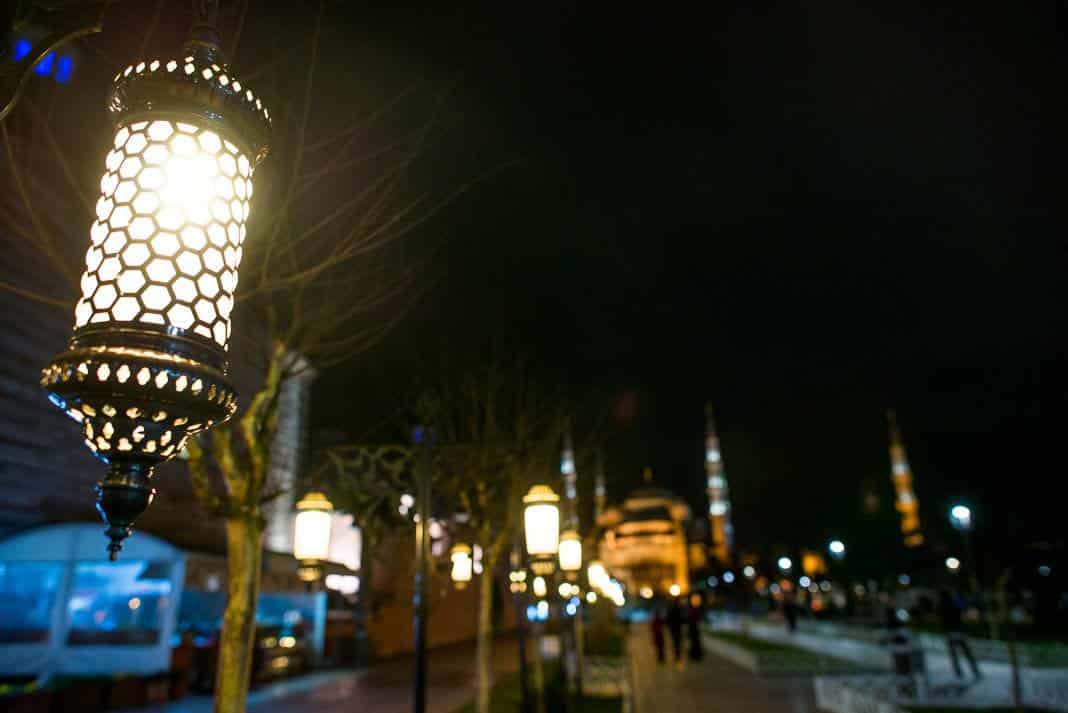
Here’s another I recently took of the Blue Mosque in Istanbul with the Nikon 24mm lens, where the CA shows as closer to red.
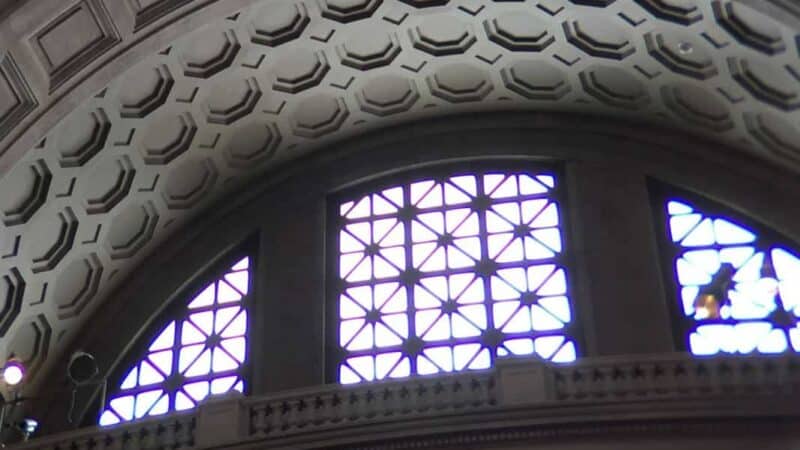
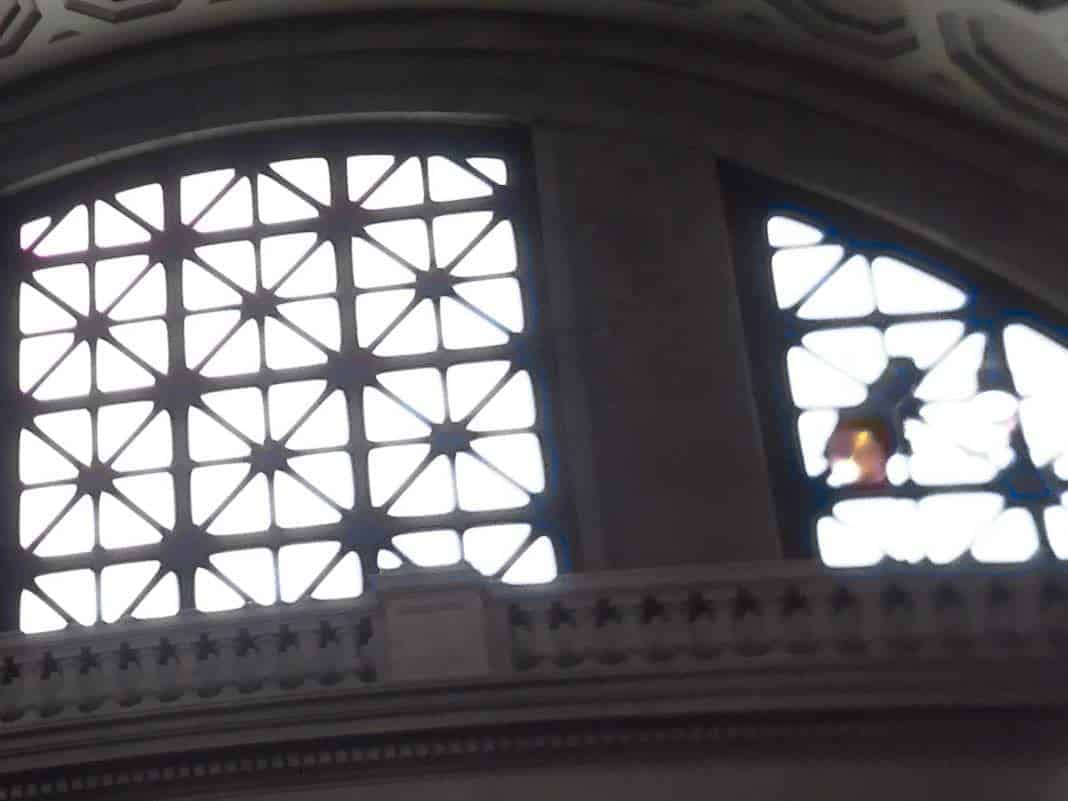
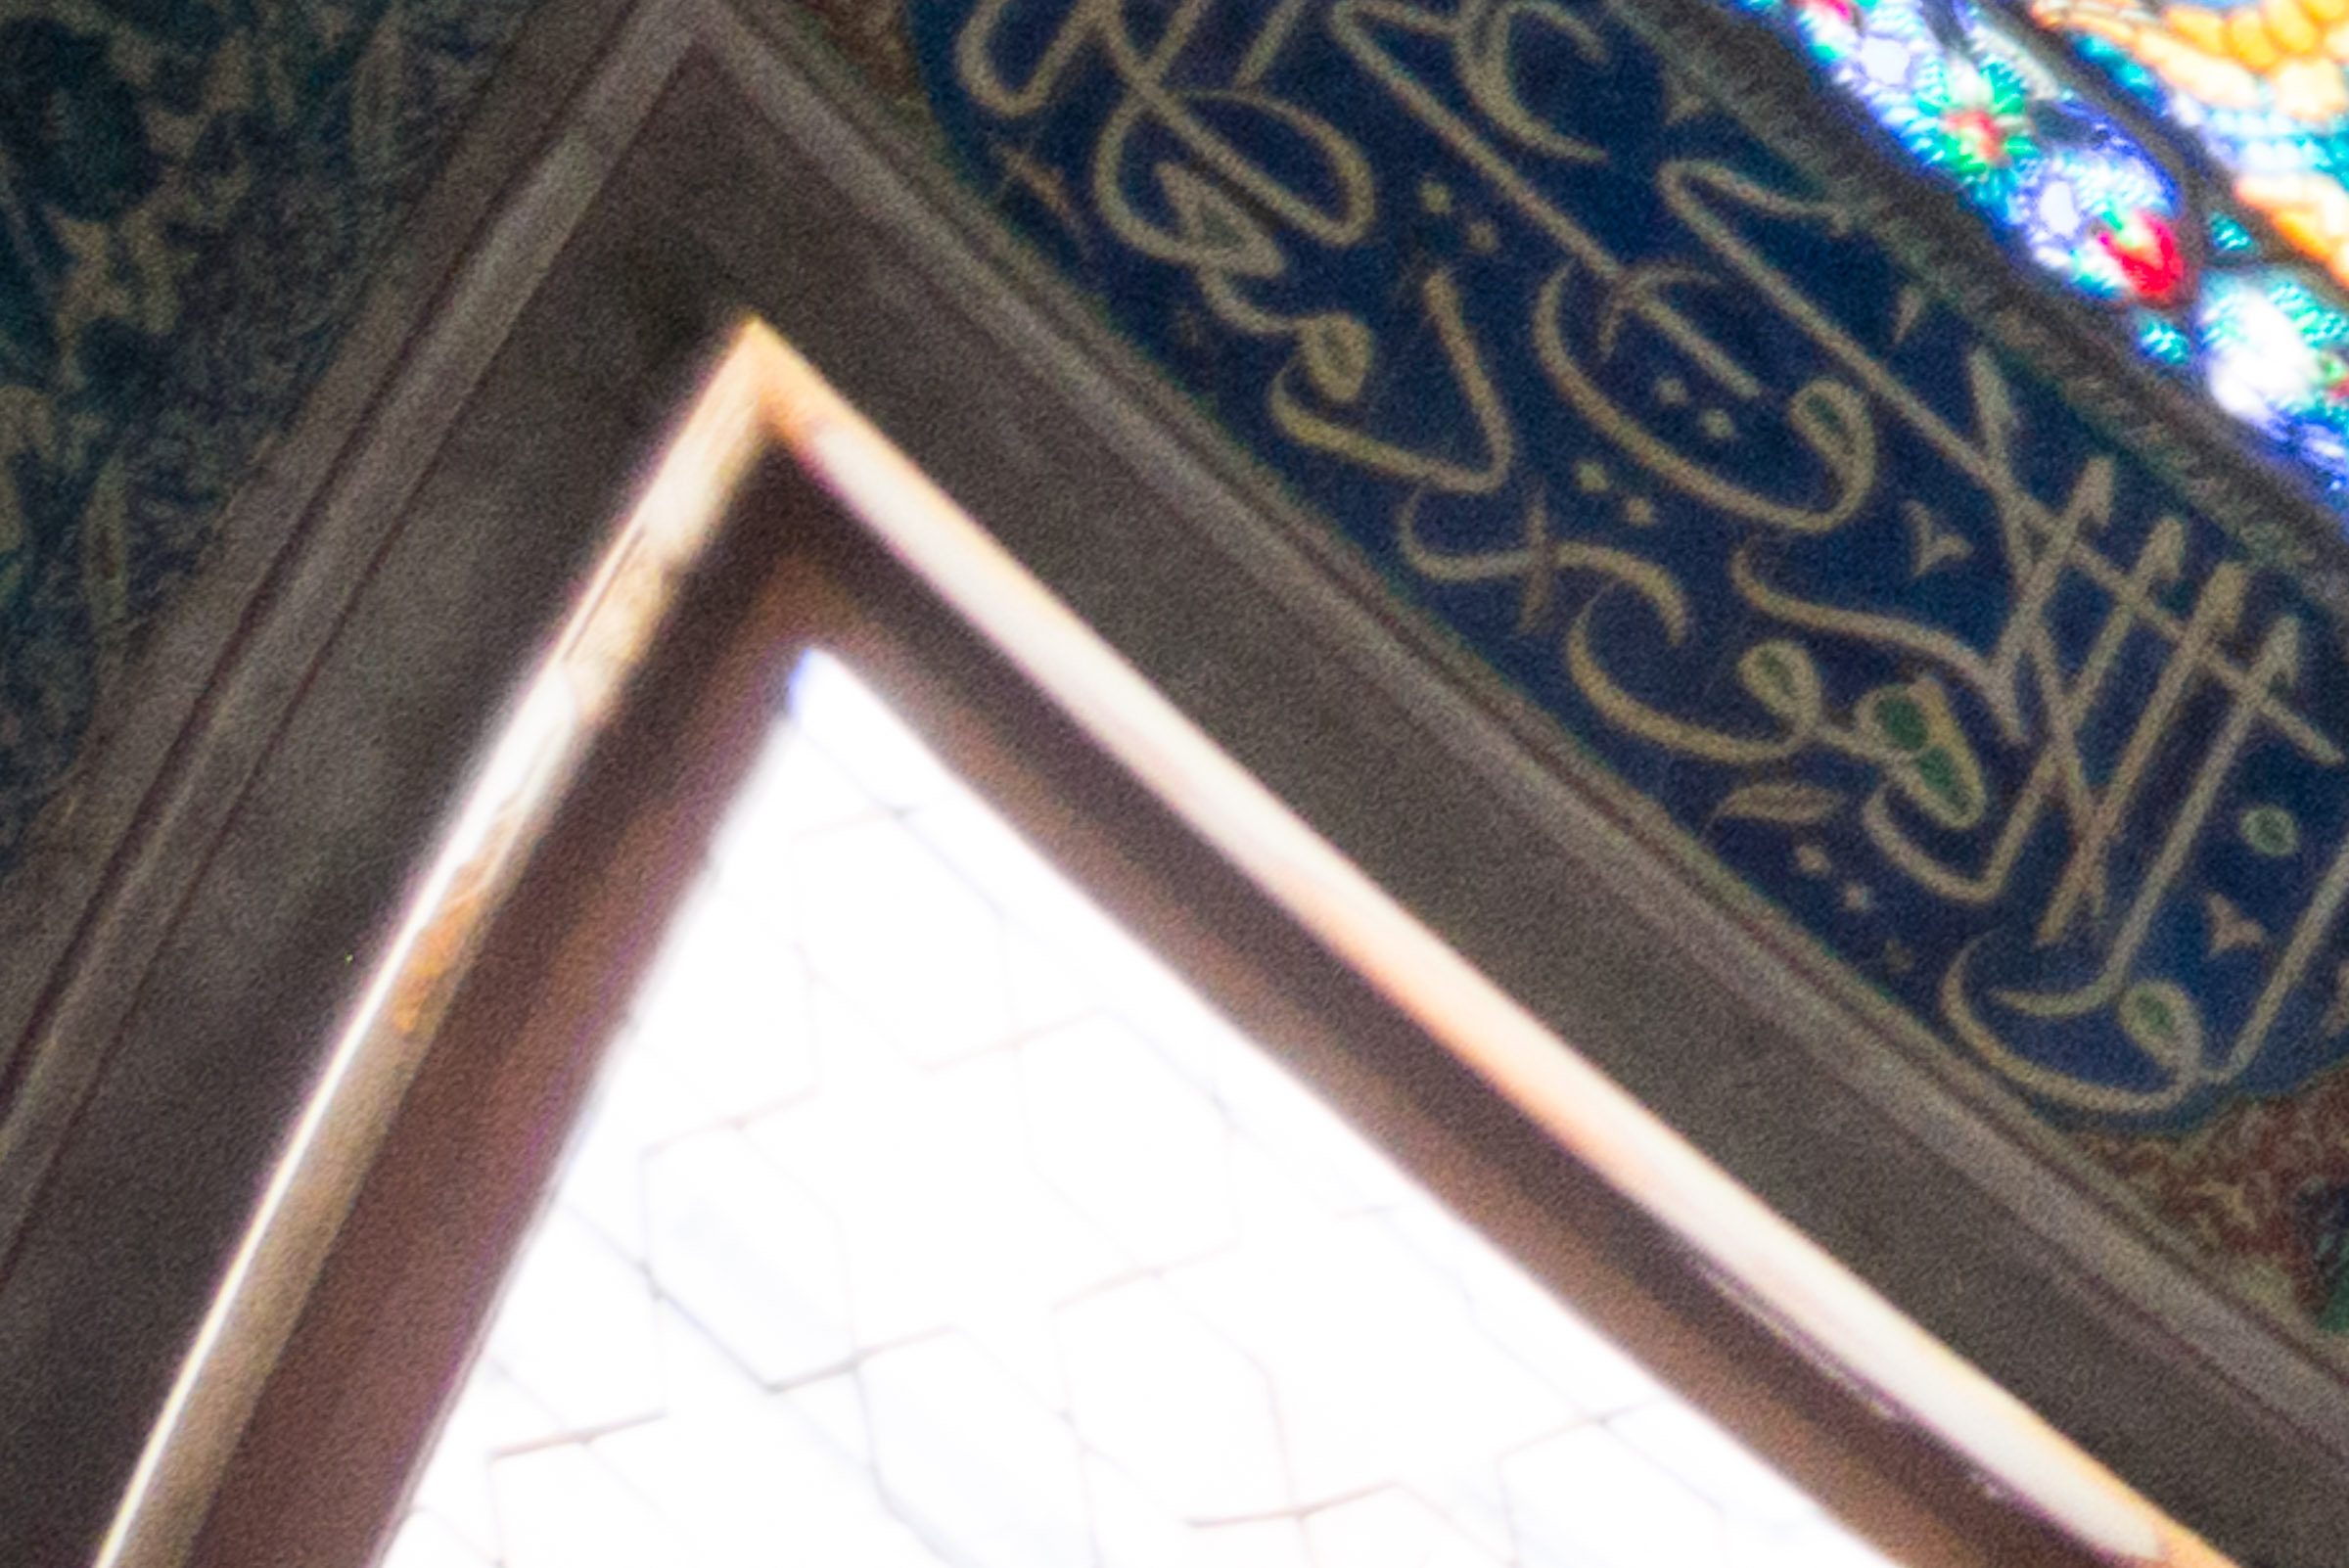
Here’s another example I shot specifically for this post, knowing it would create an especially good example. This is part of an image of windows at the Smithsonian Natural History Museum, taken with an iPhone 6 and an ExoLens telephoto lens.
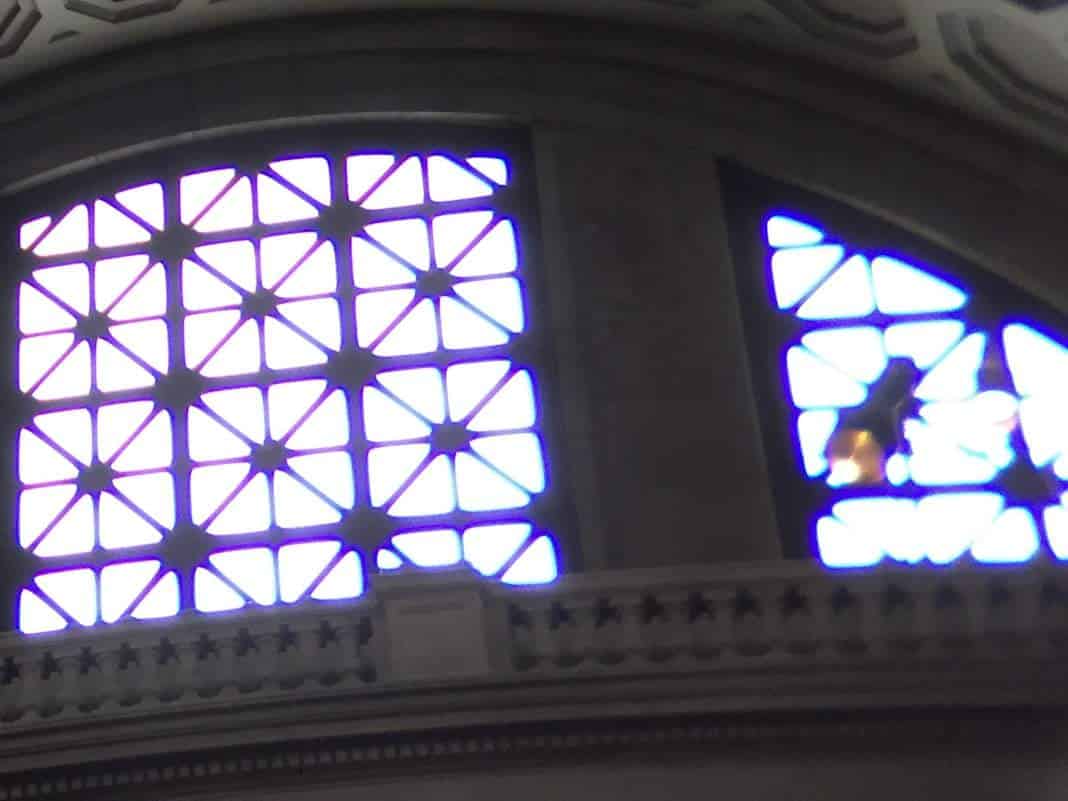
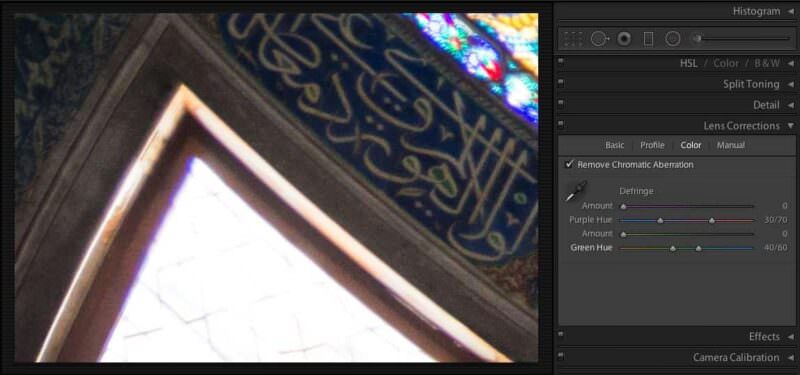
And here’s the same image after the Lightroom corrections.
So here’s how you do it.
Fixing chromatic aberration with Lightroom
Once upon a time, this was just something you had to live with. You could buy a more expensive lens in the hope it was better, or shoot around the problem by avoiding very high contrast areas, especially around the edges of the frame. You could also reduce the contrast so it was less noticeable. With axial CA, stopping the lens down a stop or two often helps too — it’s most pronounced wide open.4
But thanks to digital processing, you can essentially eliminate chromatic aberration with some simple fixes. Lightroom has tools dedicated to precisely this problem.
Step 1: Apply the lens profile first
Before doing anything to fringing, I enable the lens profile in the Lens Corrections panel (Develop module > Lens Corrections > Profile tab > Enable Profile Corrections). The reason isn’t obvious but matters: profile corrections fix geometric distortion, which actually shifts pixels around the frame. If you defringe before correcting distortion, you can end up chasing fringes that move on you.5
Step 2: The one-click fix for lateral CA
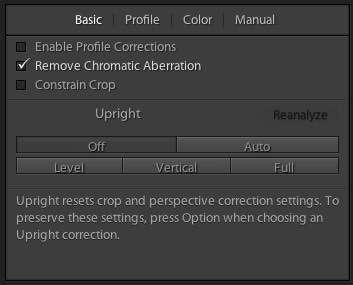
In the same Profile tab, tick the Remove Chromatic Aberration checkbox. That’s it. This handles lateral CA–the green/purple pairs out at the edges of the frame–and it does a very good job all by itself in most cases. I leave it on for almost every image; in years of using it I’ve never seen it cause a problem.
Here’s the same photo with just Lightroom’s automatic fix applied.
Step 3: Defringe (for the stubborn, single-color halos)
If you still see purple or green halos — especially on backlit edges or just in front of/behind your focus point — that’s axial CA, and the checkbox can’t touch it. For that, switch to the Manual tab of the Lens Corrections panel. Down toward the bottom you’ll find the Defringe section, with two pairs of sliders (Purple and Green) and an eyedropper.6
The fastest path is the eyedropper. Zoom in to 100% (or 200% if you really want to see what you’re doing), grab the eyedropper, and click directly on the fringe color. The tip of the eyedropper turns purple or green to confirm what it’s seeing — if it stays white, you’re hovering over a neutral pixel and need to move.7
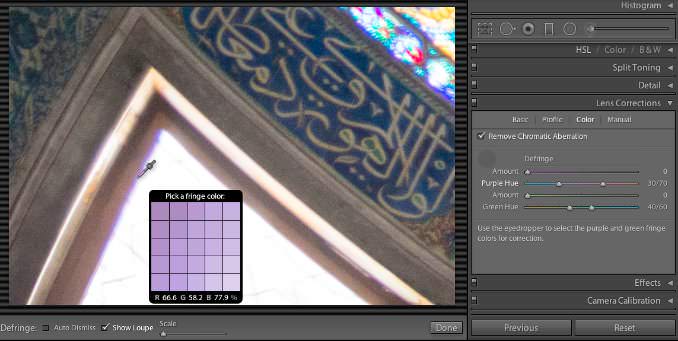
Lightroom moves the relevant Hue and Amount sliders for you automatically. Sample the green fringe too if there is one — they’re independent.


Sometimes the eyedropper refuses to play. If the pixels you click are outside the color range Lightroom expects for fringing, you’ll get a “please sample a representative fringe color again” message. Try clicking on the lighter edge of the fringe rather than the densest part, or move on to the manual sliders.8
Step 4: Manual sliders (when you want real control)
The two Amount sliders set how aggressively Lightroom strips the color out (Purple Amount goes 0-20). The Hue sliders below them–with split knobs — define the range of hues being targeted. Default Purple Hue is 30/70; default Green Hue is the narrower 40/60, deliberately, so you don’t accidentally desaturate foliage.9 Push the knobs apart to widen the affected range; pull them together to narrow it. Double-click any knob to reset it.
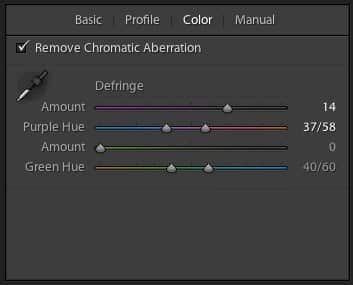
Here’s the trick that took me far too long to discover, and the single most useful thing about the Defringe panel: hold Alt (Windows) or Option (Mac) while dragging any of the Defringe sliders. The image switches to a black-and-white visualization that shows you exactly which pixels the slider is affecting — fringe pixels stand out clearly against a white overlay, and as you drag the slider you can watch the fringe disappear into the mask. The same thing works on the Hue sliders: colored fringe pixels turn black as the slider catches them.10 It turns Defringe from a guessing game into something you can actually see.
One thing to watch for: a global Defringe adjustment can desaturate purples and greens elsewhere in the image. Skin tones with a magenta cast, lavender flowers, foliage–all fair game. If you see that happening, dial the Amount back and apply the correction locally with an Adjustment Brush instead, where the Defringe slider is also available.11
With a bit of tweaking, it’s usually possible to greatly improve — and often eliminate — chromatic aberration using the checkbox and Defringe alone. If you still can’t get the result you want, you can also try reducing local contrast or selectively desaturating in the HSL panel. But it’s very rare that I have to resort to either.
Notes & References:
- Different colors of light bend by slightly different amounts as they pass through glass, so the red, green, and blue components of the image don’t quite line up. See: Bampton, Lightroom — The Missing FAQ, 2015, p. 277. [↩︎]
- Bampton, Lightroom — The Missing FAQ, 2015, pp. 277-278. [↩︎]
- Evening, Adobe Photoshop Lightroom Classic CC Book, 2019, p. 268. [↩︎]
- Evening, 2019, p. 268. [↩︎]
- Bampton, 2015, p. 279, step 2. [↩︎]
- Evening, 2019, pp. 268-269. [↩︎]
- Bampton, 2015, p. 279, Fig. 13.39. [↩︎]
- Evening, 2019, pp. 269. [↩︎]
- Evening, 2019, pp. 268-269. [↩︎]
- Bampton, 2015, p. 279, Figs. 13.40 & 13.41; Evening, 2019, p. 270, step 2. [↩︎]
- Evening, 2019, p. 268. [↩︎]



