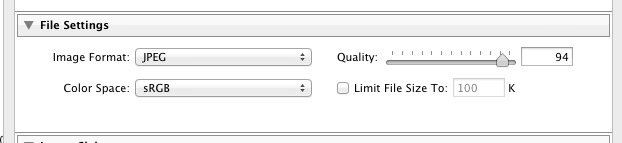
When you export JPG images from Lightroom Classic, you have a quality slider that goes from 0% to 100%.
You can also manually type in a number for the quality setting. The feature allows you to fine-tune the quality in 1% increments.
So you’d think an image exported at 85% would be ever so slightly smaller and of lower quality than one exported at 86%. It turns out that’s not the case.
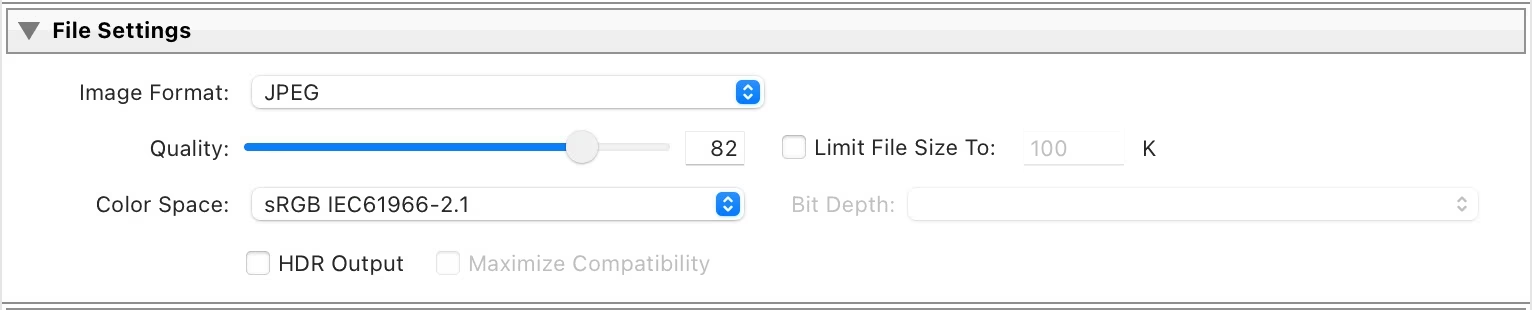
I was just about to set up a new Lightroom export preset for a new online archive where I’d be using JPGs, and I wanted to settle on a JPG quality setting to use. For an archival / delivery use like this, I would typically use either 95% or 100%. I’ve often heard that there was no practical benefit to setting it at 100%, but you do end up with much larger file sizes. And I’ve assumed that 95% retains nearly all the quality benefits while reducing the file size. But I thought I’d do a quick test to see how much file size was really saved. The results surprised me.
I used a large original file (without any export resizing) taken with a D800 so that any size differences would be noticeable. The original file dimensions are 7360 x 4912 pixels. Because JPG compression works by clumping similar tones together, I wanted to use an image with a mix of colors, a range of shading, and a fair amount of detail. I used this image of a ship navigating through Antarctic sea ice.
I exported the file multiple times, each time only changing the quality setting and the corresponding filename. All of the other export options were kept exactly the same. The files were exported without any resizing, and no post-export changes were applied. Since I wouldn’t normally use a quality setting below 60%, I ran the test between 60% and 100%. Here’s what I got:
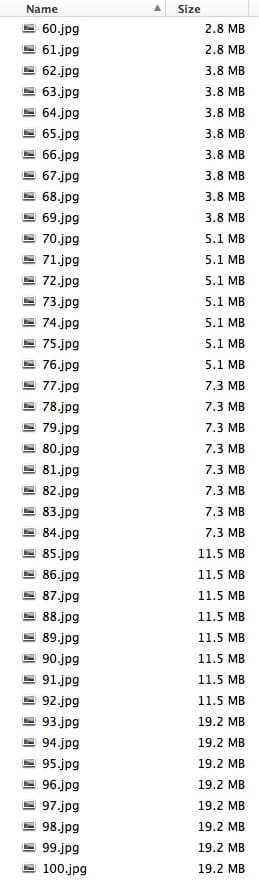
There are obviously some big differences in file sizes with different amounts of compression applied. But that’s expected. What I didn’t expect is that the increments are in bands rather than individual percentage points. An image exported at 93% is identical to an image exported at 100%. And an image exported at 69% results in a file exactly the same as one at a quality setting of 62% (assuming you haven’t changed any other export settings, of course).
Of course, you might point out that those file sizes in that screenshot are rounded to 100K, and that the differences might be smaller than that. But it turns out they’re not.
So the file size is the same, I hear you say, but that doesn’t mean that the compression is the same. Good point.
Because there’s no real way to visually tell differences that small, I took subjective perception out of the equation by using software specifically designed to tell the differences between files (known as diff software — I used Kaleidoscope) on a byte-by-byte basis.
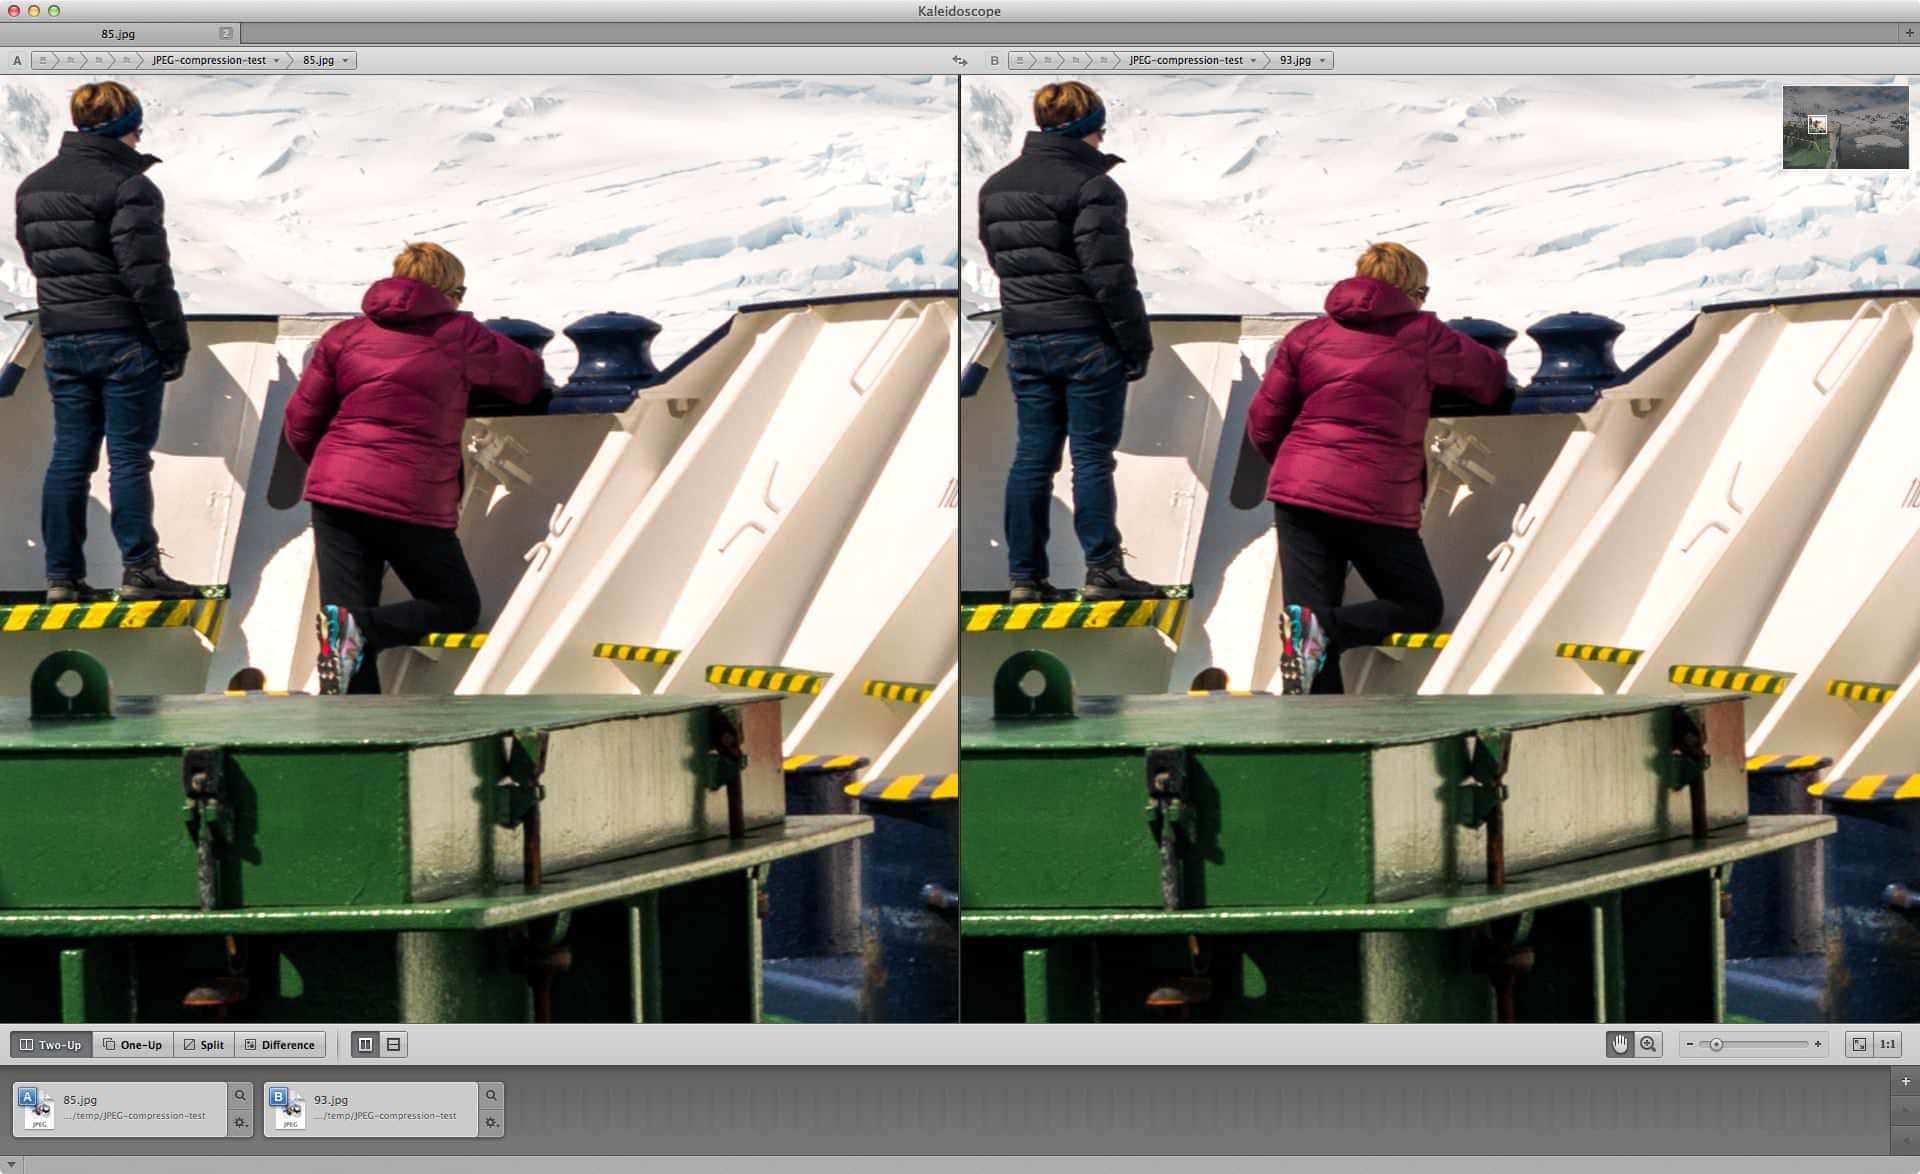
Here’s a side-by-side visual comparison of the 85% quality setting file (left) with the 92% quality setting file (right). Both are zoomed at 100% view. (If you click on the thumbnail, it’ll open the screenshot at full size, although there’s an added layer of compression in making the JPG of the screenshot itself, of course.)
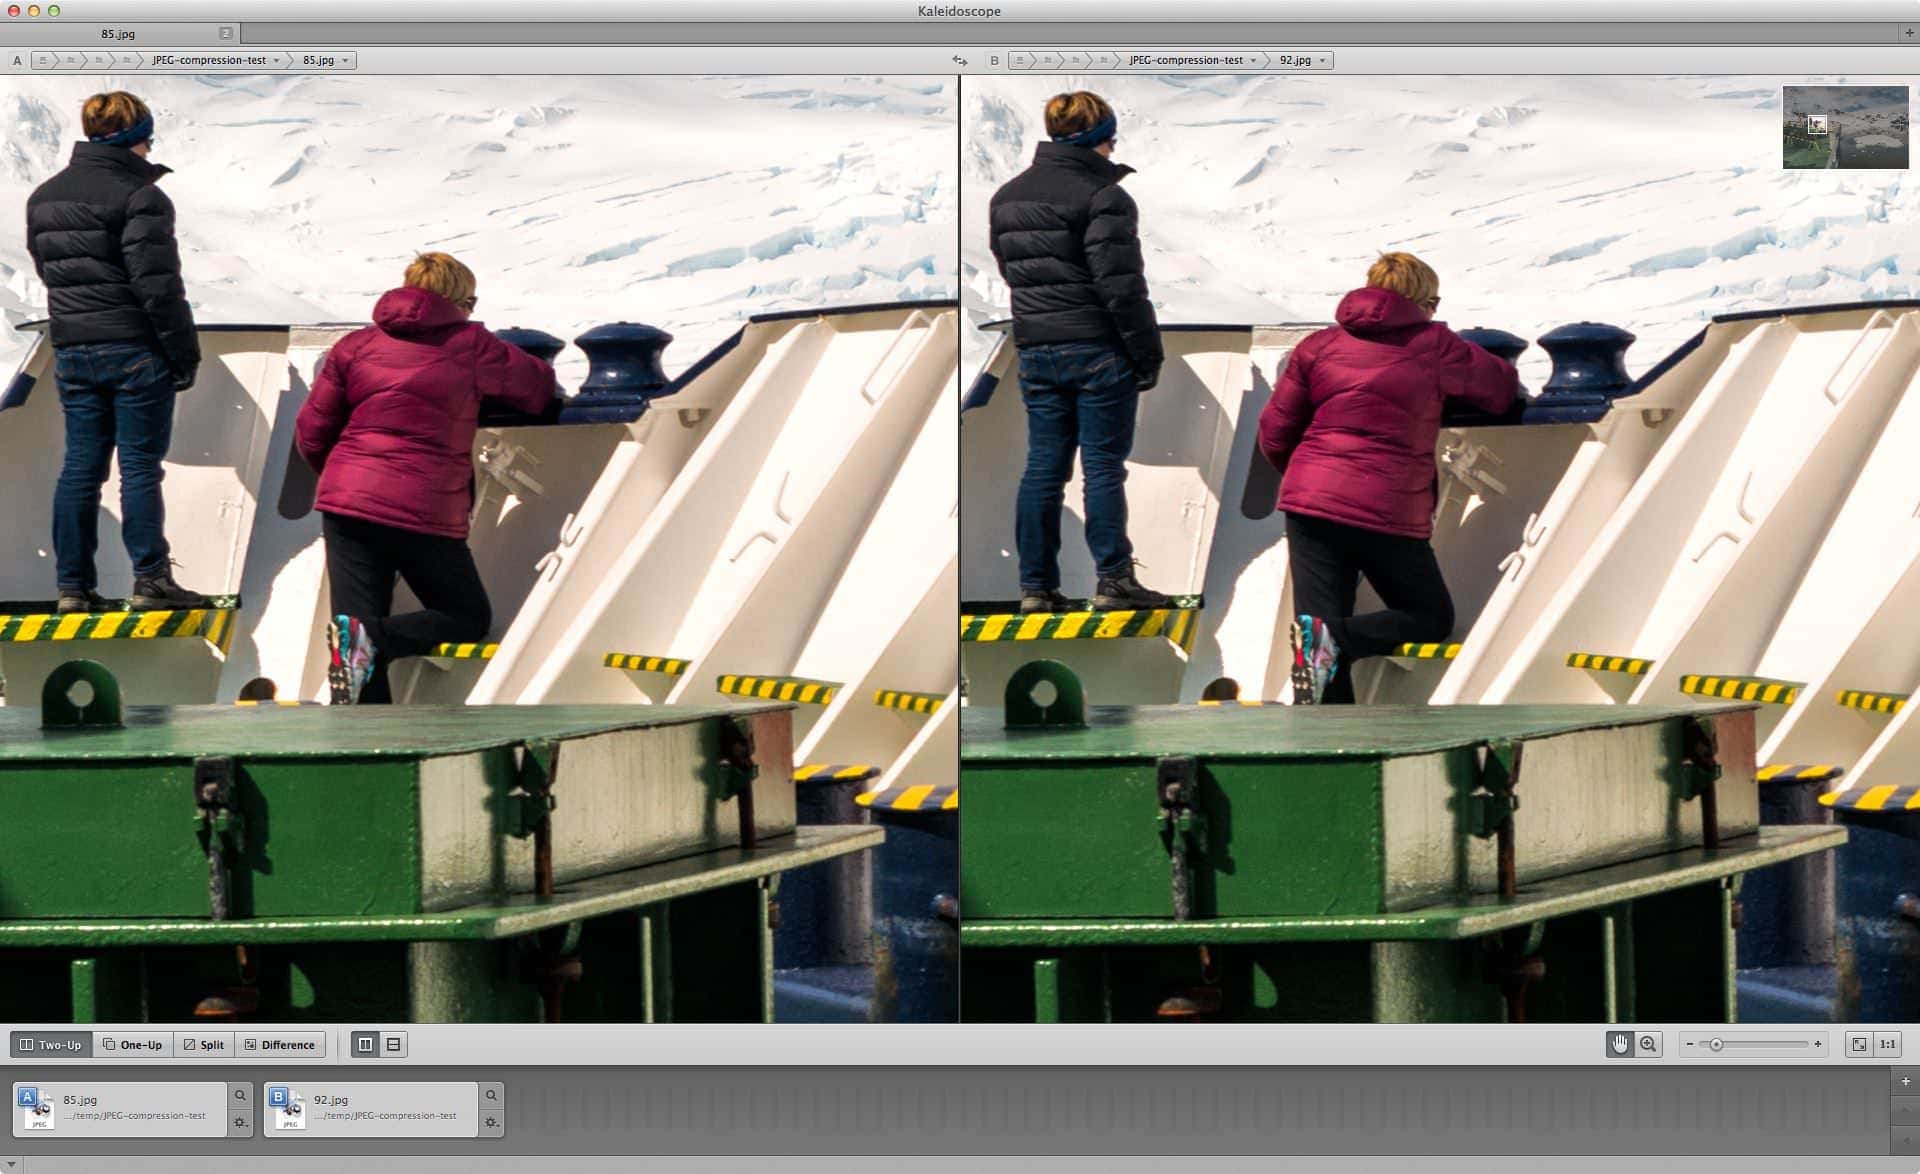
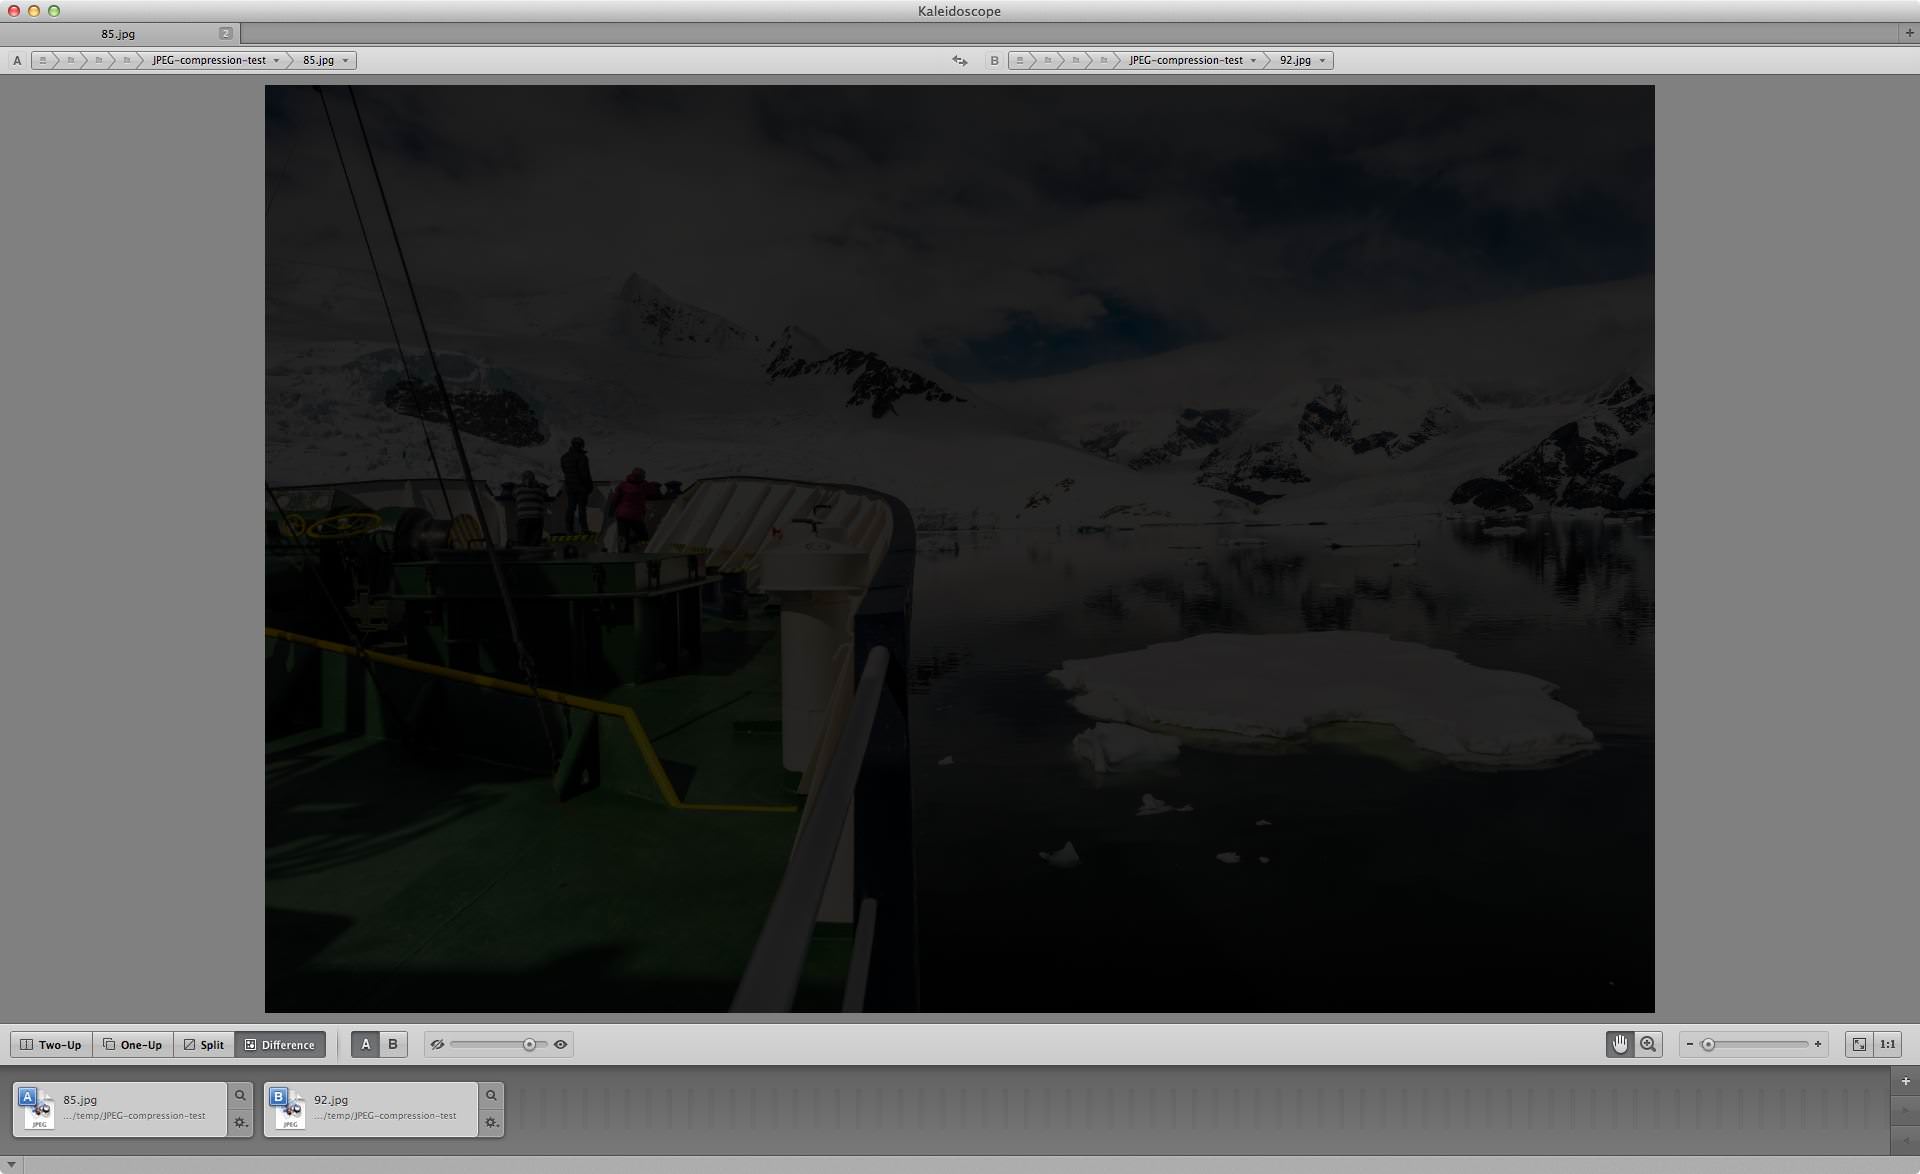
There’s certainly no perceptual visual difference. So I let the diff software do its magic. The result was clean, confirming that the files are, pixel-for-pixel and byte-for-byte, identical.
For comparison, I ran the same test using the 85% version and the 93% version. Again, if there’s any visual difference, it’s pretty much impossible to spot.
But in running the diff test, the results showed that the files are quite different this time.
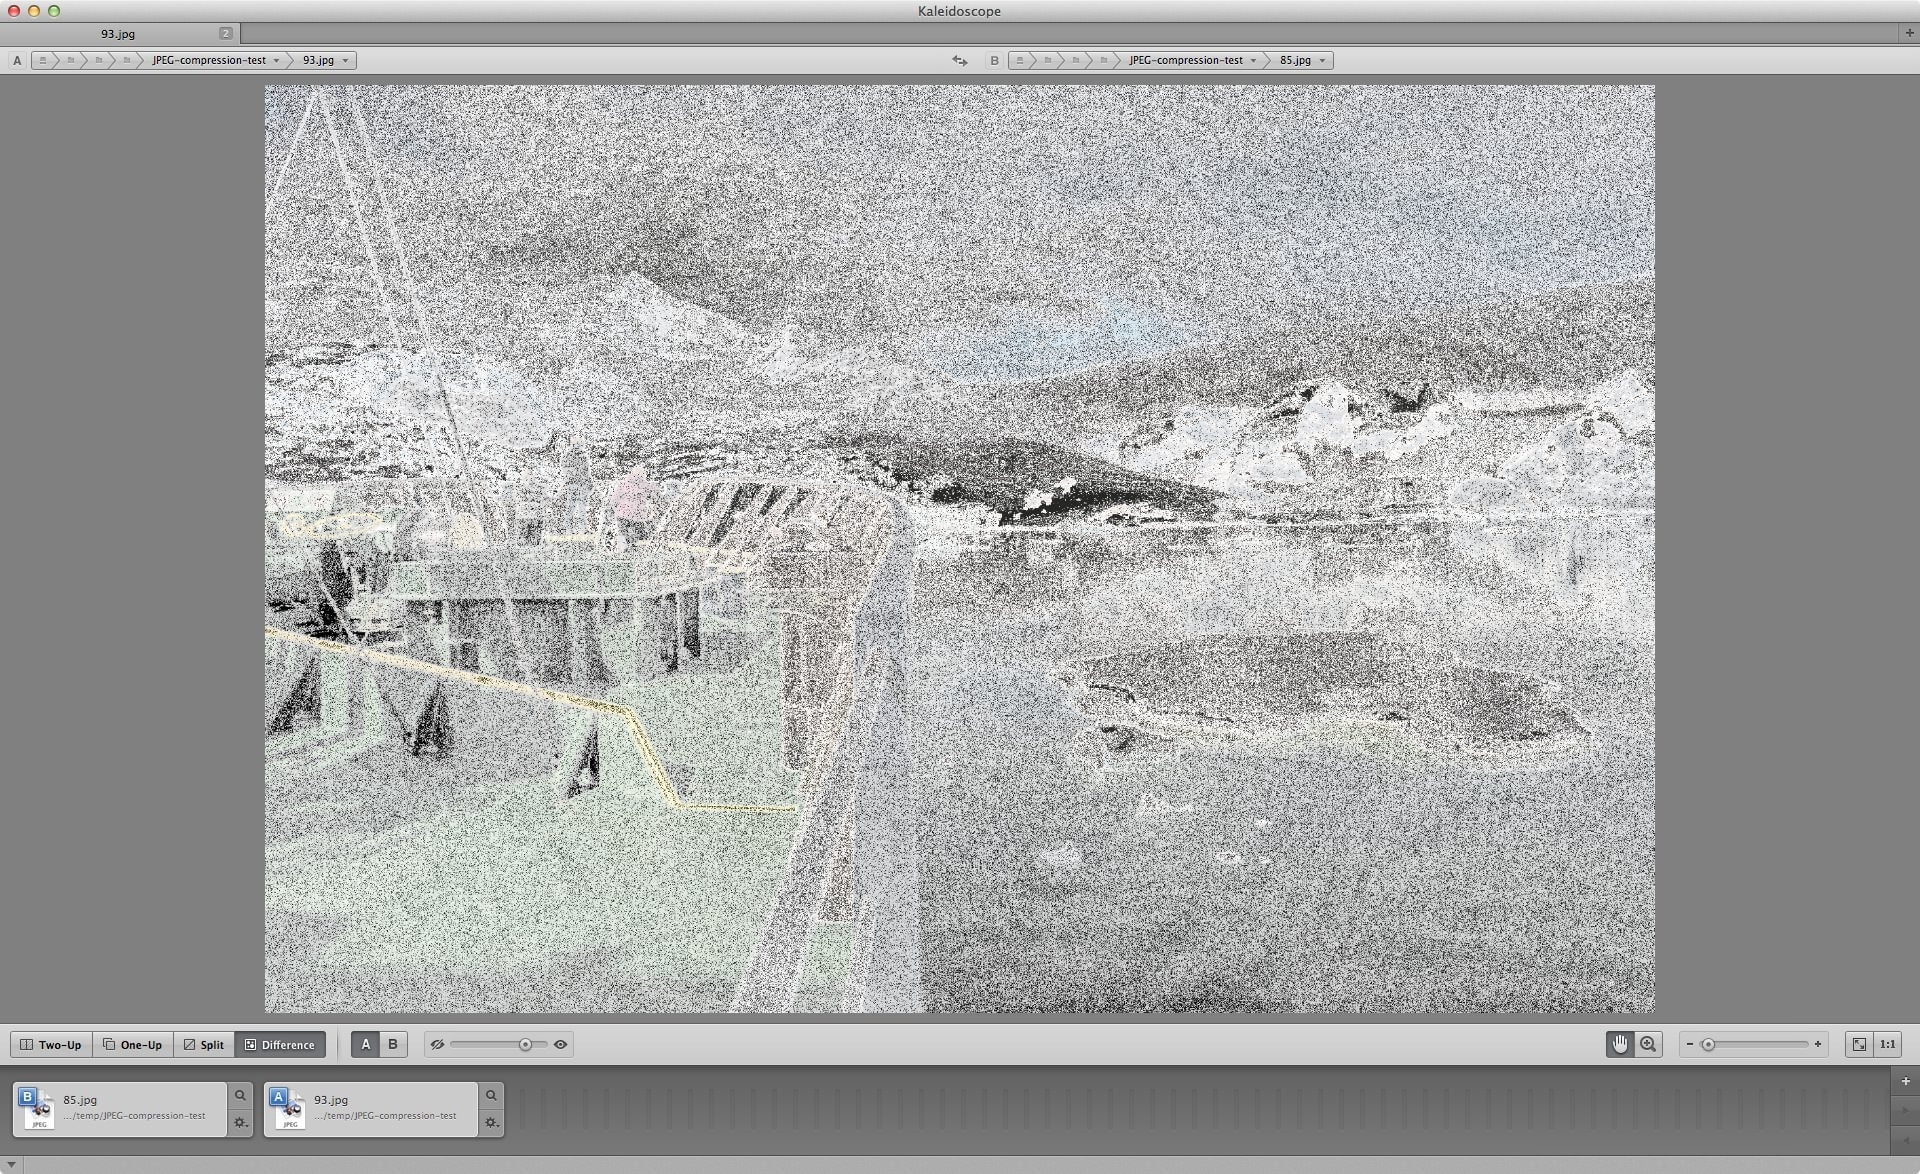
So the takeaway is that rather than single-point fine-tuning, the JPG quality setting in Lightroom actually works in bands. Exporting a file at 93% quality setting is exactly the same as using 100%, and 85% is exactly the same as 92%, and so on. While you have a scale that goes from 0 to 100, in reality, it’s much closer to the traditional JPG scale of 1 to 10.
Here are the bands for quality settings between 60% and 100%. Choosing a setting within a band will result in exactly the same file as another setting in that same band. All bands are inclusive (i.e., the band 60-69 includes settings of 60 and 69).


60-69
70-76
77-84
85-92
93-100
Interestingly, saving the file with an sRGB colorspace resulted in a bigger file than exactly the same file and settings, except in ProPhoto colorspace (19.2 MB vs 18.1 MB). Since ProPhoto is a much larger color space than sRGB and therefore allows for more individual colors, I expected the opposite. My guess is it has to do with the shapes of the color spaces rather than their depths, and that therefore it will depend on the color tones in the image you’re exporting. But since file size isn’t really a factor in choosing which colorspace to use, I haven’t investigated further.
I also haven’t tested other software to see if it does the same thing. So I don’t know if this is Lightroom-specific, Adobe-specific, or something to do with the original JPG compression algorithm itself.
Bonus Tip: Jeffrey Friedl has an interesting Lightroom plugin that allows you to export JPGs at each of Lightroom’s quality settings so that you can compare them side by side. You can find it here. He also has a fascinating and very thorough post on the topic here (which I only discovered after I’d posted this — it would have saved me a lot of time….).


