A calculator for working out exposure times when you’re shooting through ND filters. Pick your base shutter speed (the one your meter says without any filter), then pick the filter you’re stacking on the front. The calculator returns the new shutter speed, snapped to the nearest value your camera can actually dial in.
On most cameras, for exposures past 30 seconds, you’ll need to use bulb mode. So for any result of a second or longer, the calculator adds a built-in timer — start it as you open the shutter, and it counts down and tells you when the exposure is done.

Results snap to standard third-stop camera settings. Real polarizers cost about 1.3–2 stops of light depending on the filter; this calculator uses 2 stops as a conservative value.
How the math works (and why you probably don’t want to do it in your head)
Every stop of ND filtration doubles the required exposure time. The math compounds quickly:
- 1 stop = 2× longer
- 3 stops = 8× longer
- 6 stops = 64× longer
- 10 stops = 1,024× longer
- 15 stops = 32,768× longer
So a metered exposure of 1/60s — the kind of shutter speed you’d have on a sunny day at moderate aperture — turns into roughly 1 second through a 6-stop ND, 17 seconds through a 10-stop, and over 9 minutes through a 15-stop. None of those are numbers you want to estimate in the field, especially when you’ve already set up the tripod, dialed in composition, and locked focus.
The calculator handles the math, then snaps the result to the nearest standard shutter speed your camera can actually dial in (since most cameras don’t offer “17 seconds” but do offer 15s and 20s). It also shows you the raw computed time underneath, so you can see how much rounding is happening.
When this comes in handy
Smoothing water
The classic use case. A few seconds of exposure smooths choppy water into something glassier; longer exposures of 30 seconds to several minutes flatten it out into something painterly or fog-like. Different effects need different shutter speeds, and ND filters are how you get there in daylight.
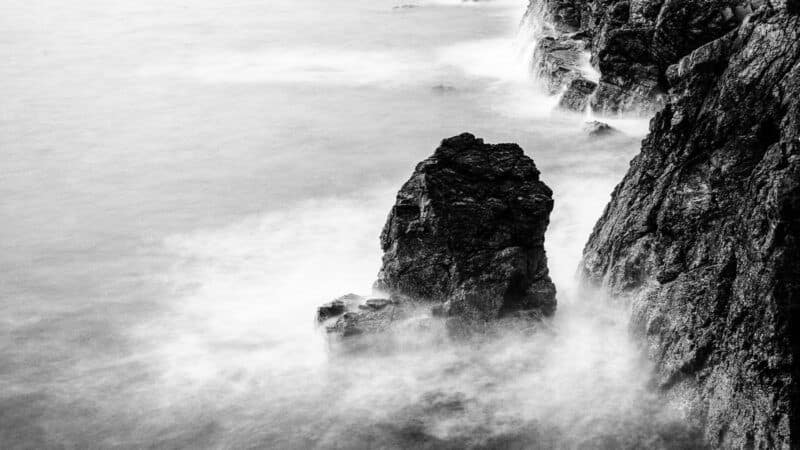
For mild silkening (waterfalls, streams), 1 to 2 seconds is usually enough — that’s roughly a 6-stop ND in moderate light. For sea-stack-style flatwater, you’re looking at 30 seconds to a few minutes, which is 10-stop or 15-stop territory.
Cloud movement
Streaking clouds in landscape work needs longer exposures than water — usually a minute or more, since clouds move more slowly than water surfaces. A 10-stop ND will get you there from a starting shutter of around 1/15 — or from 1/60 with a polarizer stacked on top. A 15-stop ND opens up daytime exposures of 5 to 10 minutes, which is the territory where you start getting genuinely abstract results.
Removing people from scenes
If your exposure is long enough that anyone walking through the frame doesn’t stay in any one spot for more than a small fraction of the exposure, they effectively vanish from the final image. Useful for shooting busy plazas, popular landmarks, or anywhere there’s foot traffic you don’t want recorded.
The threshold is usually around 30 seconds to 2 minutes, depending on how fast people are moving and how densely they’re packed. A 10-stop ND gets you there with a little help — stack a polarizer on top, drop to your lowest ISO, or wait for softer light.
Wide apertures in bright light
Less common with ND filters, but worth knowing: if you want to shoot at f/1.4 or f/2 in midday sun for shallow depth of field on a portrait or video subject, even your fastest shutter speed may not be enough to avoid overexposure. A 3-stop or 6-stop ND brings the shutter speed back into a usable range.
For video this is particularly important — most video work needs a shutter speed of around 1/50 or 1/60 to maintain natural motion blur, and you can’t just stop down without changing the look. ND filters are essentially mandatory for outdoor video at wide apertures.
Stacking a polarizer
If you’re stacking a polarizer on top of your ND filter — common for water and foliage scenes where reflections are a problem — that’s an additional 2 stops of light loss to factor in. The calculator has a toggle for this. Tick it and your computed exposure time gets a 4× multiplier on top of whatever the ND filter is doing.
Worth knowing: a 10-stop ND with a polarizer stacked is effectively 12 stops, turning a 1/60s metered exposure into roughly 68 seconds — past the 30-second limit on most cameras and into bulb-mode territory.
Bulb mode and the timer
Most cameras max out at a 30-second shutter speed in their normal exposure modes. For anything longer you have to use bulb mode, where the shutter stays open for as long as you keep the button pressed (or, more usefully, between two button presses with a remote release).
Bulb mode means you’re now timing the exposure yourself. The calculator helps with that: for any result of a second or longer, a Start Timer button appears right under the exposure time. Hit it the moment you trigger the shutter, and it counts down to zero and tells you when to close it.
For the kind of shooting where you’re already juggling a tripod, a remote release, and possibly a phone for some other reason, having the timer right next to the calculation saves a step.
A few things worth knowing
Reciprocity failure
If you’ve shot film, you’ll remember that very long exposures don’t behave linearly — past a certain shutter speed, film loses sensitivity and you have to add extra time to compensate. This is reciprocity failure, and the corrections vary by film stock.
Modern digital sensors don’t have meaningful reciprocity failure. The math holds linearly all the way up to whatever your camera’s maximum exposure tolerance is. So the calculator’s straight 2^stops calculation is accurate for digital. If you’re shooting film, add the appropriate reciprocity correction on top of what the calculator gives you, per your film’s data sheet.
Sensor heat at very long exposures
Past about 5 to 10 minutes, you may start seeing more sensor noise — hot pixels, color shifts, banding — particularly in warm conditions. Long Exposure Noise Reduction (the in-camera setting that takes a “dark frame” of equal length after each exposure to subtract sensor noise) helps, but it doubles your shooting time.
Most modern cameras handle 1- to 2-minute exposures cleanly without it. Past that, it’s worth turning on, particularly in summer heat or after a long shoot when the sensor is already warm.
Stacking multiple filters causes vignetting
Stacking ND + polarizer + clear protection on a wide-angle lens often produces visible vignetting at the corners, since each ring adds physical depth in front of the lens. With ultra-wide lenses (16mm or wider on full frame), even a single thick filter can cause vignetting. Slim or low-profile filter rings help. So does removing any filter you’re not actively using for the shot.
Color casts
Strong ND filters — particularly cheap or older 10-stop and 15-stop variants — can introduce significant color casts. The Lee Big Stopper is famously cool/blue; older B+W 10-stops trend warm. Newer designs from Lee, NiSi, Breakthrough, and Haida have largely solved this, but it’s still worth shooting raw and white-balancing in post rather than trying to nail it in-camera.
Always compose and focus before you mount the filter
A 10-stop or 15-stop ND filter blocks so much light that you can barely see through it — and your camera’s autofocus and metering systems definitely can’t. Set your composition, lock your focus, then mount the filter. Switch to manual focus if you’re worried about the camera trying to refocus through the filter.

Cover the viewfinder during the exposure as well. Light leaking in through the eyepiece can affect the meter on some cameras and, on long enough exposures, even leave faint marks in the image. Most cameras come with a small rubber eyepiece cover for exactly this reason.


