I routinely work with large numbers of image files, and most editing tools aren’t built for that. They handle a handful of images well, but they don’t offer efficient workflows when you’re dealing with dozens or hundreds at once.
BatchPhoto is built specifically for the opposite problem. As the name makes clear, it’s designed to apply the same edits, transformations, or conversions to many images at once — format conversions, resizing, watermarking, color adjustments, cropping, adding frames, and more. You can also stack these: do a resize, add a watermark, and convert to a different format all in a single pass.
I originally wrote about BatchPhoto several years ago. The developer sent me a copy to try out. Since then, he’s updated it substantially and sent me the latest version, so this is a full revisit with the current version. The workflow and core approach remain the same, but there’s been meaningful polish throughout.
For this walkthrough, I’m focusing on a specific task: batch-converting JPG images to AVIF. It’s something I needed to do for images on this site, and it turned out to be surprisingly hard to find a straightforward GUI tool that handles it well. AVIF has real advantages over JPG for web use, and it’s now widely supported across browsers. But most of the batch conversion apps I already use don’t support AVIF as an output format — XNConvert, for instance, lists AVIF on its formats page but only as a read format, not write. There are powerful command-line options, but not everyone wants to go that route. BatchPhoto fills the gap cleanly.
The same workflow described here applies to any other format conversion BatchPhoto supports — JPG to WebP, HEIC to JPG, 48-bit TIFF to 24-bit TIFF, and so on.
BatchPhoto’s conversion workflow
BatchPhoto works on a simple left-to-right sequence: load your photos, apply any transformations, set up the output. These are the four steps across the top of the app’s interface.
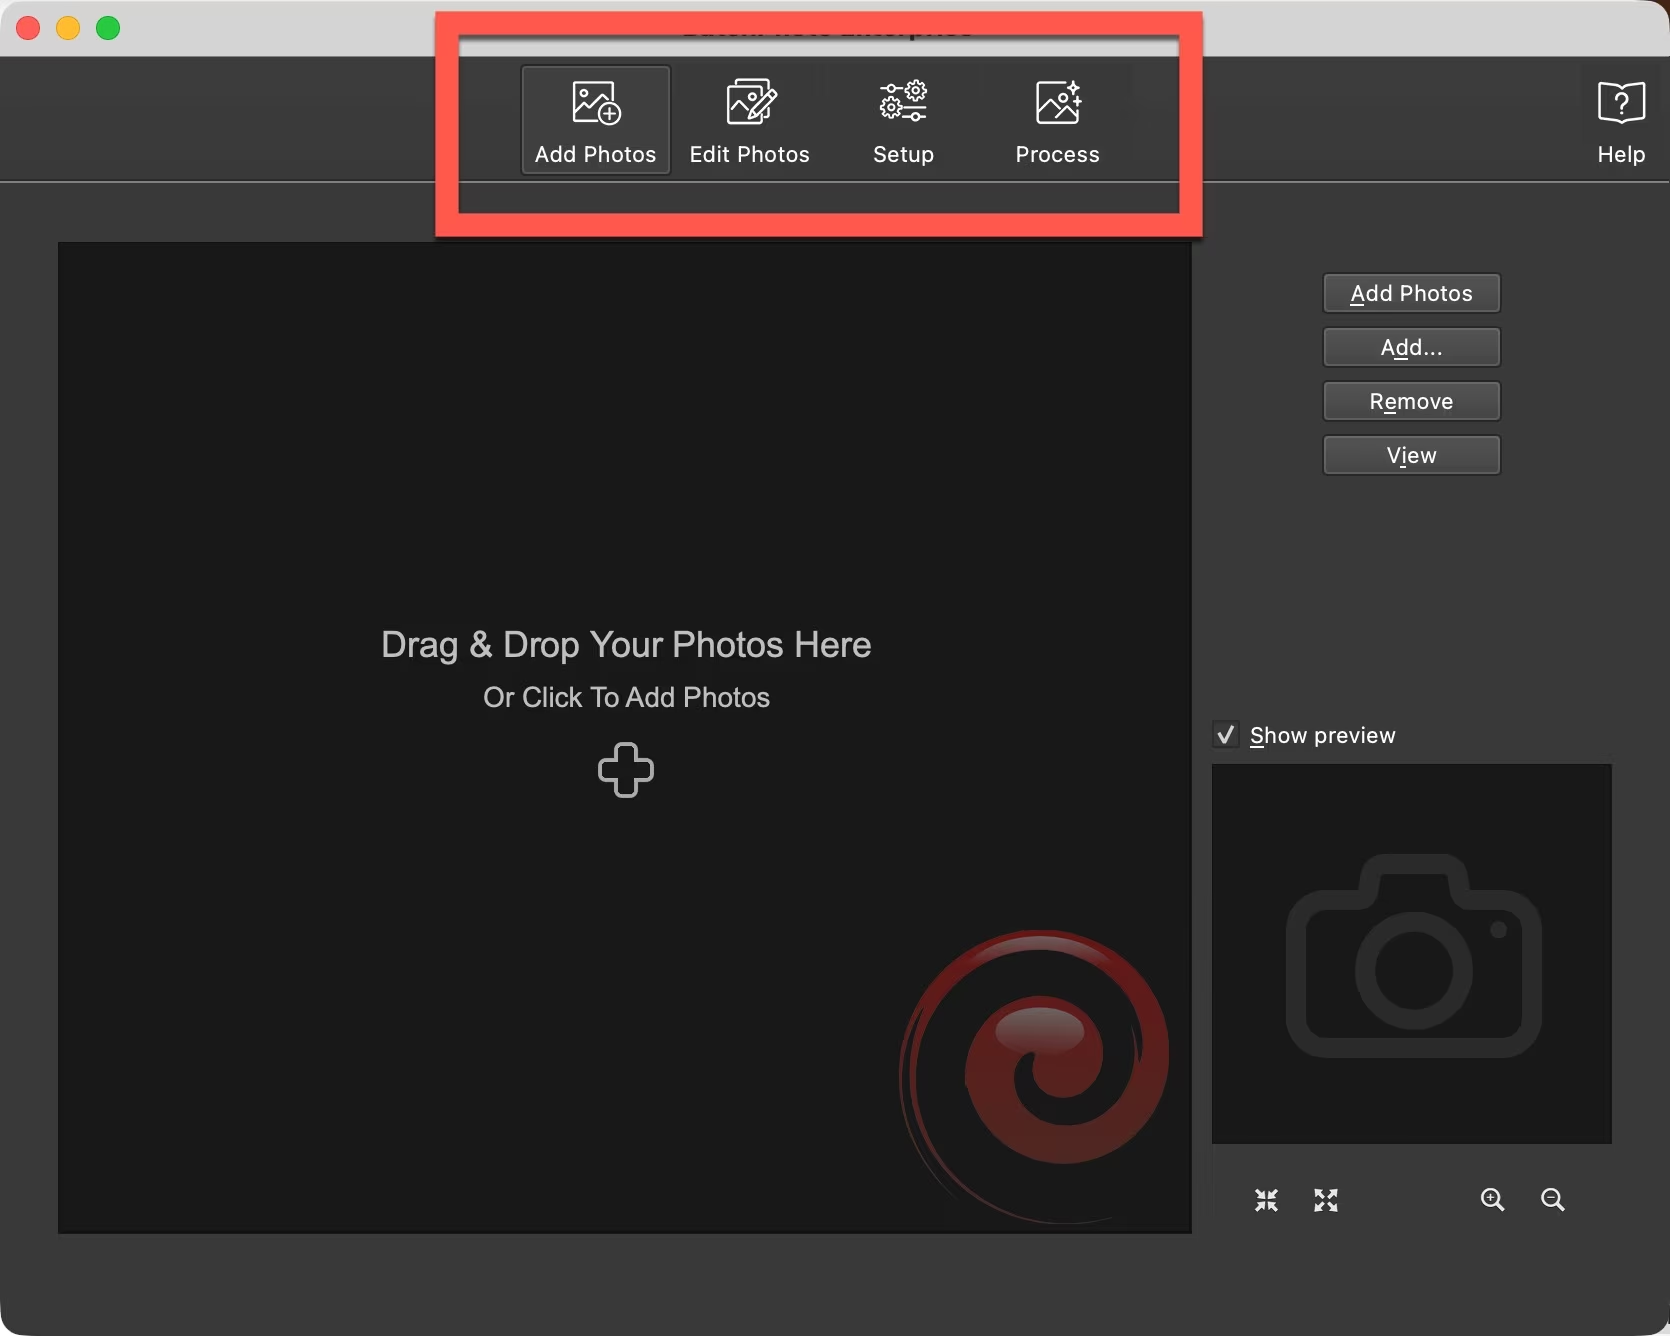
Step 1: Choose the files
Add the images you want to process — either drag them into the panel or use the Add Photos button. For this example, I’m working on a batch of 17 JPGs exported from Lightroom.
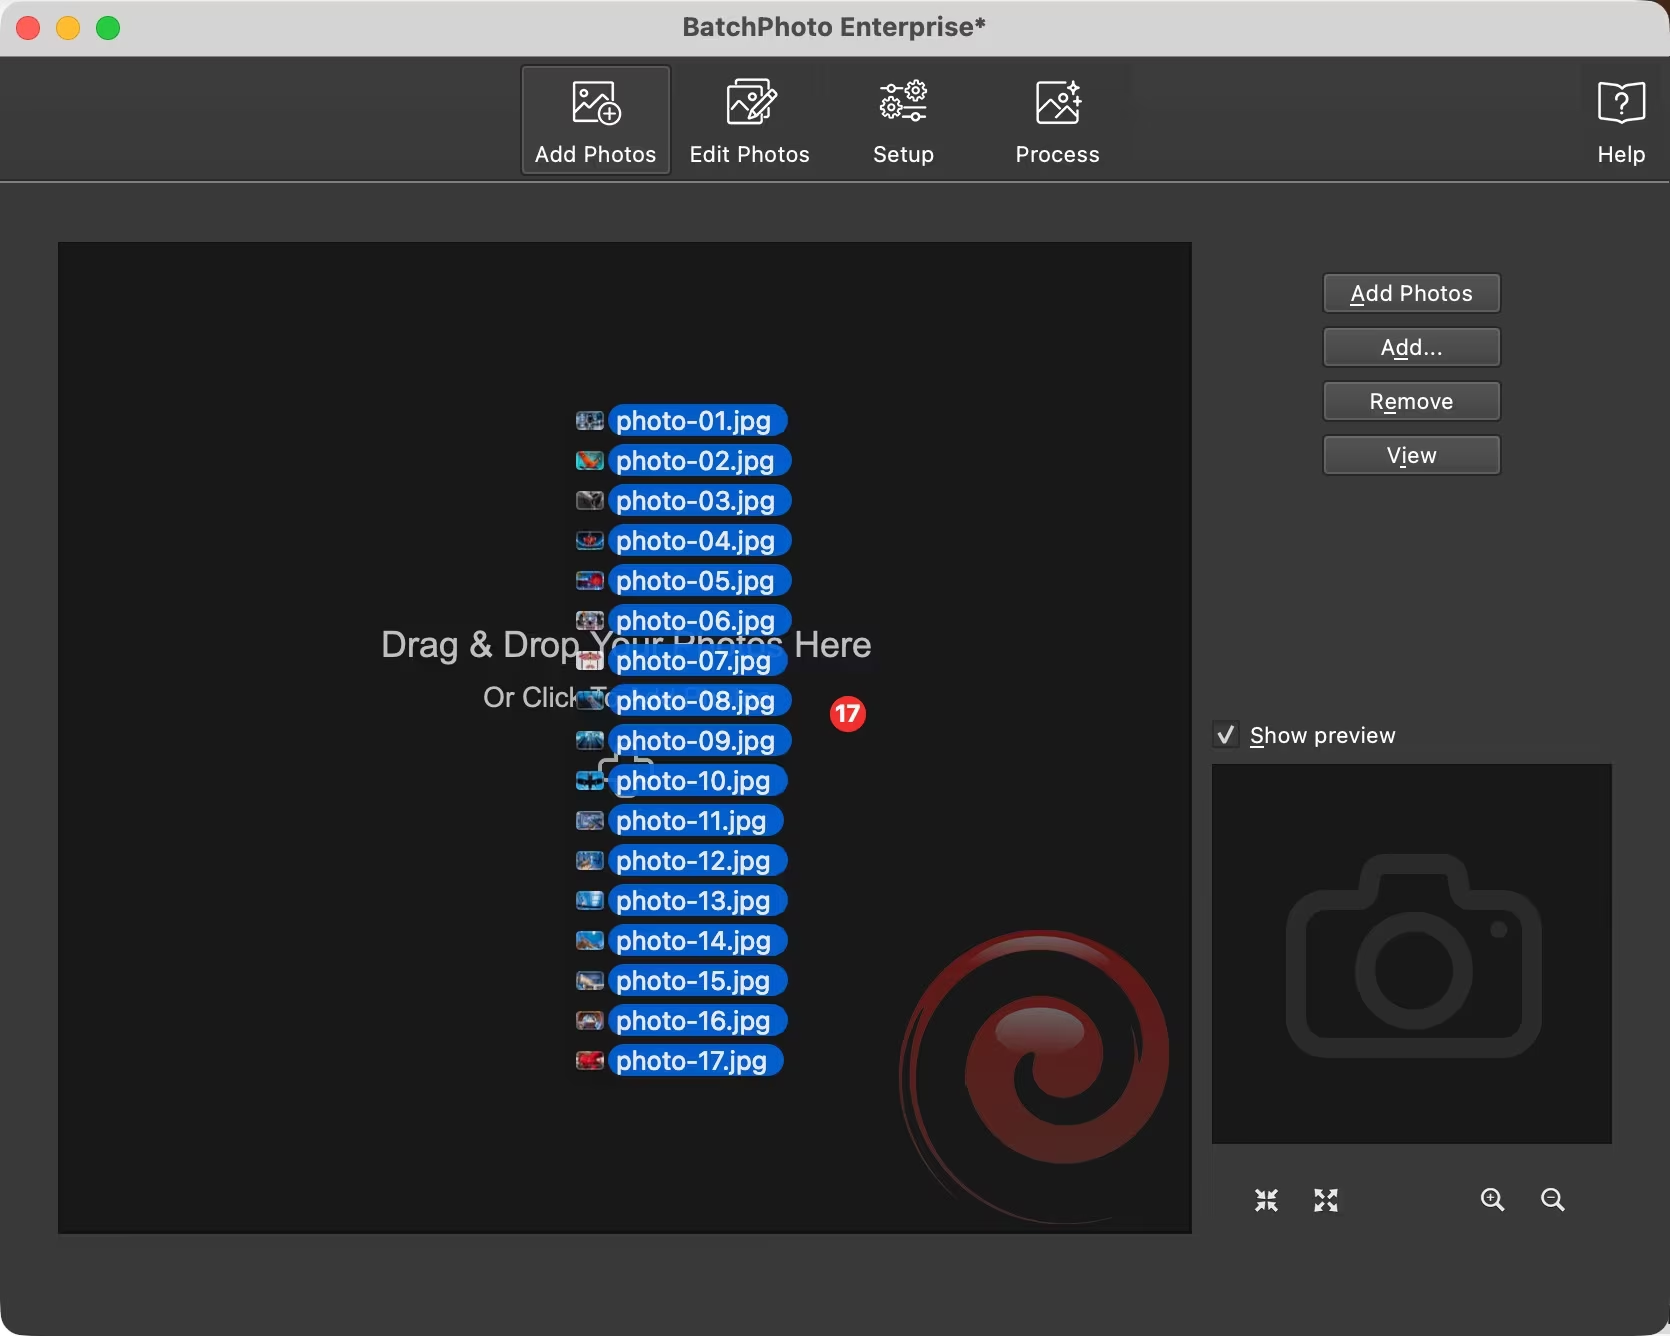
The toolbar at the top right of the panel has buttons for adding, removing, and previewing your selections.
Step 2: Add filters & transformations
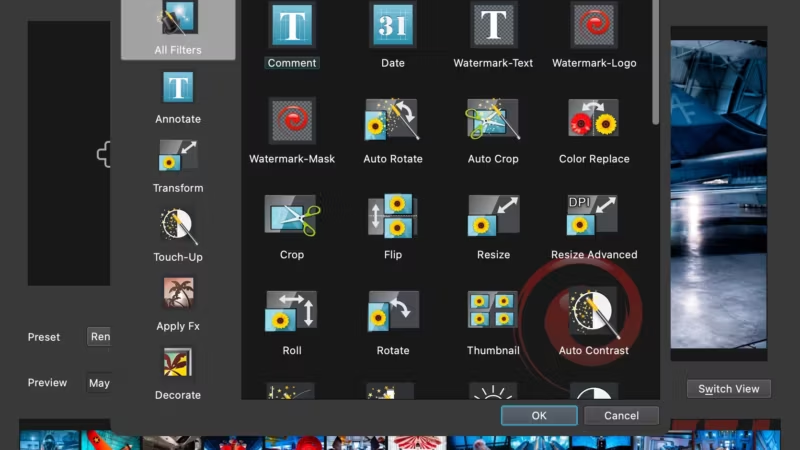
This is where most of the image work happens — resizing, cropping, watermarking, color adjustments, filters, and so on. Click Add Filter to see the full list of what’s available.
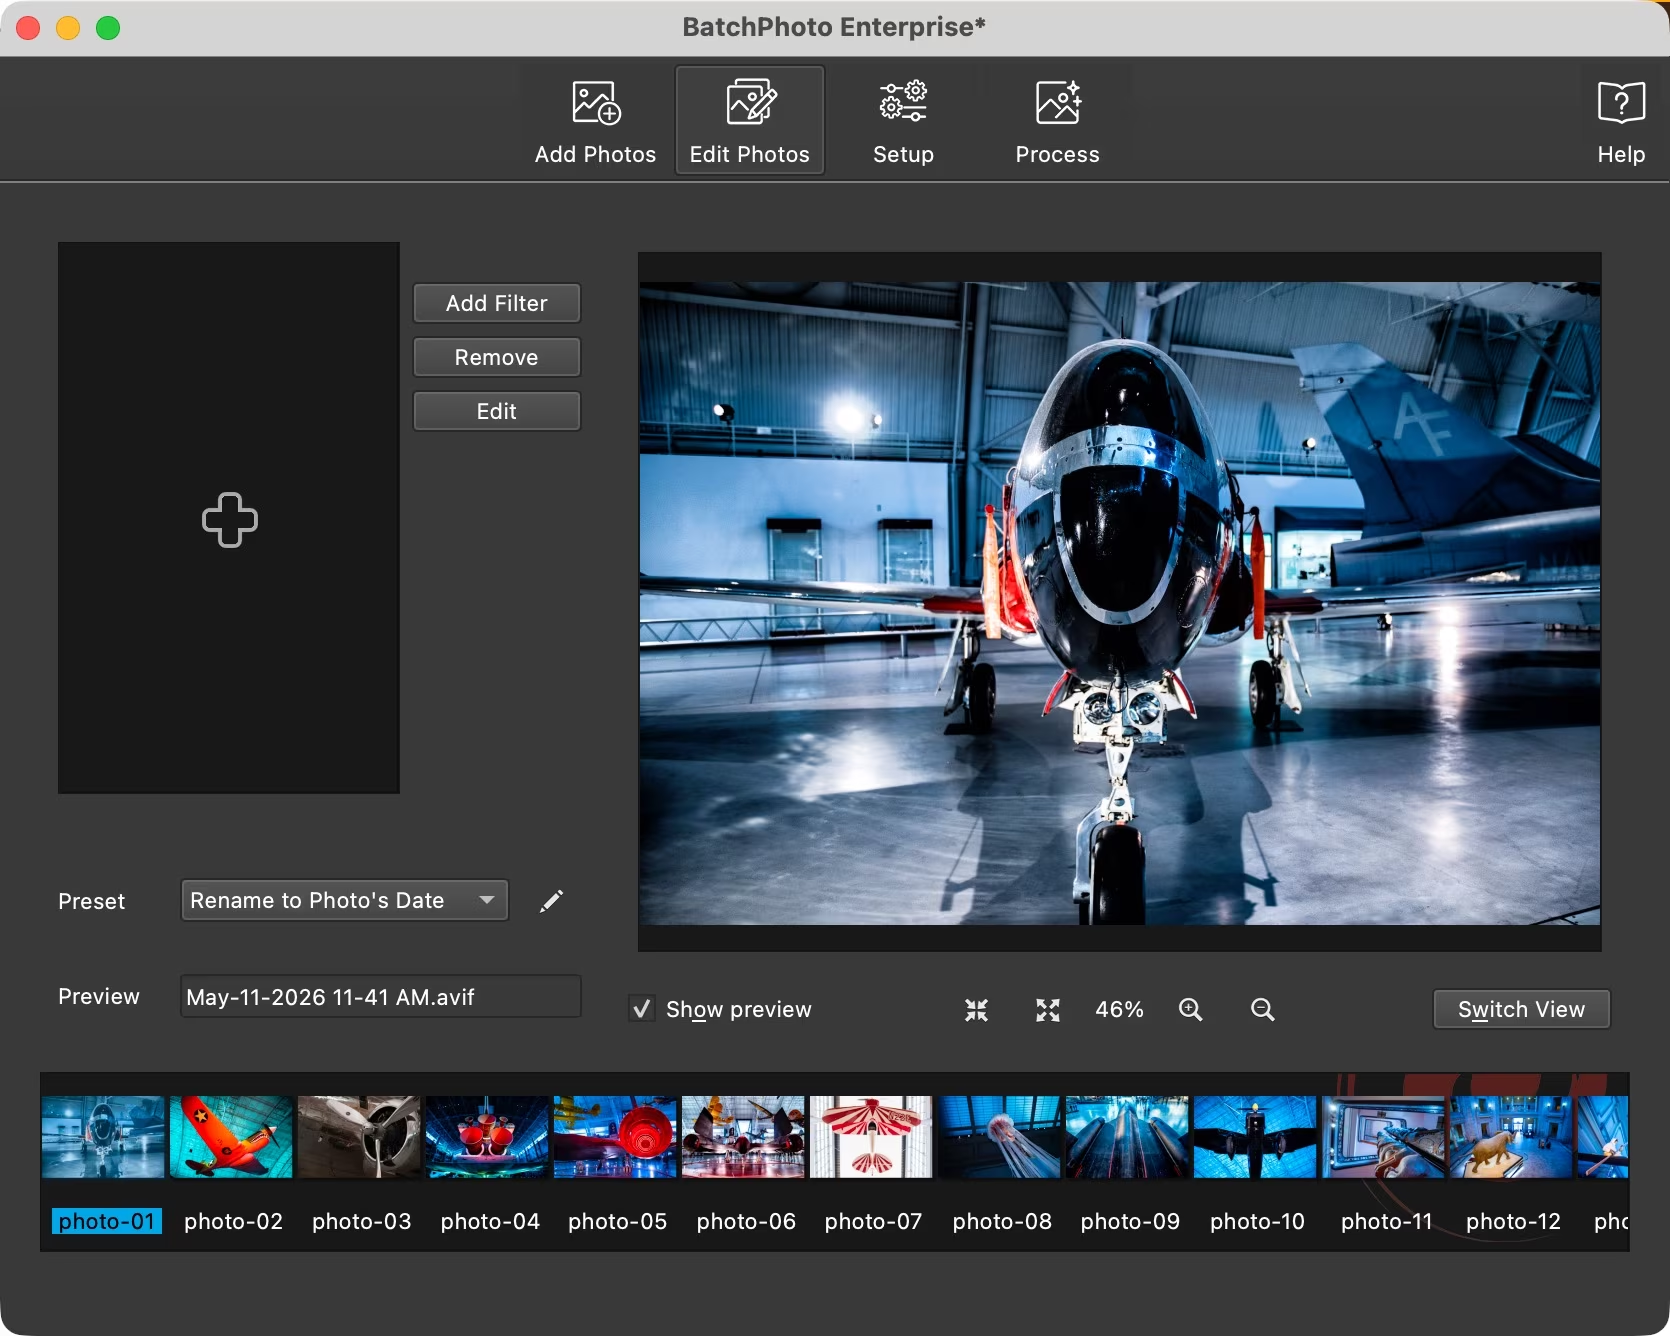
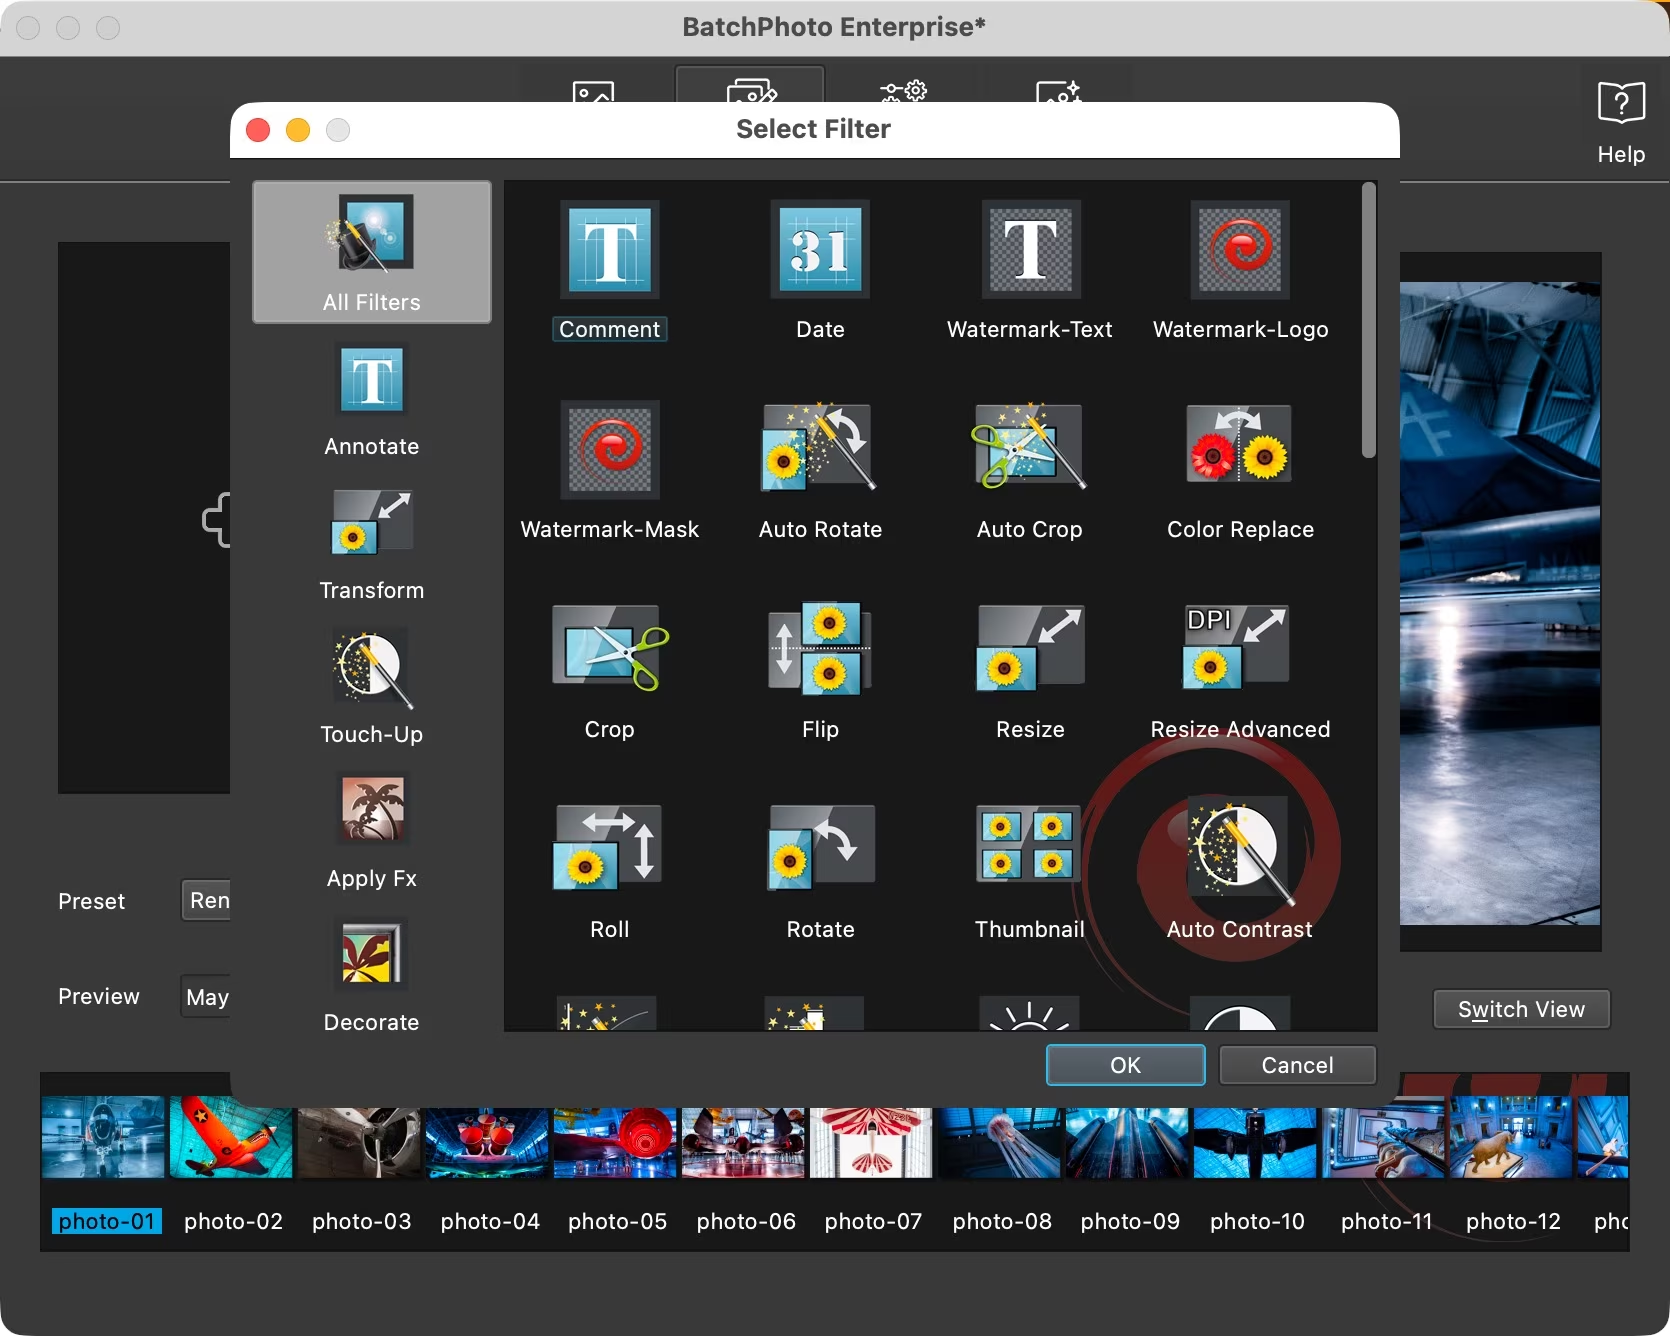
One of BatchPhoto’s most useful features is that you can stack filters — apply a resize, a watermark, and a color adjustment all in the same pass rather than running separate batches. For a straight format conversion, though, this panel stays empty. The output format is controlled in the next step.
Step 3: Set up the output
The output section is where you set the destination folder and, crucially, the output format. The Format > Output Format selector defaults to keeping the original format — change that to AVIF.
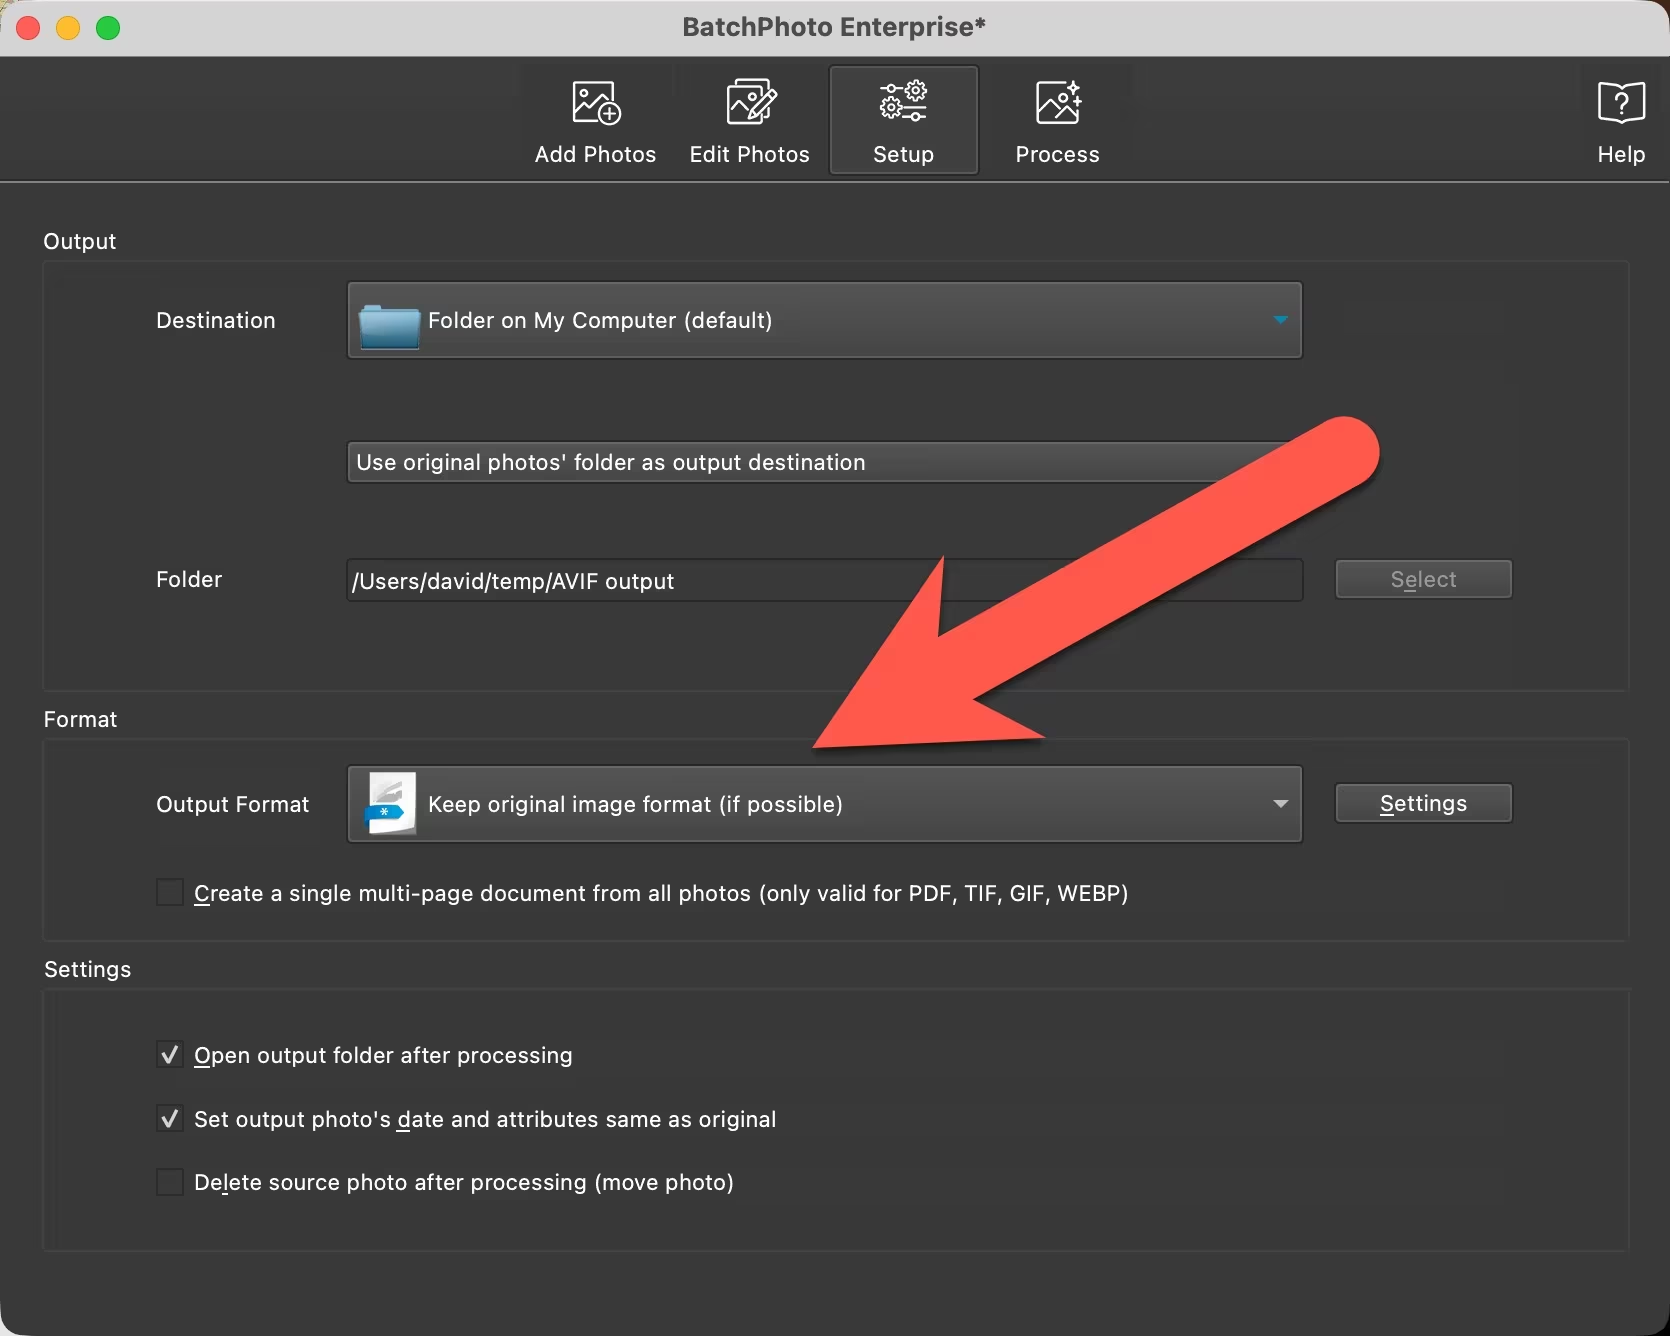
Clicking the selector opens a long list of supported formats. It’s not strictly alphabetical — common formats are prioritized at the top.
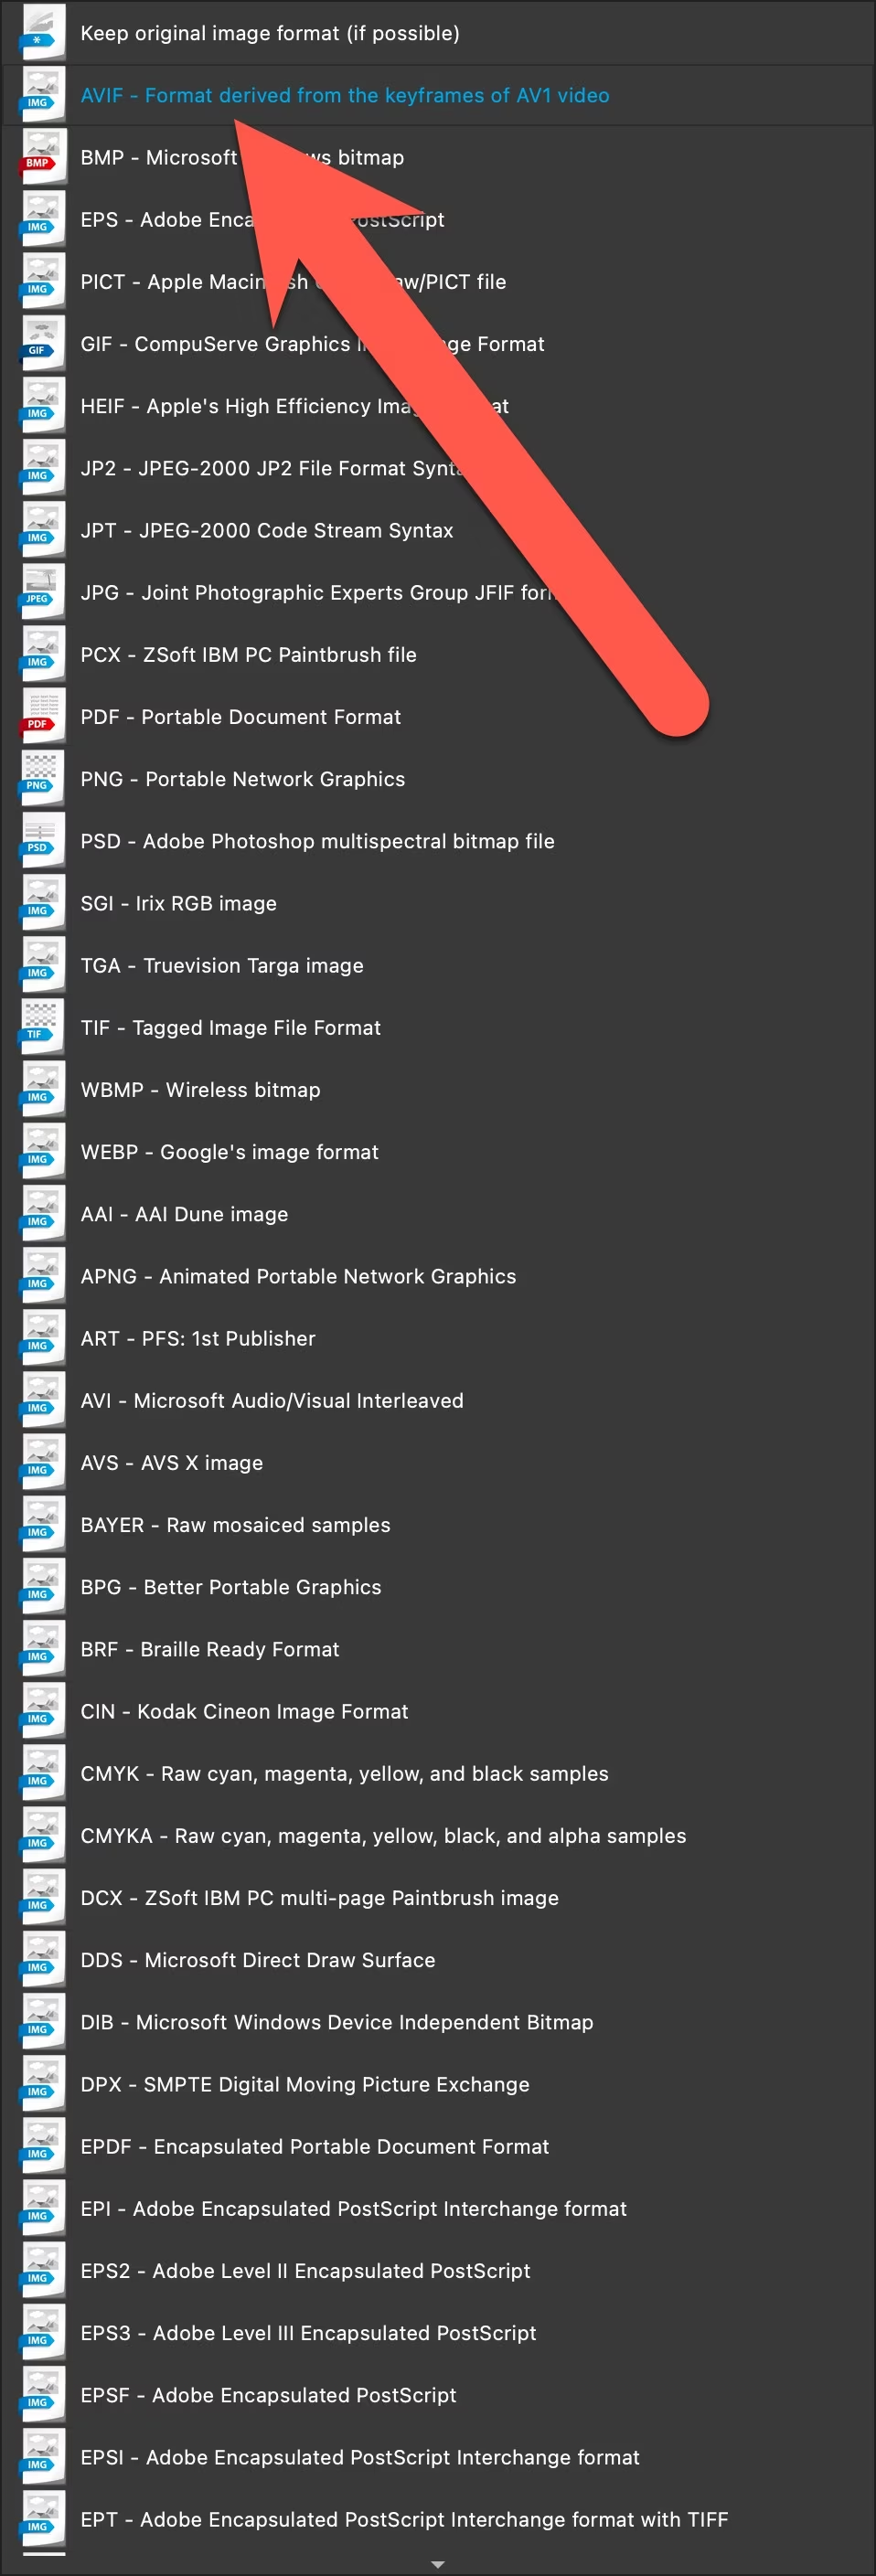
Once selected, the output panel updates to show AVIF as the target format.
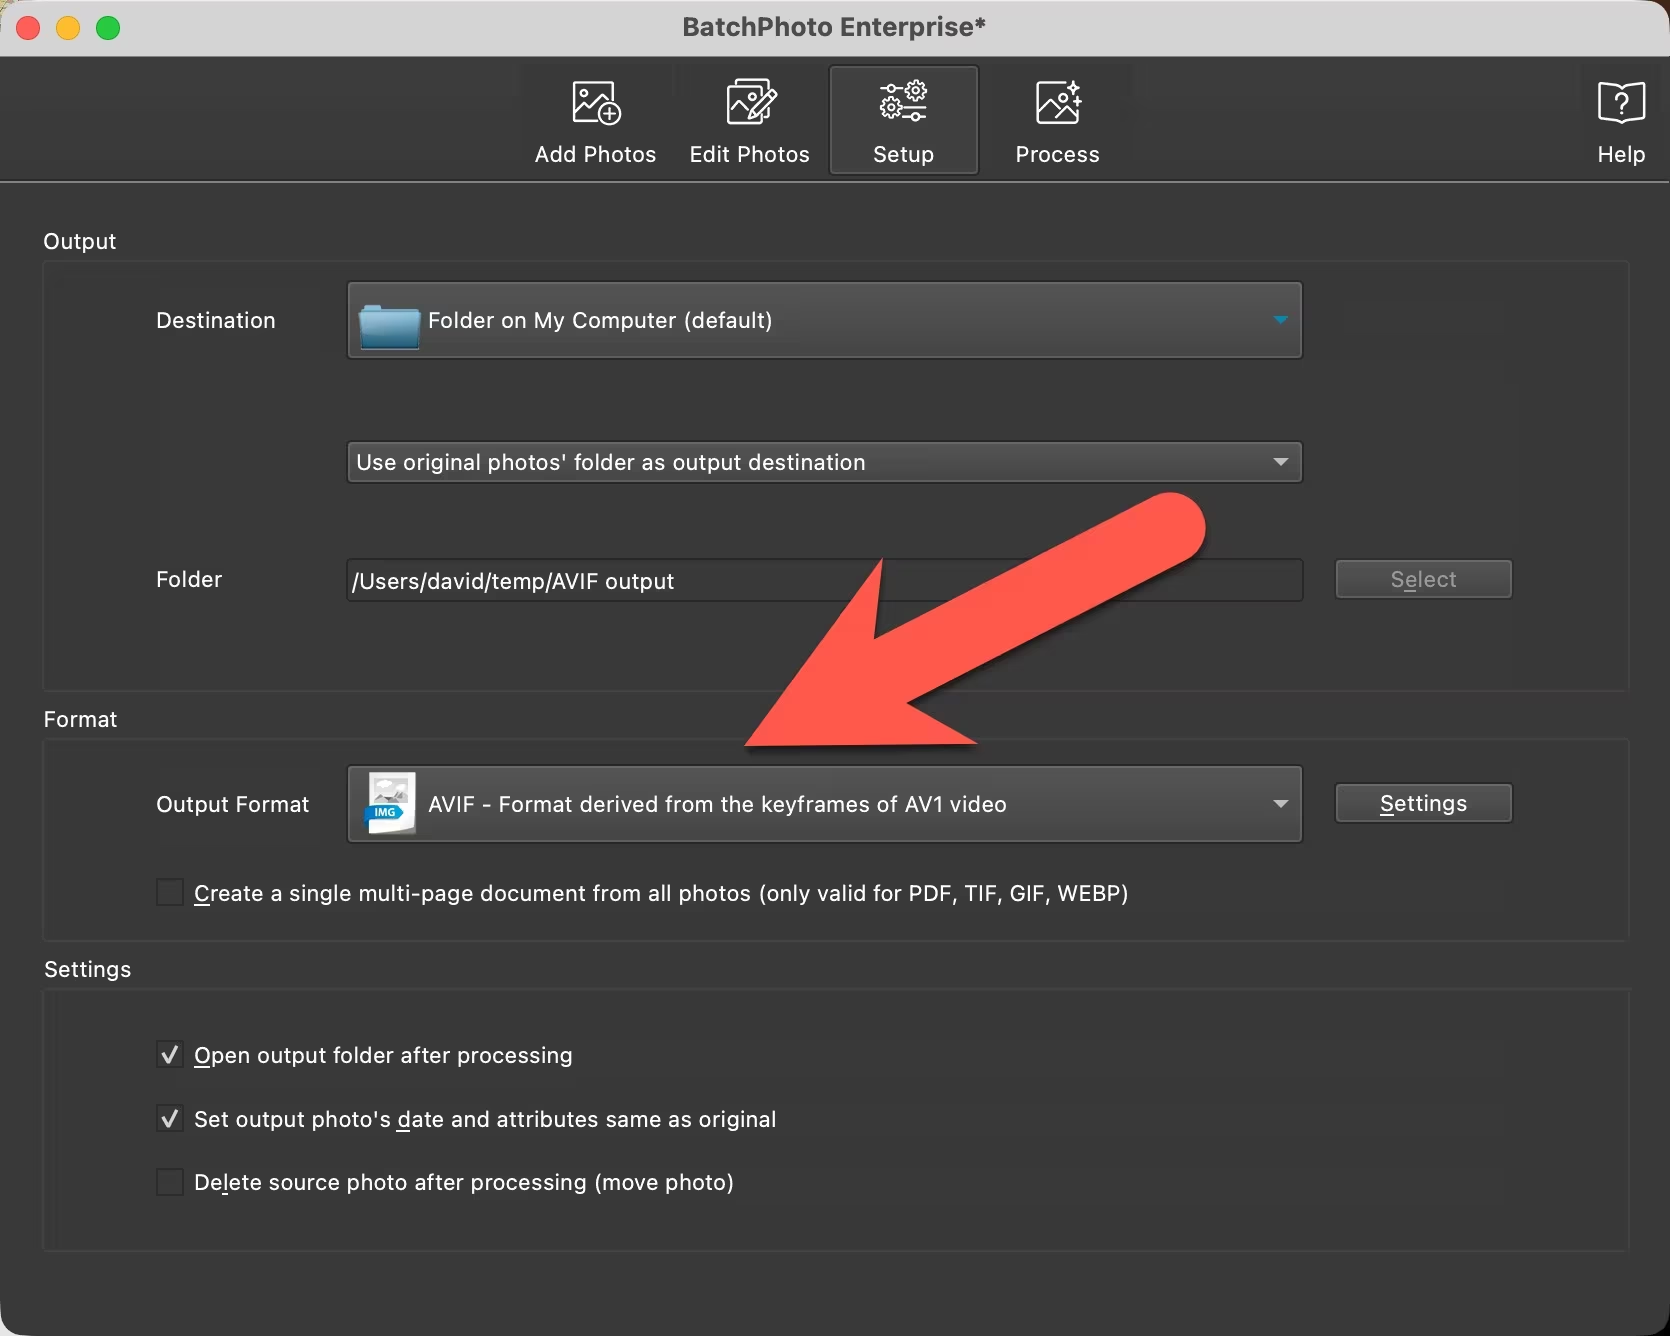
Click the settings button to access the AVIF encoding options. BatchPhoto exposes one control here: compression amount, expressed as a quality percentage on the app’s own scale. The default is 88%.
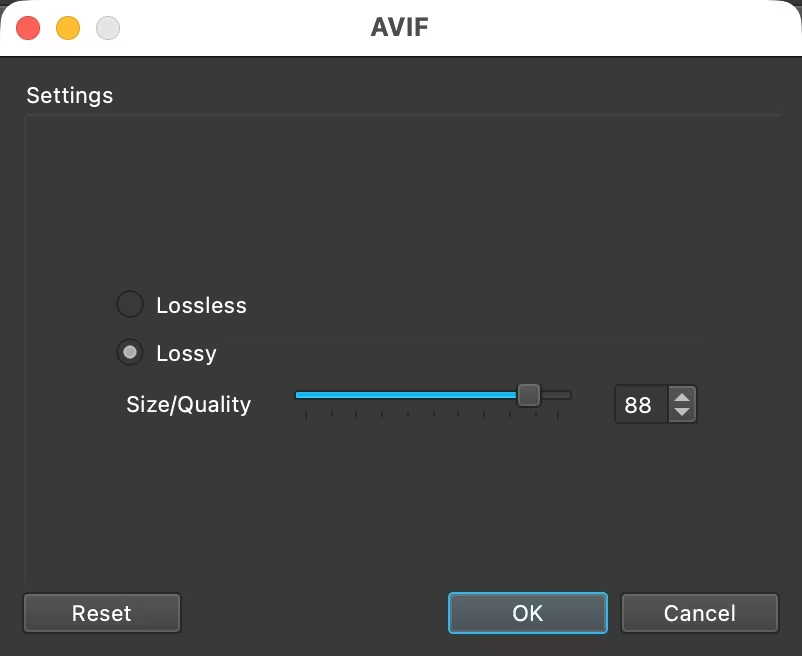
There’s no universally correct setting here — it depends on your images and your tolerance for the filesize vs. quality tradeoff. In my testing I’ve found that I can go noticeably lower than 88% without visible quality loss on most web-sized images, but it’s worth running a small test batch first before committing to a setting on hundreds of files. More on this below.
Step 4: Process
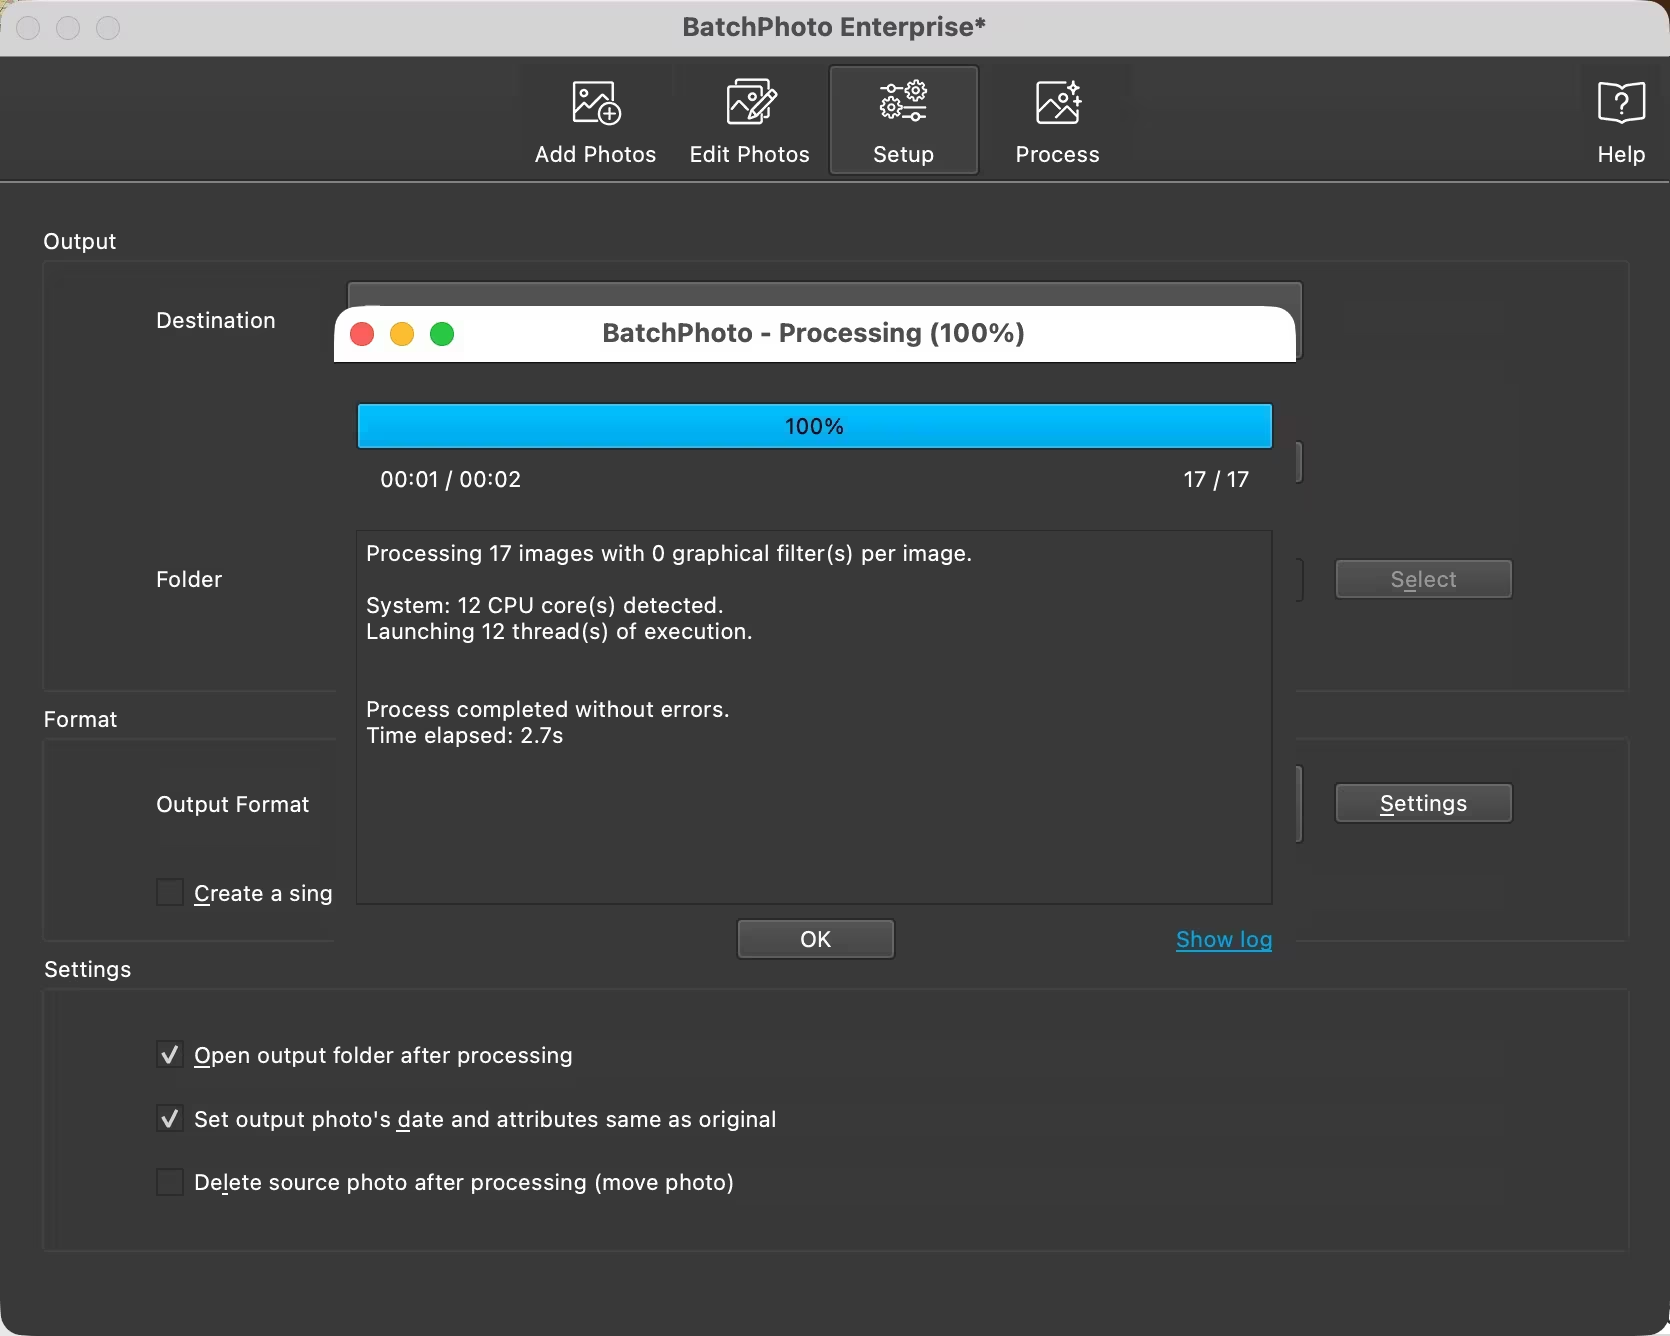
Once your output settings and destination folder are confirmed, click Process at the top right. BatchPhoto shows a progress bar and a completion confirmation when it’s done.
Things worth knowing
AVIF doesn’t always mean smaller
AVIF typically produces significantly smaller files than JPG at comparable quality — which is the main reason it’s attractive for web use. But that’s not universal. Images heavy on fine detail, texture, or noise can occasionally encode to a larger AVIF file than the JPG equivalent. A well-optimized JPG can also land surprisingly close to an AVIF in file size.
Services like Shortpixel and Cloudflare have safety nets built in: they only serve WebP or AVIF if the converted version is actually smaller than the original. BatchPhoto has no such check — it converts regardless of the result. That means it’s worth scanning the output folder for any files that are unexpectedly large before deploying them.
It’s also worth experimenting with the compression setting before running a large batch. I’ve consistently found that lower quality settings than the 88% default still produce visually acceptable results on web-sized images, with meaningfully smaller file sizes. A quick test on a representative sample will tell you where the right tradeoff is for your particular images.
Preserving folder structure
If your images are organized into subfolders, BatchPhoto can process them recursively — but pay attention to one setting in the Setup section. The default output option, Use selected folder as output destination, flattens everything into a single folder. To preserve the original directory hierarchy in the output, switch it to Recreate original folder structure in selected folder. Easy to miss, and annoying to discover after the fact on a large batch.


RAW file support
If you need to process RAW files, you’ll need at least the Pro license tier. The base version doesn’t include RAW support.
The bigger picture
BatchPhoto is a genuinely capable tool that I’ve found most useful for exactly the kind of repetitive bulk work that other apps handle poorly. The JPG-to-AVIF conversion covered here is actually one of its simpler use cases. Stacking multiple transformations in a single pass — resize, watermark, reformat, rename — is where it really earns its place in a workflow.
There are also some workflow features worth knowing about beyond the basics: rather than saving output to disk, you can have BatchPhoto email results or upload via sFTP directly. At the Enterprise license level, watched folders enable automatic processing when new files arrive. For a local app, that’s a meaningful set of automation options.
It’s a paid app, so it’s not the right tool for someone who needs bulk conversion once a year. But if you routinely work with large numbers of image files — as a photographer, photo editor, or anyone managing image-heavy content — it solves real problems that most other apps either can’t handle or handle awkwardly.
Where to get it
BatchPhoto is available for both Windows and Mac. There’s a free trial, and three license tiers with increasing feature sets — a full comparison chart is here. If you’re working with RAW files, you’ll need at least the Pro version.


