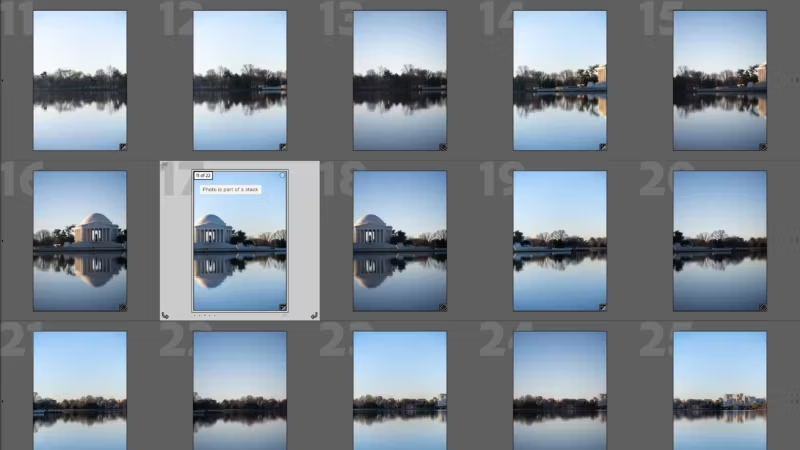
By default, the cover image for a collapsed stack in Lightroom Classic is whatever image is at the top of the sequence. It’s usually the first shot chronologically.
But that’s not always the most useful or representative frame. But it’s also very easy to change.
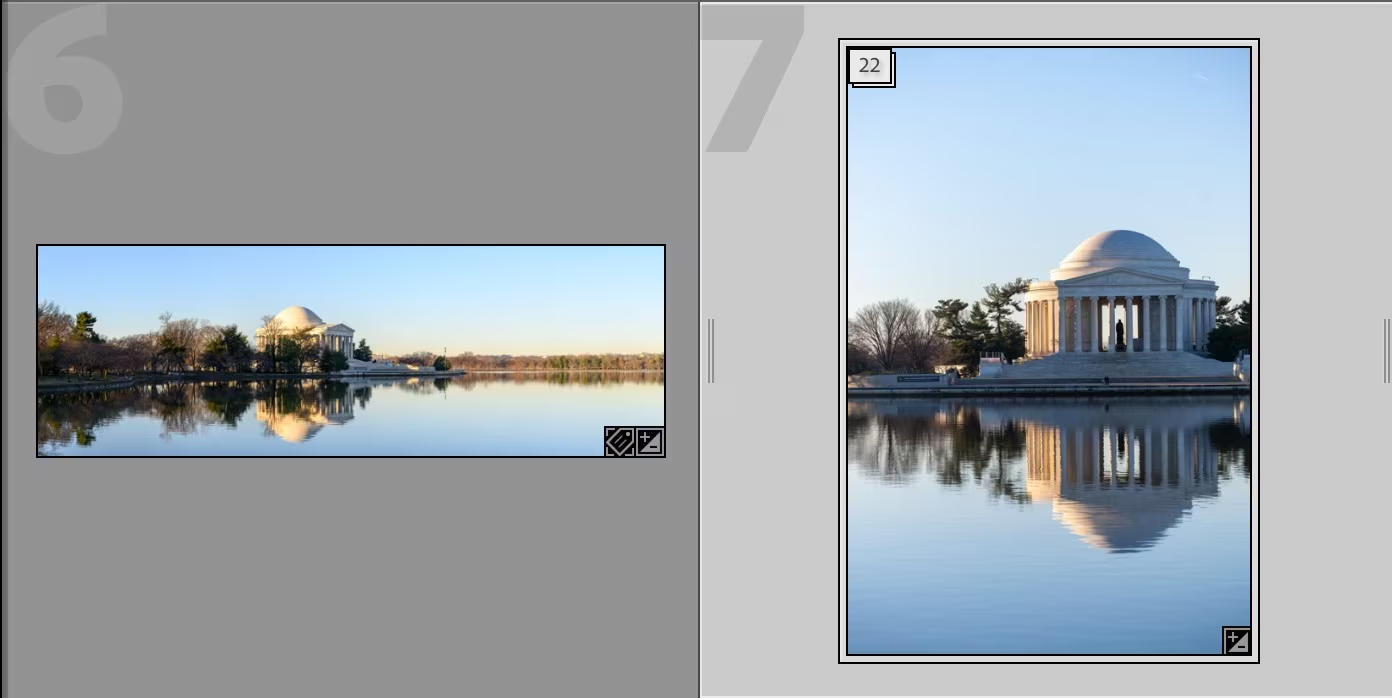
Here’s a real example. I was working on a stitched panorama sequence shot at the Jefferson Memorial. The stack had 20 frames, but because the first shot in the sequence started well to the left of the memorial, the default cover was a nondescript stretch of water and shoreline. Not exactly helpful for identifying what the stack contains at a glance.
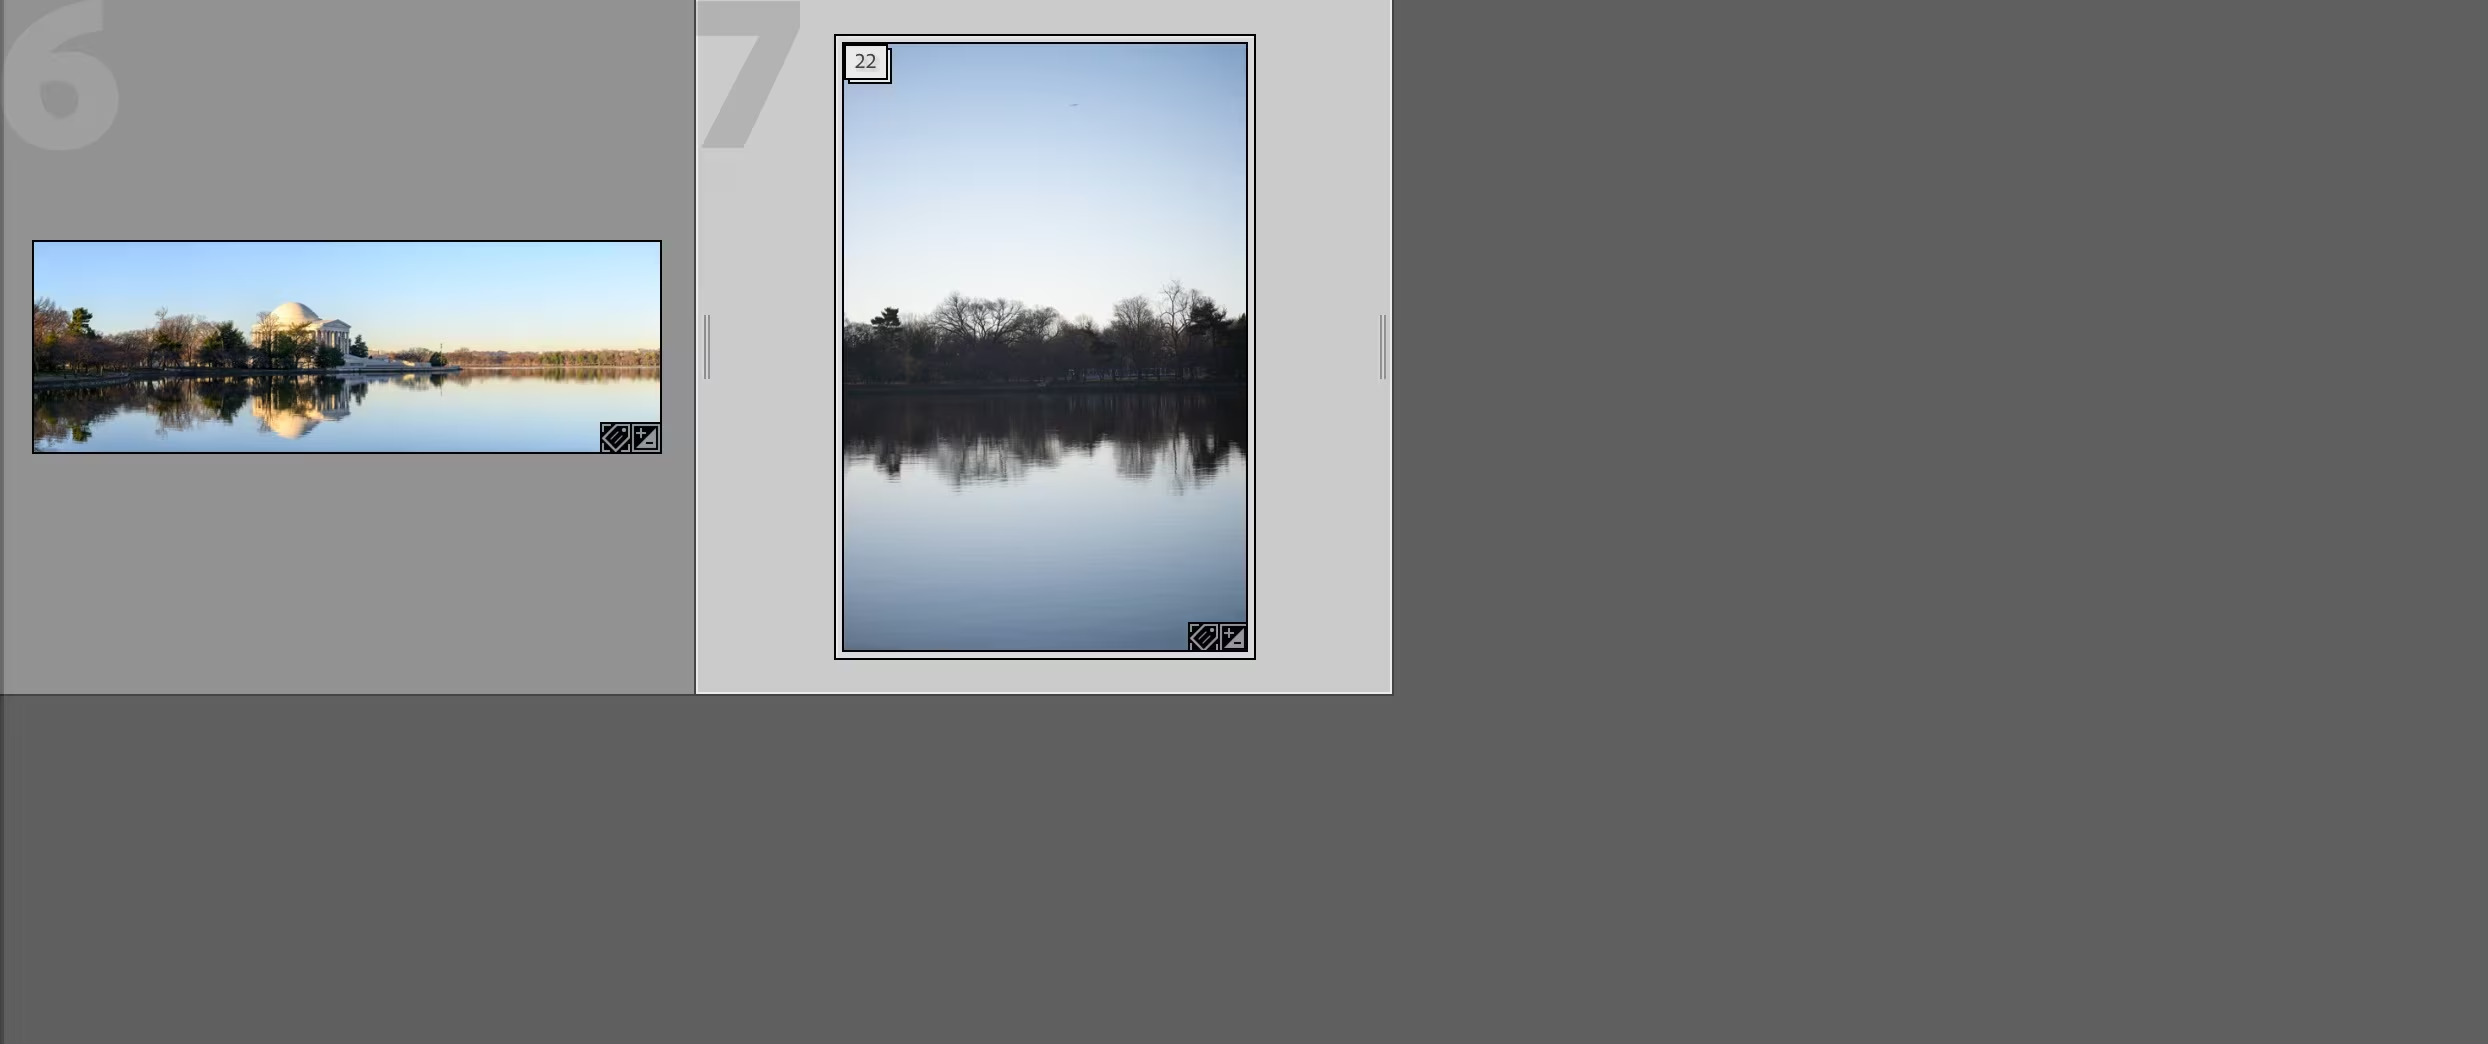
How to change the stack cover image
First, expand the stack to see all the images inside it. There are a few ways to do that:
- Click the stack badge — the small numbered white rectangle in the top-left corner of the thumbnail.
- Press S on the keyboard to toggle the stack open or closed.
- Right-click the thumbnail and choose
Stacking > Expand All Stacks. - Use the menu at
Photo > Stacking > Expand All Stacks.
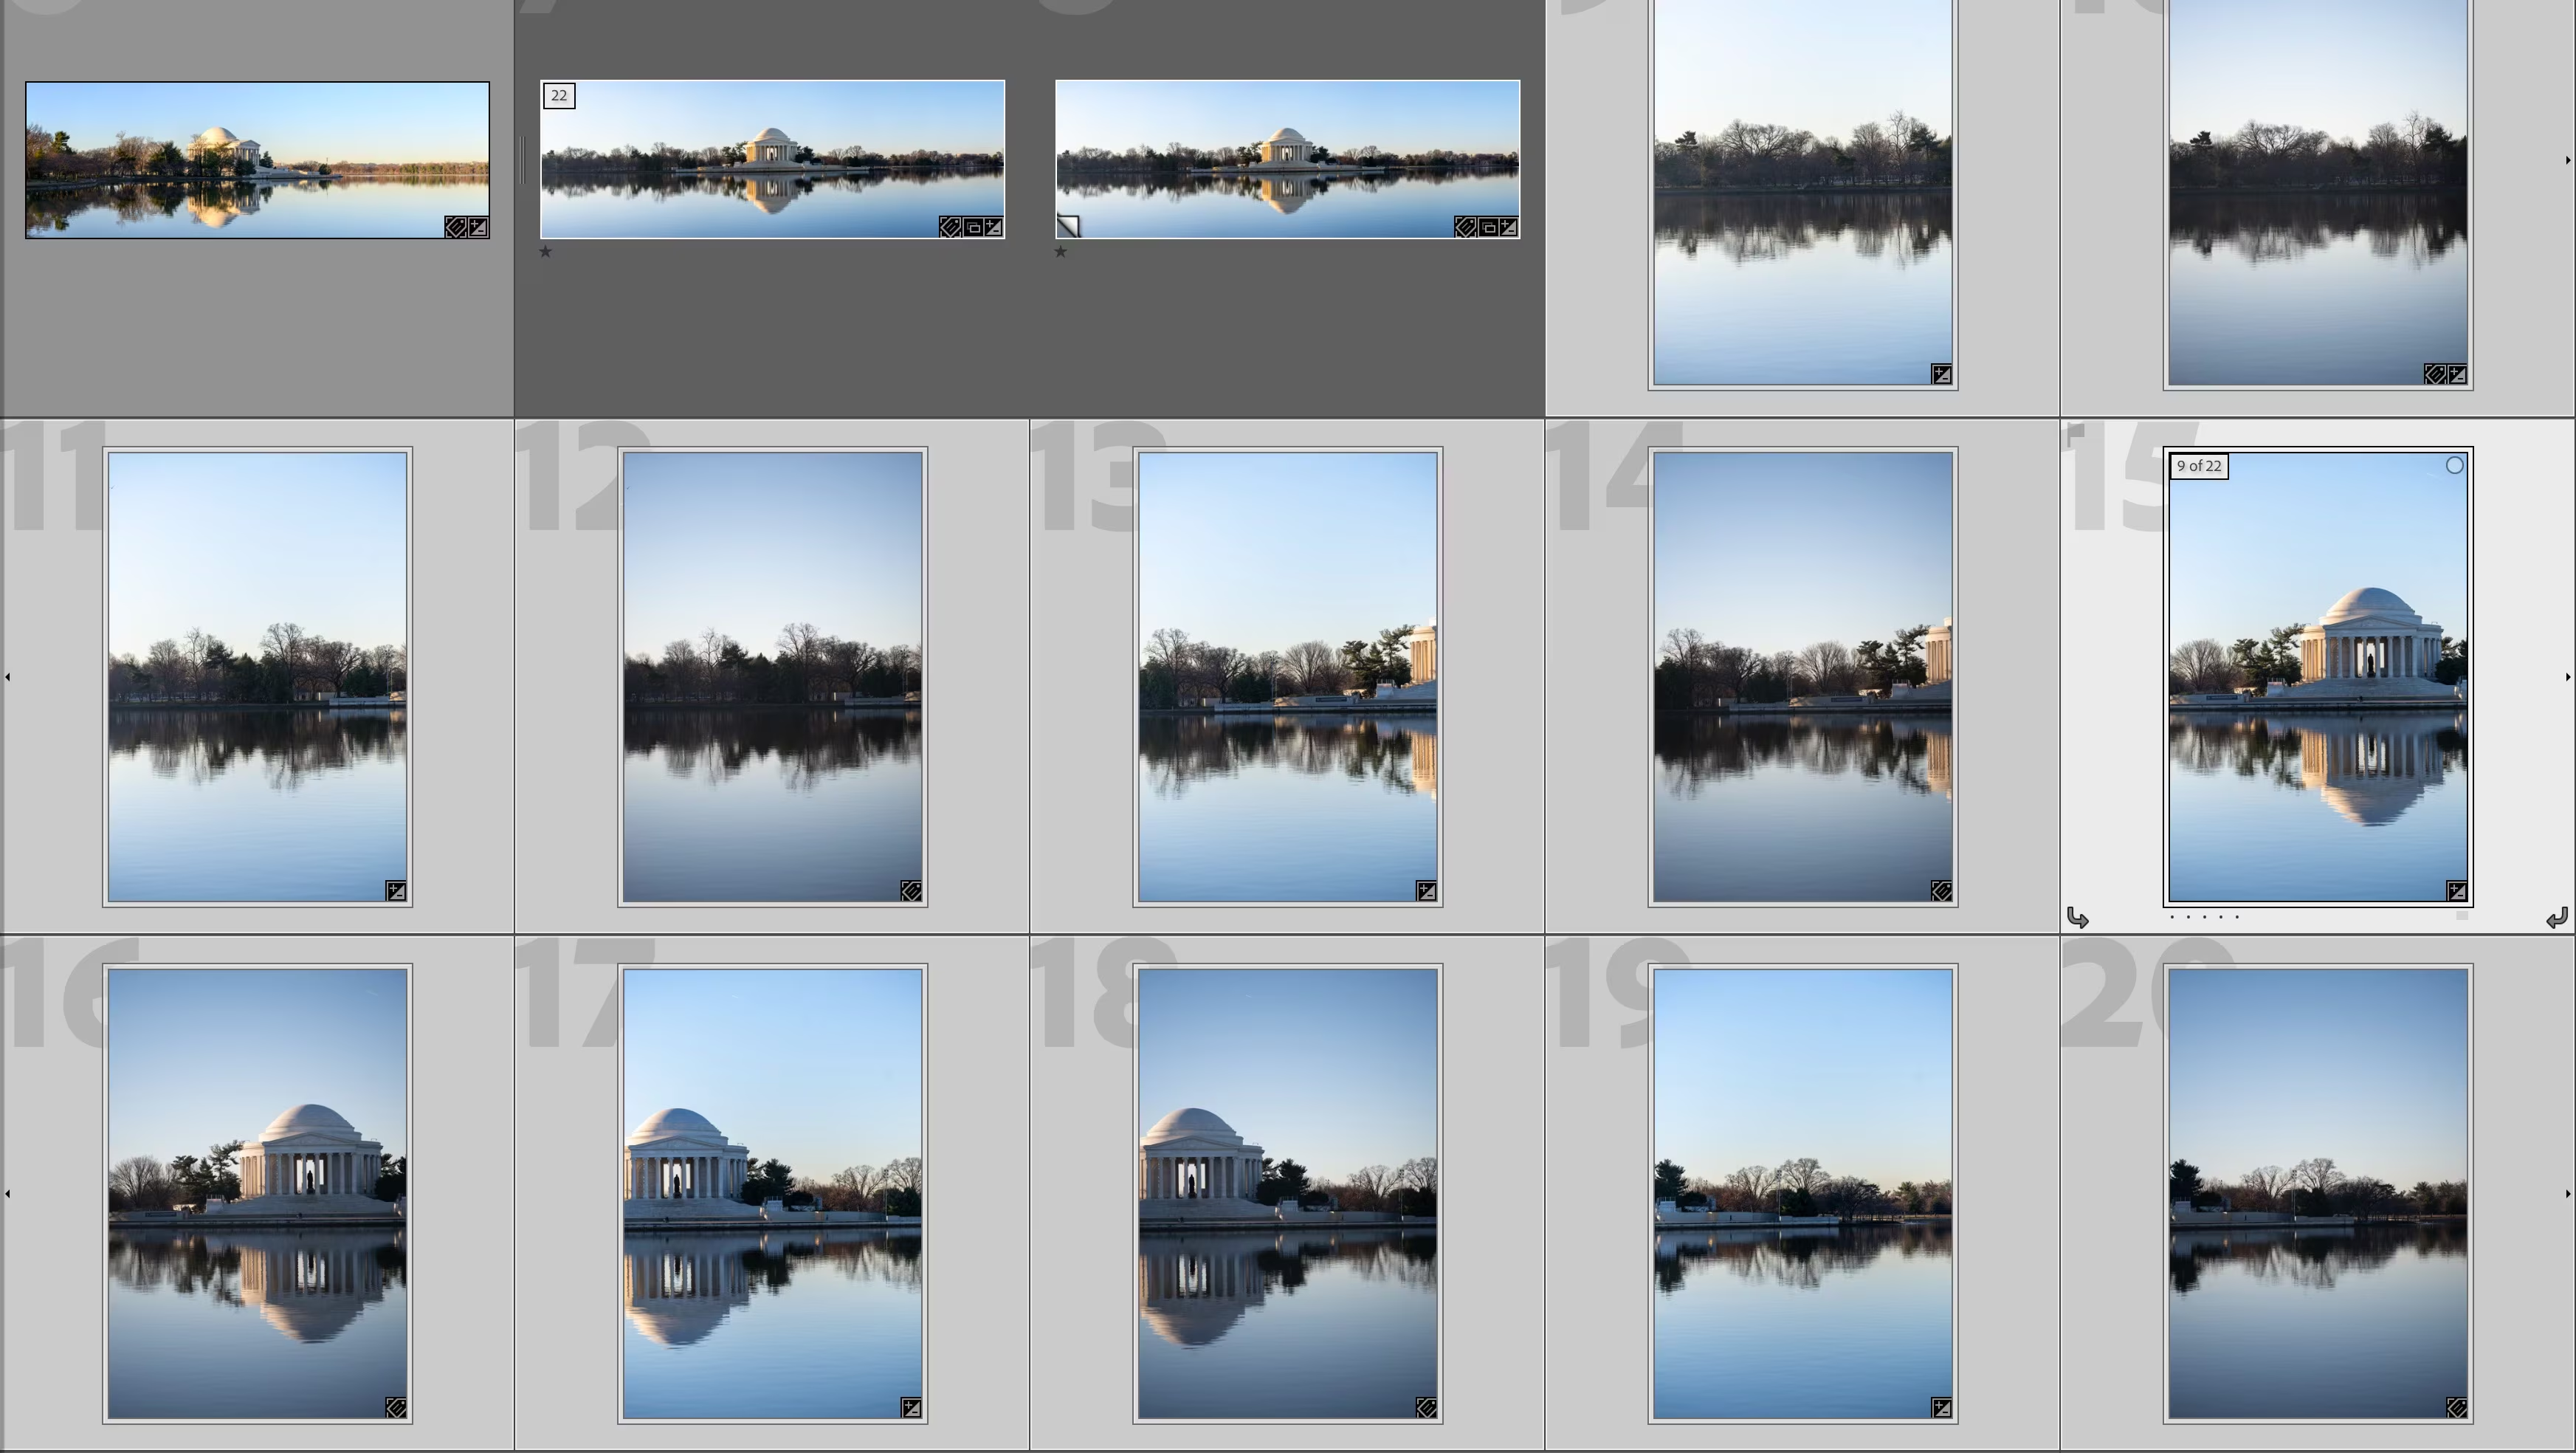
Scroll through the expanded stack and find the image you want to use as the cover. Then move it to the top of the stack using any of these methods:
- Right-click the stack badge on that image and choose
Move to Top of Stack. - Use the menu at
Photo > Stacking > Move to Top of Stack. - Press Shift+S as a keyboard shortcut. (You can also nudge an image up or down one position at a time with Shift+[ and Shift+].)
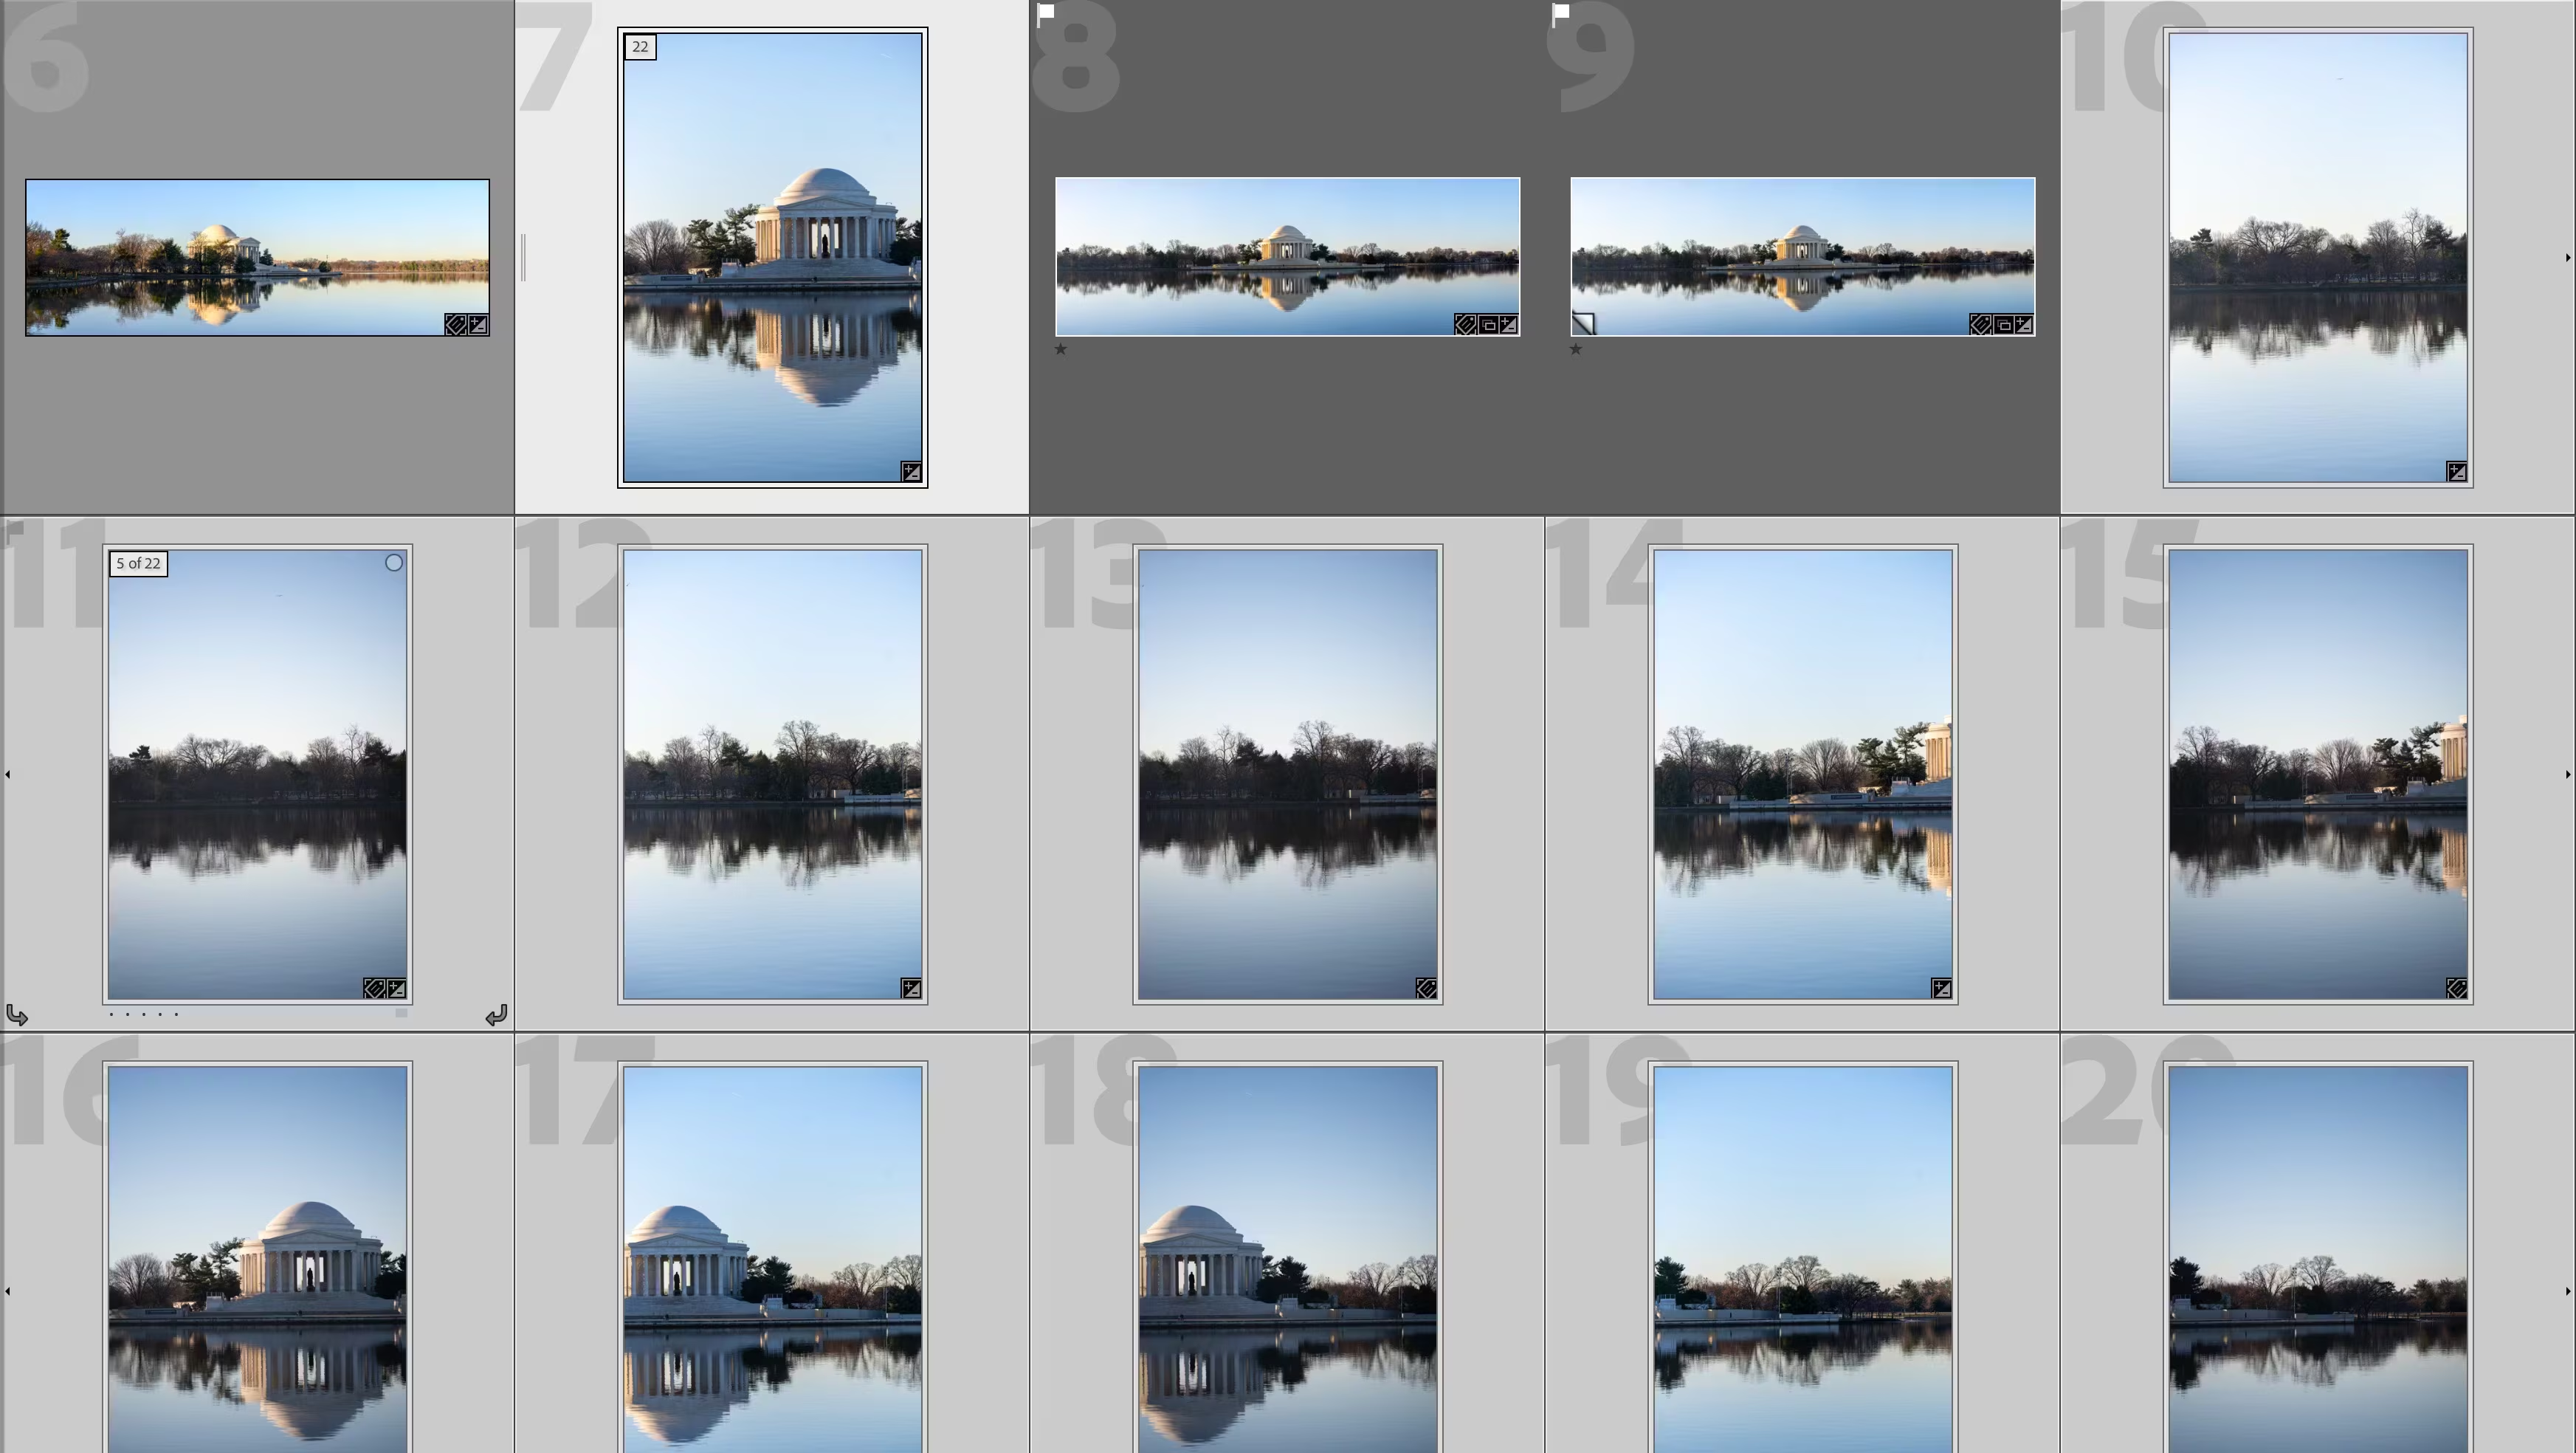
Collapse the stack, and the chosen image is now the cover. In my panorama example, the memorial is now front and center.
Things worth knowing
Moving an image to the top overrides sort order. The stack cover is always position 1 in the sequence, regardless of any sorting you apply — capture time, filename, rating, or anything else. The image you promote simply ignores the rules. That’s fine for most purposes, but it has downstream consequences worth knowing about.
- Sequential file naming on export can produce unexpected results. If you use a sequence counter in your export filename template, the cover image will get sequence number 1 even if it was shot in the middle of the sequence. Whether that matters depends on what you’re doing with the files, but it’s worth being aware of before you rename a large batch.
- Time-lapse workflows are particularly sensitive to this. If you’re using LRTimelapse or a similar tool that interpolates develop settings across frames in sequential order, pulling a frame out of its chronological position in the stack will break those transitions. For time-lapse work, it’s better to leave the stack order alone and think of the cover image as a display choice rather than a sequencing one — or manage the cover separately from the working sequence.
Stacks only work within a single folder or collection. If the Stacking options in the Photo menu are grayed out, you’re likely viewing a composite folder view (a parent folder with subfolders), a smart collection, or images spread across multiple folders. To fix it, switch to a single folder view or work within a regular collection.


