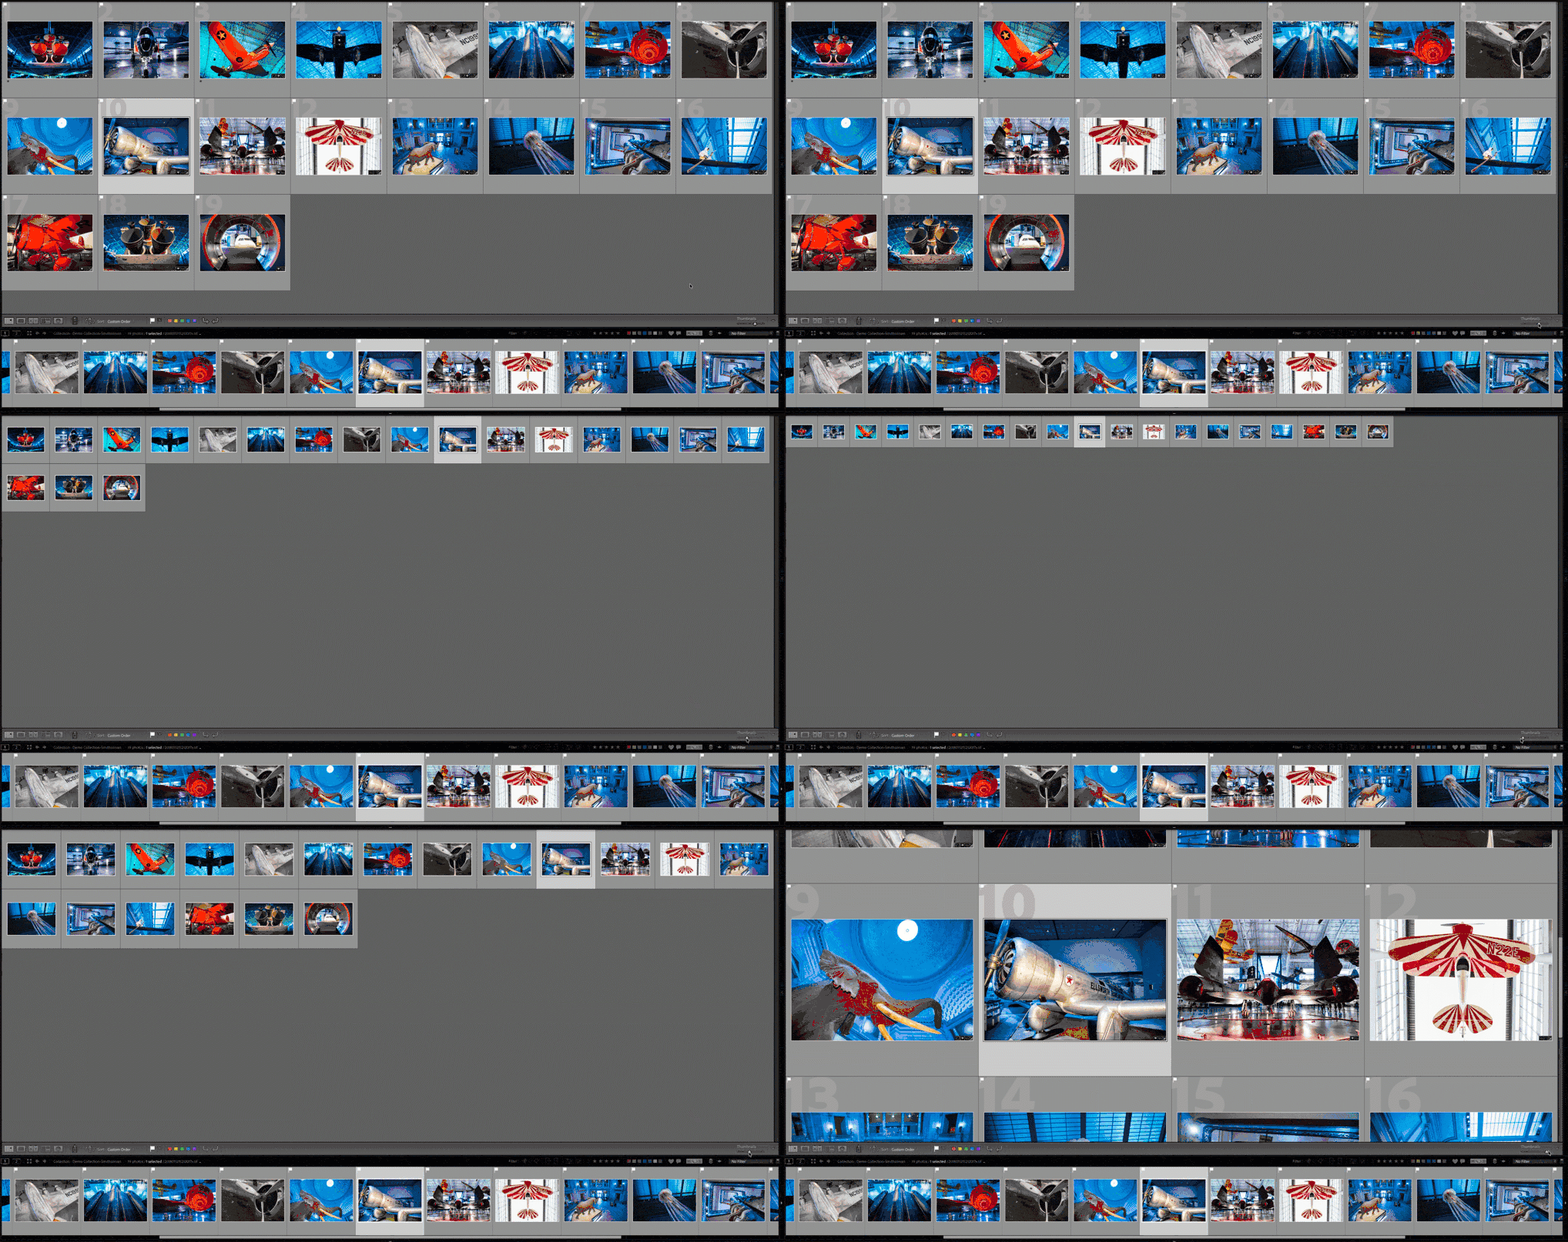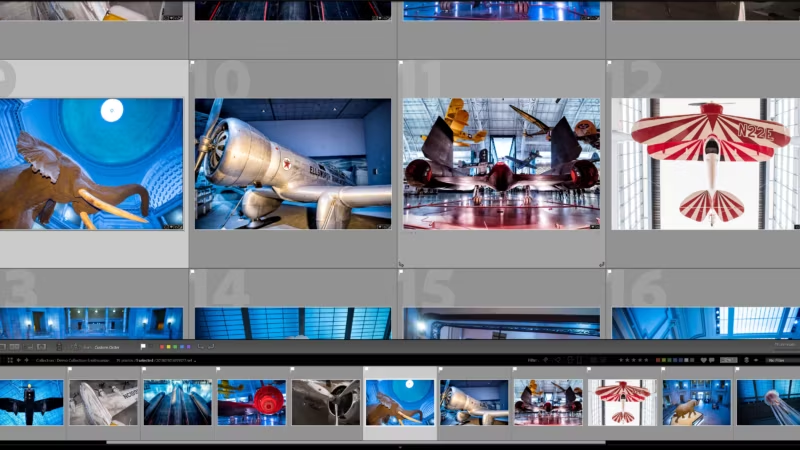
The thumbnails in Lightroom are very handy for quickly finding the image you’re after. But sometimes you need them to play nicely if you’re using a bigger or smaller display or want to get a closer look or make a larger number of images in a sequence visible.
If you’re using a laptop on the road, you might want to make the thumbnails smaller so that they don’t take up as a much space. But when you’re on your home or studio 27-inch monitor, it might make more sense to have them bigger.
There are two sets of thumbnails in Lightroom’s Library module. You can control the size of each separately.
Resizing Lightroom’s filmstrip thumbnails
The filmstrip is the bar at the bottom and is available in any of Lightroom’s modules.
If you want to make those thumbnails larger or smaller, simply find the section border where your cursor changes to a small icon with up and down arrows. Then click and drag up or down.
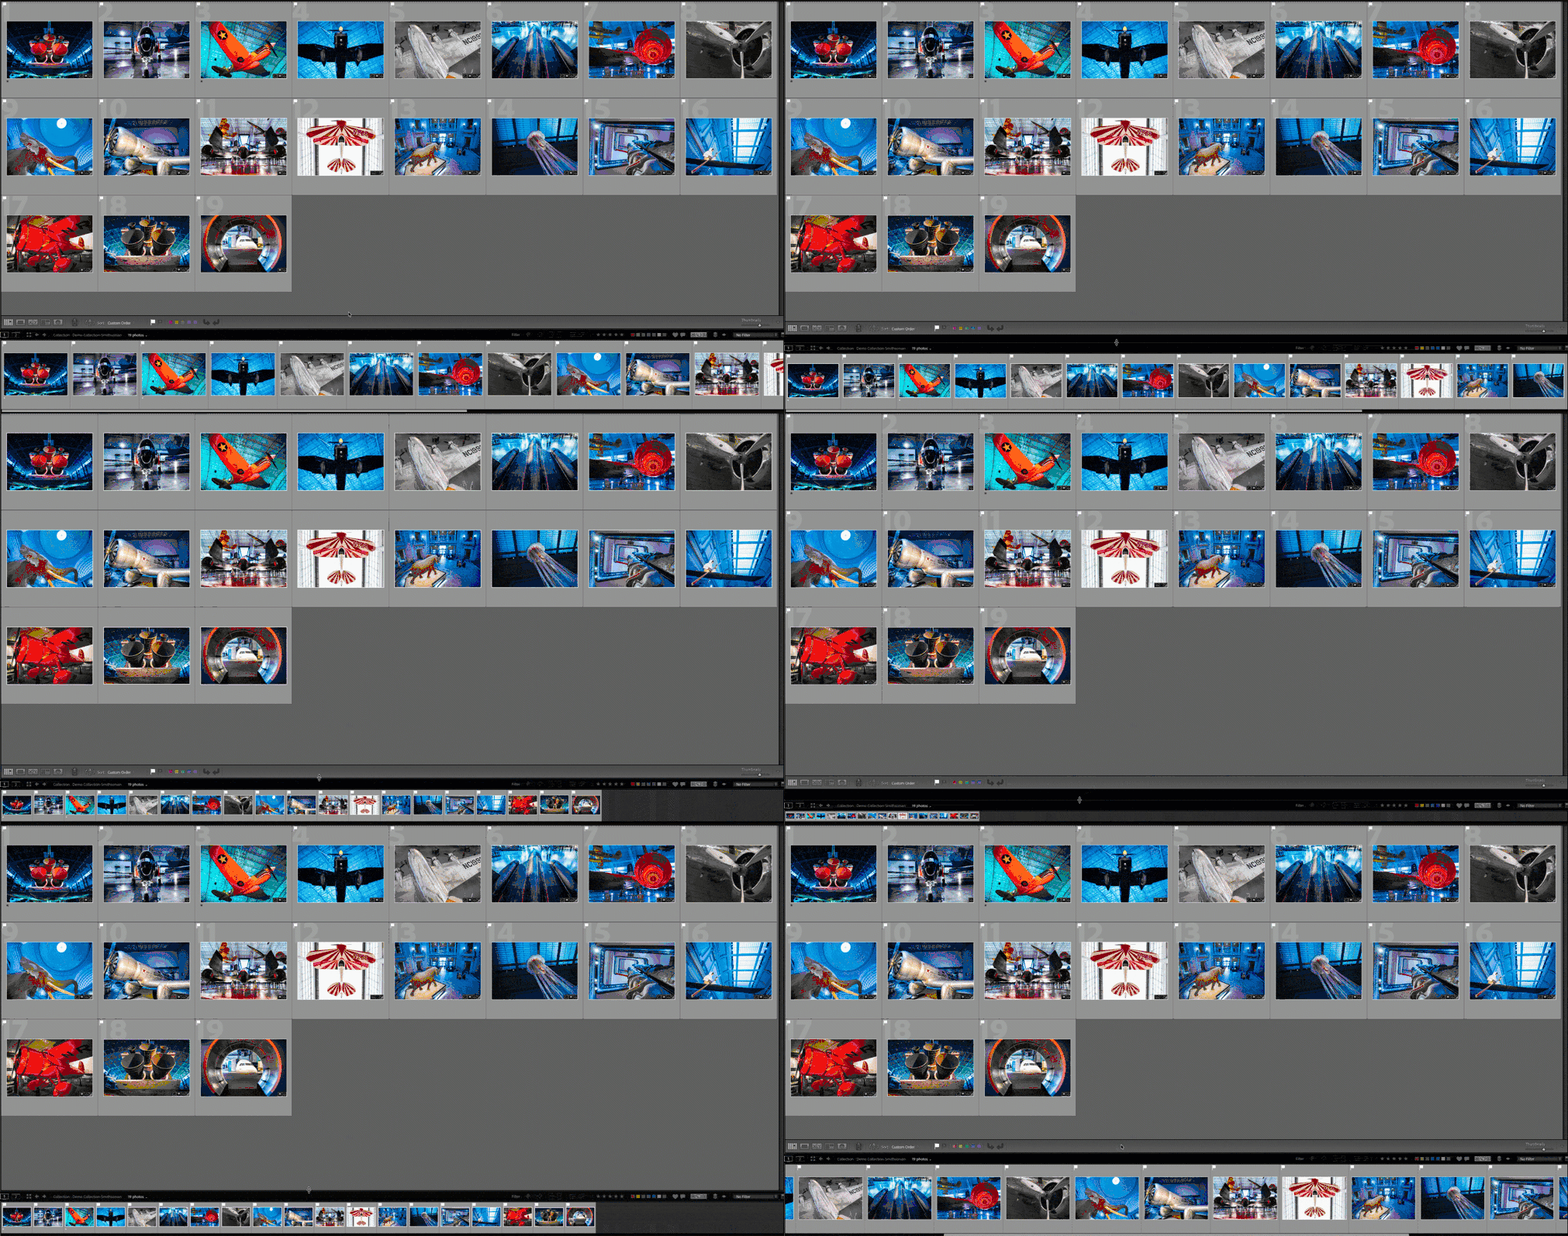
There are limits to how large or small you can make them, but the working range should suit most purposes.
Resizing the grid thumbnails in Lightroom’s Library module
The grid view is only accessible in the Library module. To change the size of those thumbnails, make sure you have the grid toolbar visible.
If it’s not visible, press T (or go to View > Show Toolbar). That toggles the display of the toolbar.
At the right of that toolbar is a slider that controls the size of the thumbnails.
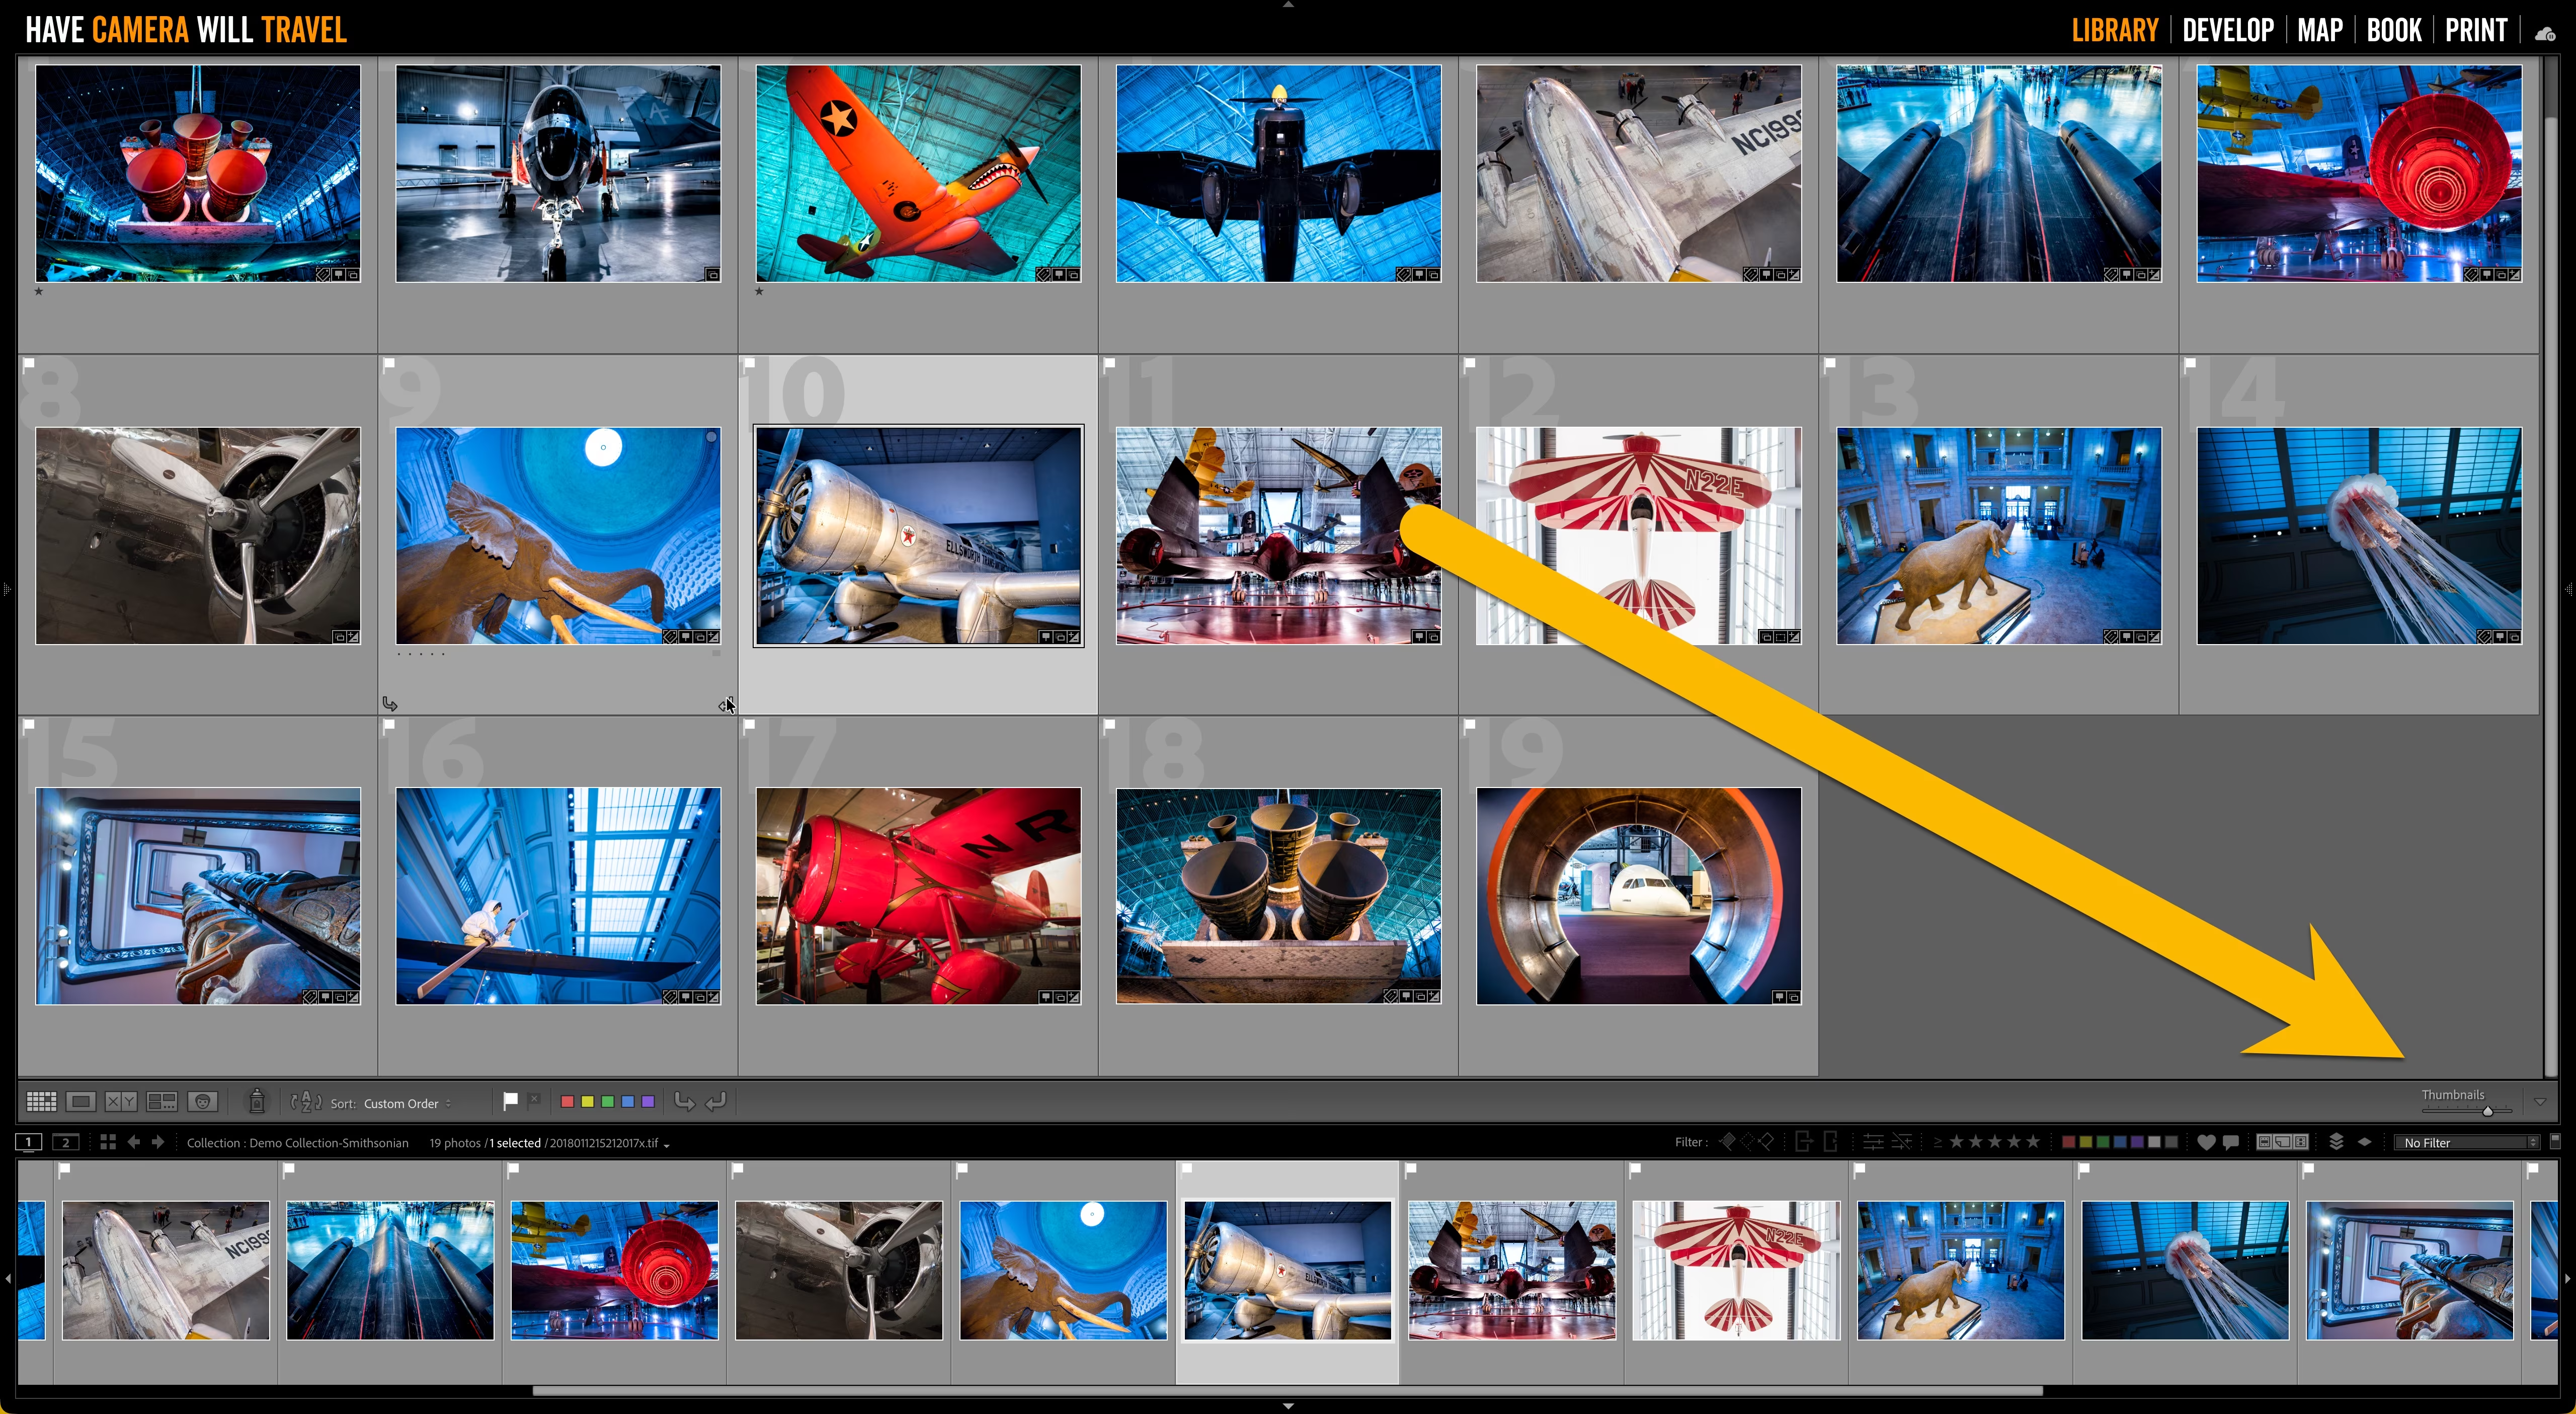
Drag to the right to enlarge. Draft to the left to reduce.