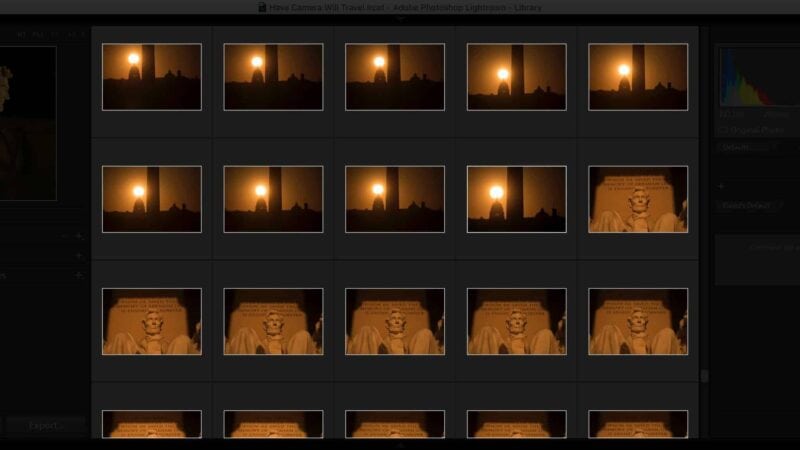
Sometimes you want to remove the clutter and just look at the photo. Lightroom’s Lights Out mode does exactly that — it dims or completely blacks out the interface, leaving only the image in the main preview area visible.
It’s useful any time you want to evaluate an image without the visual noise of panels, thumbnails, and toolbars competing for attention. I also use it regularly as a quick way to show images to clients — they’re not distracted by Lightroom’s interface, other thumbnails, or anything else on the screen.
The three modes
There are three states: Lights On (normal), Lights Dim, and Lights Out.
The simplest way to use them is to press L to cycle through all three in sequence. It’s about as easy as a keyboard shortcut gets.
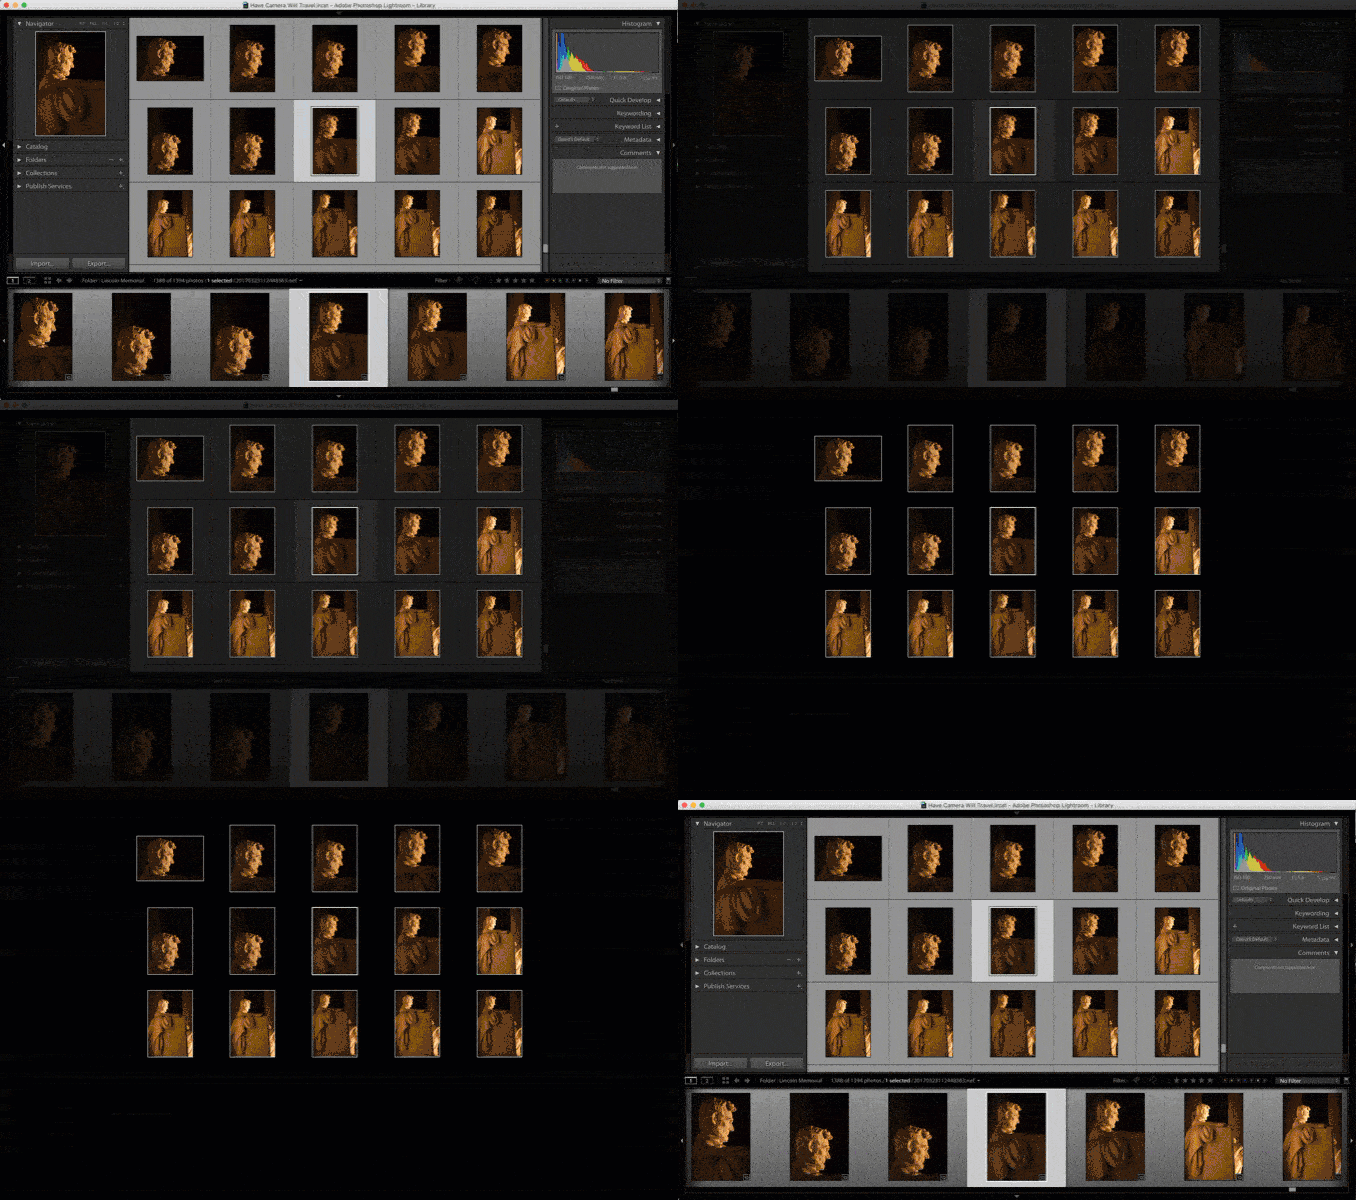
Lights Dim darkens everything around the image to 80% by default — enough to reduce distraction without losing the interface entirely. Crucially, the panels and filmstrip remain fully functional while dimmed: you can still flag and rate images, adjust sliders, and move between photos without switching back to normal mode. The active image gets a subtle white outline to keep it visually grounded.1
Lights Out goes further, blacking out everything except the image itself. It’s more immersive, but you lose access to the panels while it’s active — you’re really just looking, not working.
You can also reach these modes via the menu at View > Lights Out, or jump directly to Lights Dim with Shift+Cmd+L (Mac) / Shift+Ctrl+L (Windows).

Customizing Lights Out and Dim
Both modes have settings worth knowing about. You’ll find them under Preferences > Interface > Lights Out.


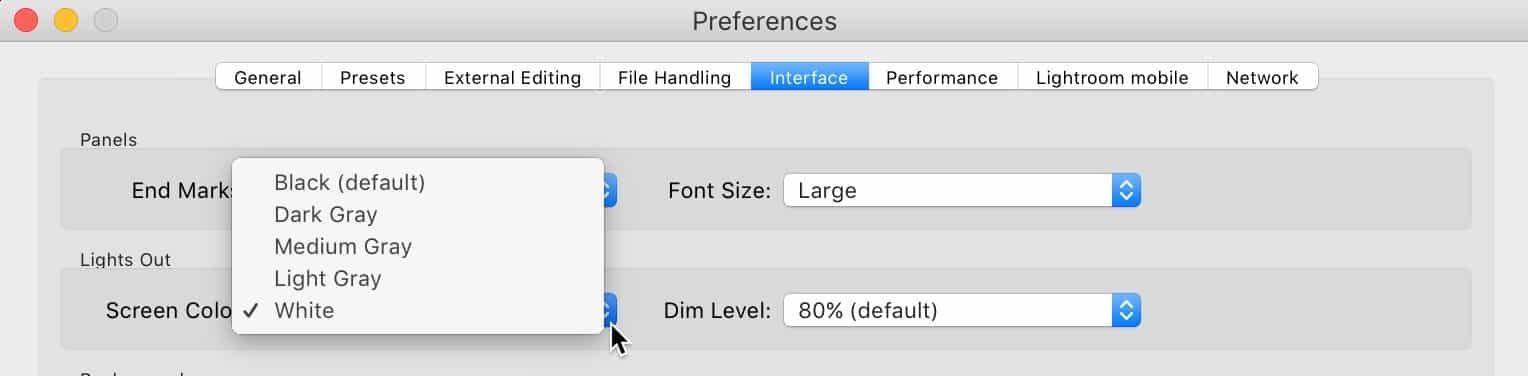
Screen Color sets the fill color for Lights Out mode. The default is black, but you can choose dark gray, medium gray, light gray, or white. The white option is particularly useful: setting Lights Out to white effectively gives you a “Lights Up” mode — a quick way to see how an image looks against white without switching to Soft Proofing.2
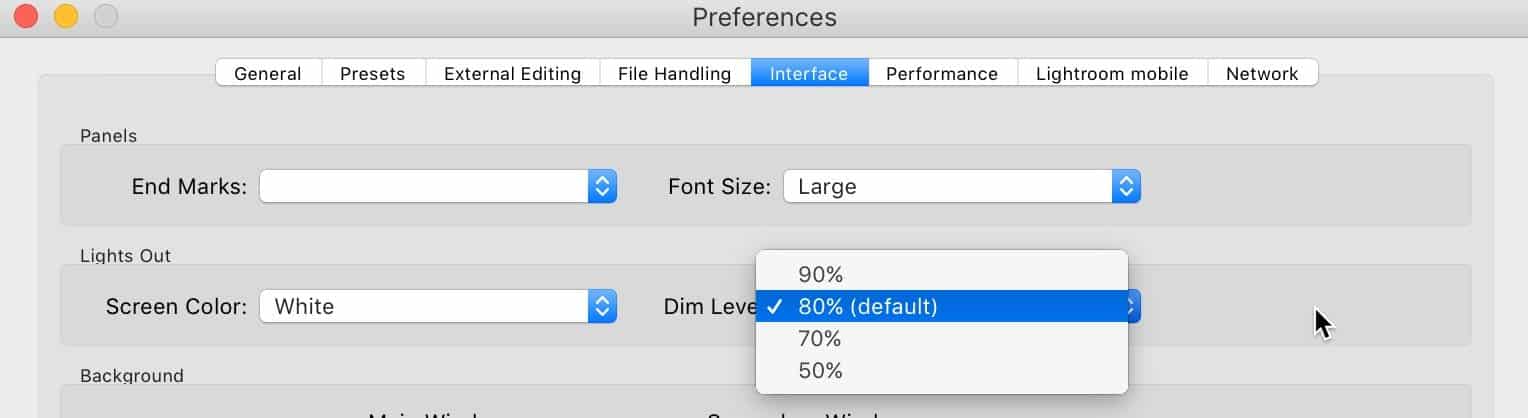
Dim Level controls how dark the interface gets in Lights Dim mode. The default is 80%, with options for 50%, 70%, and 90%. 80% is aggressive enough for most purposes; if you find it hard to read the dimmed panels, 70% or 50% gives you more visibility.
Tips & things worth knowing
Pair Lights Out with Shift-Tab for client presentations. Before pressing L twice to reach Lights Out, press Shift-Tab to hide all the panels, filmstrip, and toolbar. Without doing this first, Lights Out leaves a large black border around a relatively small image. With hidden panels, the image fills almost the entire screen.3
It works in every module. Library (both Grid and Loupe views), Develop, Book, Slideshow, Print, Web, and Map. In the Book module it shows the full page layout; in the Print module the print canvas; in the Web module the gallery preview. Each context dims or blacks out whatever surrounds the primary content area.
It’s useful when cropping. Activating Lights Dim or Lights Out while using the Crop tool dims everything outside the crop boundary, making it easier to judge the composition you’re keeping without the surrounding image pulling at your eye.4
It affects the whole screen. Lights Out doesn’t just dim the Lightroom window — it dims everything on the display, including any other applications or windows that are visible. If Lightroom doesn’t fill your entire screen, the rest of the desktop dims too.
Don’t confuse it with Full Screen Preview. Pressing F activates Full Screen Preview, which is a related but distinct mode — it hides the entire Lightroom interface and fills the screen with the image against a black background. There’s no dim level to control, no white outline, and the panels aren’t accessible. It’s more of a true full-screen viewer than a distraction-reduction tool. Press F again to exit.
You can also darken or lighten the background when viewing images. I have a separate post on that.


