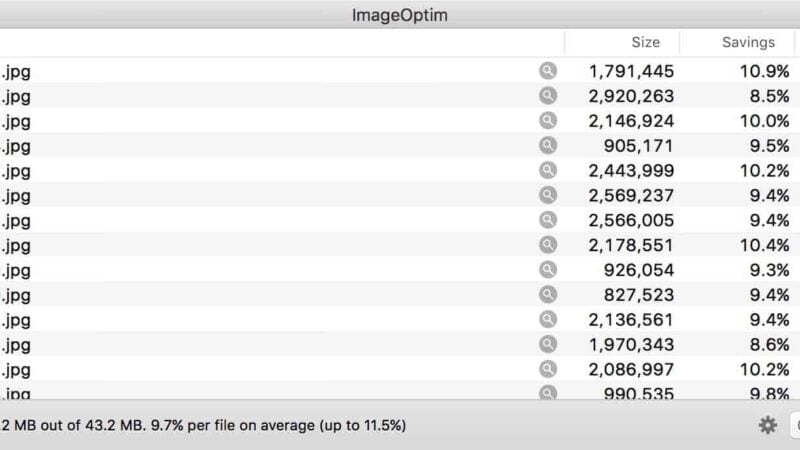
I’ve sung the praises of ImageOptim elsewhere. It’s a free Mac app that bundles together a bunch of image optimization tools into an easy-to-use package.
And for anything on the web, image optimization is a very good idea. It makes the files smaller, and on the web, that means faster. And that’s a win for your users.
It’s typically used as a standalone app, but it’s also possible to add it to a Lightroom export process so that the exported image files are sent automatically to ImageOptim and optimized, all as part of the same export workflow.
Here’s how to set it up.
Lightroom’s Built-in Limitations for File Optimization
Lightroom’s options for squeezing redundant information out of image files are pretty limited.
It doesn’t have nearly so much fine-tuned control as Photoshop’s legacy Save for Web function, for instance.
As an example, in Lightroom’s export function, you can’t choose whether or not to include the colorspace data, but you might want to remove that chunk of data to save filesize and rely on modern browsers treating images without a colorspace as sRGB. You also can’t choose things like Progressive or Optimized images. The best you can do is strip out most of the metadata by choosing the “Copyright Only” option in the Metadata field.
Third-Party Options Get Better Results
But there are ways to make the filesizes that come out of Lightroom much smaller without sacrificing quality.
They range from lossless optimization, which doesn’t impact the visual quality at all, to lossy optimization, such as JPEGmini Pro, that have minimal to a virtually undetectable effect on image quality.


If you’re using Mac, ImageOptim has long been one of the best options. And it’s easy to use in tandem with Lightroom, running your exported images through it automatically as part of the same process.
This only works when exporting JPGs. ImageOptim doesn’t optimize TIFFs or RAW files (nor do most image optimization tools, for that matter) and Lightroom can’t natively export PNGs.
Lightroom to ImageOptim Step-by-Step
The first thing you need to do is install ImageOptim. You can find it here. It’s free and Mac-only.
Once ImageOptim is installed in your regular Applications folder, you’ll want to go to export some images from Lightroom.
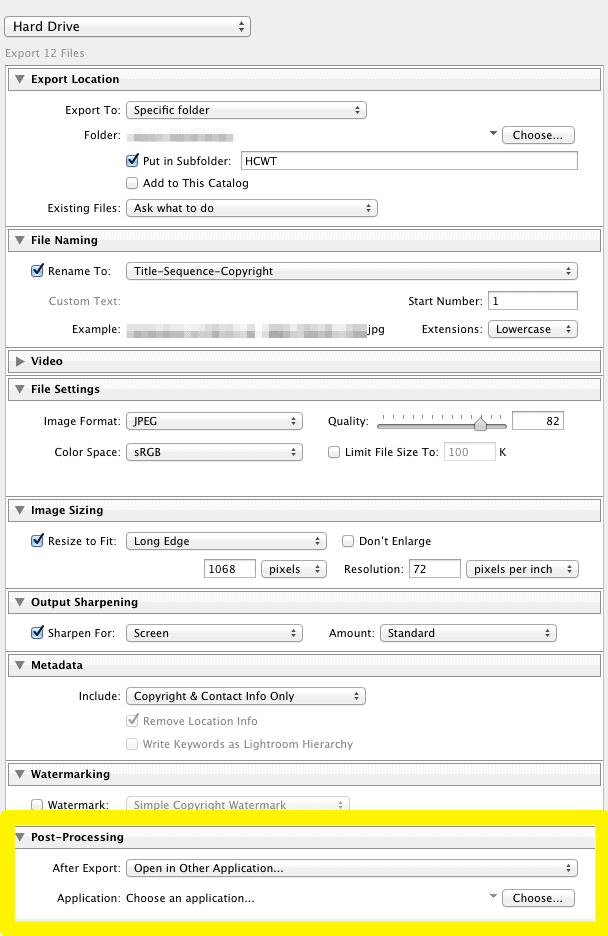
And what we’re looking for is the Post-Processing tab. If it’s collapsed, just expand it by clicking on its header.
The Post-Processing tab launches whichever external app you specify and sends the exported files to it.
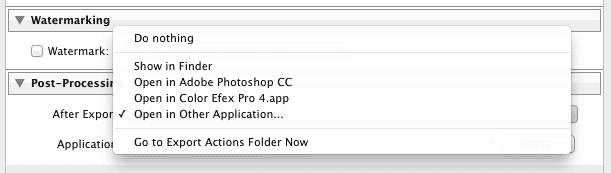
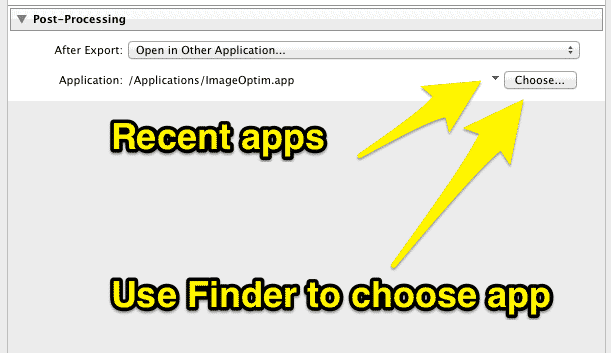
You want to choose “Open in Other Application” from the drop-down menu and then hit the “Choose” button to use a Finder window to locate the app file in your Applications folder. You should end up with the field filled with something like /Applications/ImageOptim.app.
Tip: The little down arrow next to the “Choose” button will pull up recently used apps.
With the Post-Processing options, you’re specifying the last thing that’s going to happen as part of the export process. So you first need to hit the export button to get the export function going.

The rest happens automatically. One of the neat things about ImageOptim is that it’s designed to get to work on any files you drop onto it without any further interaction. That’s what makes it an especially handy tool in situations like this, where it’s being fed the image files by another app (in this case, Lightroom).
So once ImageOptim opens, it’ll start processing the list of image files automatically. And you’ll get progress stats along the way for each file.
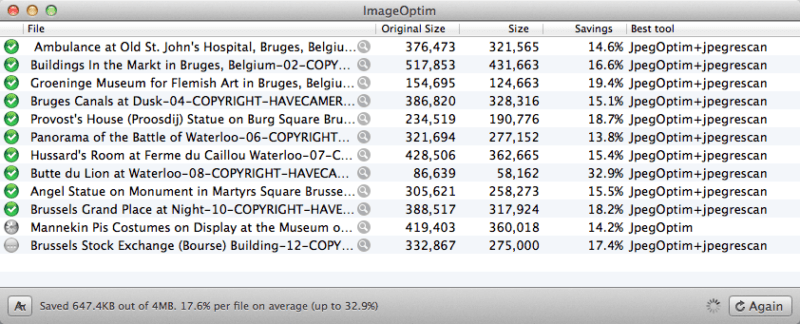
ImageOptim works great right out of the box, but there are plenty of options you can tweak.
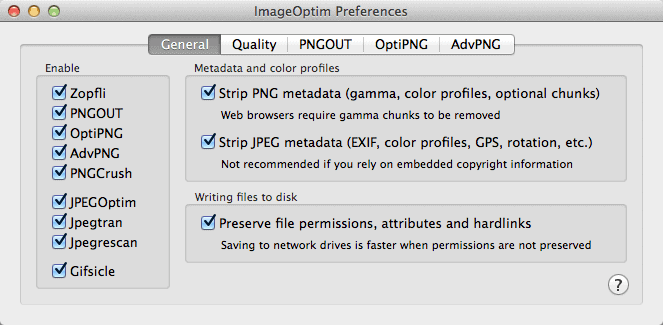
The ones, in particular, worth noting relate to whether or not you want to do lossy or lossless compression. I recommend sticking with lossless to start until you get comfortable with the image quality loss with the lossy options. It’s minimal, but it’s there.
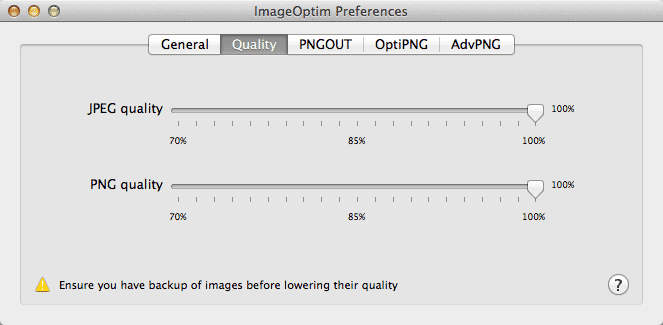
And that’s all there is to it!
When you save the export preset, it’ll save the post-processing tab along with it.
I have ImageOptim post-processing set for all my export presets for uploading to the web, prepping files for social media, or sending via email, for instance. It’s just win-win.
What if You’re Using Windows or Linux?
ImageOptim is Mac-only, but if you’re using Windows, here are some other apps worth investigating.
They draw on some of the same underlying optimization tools, just packaged differently.


