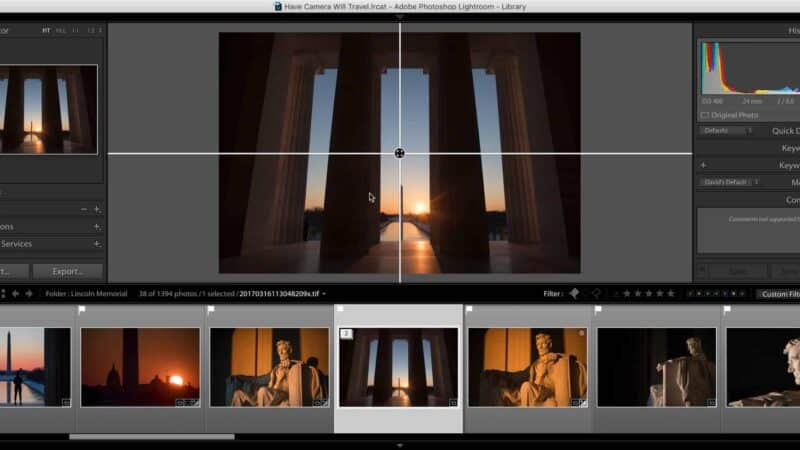
There are a few different ways to add visual overlays to Lightroom Classic’s Loupe view (single-image view) that can help with layout, composition, and cropping.
The layout image feature lets you use customized image templates like outlines or even a magazine comp.
The grid overlay creates, well, a grid.
And there’s also a slightly separate tool when cropping images, with the cropping overlays providing a range of built-in templates like aspect ratios, golden triangles, golden spirals, rule of thirds, or even a basic grid.
The guides overlay is the simplest, but it’s also quite flexible.
It works in the Loupe view (when you’re looking at a single image in the frame) in both the Library and Develop modules.
Basically, it’s a flexible way that you can align either a point (intersection of the crosshairs) or vertical or horizontal lines.
There are two practical ways I can think of where this comes in useful:
- One is if you need to align photos to a very precise point in the frame. Maybe it might be a model’s eyes or an element of a still-life or product shot.
- The other is if you’re preparing a sequence of images and need to make sure that a spot or a line is consistent between shots. Maybe that might be a horizon in a series of landscape photos. Or maybe it’s vertical walls in architectural photos.
The guide overlay in use
It’s a very simple tool to use. To enable it, go to:
View > Loupe Overlay > Guides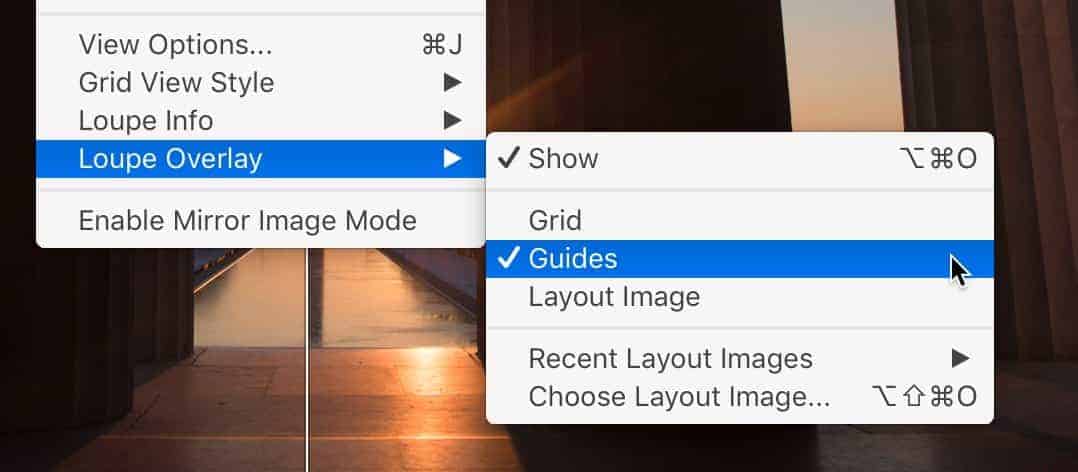
You’ll get a cross-hair overlay, a single vertical line intersecting a single horizontal line.
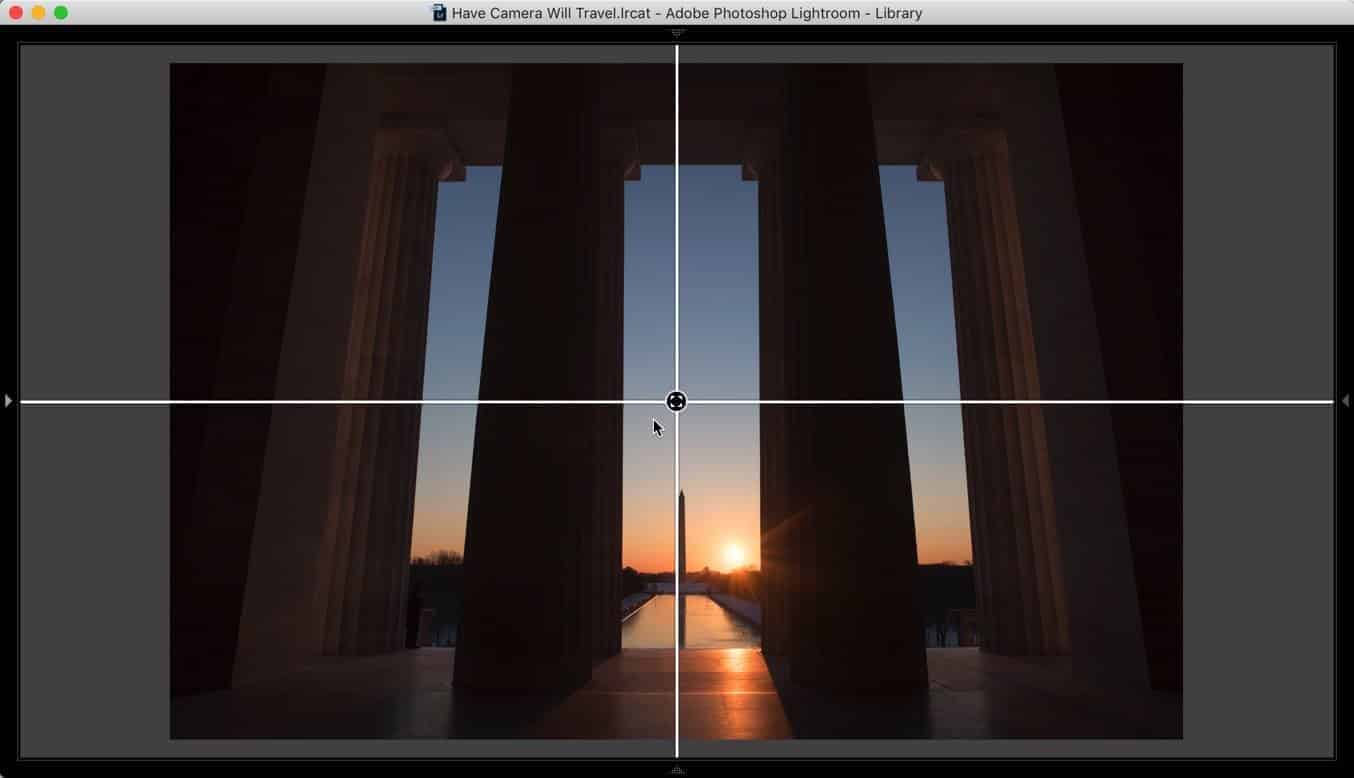
To move it around, press CMD (Mac) or CTRL (Windows) and drag the small icon that appears where the lines intersect. You can move it anywhere you like over the image.
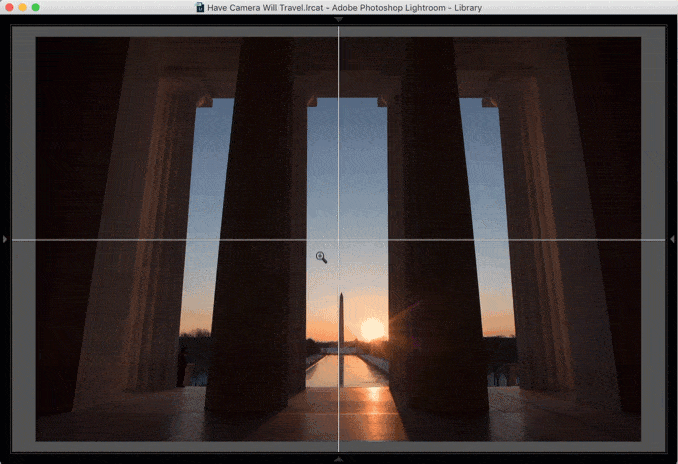
It’s also useful for determining the precise center of an image. To re-center the cross-hair, press CMD (Mac) or CTRL (Windows) and double-click on the small icon at the intersection of the lines.


Things worth knowing
The Guide can be used in addition to the image overlay and the grid overlay.



