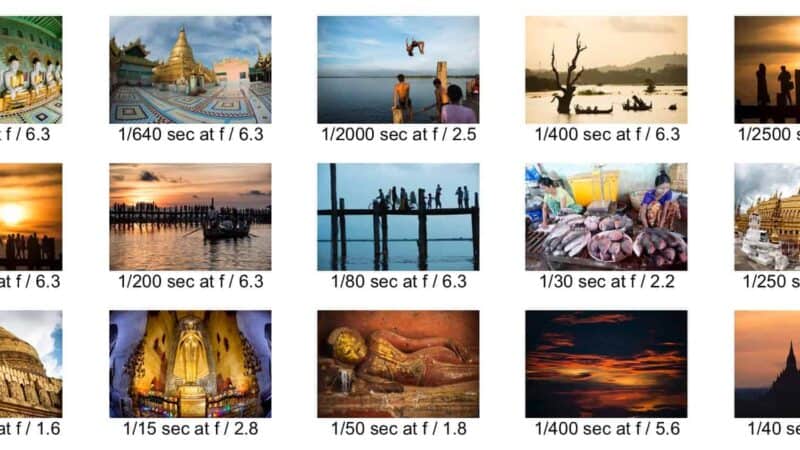
Contact sheets are a throwback to film days. Especially with negatives, they provided a quick way to preview an entire roll in positive form — a visual index you could file alongside the negatives themselves, use for culling with a magnifying loupe, or hand to a client or editor. Art schools often required them as a way to submit shoot reports. Some photographers have elevated them to an art form in their own right.
Contact sheets are also known as contact proofs, contact prints, proof sheets, or simply proofs.
The “contact” part refers to how they were originally made: the film was laid directly on the photographic paper rather than being projected through an enlarger. No magnification — just direct contact, usually with a sheet of glass on top to keep the film flat and sharp. The result was a full roll of 35mm negatives on a single 8×10 sheet.
Contact sheets still have their uses in the digital age. The grid view in Lightroom’s Library module — and most other photo organization apps — is modeled on them, of course. But there are times when a hard-copy or shareable digital contact sheet is genuinely useful: showing clients a selection, submitting a project, or creating a visual index for a backup drive.
There are several ways to make a digital contact sheet. I’ve covered making contact sheets with Photoshop (probably the simplest) and with ImageMagick (most granular control, but requires command-line work). The Lightroom method covered here sits in the middle — more control than Photoshop, more approachable than ImageMagick.
How to make a contact sheet in Lightroom Classic
There are multiple approaches, but the most straightforward uses Lightroom’s Print module and works for both hard-copy prints and saved JPEG files.
Start by selecting the photos you want to include. In the Library module, navigate to the folder, collection, smart collection, or search results containing your images.

Switch to the Print module — either click it in the module picker at top right, or press Cmd+Opt+6 (Mac) / Ctrl+Alt+6 (Windows).
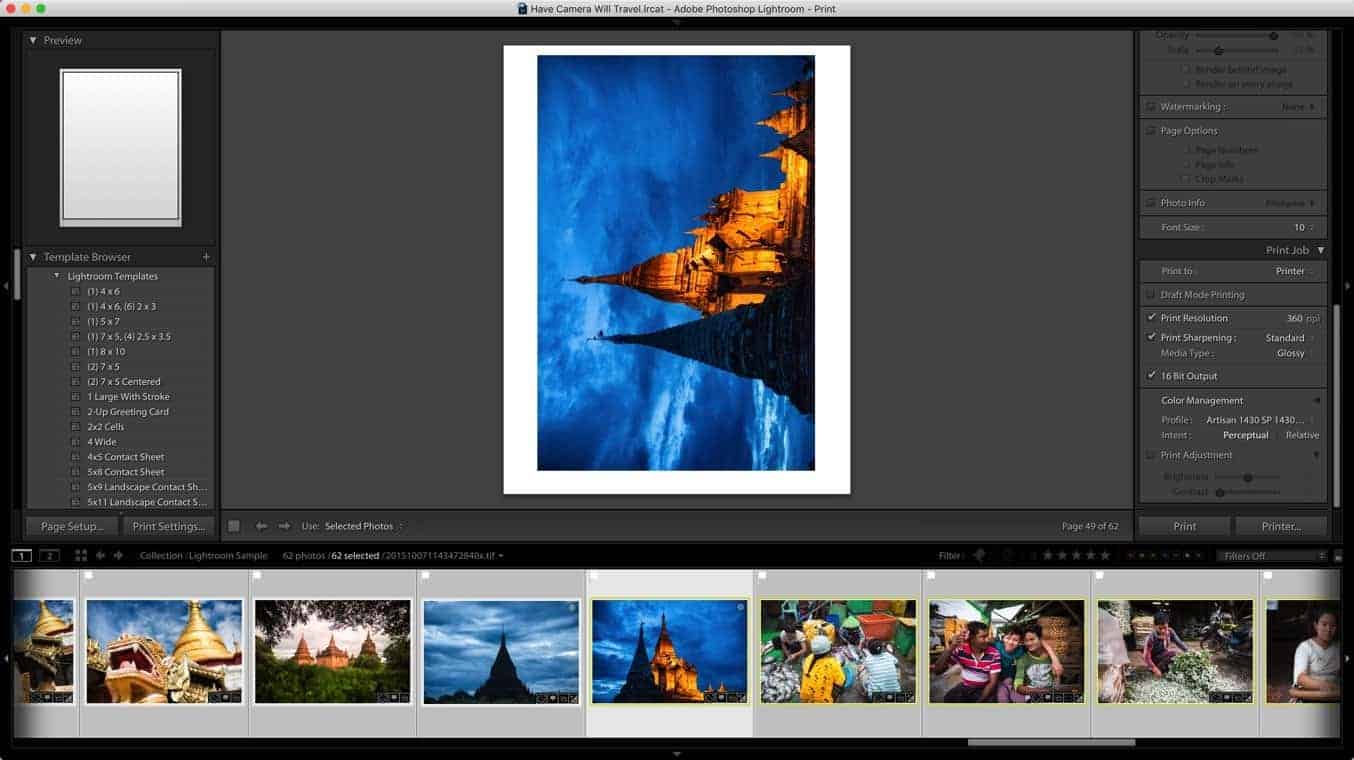
In the Print module, the Template Browser panel is at the far left. If it’s collapsed, click the triangle next to the panel title to expand it.

About halfway down the Lightroom Templates section you’ll find the contact sheet templates: 4×5 Contact Sheet, 5×8 Contact Sheet, 5×9 Landscape Contact Sheet, and 5×11 Landscape Contact Sheet. The numbers refer to columns × rows, not paper dimensions — 4×5 means 4 columns across and 5 rows down. These are starting points; you can modify the grid later.
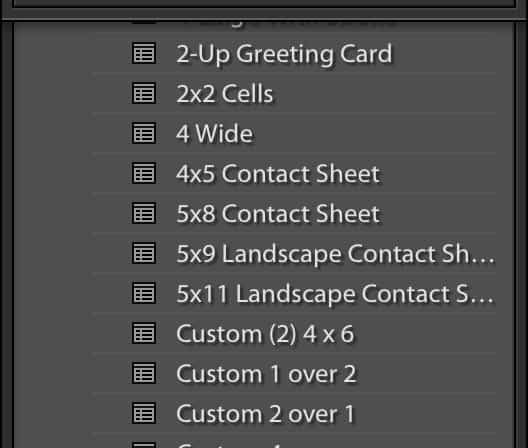
The 4×5 Contact Sheet is a good general-purpose starting point — it uses square cells, which accommodate both landscape and portrait images without cropping. The “Landscape” templates use rectangular cells and are better suited to horizontal images; they also fit more images per page.

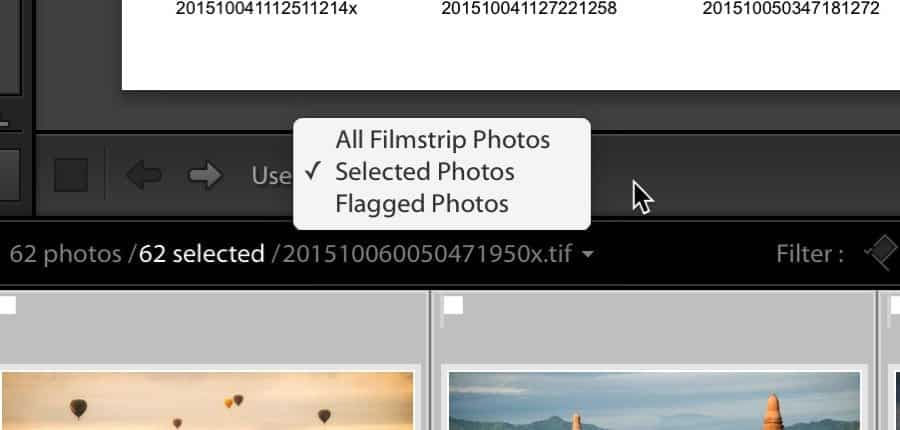
You can control which images appear in the contact sheet using the dropdown on the toolbar just above the filmstrip. (Press T if the toolbar isn’t visible.) The most useful options are All Filmstrip Photos and Selected Photos — the latter gives you precise manual control from the filmstrip.
If you’ve selected more photos than fit on a single page, the extras roll over to additional pages automatically. The toolbar above the filmstrip shows “Page x of x” and navigation arrows to move between pages.

Set the paper size via the Page Setup button at the bottom left. The grid settings are preserved when you change paper size — though cell spacing may need a small adjustment afterward.
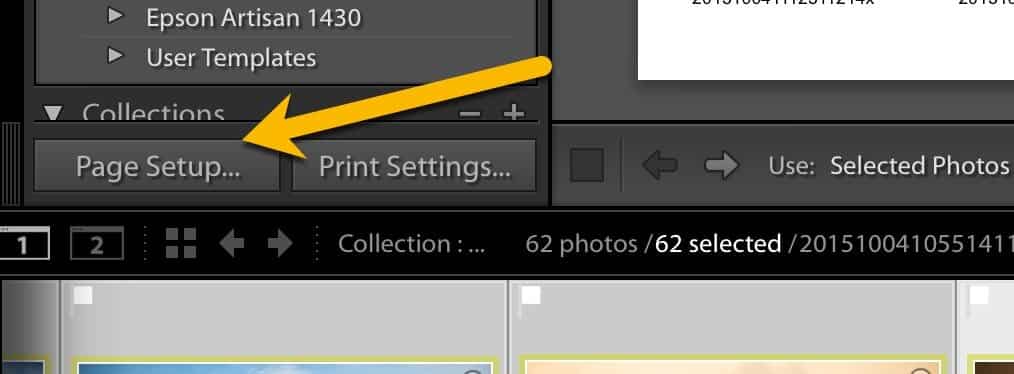
One practical tip worth noting: images display in the current sort order. If you rearrange the sort order in Grid view or the Filmstrip, the contact sheet updates automatically.1
Contact sheet settings
All the layout and appearance settings are in the right-hand panels.
Layout style
In the Layout Style panel, select Single Image/Contact Sheet.
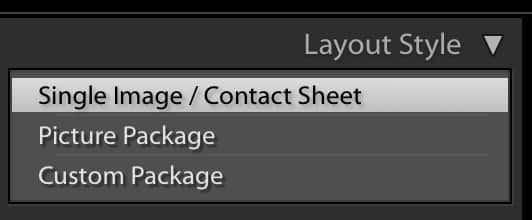
Image settings
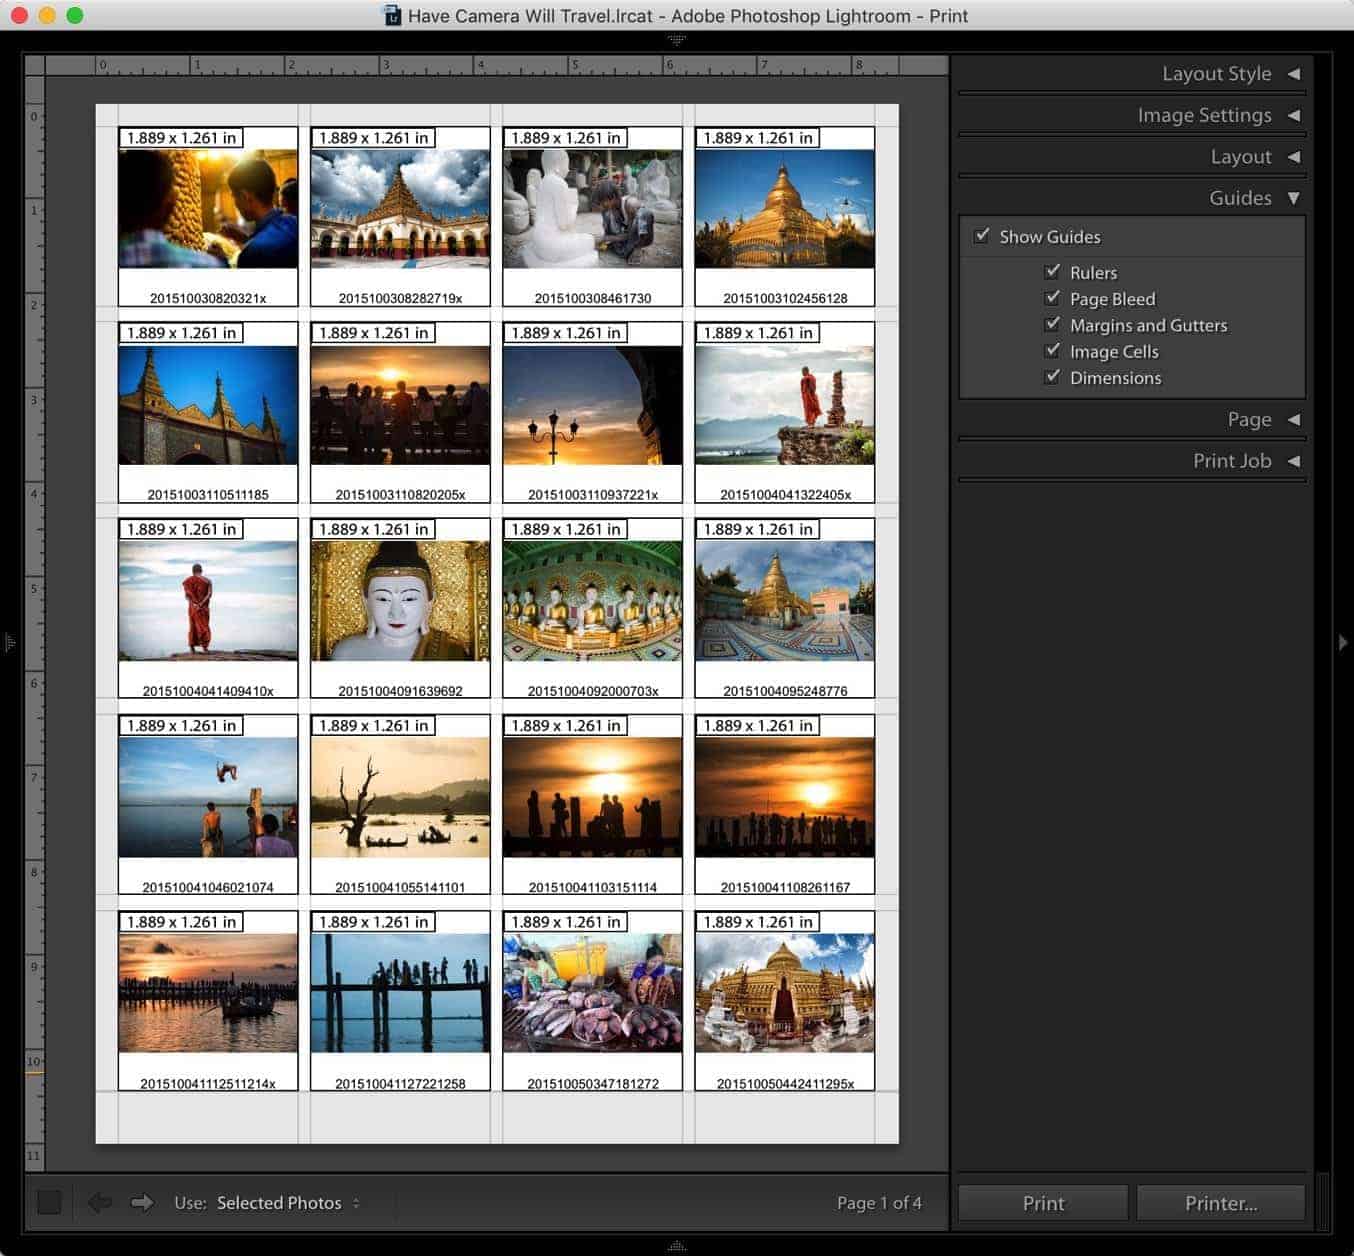
Zoom to Fill zooms each image to fill its grid cell completely, cropping the longer dimension. With square cells, this makes all thumbnails square.
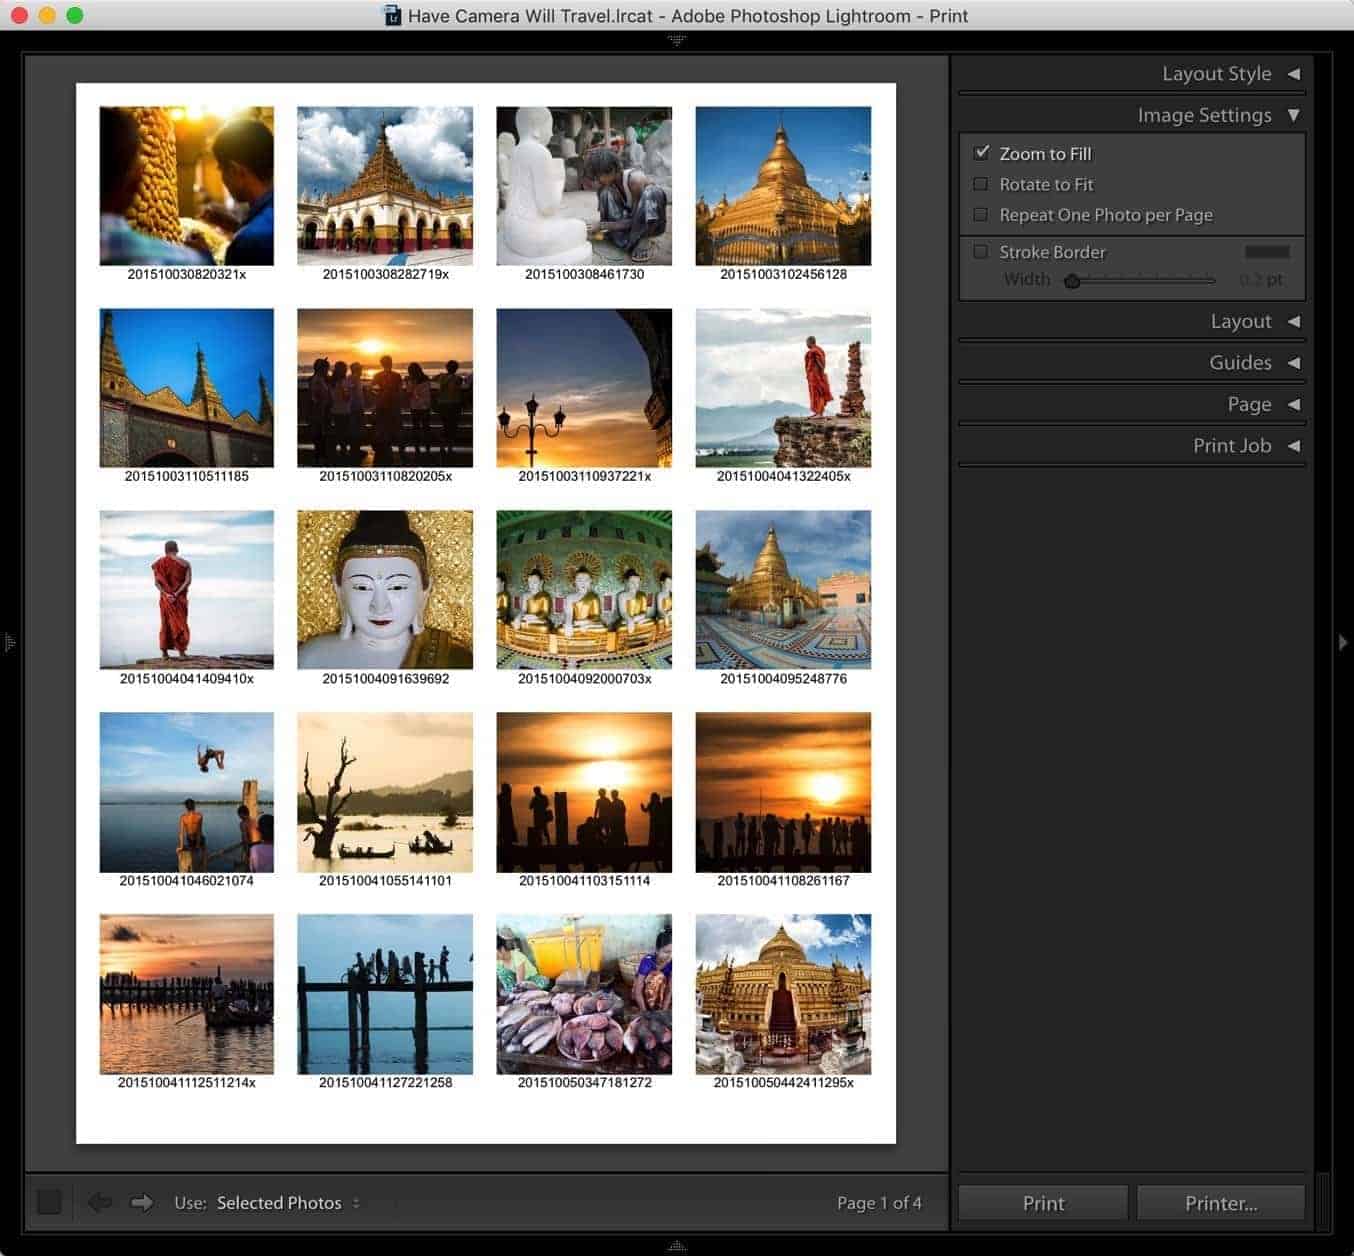
Rotate to Fit has no effect with square cells, but with the landscape templates it rotates portrait images 90° to fill the rectangular cell.
Repeat One Photo per Page isn’t useful for contact sheets.
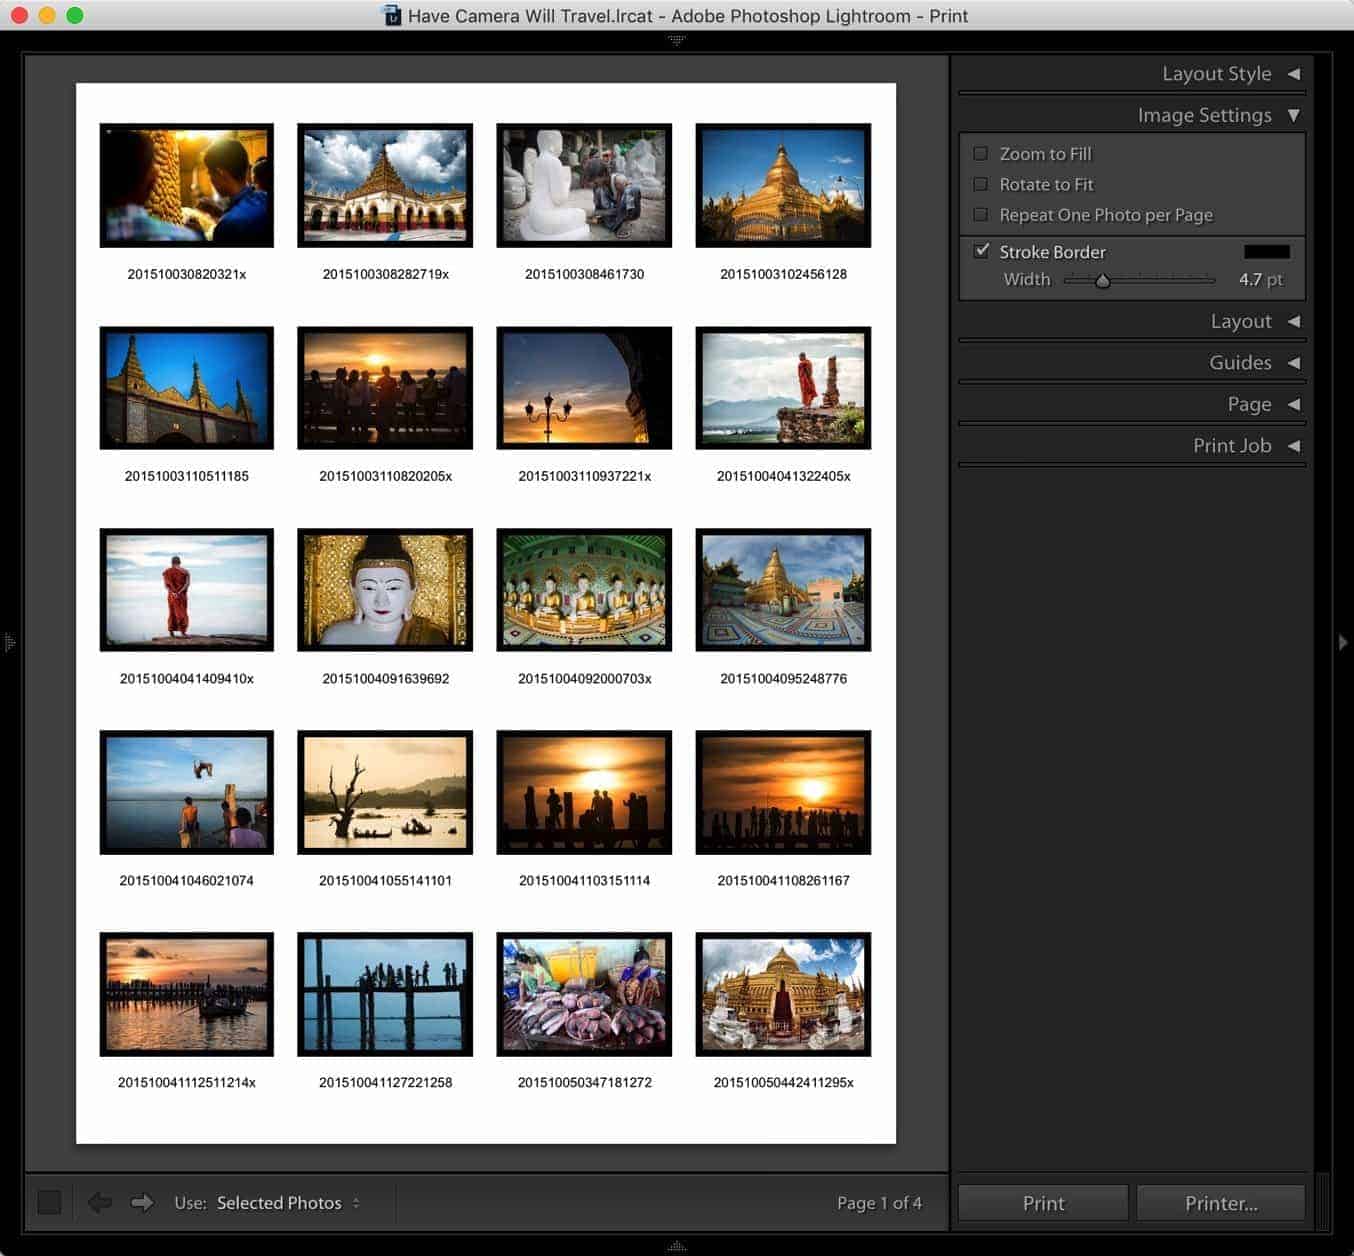
Stroke Border adds a line around each thumbnail. You can set the color and width. The stroke sits at the edge of the image, not the grid cell. At lower print resolutions, narrow borders can print unevenly — worth a test print before committing to a large batch.2
Layout
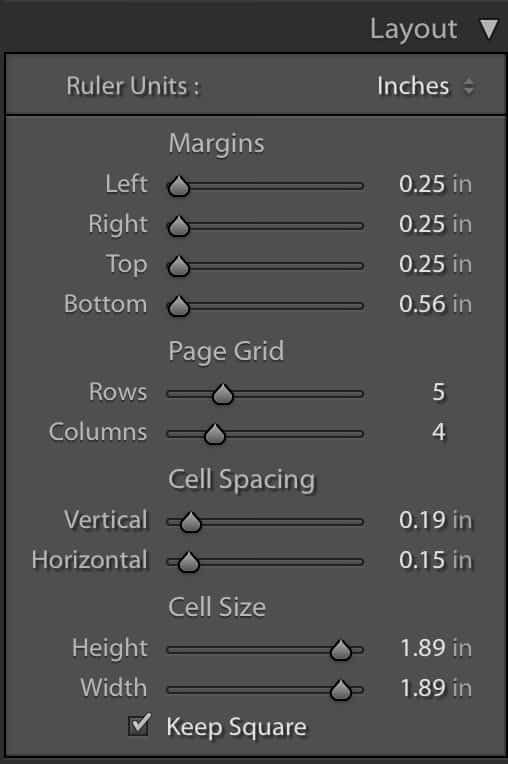
Margins — the margin around the entire page, not each individual thumbnail.
Page Grid — where you set the number of rows and columns. This is the fastest way to customize the grid beyond the preset templates.
Cell Spacing — the horizontal and vertical gaps between thumbnails. Cell Spacing and Cell Size are interdependent: adjusting one automatically compensates the other.3
Cell Size — the size of each thumbnail cell. With Keep Square checked, height and width adjust together. Useful when mixing landscape and portrait images.
Guides
The Guides panel toggles display rulers, grid guides, and cell dimension readouts. These are for layout reference only — they don’t appear in the printed output.
Page
Page Color — sets the background color of the printable area. Default is white. Worth noting that it fills only the active canvas area, not the full page including printer margins — if you need edge-to-edge color, zero out the margins in the Layout panel and set a custom page size without printer margins in Page Setup.4

Identity Plate — adds a logo, name, or other graphic you’ve set up as a Lightroom identity plate. Useful for including your name and date if you’re submitting a contact sheet for an assignment. You can control opacity, scale, and whether it sits on top of or behind the images — or have it repeat on each individual thumbnail, which doubles as an alternative watermark approach.

Watermarking — applies a watermark to each thumbnail. Creating and managing watermarks is beyond the scope here.
Page Options — adds a page number to the bottom right of each page. Page Info and Crop Marks aren’t typically useful for contact sheets.
Photo Info — controls the text that appears below each thumbnail. This is one of the most practically useful settings, especially for client-facing contact sheets. By default it shows the filename, but the dropdown includes presets for caption, date, sequence number, and more. To number each image sequentially, choose Sequence. To show no text, uncheck the Photo Info box entirely.

You can also build a custom text recipe using the Text Template Editor. Here’s a simple example showing aperture, shutter speed, and ISO for each image — useful for technical review sheets.

One thing to be aware of: adding text below each thumbnail causes the thumbnails to scale down to make room. Long captions can result in quite small images. Keep the text concise, or increase the page grid dimensions to compensate.
Printing the contact sheet
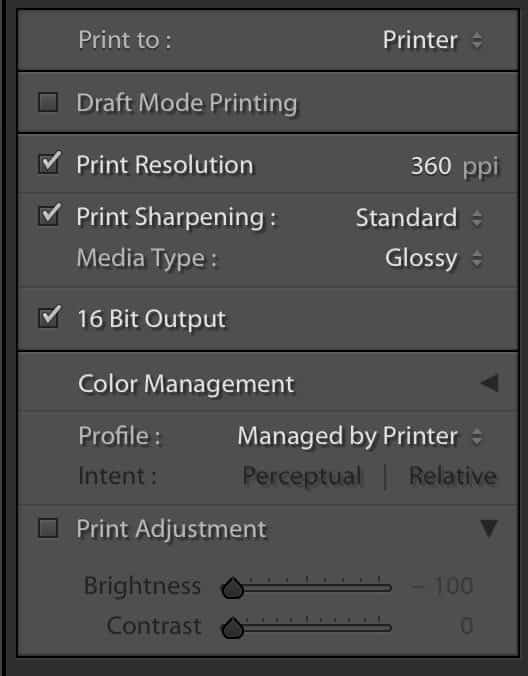
Before printing, it’s worth enabling Draft Mode Printing in the Print Job panel. With Draft Mode on, Lightroom renders the contact sheet from existing previews rather than re-processing the raw data for each image — dramatically faster for multi-page sheets with many images. If any thumbnail shows an ellipsis warning indicator, Lightroom is still rendering that preview; wait for it to finish before printing to avoid pixelated thumbnails.5
Set Print To to Printer in the Print Job panel, load the matching paper size, and click Print.
Saving as a JPEG
In the Print Job panel, change the Print To option to JPEG File.
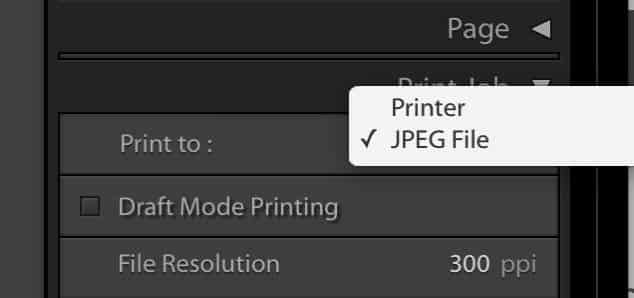
You’ll get additional controls for JPEG quality and resolution. 300ppi, quality around 80, and sRGB are sensible defaults for most purposes. Click Print to File to save.
Saving as a PDF
Lightroom’s Print module doesn’t have a native PDF export option, but there are two workarounds.
The first is to save as a JPEG first and then convert to PDF — Photoshop, Adobe Acrobat, or macOS Preview can all do this.
The second is to use the Print option but select a PDF printer as the output device. On Mac, this is built into the print dialog:

Other methods
- How to Create a Contact Sheet with Photoshop — simpler and quicker
- How to Use ImageMagick to Make a Contact Sheet — most granular control, command-line required


