
Quick Summary
- Checking Firmware Version: Switch to P, Tv, Av, or M mode, navigate to the third Setup tab (yellow wrench with three dots), and view the current version at the bottom.
- Update Method 1 (Recommended): Download the firmware from Canon, manually drag it to the root folder of your SD card using a computer, and follow the on-camera prompts.
- Update Method 2: Use a mini-USB cable and the Canon EOS Utility desktop app to push the firmware file to the camera automatically.
Note on Camera Names: Canon sells this exact same camera under three different names depending on where you live in the world. It is called the EOS Rebel T7 in the Americas, the EOS 1500D in Asia, and the EOS 2000D in Europe. The hardware, menus, and firmware update files are completely identical.
Firmware is the underlying code that tells your camera’s hardware how to function. In my experience, it’s not something you have to interact with directly, and updating the firmware isn’t something you need to do often. But from time to time, Canon releases updates that add features, improve autofocus compatibility, or fix annoying bugs.
Unlike your smartphone, the Rebel T7 won’t notify you when a new firmware patch is available. Instead, you’ll need to manually check it yourself.
Checking your current firmware version
Before you begin, you need to see what version is currently running on your camera. Turn the camera’s top dial to P, Tv, Av, or M mode. Next, go to the third Setup tab on the camera’s menu system (the yellow tab with a wrench and three dots). At the bottom of that screen, the current firmware version is displayed.
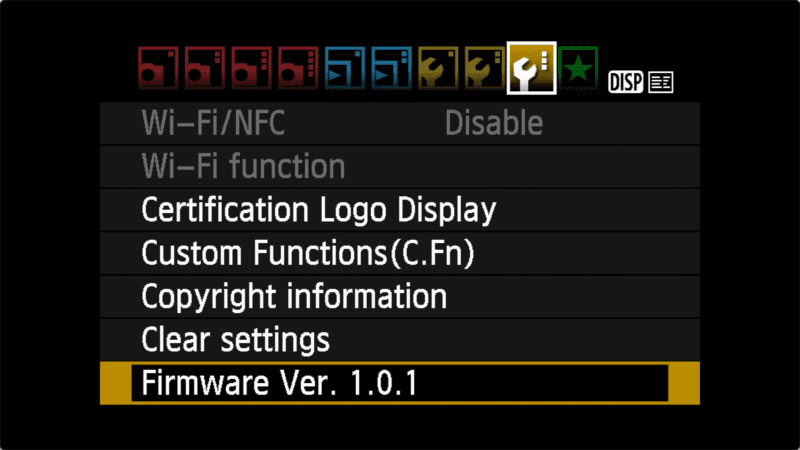
Check that number against the latest version available on Canon’s support website. If the version on Canon’s website is a higher number, it’s time to update.
Methods for updating Canon Rebel T7 firmware
There are two main methods for pushing the update to your camera. They overlap significantly; the only real difference is how you copy the new firmware file to the SD card.
One is a manual process that requires an SD card reader. The other relies on the EOS Utility desktop app via a USB cable. There is no technical advantage to one over the other. I personally find the manual SD card method simpler, but you can use whichever workflow suits your gear.
Method 1: How to update Canon Rebel T7 firmware manually
For this method, you will need your computer and an SD memory card reader.
Crucial Warning: Make sure your battery is fully charged before you start. If the battery dies in the middle of the installation process, it can “brick” the camera (making it completely unresponsive and requiring a trip to the repair center).
Step 1. Download the official firmware file from Canon’s website. Make sure to choose the variant that matches your computer’s operating system (Windows or Mac).

Step 2. Insert the memory card into your computer’s memory card reader.
Step 3. Extract the zip file you just downloaded. Inside, you’ll see a data file named something similar to CCF26110.FIR along with an instructional PDF.
Step 4. Copy that .FIR file directly to the memory card. Make sure it goes into the root directory — meaning it sits at the very top level. Do not hide it inside the DCIM or MISC folders, or the camera won’t be able to find it.

Step 5. Eject the SD card and safely remove it from your computer.
Step 6. With the camera powered off, turn the top mode dial to P, Tv, AV, or M. If you use the Auto modes, the camera hides the firmware options from the menu system.
Step 7. Insert the SD card into the camera and turn the power on.
Step 8. Navigate back to the third yellow wrench tab and click on the Firmware Ver. X.X.X line at the bottom.

Step 9. If you copied the file correctly, the camera will immediately ask if you want to proceed. (If the camera can’t find the file, it will display an error reading “Memory card containing firmware is required to update.”)
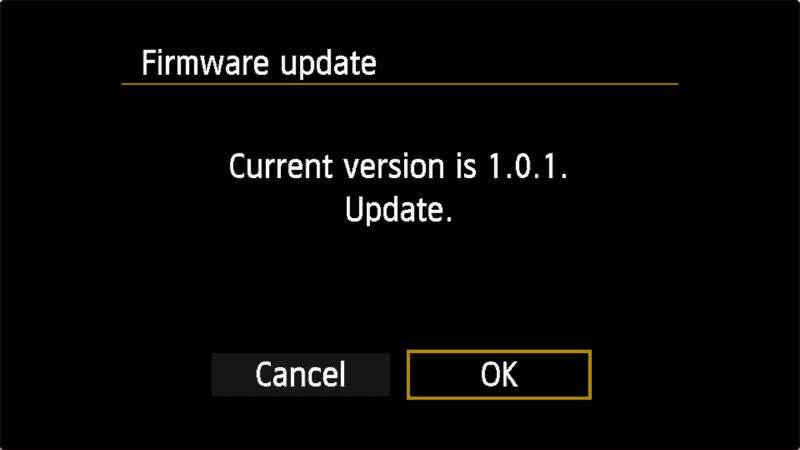
Step 10. Follow the final on-screen prompts to begin the update.
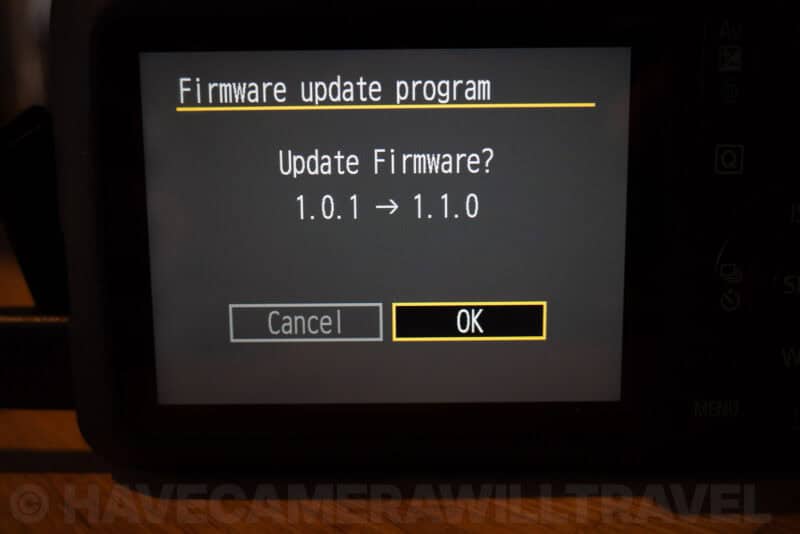
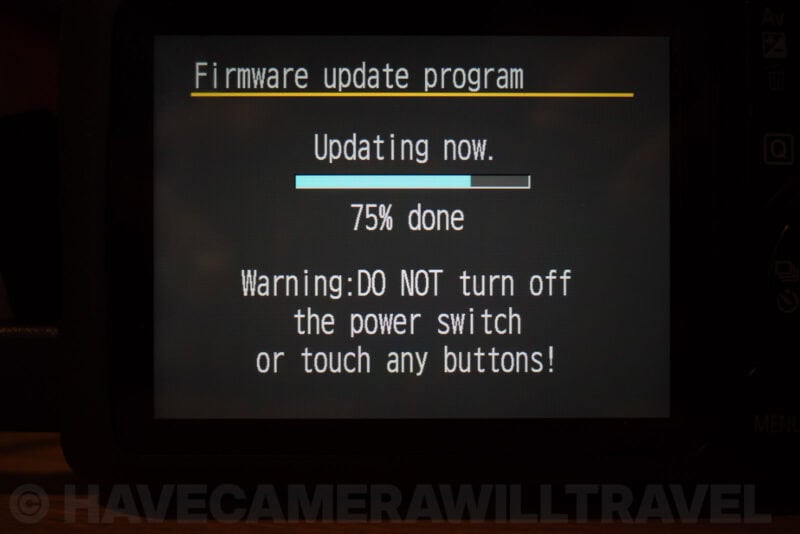
Step 11. Once the loading bar appears, set the camera down and do not touch it. Do not power it off, and do not press any buttons. It typically takes less than a minute, but interrupting this specific process is highly dangerous to the camera’s motherboard.
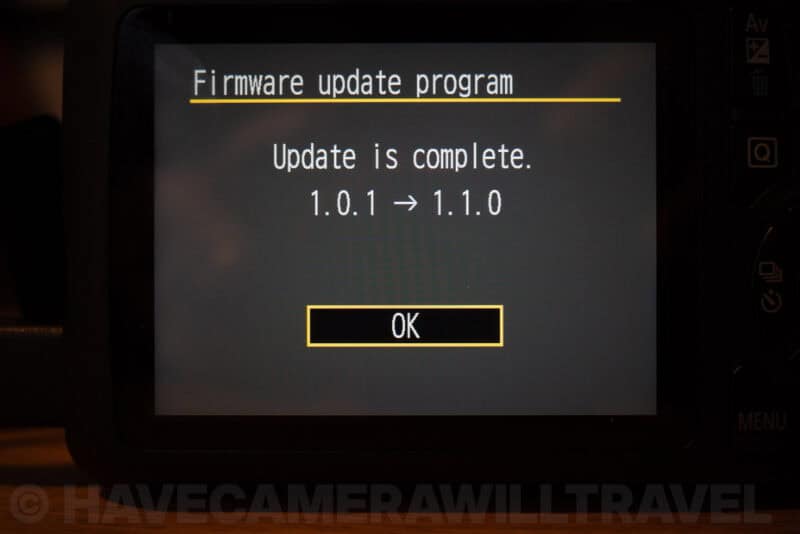
Once complete, a confirmation screen will appear, and you are ready to shoot.
Method 2: Updating firmware using Canon EOS Utility software
If you don’t have an SD card reader, you can use the free EOS Utility desktop software. You can download it directly from Canon here.
You will also need a data-capable USB cable. The T7 doesn’t ship with one in the box, so you will need to find a mini-USB (Type-B Mini) cable to connect the camera body to your computer.
Step 1. Connect the T7 to your computer using the USB cable, launch the EOS Utility app, and wait for the software to detect your camera.


Step 2. In the main EOS Utility menu, select Camera Settings.

Step 3. Choose Firmware update.
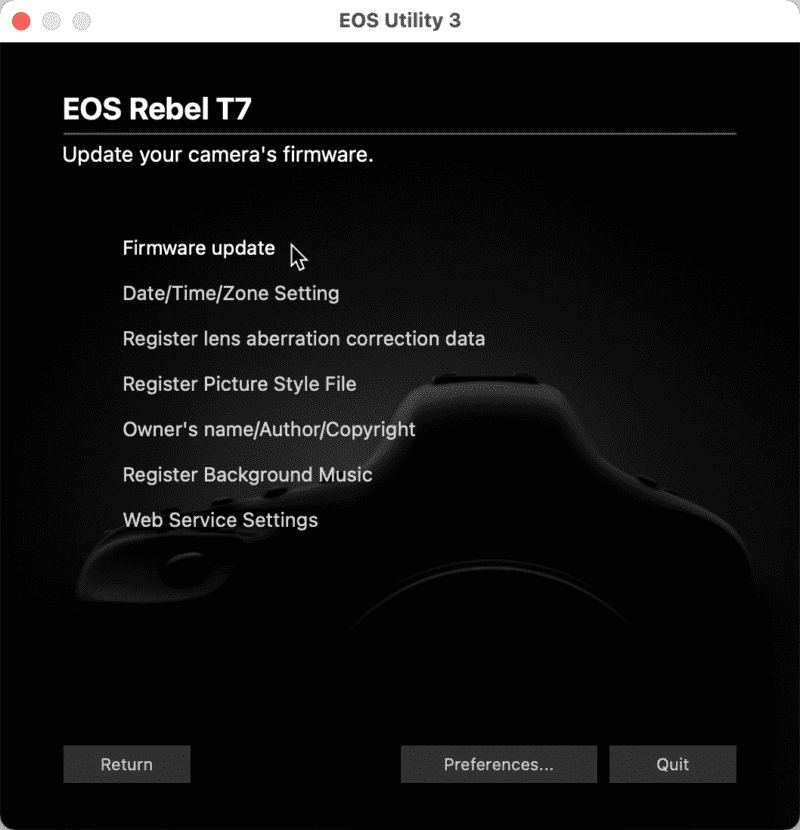
Step 4. Download the firmware file from Canon’s website and extract it onto your desktop.
Step 5. Follow the software’s prompts to navigate to the .FIR file you just downloaded.
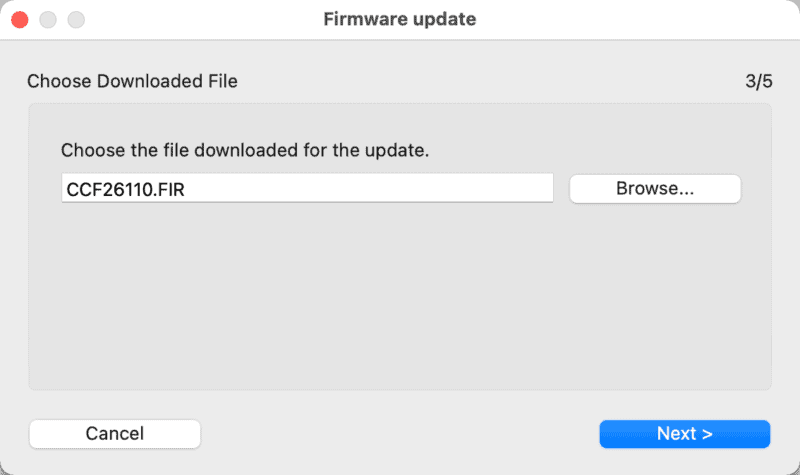
Step 6. Confirm the current vs. update versions.

Step 7. Click OK.

Step 8. Look at the back of your camera. The EOS Utility has successfully moved the file to your camera, so the rest of the steps are handled via the camera’s LCD screen. Follow the on-screen prompts exactly as outlined in Method 1 above to execute the final install.


