
Long before they started making some of the best digital cameras on the market, Fujifilm had a long and distinguished reputation for some of the best films on the market.
From color slide positive films to black and white negative films, names like Velvia, Provia, and Neopan denoted iconic films.
Each had a distinctive look to it that suits some types of images more than others. For example, you probably wouldn’t want to use the naturally saturated Velvia slide film for flattering portraits, but it’s wonderful for landscapes.
I was an avid user of the Velvia and Provia slide films back in the day, but it has been a while since I used them. Ditto on Neopan for black and white. I never used it as much as the Kodak or Ilford black-and-white films, but I loved the really distinctive tonal look of Neopan.
In moving to digital, that film heritage hasn’t been completely abandoned. Fujifilm’s cameras come with a range of built-in effects to replicate the look and feel of some of those films. If you’re shooting JPG, you can have these applied directly in the camera at the time you press the shutter. If you’re shooting RAW, it only affects the preview image that’s created in the RAW file but not the RAW image itself. But you can still apply them in Lightroom by using built-in camera profiles.

It’s worth emphasizing if you’re doing it in Lightroom Classic, these aren’t the same as filters or presets that you can buy that are intended to replicate certain films. While those have their place, these are different–they’re camera profiles that are handled quite differently in Lightroom. Unlike presets, camera profiles don’t alter any of the sliders in your develop settings, so you still have free rein over adjusting them however you want (or applying presets as well, for that matter). They’re also not the same things as color management color profiles (and the Adobe Standard I refer to below isn’t the same thing as AdobeRGB).
Color profiles
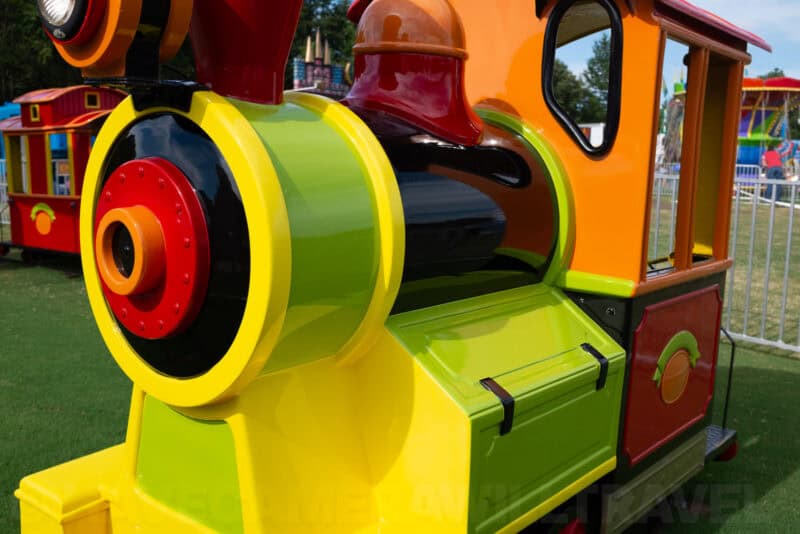
Here are some side-by-side comparisons of what each of the camera profiles looks like compared to the baseline Adobe Standard camera profile that’s applied by default. As you can see, sometimes the difference is subtle.
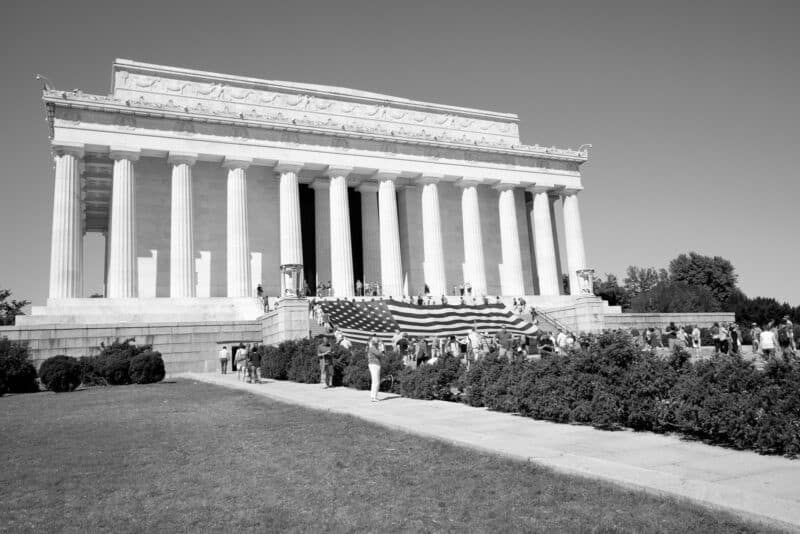
The photos of the train were shot with a Fujifilm X100T. The shots of the Lincoln Memorial were shot with a Fujifilm X70.
Adobe Standard vs PROVIA/STANDARD
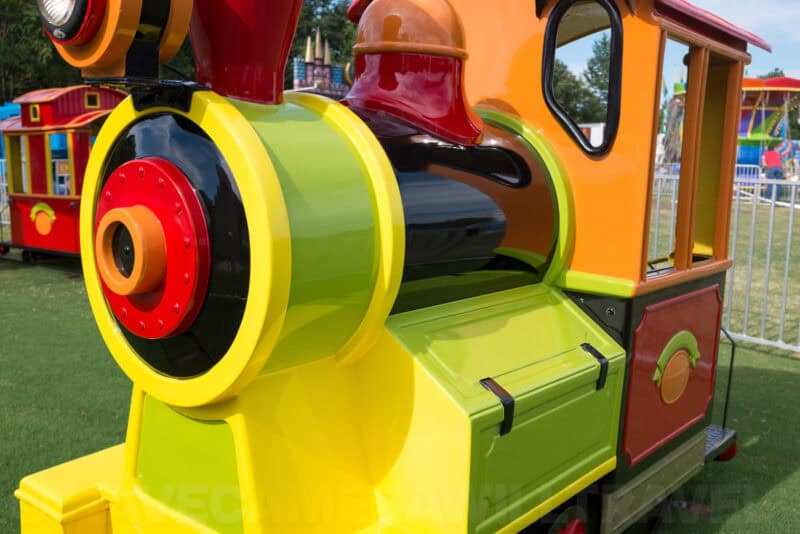
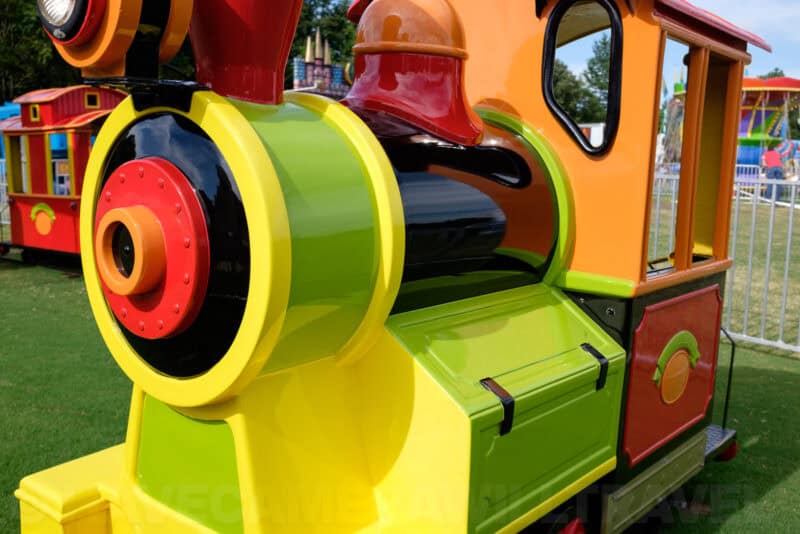


Adobe Standard vs Velvia/VIVID
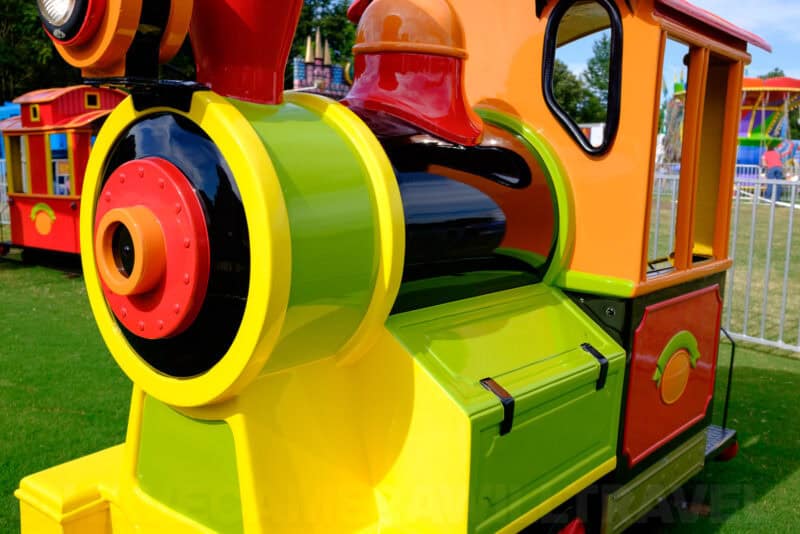

Adobe Standard vs ASTIA/SOFT
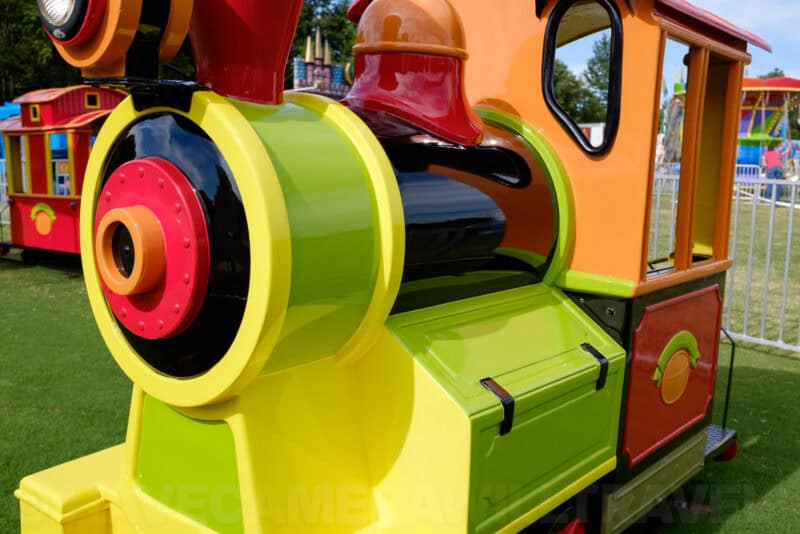

Adobe Standard vs CLASSIC CHROME
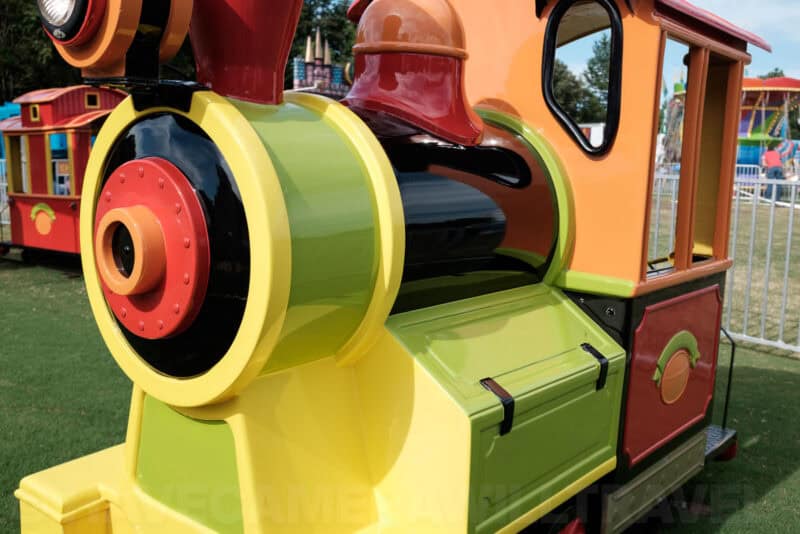

Adobe Standard vs Pro Neg. Hi
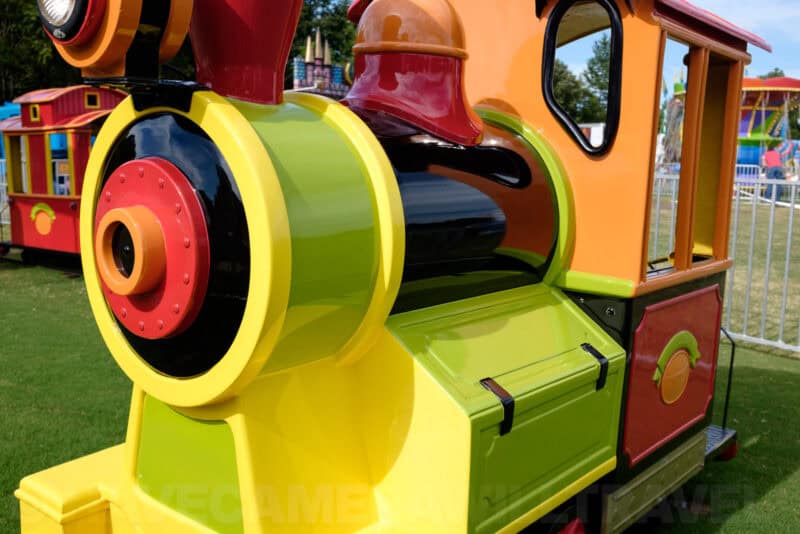

Adobe Standard vs Pro Neg. Std
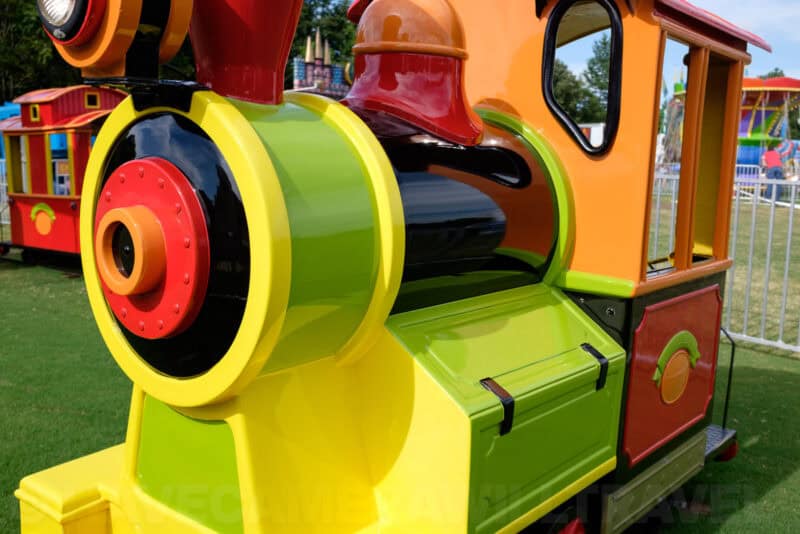

Black and white profiles
The baseline I’m using for comparison here is still using the Adobe Standard camera profile, but I’ve clicked on the Black and White setting in the Basic treatment panel.
Adobe Standard vs MONOCHROME
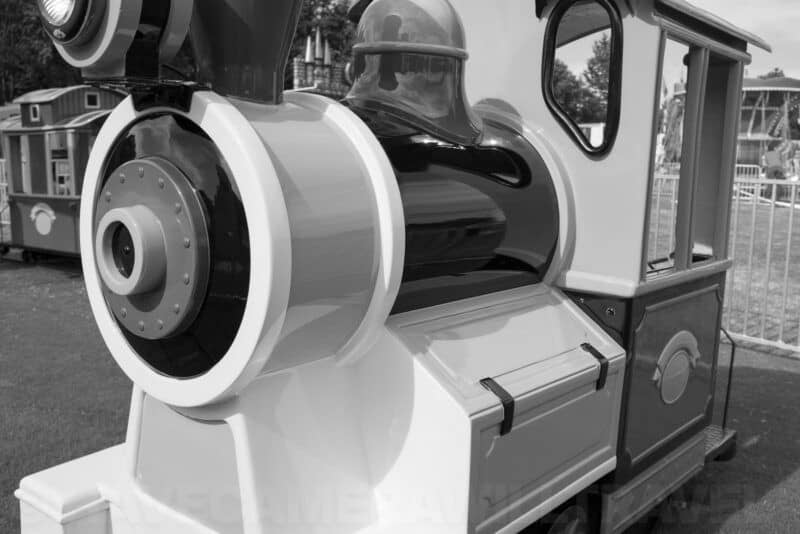
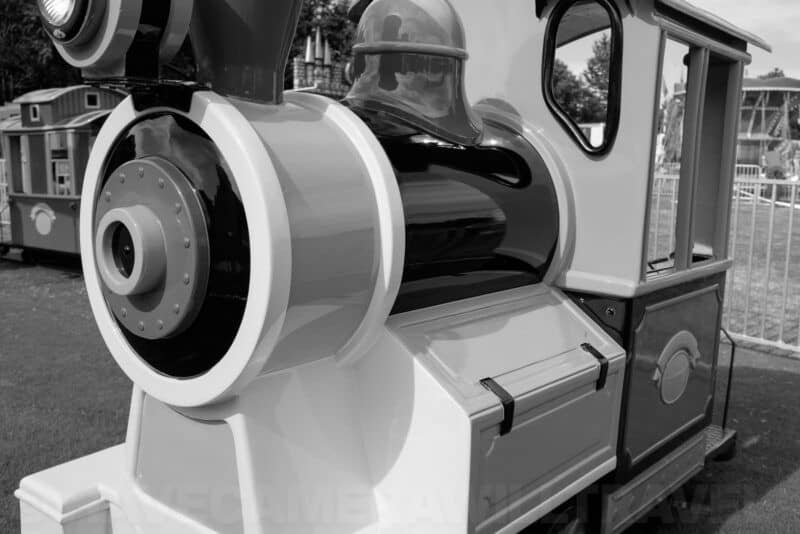
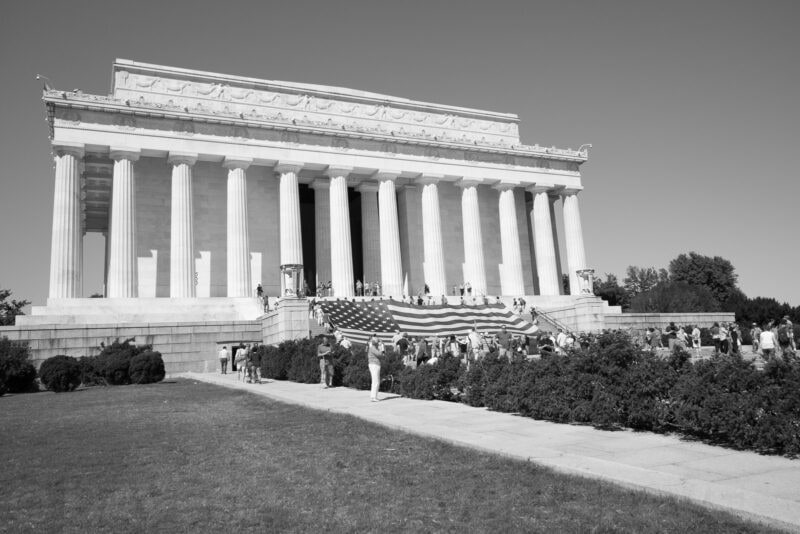
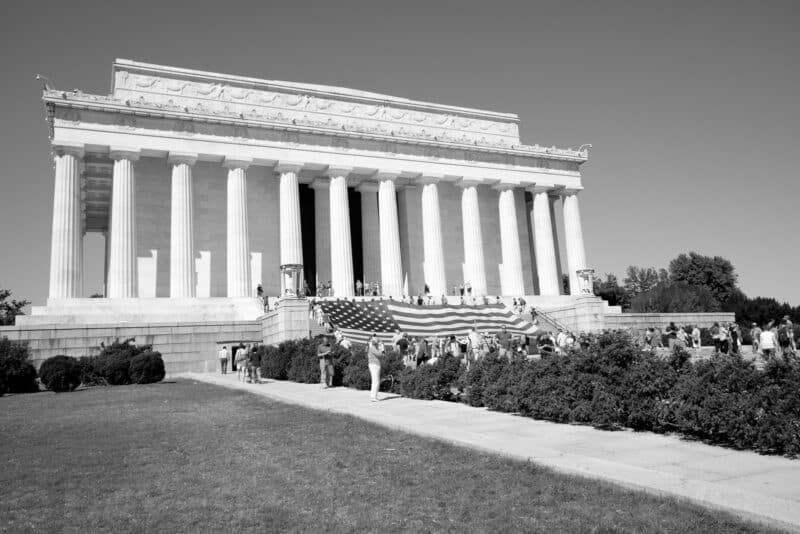
Adobe Standard vs MONOCHROME+Ye(llow) FILTER
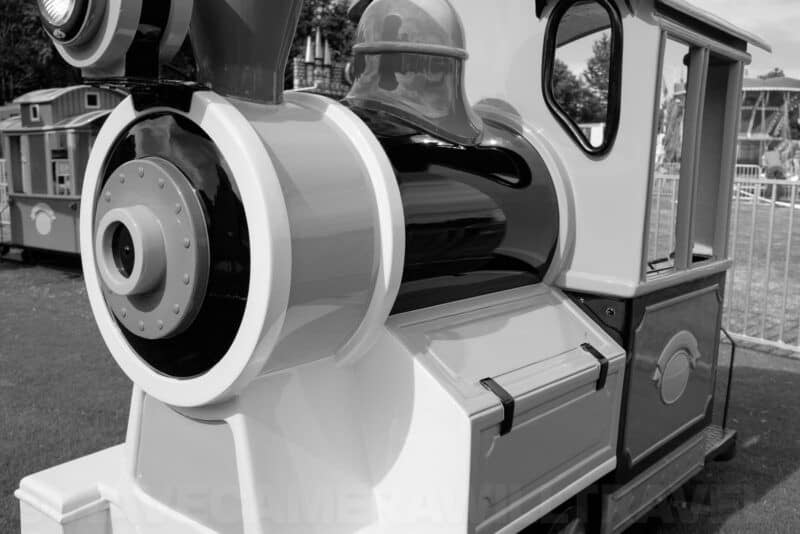
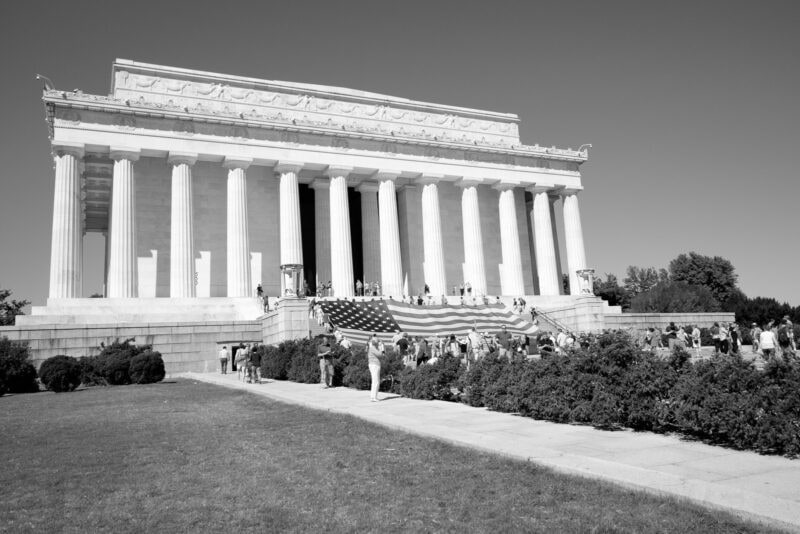
Adobe Standard vs MONOCHROME+R(ed) FILTER
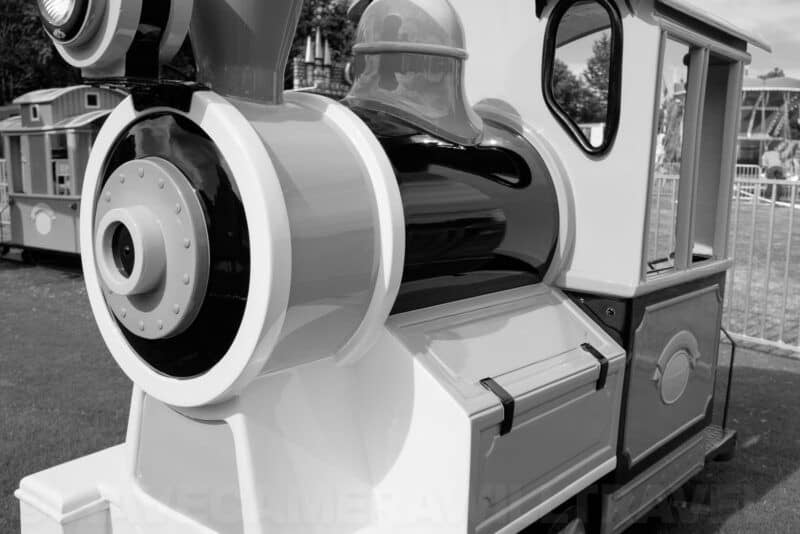
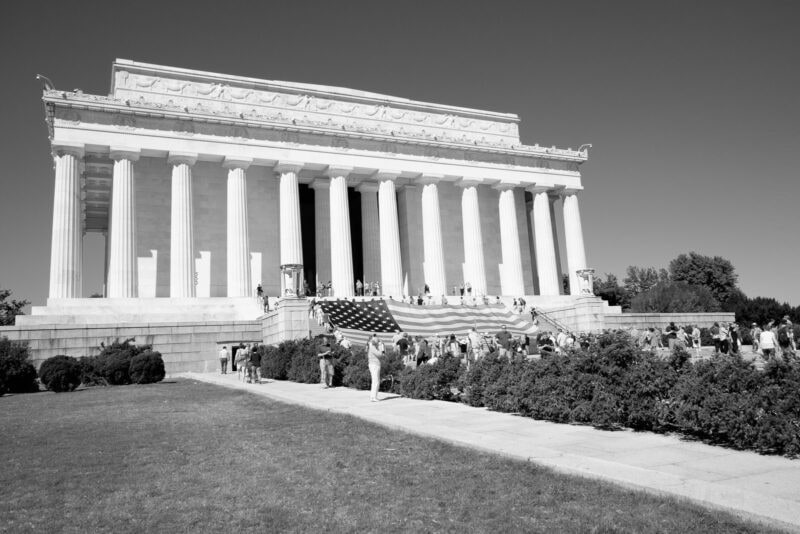
Adobe Standard vs MONOCHROME+G(reen) FILTER
Which film emulation to use?
There’s no right answer as to which to use. It’s entirely a matter of your vision and preference.
If you’re applying them in-camera to JPGs, you’re pretty much stuck with whatever you’ve selected in the camera’s settings.
If you’re shooting RAW, you have far more flexibility. The profile you have set in the camera will be applied to generating the preview image that’s embedded in the RAW file. So if you set it to monochrome, for example, when you play back those photos through the camera you’ll see it in monochrome.


But it’s not actually applied to the underlying RAW file, so if those previews are regenerated–as they are when you reload photos in Lightroom, for example–it’ll be regenerated with whatever camera profile setting you have for that image in Lightroom. That means you’re not stuck with what you shot with, and it also means you can safely experiment with different profile settings in a completely non-destructive way that has no effect at all to the underlying file. You can also do it on an image-by-image basis more conveniently than changing camera settings between every shot.


