
ExifTool by Phil Harvey is the gold standard for working with image metadata — and if you shoot raw, deal with GPS data, use stock agencies, or care about what’s embedded in your files before sharing them online, it’s worth knowing about.
It can read, write, and manipulate virtually every type of metadata across hundreds of file formats. And it’s free and open-source.
The potential sticking point is that it’s a command-line tool with no graphical interface. That can seem intimidating at first, but it also means it’s extremely fast for batch operations and combines well with other tools like ImageMagick and macOS’s built-in utilities. Which opens up some genuinely useful photography workflow possibilities.
Here’s how to get it installed on a Mac.
If you already have Homebrew on your Mac, the whole job is one command — brew install exiftool — and you can skip straight to Step 2. If you don’t have Homebrew yet, that’s the part that takes the time, and it’s covered first below.
What ExifTool actually does
ExifTool is highly specialized: it only deals with metadata. It won’t resize images or convert file formats. But when it comes to metadata, nothing else comes close.
Despite the name, it goes well beyond EXIF. It handles IPTC, XMP, GPS, JFIF, Maker Notes, ICC profiles, and a long list of other metadata types. If something is embedded in an image file, there’s a very good chance ExifTool can read it — and usually write it too. It works with raw files, JPEGs, TIFFs, DNGs, PDFs, video files, and more.
Phil Harvey first released it in 2003 and has maintained it actively ever since. It’s used by photographers, archivists, forensic analysts, and anyone else who needs reliable, non-destructive access to what’s actually inside their files.
Installing ExifTool via Homebrew
There are a few ways to install ExifTool on Mac, but Homebrew is the method I’d recommend. It’s straightforward, keeps ExifTool easy to update, and is consistent with how you’d install other command-line image tools like ImageMagick.
Homebrew isn’t a third-party rebuild, if you’re wondering: the exiftool formula packages Phil Harvey’s own Perl distribution from exiftool.org, so you get the official tool with the update handling done for you. The alternative is the macOS .pkg installer on that same site, which puts exiftool in /usr/local/bin and works fine — you just have to come back and download a new package each time you want a newer version.
Step 1: Install or update Homebrew
If you don’t have Homebrew installed yet, open Terminal and run:
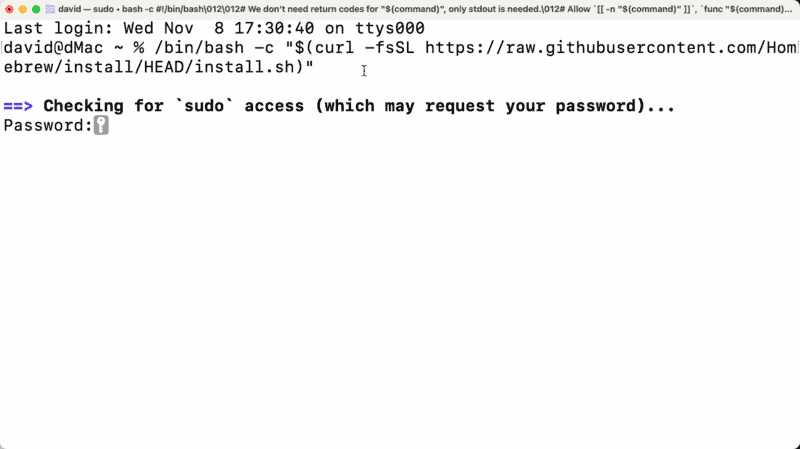
/bin/bash -c "$(curl -fsSL https://raw.githubusercontent.com/Homebrew/install/HEAD/install.sh)"You can copy and paste this directly into Terminal — no need to retype it. Make sure the closing quotation mark is included. Homebrew will walk you through the process and tell you what it’s doing at each step.
At some point, it will ask for your administrator password (sudo access) to run the necessary scripts. That’s normal — type your Mac login password and press Enter. Nothing will appear on screen as you type; that’s intentional.
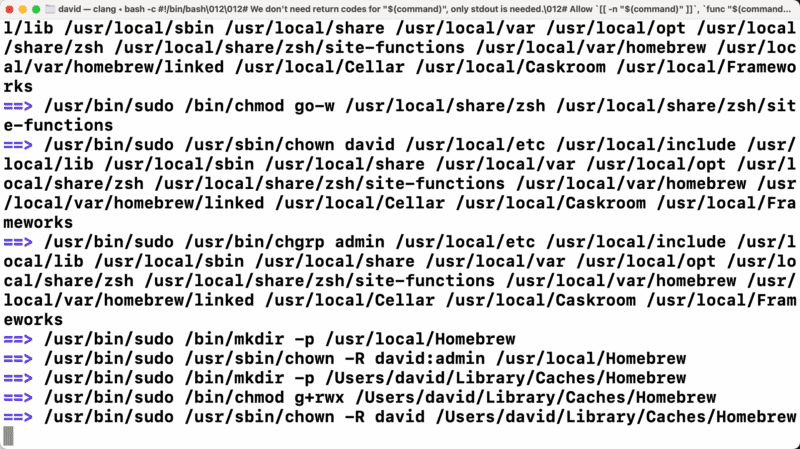
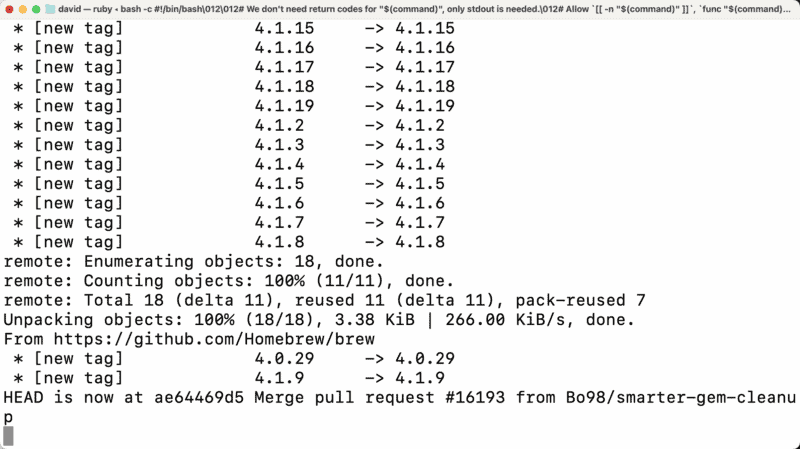
You’ll see a stream of output as Homebrew downloads and installs its components. That’s all normal.
One thing to know for a first-time install: Homebrew starts by downloading Apple’s Command Line Tools, which it needs to work. That’s a multi-gigabyte download, and it can sit for long stretches looking like nothing is happening. It’s not stuck — on a slower connection, this step alone can take 20 minutes or more.
When it’s done, you’ll see a success message.
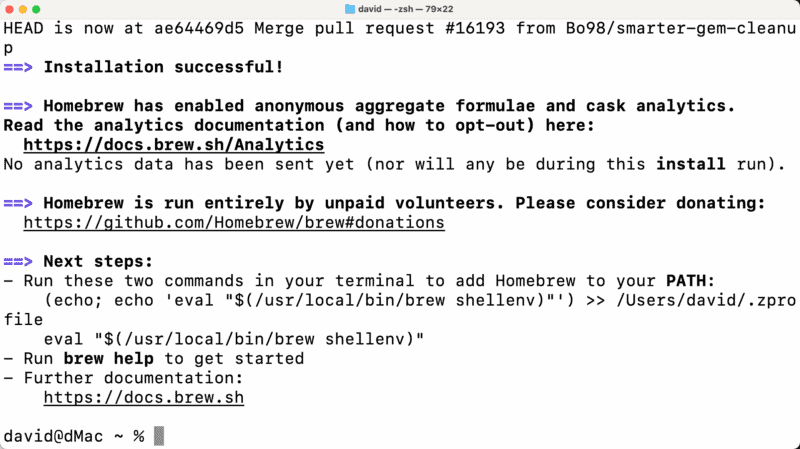
Apple Silicon note: If you’re on an M-series Mac (M1, M2, M3, M4), Homebrew installs to /opt/homebrew/ rather than /usr/local/. After installation, Homebrew will display a command to add itself to your PATH — copy and run that command before proceeding, or Homebrew commands won’t be recognized in Terminal.
In practice that’s two lines, run one after the other: echo 'eval "$(/opt/homebrew/bin/brew shellenv)"' >> ~/.zprofile and then eval "$(/opt/homebrew/bin/brew shellenv)". The first adds Homebrew to your PATH for every new Terminal session; the second applies it to the window you’re in right now, so you don’t have to quit and reopen Terminal before carrying on.
If you already have Homebrew installed, just update it first:
brew updateStep 2: Install ExifTool
brew install exiftoolHomebrew downloads and installs the latest version along with any dependencies. Once it’s done, verify the installation with:
exiftool -verIf ExifTool is installed correctly, this returns the version number. If you get a “command not found” error on an Apple Silicon Mac, you likely need to add Homebrew to your PATH first (see the note above).
A few ExifTool commands to try first
Rather than a comprehensive list here, I’m covering ExifTool’s most useful photography applications in separate guides. But here are a few commands to get a feel for it.
Read an image’s metadata
Navigate to the folder containing the image and run:
exiftool myimage.jpgReplace myimage.jpg with your filename. ExifTool will output every metadata field it finds — camera model, lens, shutter speed, aperture, ISO, GPS coordinates if present, copyright fields, and much more.
Tip: Instead of navigating to the folder first, you can type
exiftool(with a trailing space) and then drag the image file — or an entire folder — from Finder directly into the Terminal window. Terminal fills in the path automatically. Press Enter.

Strip all metadata from an image
NB: This command overwrites the original file. Work on a copy.


exiftool -all= -overwrite_original myimage.jpgUseful before sharing images online when you don’t want GPS coordinates, client information, or stock agency keywords going out with the file. I have a more detailed guide to stripping metadata with ExifTool here, including batch processing and how to preserve the ICC color profile.
Worth knowing before you rely on it: ExifTool only touches the file you point it at. If you work in Lightroom or Bridge and have XMP sidecar files sitting next to your raws, stripping the image leaves the sidecar untouched and everything in it still readable. If the point is to hand over a clean set of files, deal with the sidecars separately.
Two default behaviors worth knowing. First, without the -overwrite_original flag, ExifTool keeps a backup of the untouched file alongside the changed one, named myimage.jpg_original. That’s the safety net, not a bug — the flag is how you decline it. Second, -all= really does mean all: it also strips the orientation flag that tells software which way up the photo goes, so a stripped image can suddenly display sideways. To strip everything but keep that flag:
exiftool -all= -tagsfromfile @ -Orientation -overwrite_original myimage.jpgPull up the manual
ExifTool’s full documentation is available directly in Terminal:
man exiftoolOr browse the official ExifTool website for the complete command reference and examples. It’s extensive, but the search function makes it navigable.
Command recipes for common photography tasks
Once ExifTool is installed, the fastest way to learn it is to use it. Here are recipes for jobs photographers actually run into.
I’ve tested each one as written, but it’s always possible that software updates might change things. And I strongly recommend working on copies — not your masters — at least until you’re very confident that it’s actually working as you want it to.
The ones that change files modify them in place — work on copies until you trust what a command does. myimage.jpg stands in for your own filename.
| What you want to do | Command |
|---|---|
| See the key shooting settings at a glance | exiftool -common myimage.jpg |
| See which camera and lens took a shot | exiftool -Model -LensModel myimage.jpg |
| Check whether (and where) a photo is geotagged | exiftool -GPSPosition myimage.jpg |
| Remove the GPS location but keep everything else | exiftool -gps:all= -overwrite_original myimage.jpg |
| Add your name and copyright to every JPEG in a folder | exiftool -Artist="David Coleman" -Copyright="© David Coleman" -overwrite_original *.jpg |
| Fix timestamps after a timezone slip (here, +5 hours) | exiftool -AllDates+=5 -overwrite_original *.jpg |
| Rename files to the date they were taken | exiftool '-FileName<DateTimeOriginal' -d '%Y%m%d-%H%M%S%%-c.%%e' *.jpg |
| Export a folder’s settings to a spreadsheet | exiftool -csv -FileName -Model -LensModel -FocalLength -FNumber -ExposureTime -ISO . > settings.csv |
| Count how many shots each camera took | exiftool -T -Model . | sort | uniq -c | sort -rn |
| Pull the full-size JPEG preview out of a raw file | exiftool -b -JpgFromRaw myraw.nef > preview.jpg (Nikon; on other brands try -PreviewImage) |
Two switches worth knowing for all of these: add -r to include subfolders, and -ext jpg (or -ext nef, and so on) to limit a command to one file type.
Using ExifTool to check a camera’s shutter count
A camera’s shutter count is its odometer. It matters most when buying or selling used gear — a body rated for 200,000 actuations that has already done 180,000 is a different proposition from one that has done 15,000. It’s also a way to gauge how hard you’re actually working your own cameras and to budget for upgrade plans.
Many cameras record the count in every photo’s maker notes. Take a fresh photo, copy it straight off the card — unedited, since exporting from Lightroom or other editors usually strips this data — and run:
exiftool -ShutterCount myphoto.nefIf that comes back empty, try this to look for anything count-related:
exiftool -s "-*Count*" myphoto.nefWhether this works depends on the brand. From my own testing: Nikon writes it (DSLRs and Z bodies), Sony does on many models, and Canon’s mirrorless bodies record it in their CR3 files — though Canon DSLRs generally don’t, and need a USB utility instead. Pentax DSLRs generally write it as well. Fujifilm stores only a frame counter (ImageCount) that doesn’t reliably reflect total actuations. Many compacts record nothing at all.
One key wrinkle that matters for newer cameras: electronic shutters. Cameras that can shoot electronically may report separate values. A raw file from my Nikon Z8 shows ShutterCount: 29018 alongside MechanicalShutterCount: 0 — the Z8 has no mechanical shutter at all. On hybrid bodies, a low mechanical count doesn’t necessarily mean light use, but the flip side is that electronic actuations don’t wear a mechanism the way mechanical ones do, so it’s less of a factor in determining the wear and tear on a camera. And the count is actuations; it, of course, has nothing to do with what photos you actually kept.
For Nikon DSLRs specifically — including the online services that read the count for you, no Terminal required — see my guide to finding the shutter count on Nikon DSLRs.
Keeping ExifTool updated
Phil Harvey updates ExifTool regularly — usually to add support for new camera models and RAW formats. With Homebrew, staying current is a single command:
brew upgrade exiftoolOr to update all your Homebrew-installed tools at once (this is what I prefer):
brew upgrade


