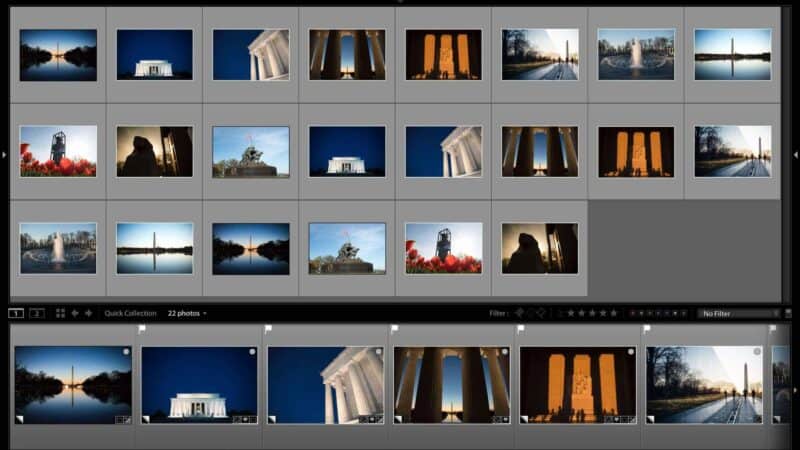
There are a bunch of ways that virtual copies can come in handy when editing and managing images in Lightroom. They can be used for experimenting with different developing or have different metadata applied. So you can set them up for specific purposes.
One of the ways I use them most often is in creating copies that I’m using as the versions that sync with my website. I’ll usually want different title and description/caption information for those files than I keep with the versions I’m sending to clients or uploading to clients or editors.
And I definitely don’t want to overwrite the original versions, so I need to be able to filter out the virtual copies to prevent accidentally doing so.
If you’ve created virtual copies alongside the master versions, it can sometimes be hard to distinguish between them visually. In some views, there’s a small corner fold icon in the bottom left corner, but if you want to work on just the virtual copies or just the master versions, selecting those all individually can be tedious.
Thankfully, Lightroom has a very quick way to filter virtual copies or masters or video files.
Lightroom’s virtual copies filter
In the Library module, open the main library filter bar at the top by press the backslash key () or going to View > Show Filter Bar.
Once that’s appeared, choose the Attribute tab.
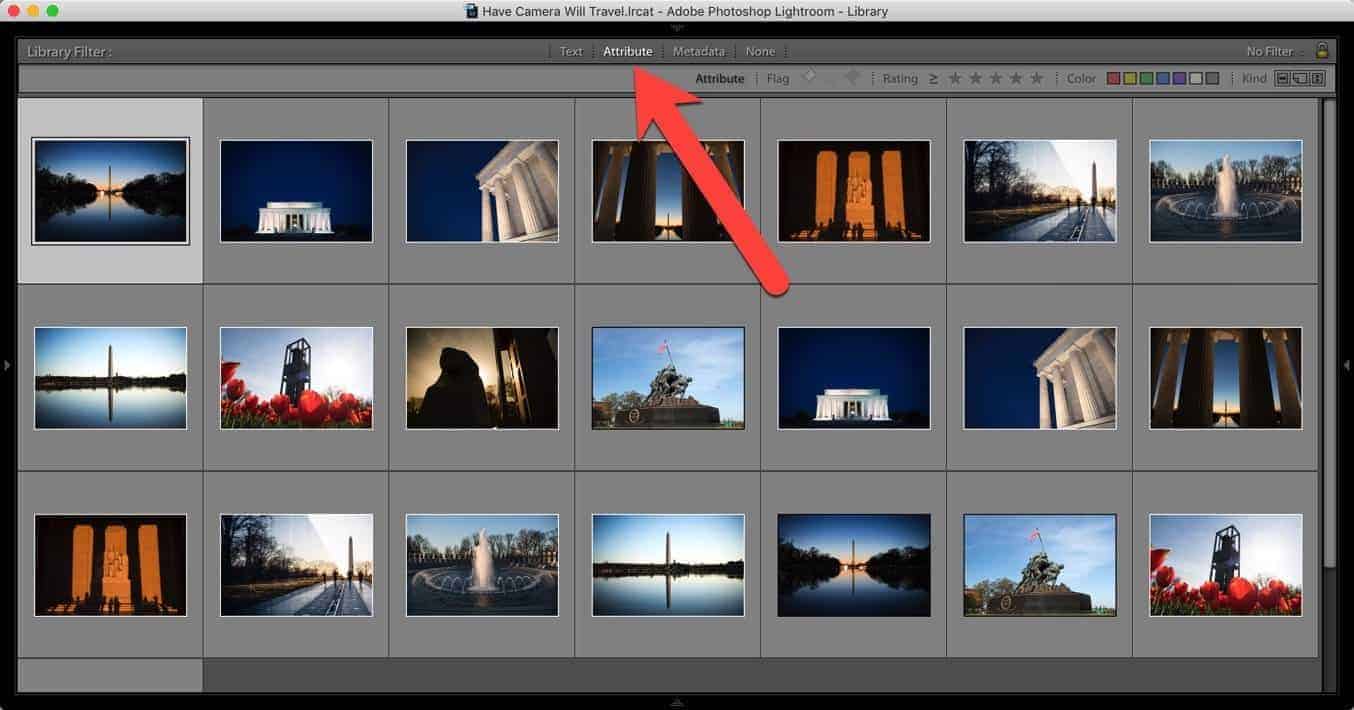
You’ll see the flags, star ratings, and colors. At the far right are the Kind options.
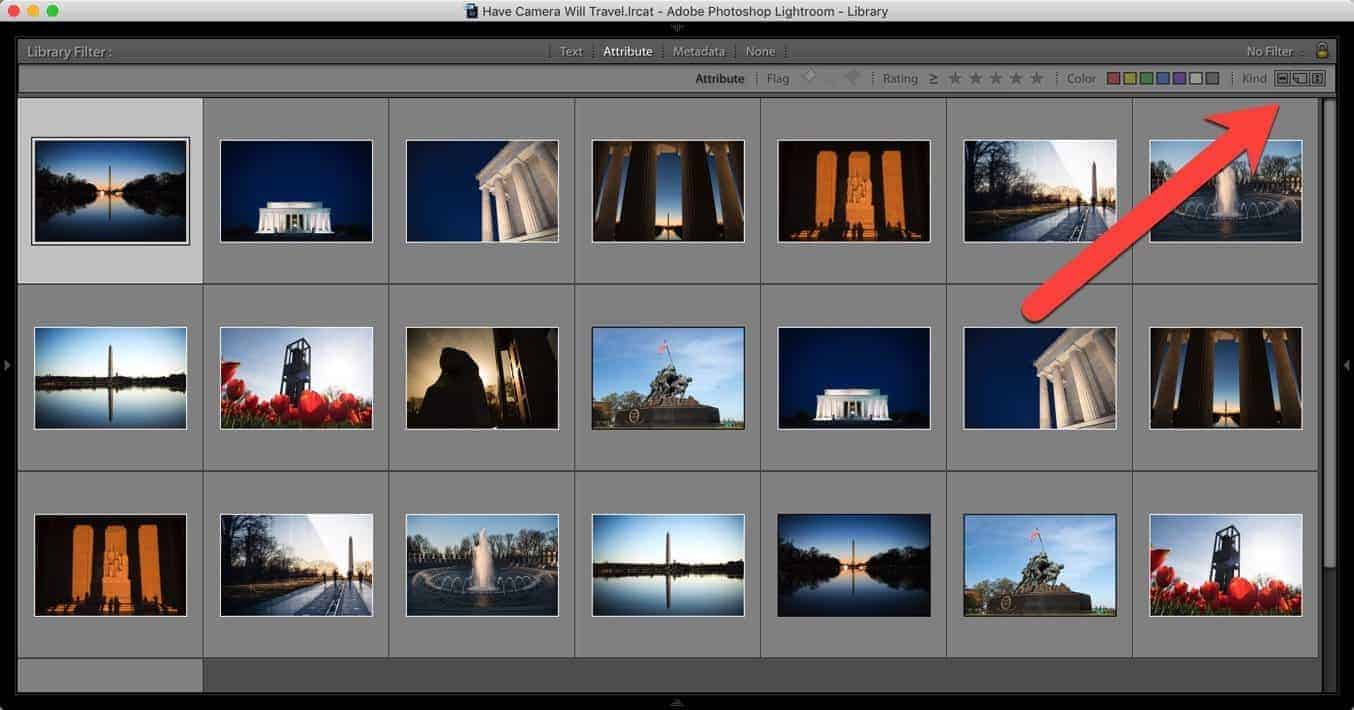
There are three small icons. They’re all pretty similar; each refers to a specific kind of image. It’s worth noting that you can have more than one selected at a time. For instance, you can select all the masters and all the virtual copies. Or you can select all the masters and all the videos.
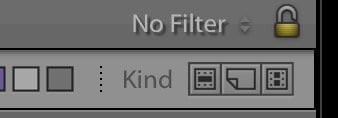
The one on the left is for master files. The middle one is virtual copies. So if you only want to show virtual copies, select only the middle one.
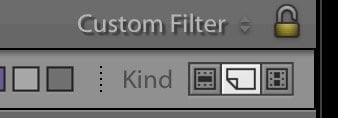
If you want to both master versions and virtual copies to be visible, select the first two.
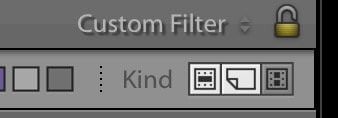
Et, voila! That’s all there is to it!




