Quick Summary
- A generational leap in tech: Modern AI tools don’t just blur pixels. They replace the traditional RAW demosaicing process, using machine learning to interpret linear sensor data before the noise is baked in.
- RAW files are the key: To get the absolute best results out of tools like Lightroom Denoise and DxO PureRAW, you need your original RAW files. If you only have older TIFFs or JPEGs, ON1 NoNoise AI is the right tool for the job.
- Rescue your archives: Files from older digital cameras shot at ISO 3200 or 6400 that were previously deemed entirely unusable can often be revived for modern use.
- Avoid the uncanny valley: It’s easy to take this processing too far. Dial the effect back slightly to retain realistic textures and keep your subjects from looking waxy and plasticky.
Today’s digital cameras can do some pretty remarkable things with surprisingly little light. But digital cameras haven’t always been so good at it.
With earlier generations of cameras, you had to think twice before moving up to around ISO 3200. Beyond that, you’d often end up with not just intrusive noise but also color shifts and markedly reduced dynamic range. Now, with the latest generations of cameras, you can often blow right past that and still expect the camera to maintain excellent image quality to much higher ISOs.
But what about all those old digital photos you have where image noise was just too intrusive to make the image usable at the time?
The good news is that the latest generations of noise reduction tools can work wonders with old high-ISO photos. It often feels like magic. The current crop of noise reduction tools are lightyears ahead of what was available even just 5 years ago, let alone what was available back a decade or two ago.
And it’s a really pleasant surprise when you see an old photo that you thought was beyond help come back to life. They can’t do much about motion blur or out of focus, but they can do some pretty remarkable things with photos taken in low light and high ISOs.
So there’s never been a better time to revisit some of those old digital photos you’ve got sitting in your archive and breathe some new life into them. And with luck, you might even find some hidden gems!
Related: for the tool I use most, see my DxO PureRAW 6 review, with before/after tests on six cameras.
It’s best to use the RAW files if you still have them
You kept the RAW files, didn’t you? Because you’ll get better results if you start with those.


Some of the tools, and especially the two I’m providing examples of here and recommending, only work with RAW files.
That’s because they work differently from traditional noise reduction tools. This newer generation of tools doesn’t just blur and smooth pixels after the fact — they’re actually replacing the traditional RAW demosaicing process. They use AI (or, more precisely, machine learning) to interpret the linear sensor data before the noise is permanently baked into the image. That’s why they require RAWs and why they are lightyears ahead of old methods.
If you don’t have the RAW files available, all isn’t lost, but you’ll have a different selection of tools available to use. My preferred app in that case is ON1 NoNoise AI.
Which apps?
We’re spoiled for choice when it comes to apps that can revive old high-ISO photos these days. The newer apps all lean heavily into machine-learning (or AI) processes to analyze and enhance the files.
I’ve put all of the major noise reduction software through its paces, and these are the three that stand out for me.
Lightroom Classic’s denoise tool
If you’re already using Lightroom to organize and edit your photos, then you already have one of the best tools right at hand. So it’s a good starting point.
Lightroom Classic quietly introduced an Enhance toolset several years ago, and it has been improving ever since. The most powerful part of it is the AI-powered Denoise tool.
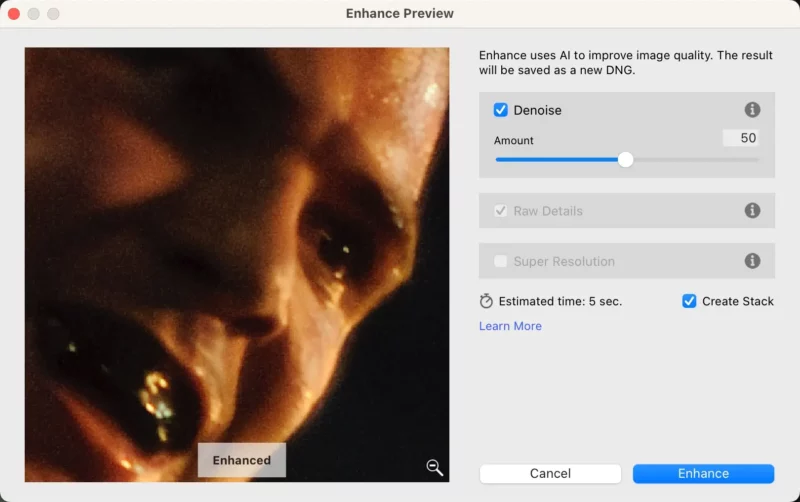
It will create a new RAW (DNG) version of each image, and, if you’ve checked the appropriate box, stack the output file right there with the input file.
Denoise is a built-in feature of recent versions of Lightroom Classic, so there’s no need to install a plugin or activate a beta feature.
I’ve put together a detailed guide on using it on my post-processing site.
But there is a specific trait that I don’t like about it, especially if I’m working with large batches of images: because the denoise processing is now saved as metadata rather than a separate DNG file, all of that data gets saved inside the Lightroom database itself. For a few images, that’s not a problem. But when I rashly decided to process a couple of thousand images just because I could, I realized that my database had become massively bloated and was taking up massive amounts of space on my main drive. PureRAW creates new DNG versions. And while those take up a lot of space themselves, it’s much easier to move them off your main OS drive.
DxO PureRAW
Lightroom’s built-in Denoise tool works really well, but DxO PureRAW is what I use. It’s conceptually similar in what it does, but it’s a third-party paid app developed by French imaging specialists DxO. And I like the results I get from it better along with a little more control (even if there are still things I wish it did better).
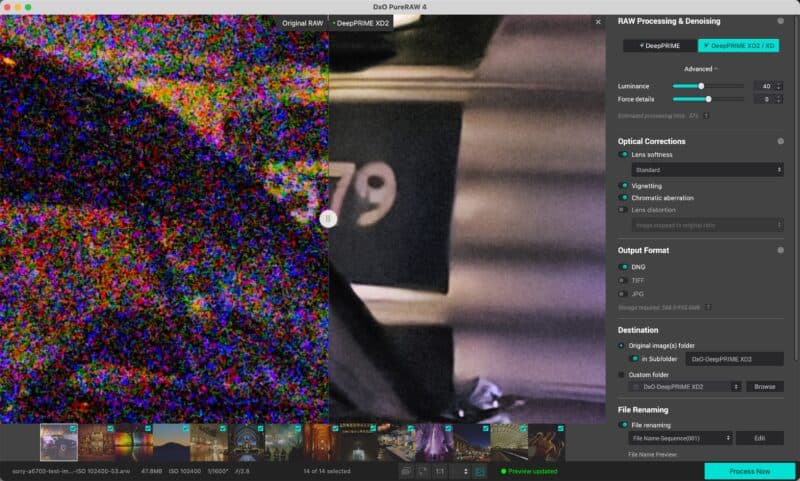
As you might guess from the name, it also only works with RAW files. And it’s designed to be used at the beginning of the editing workflow, basically to prep the RAW files before editing.
In addition to noise reduction, it can draw on DxO’s impressive database of lens and camera profiles to address some common optical issues like vignetting, lens distortion, chromatic aberration, and lens softness (you can enable each of these tools at your choice).
There’s a free trial available, which you can get here.
ON1 NoNoise AI
At first glance, this looks quite similar to the previous two. And its results can be equally impressive.
But it has a number of key differences that can be really useful, especially if you’re trying to get an individual image just right. It combines traditional noise reduction with AI analysis and sharpening.
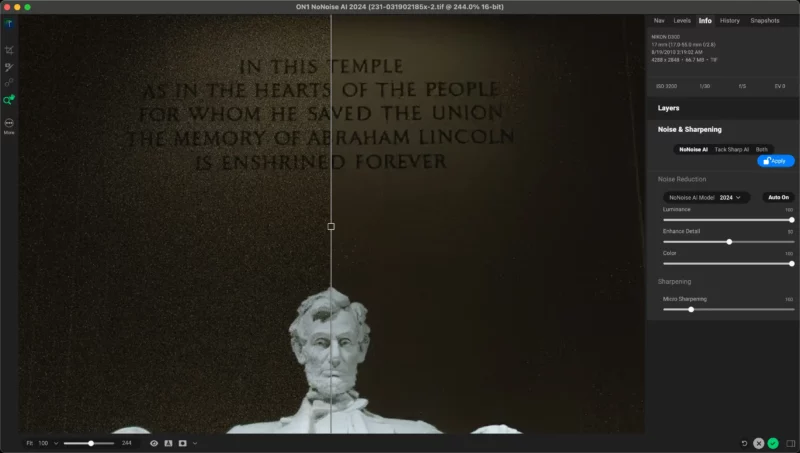
For starters, it will work on TIFF and JPG files, which is something the previous two tools can’t do.1
It also has powerful masking tools, so you can apply settings selectively to only parts of the image.
There’s a free trial available that you can get here.
Practical examples
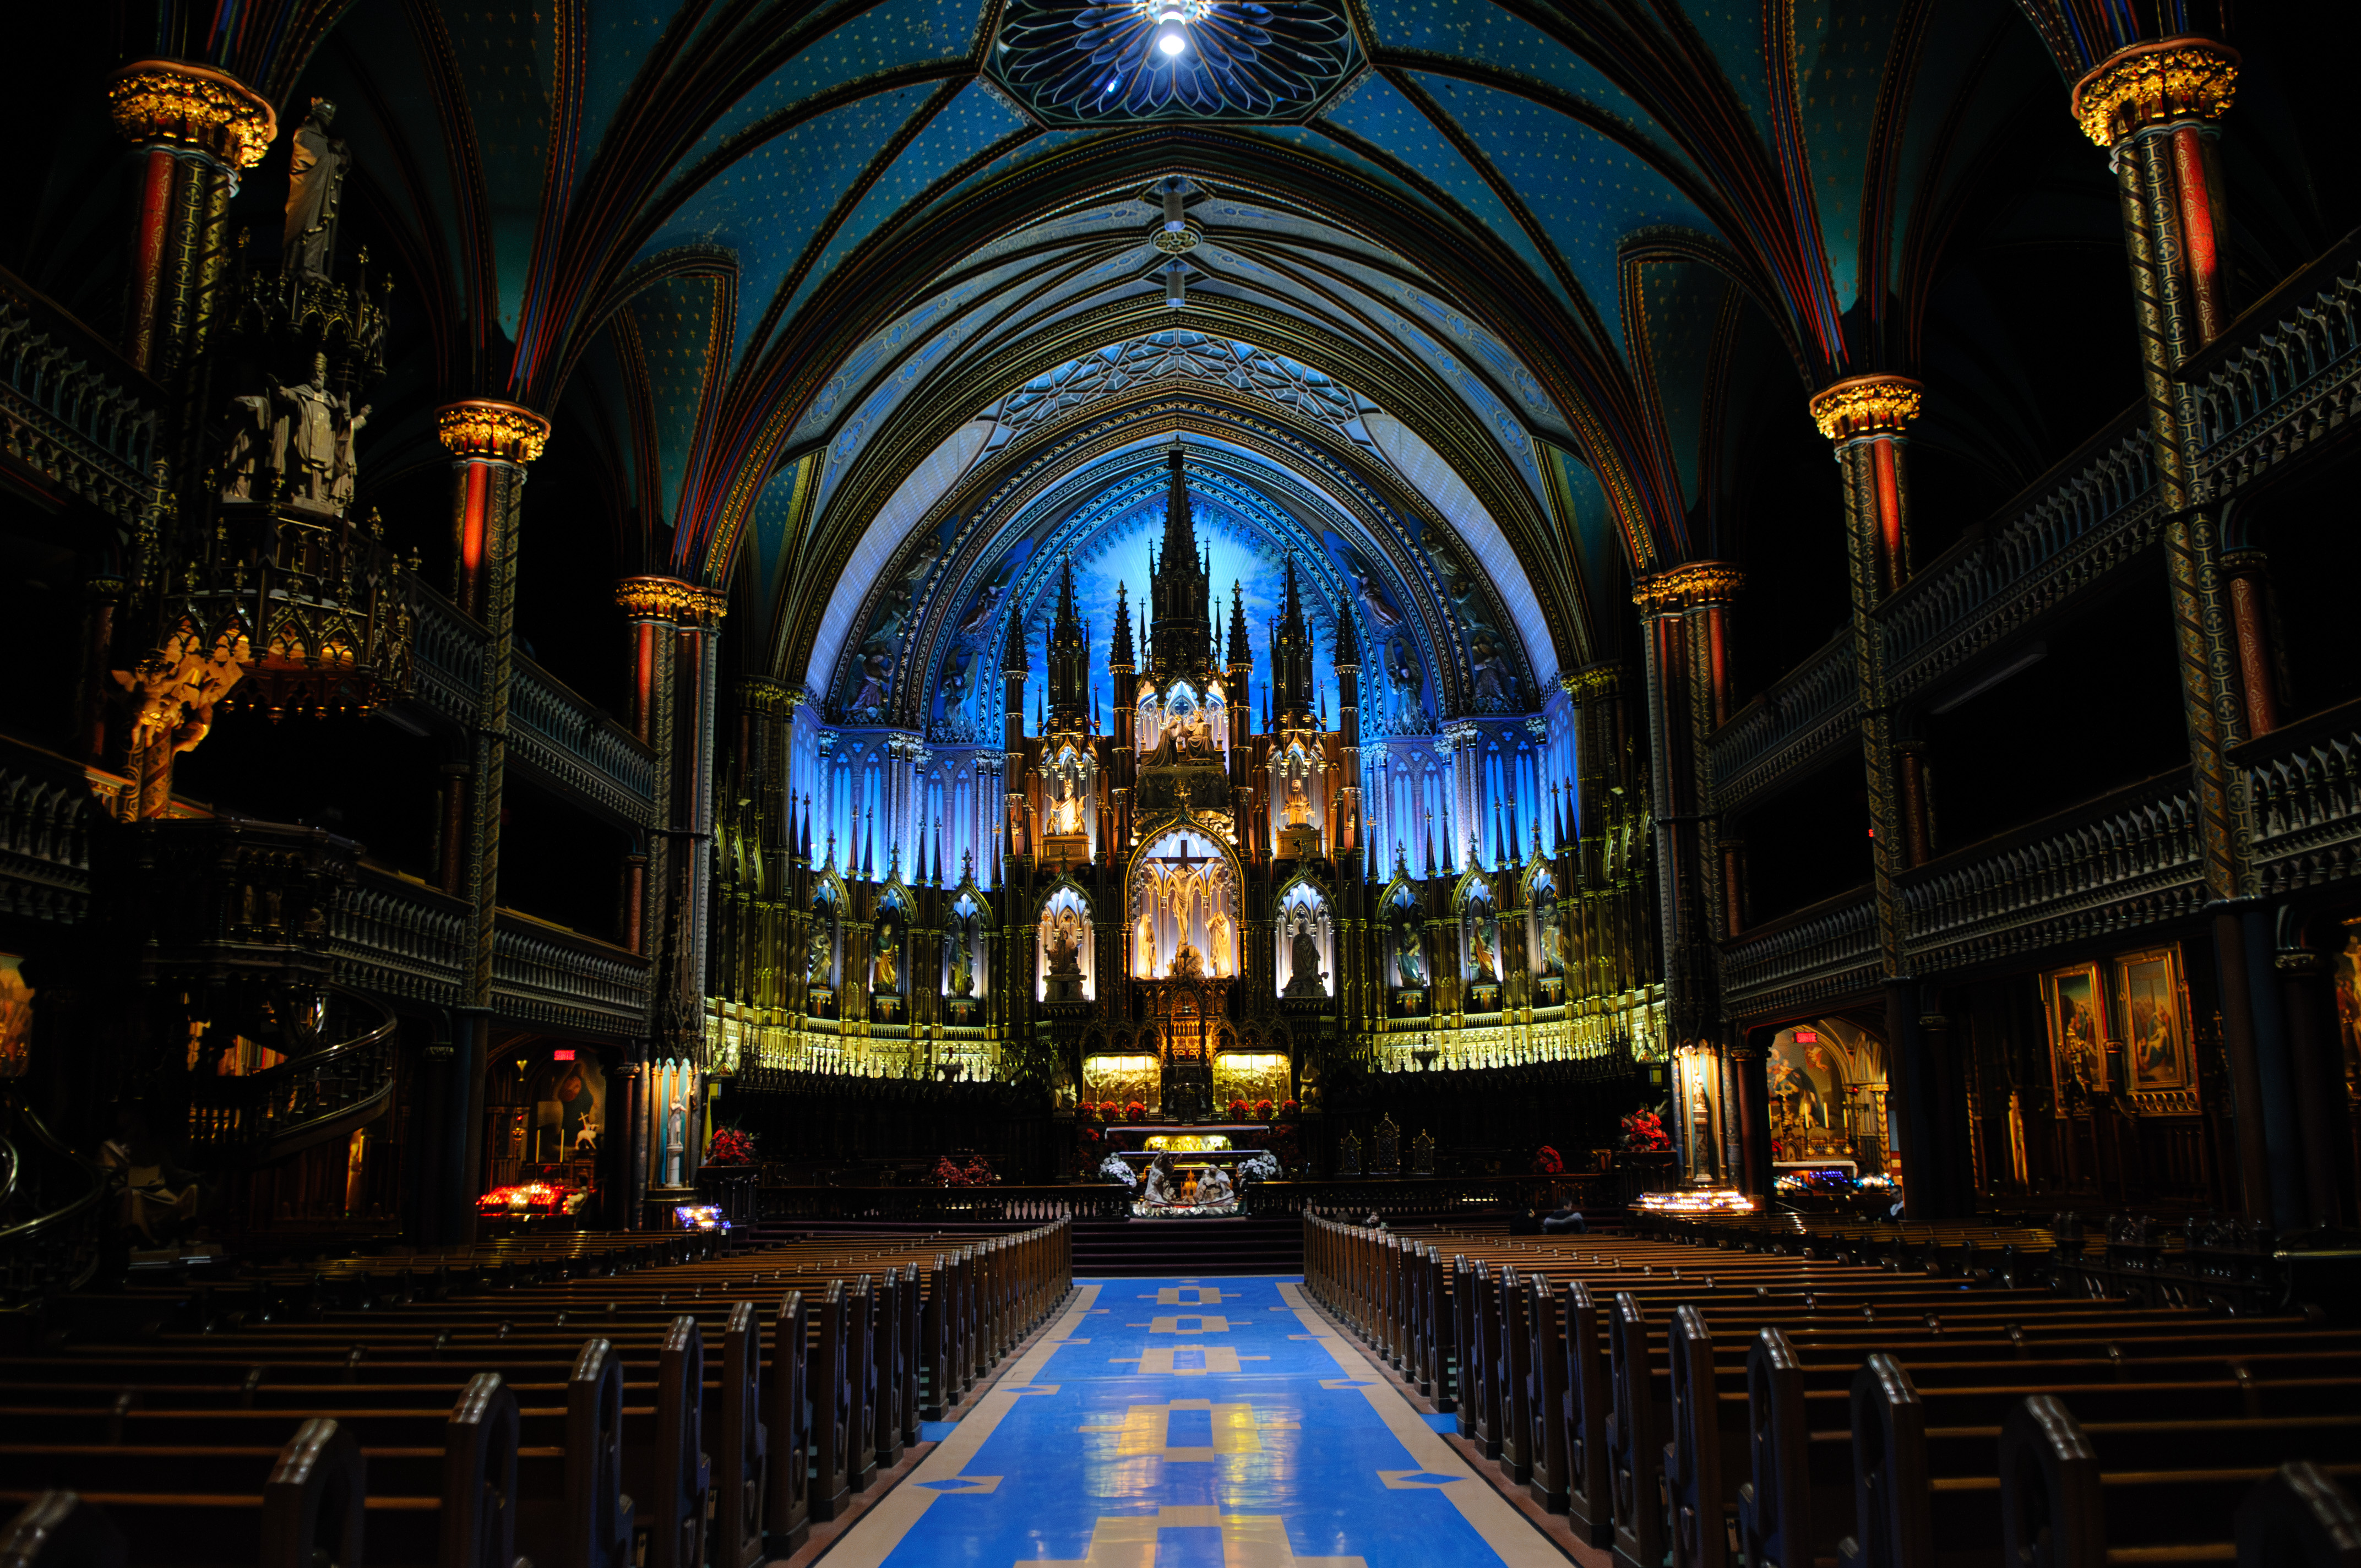
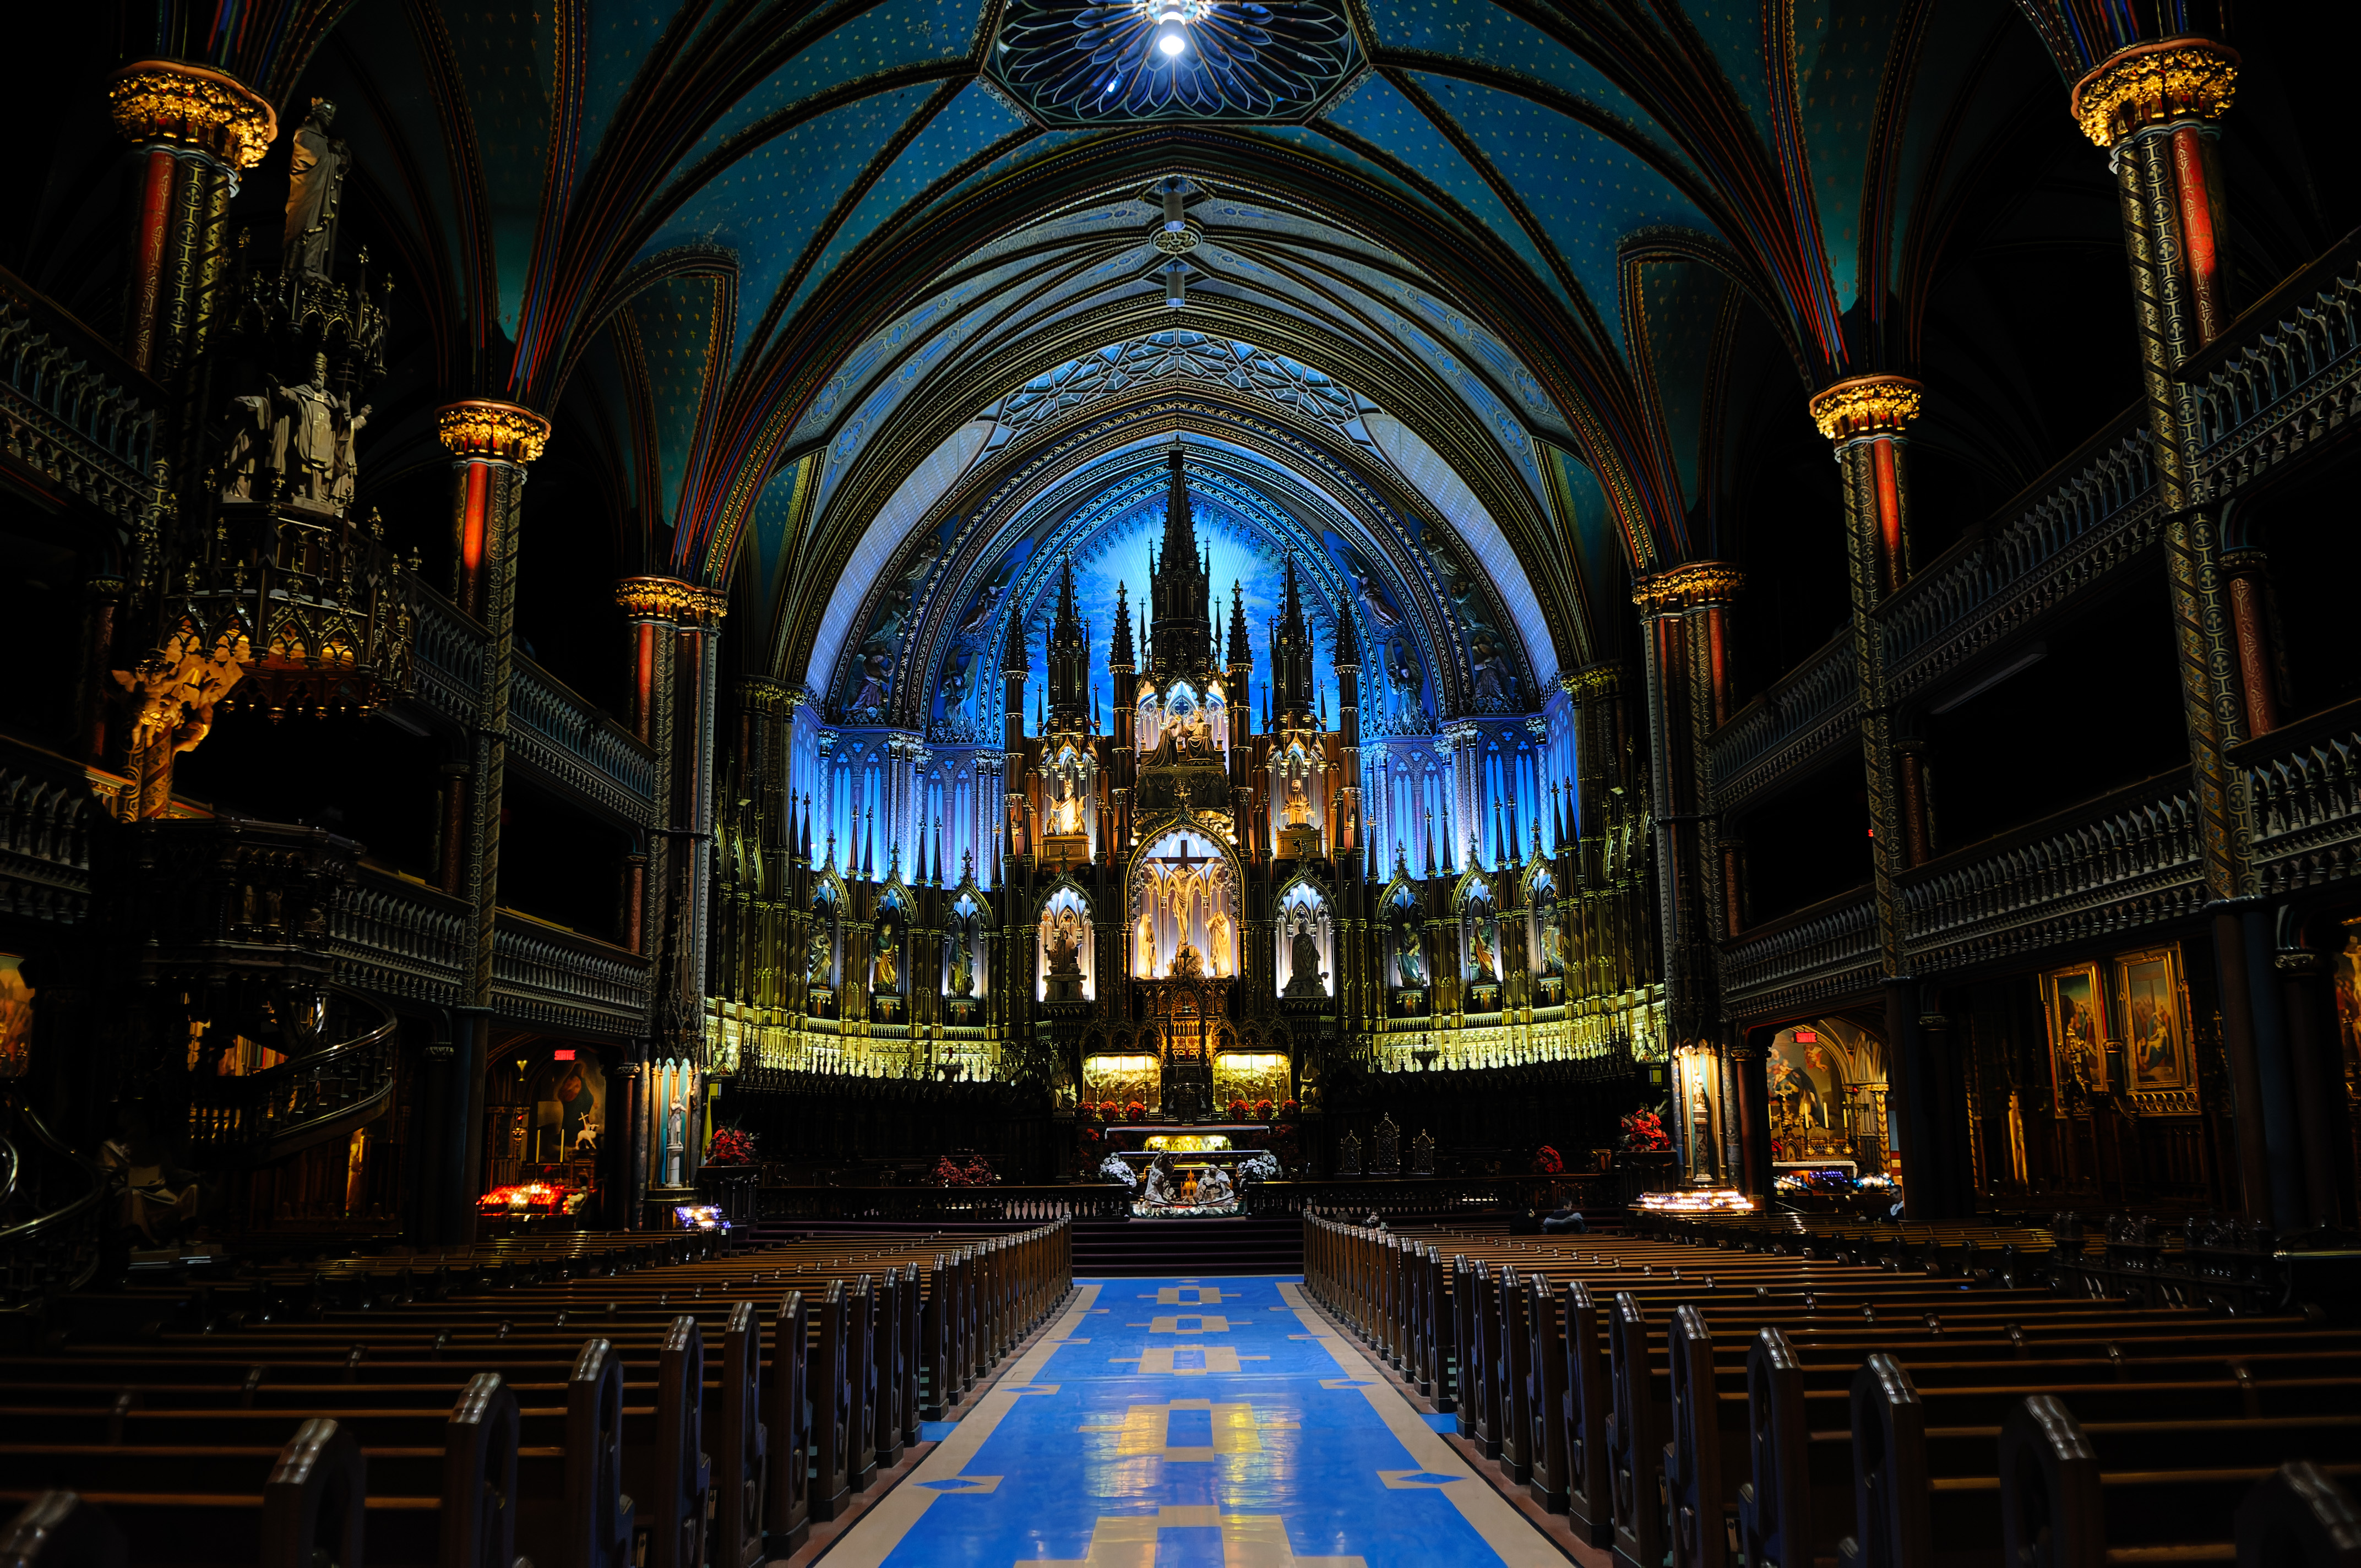
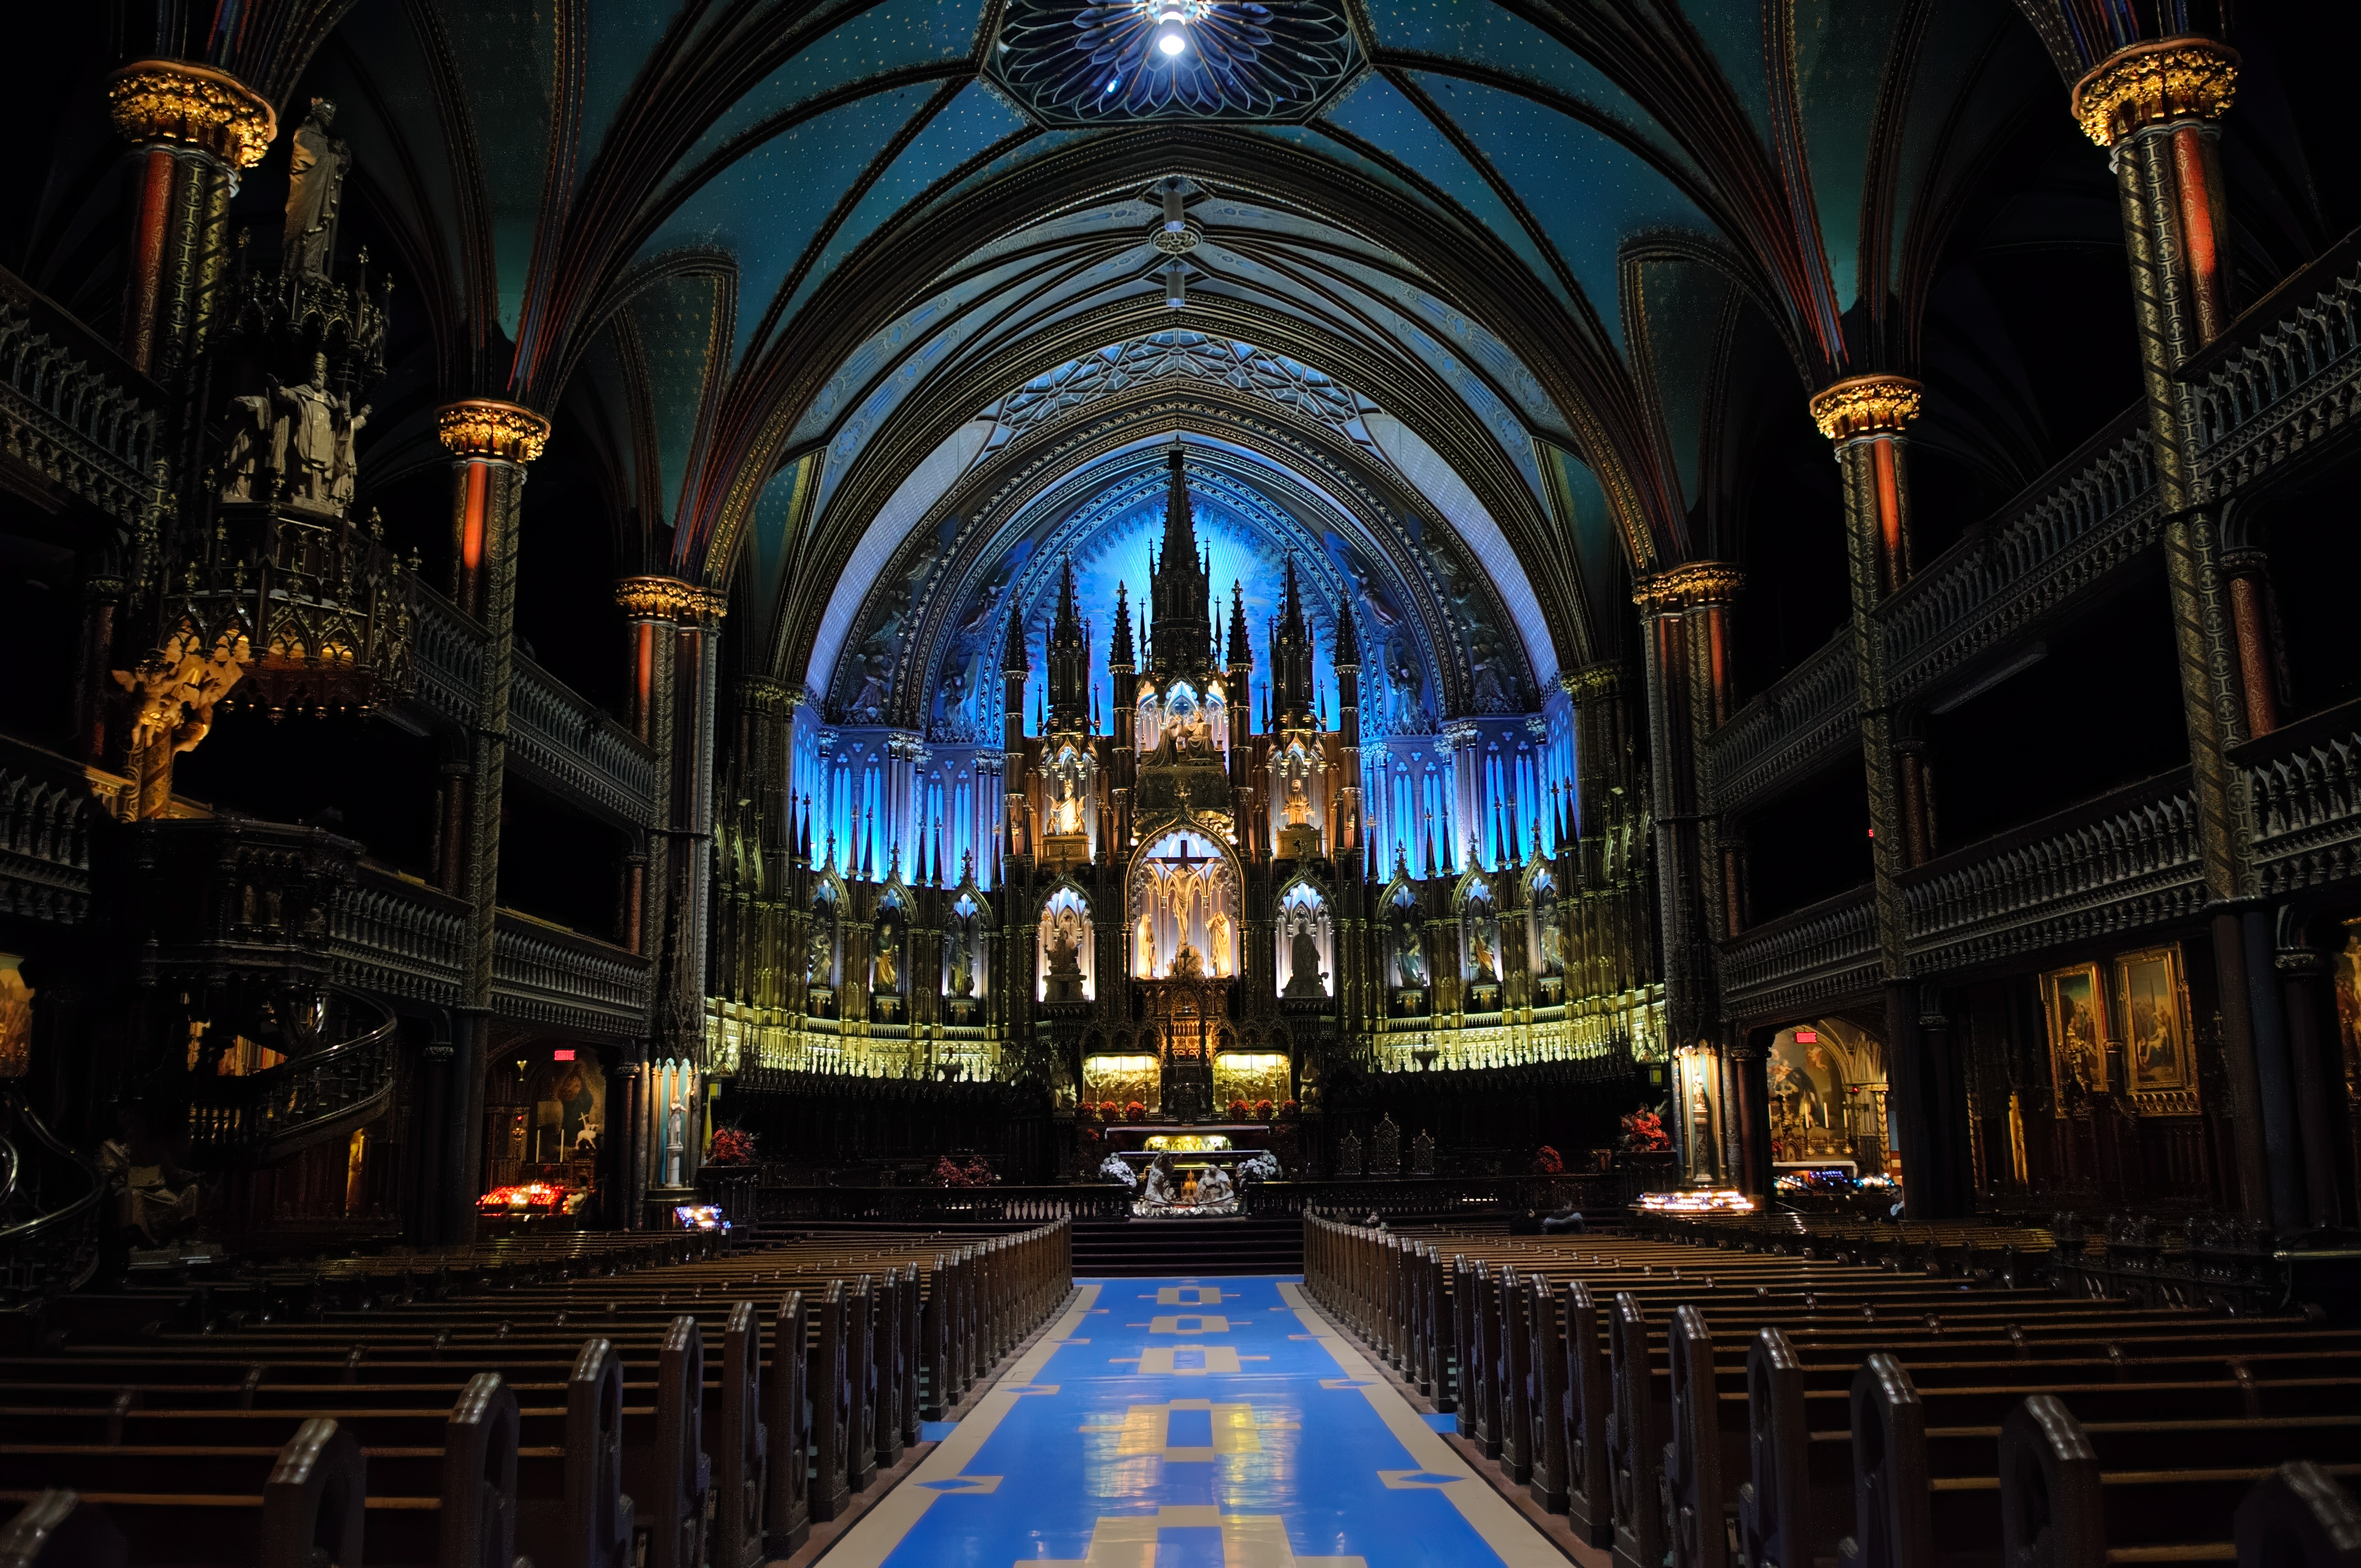
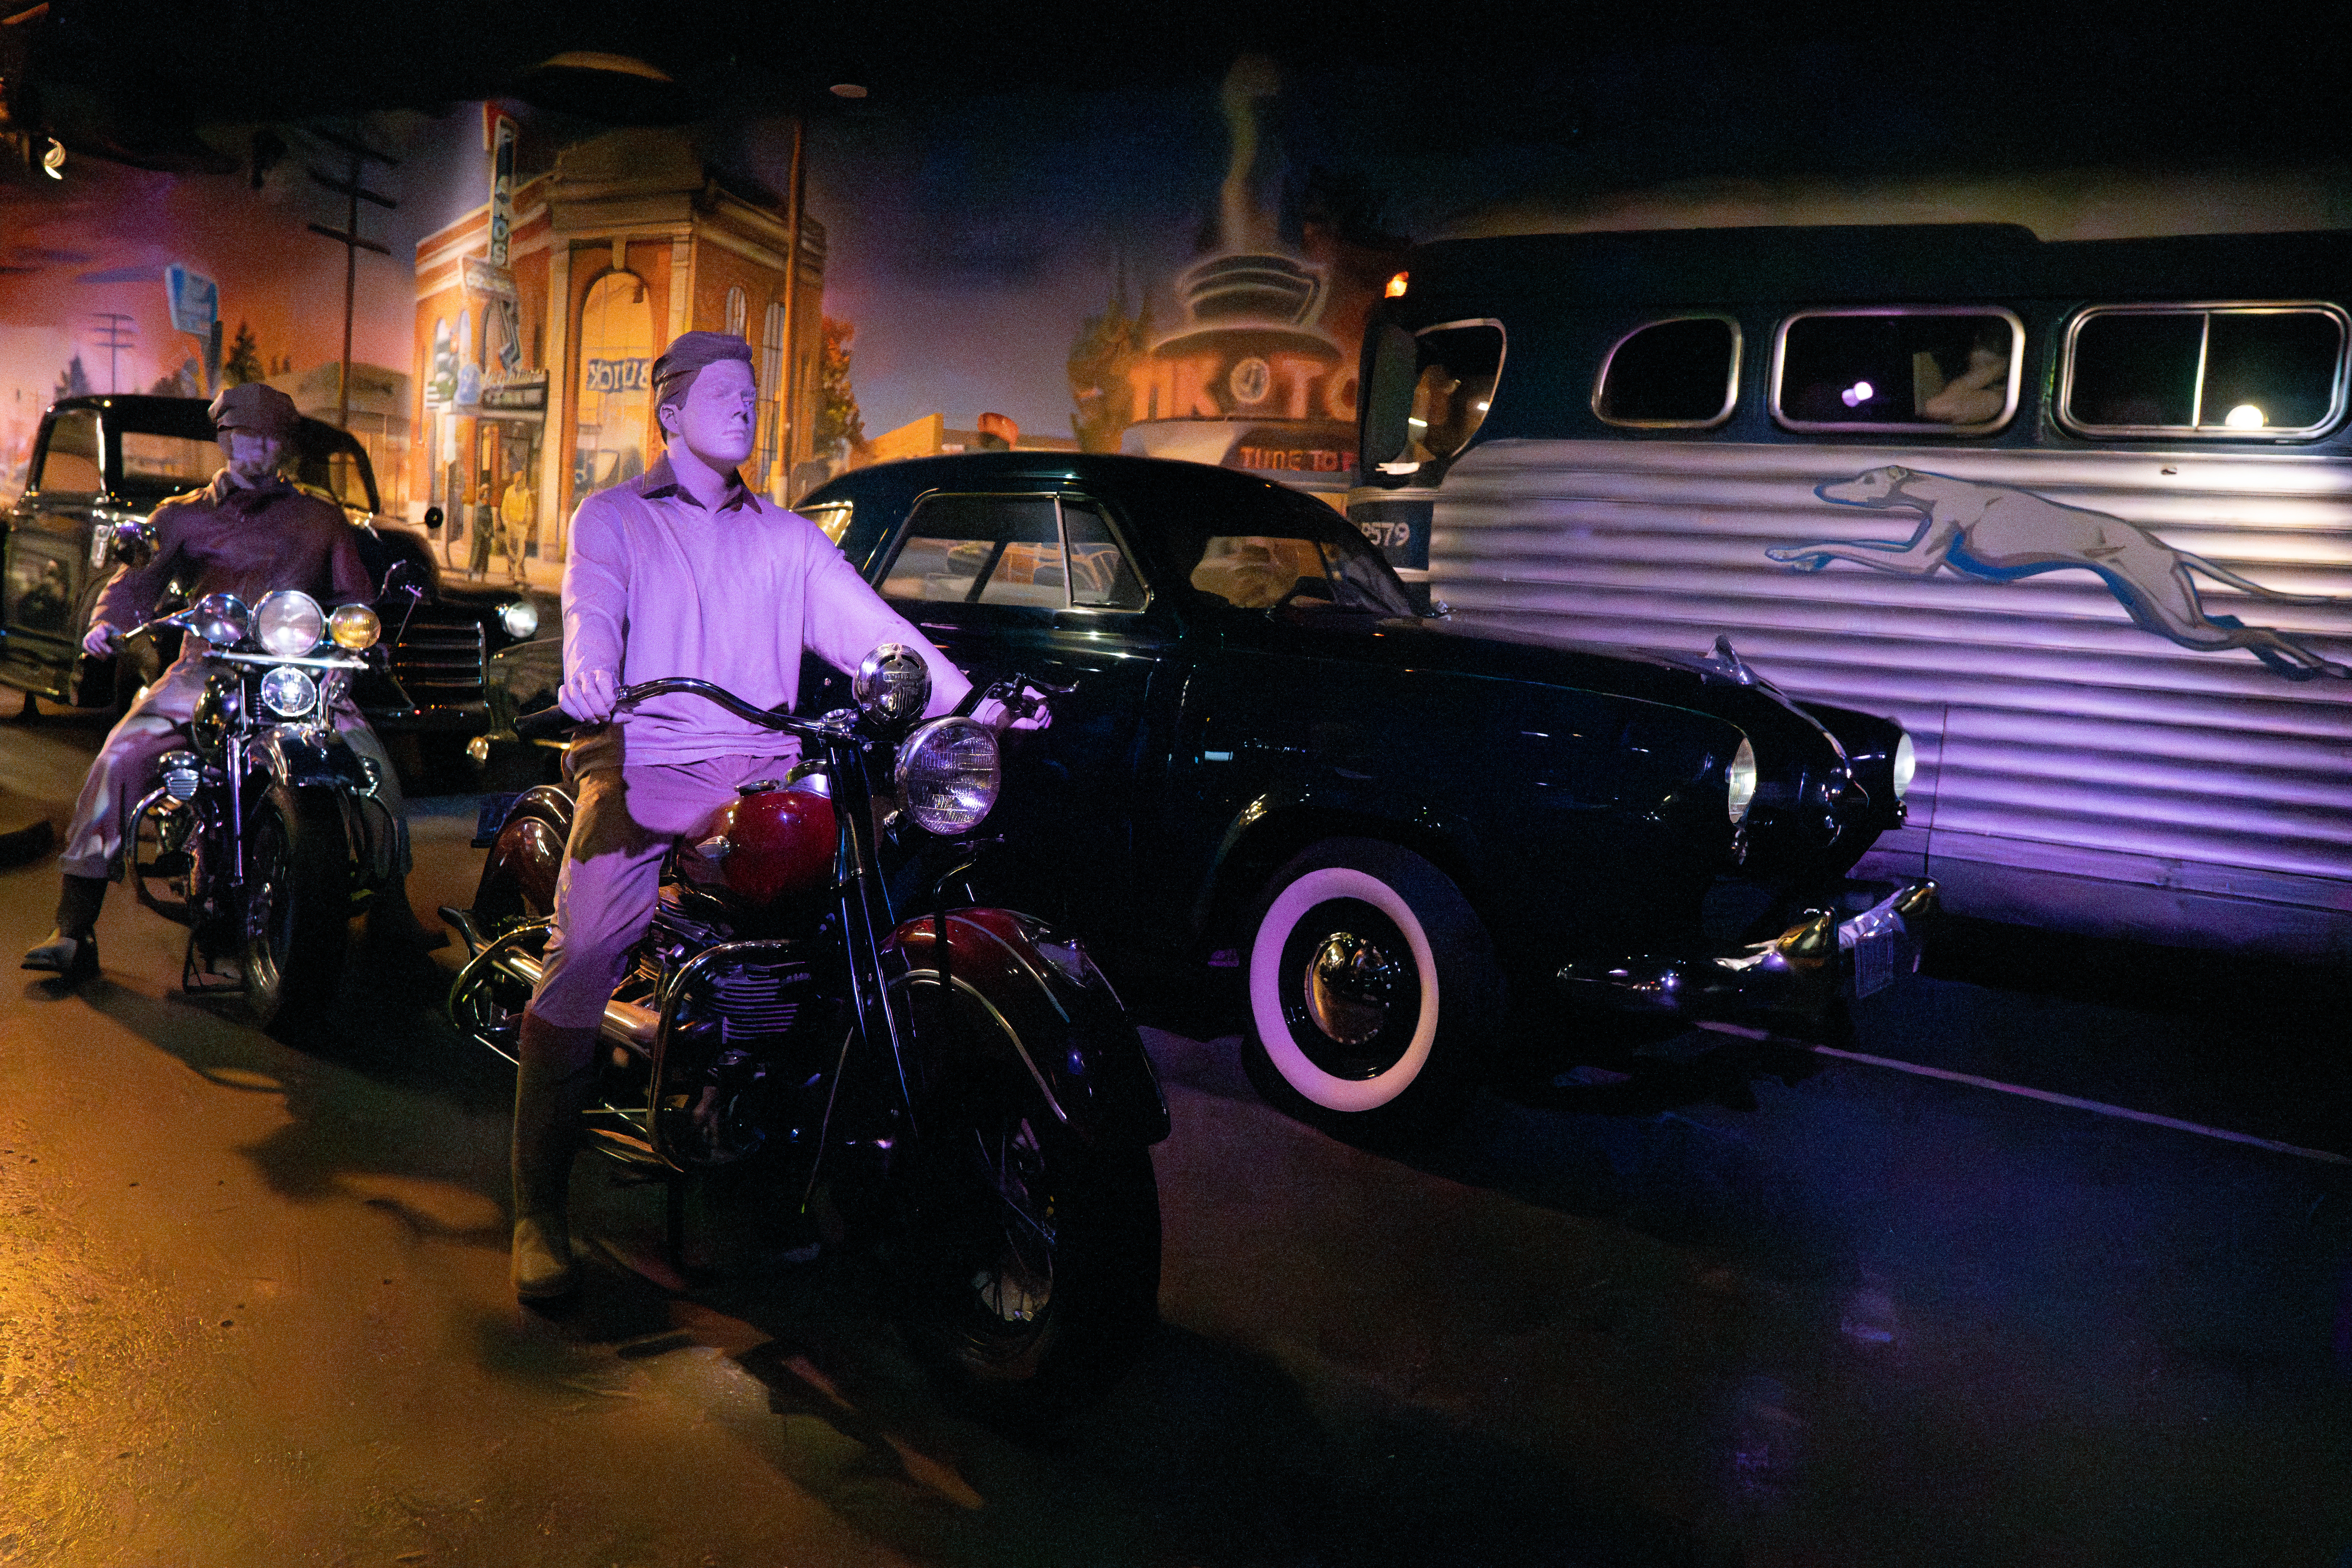
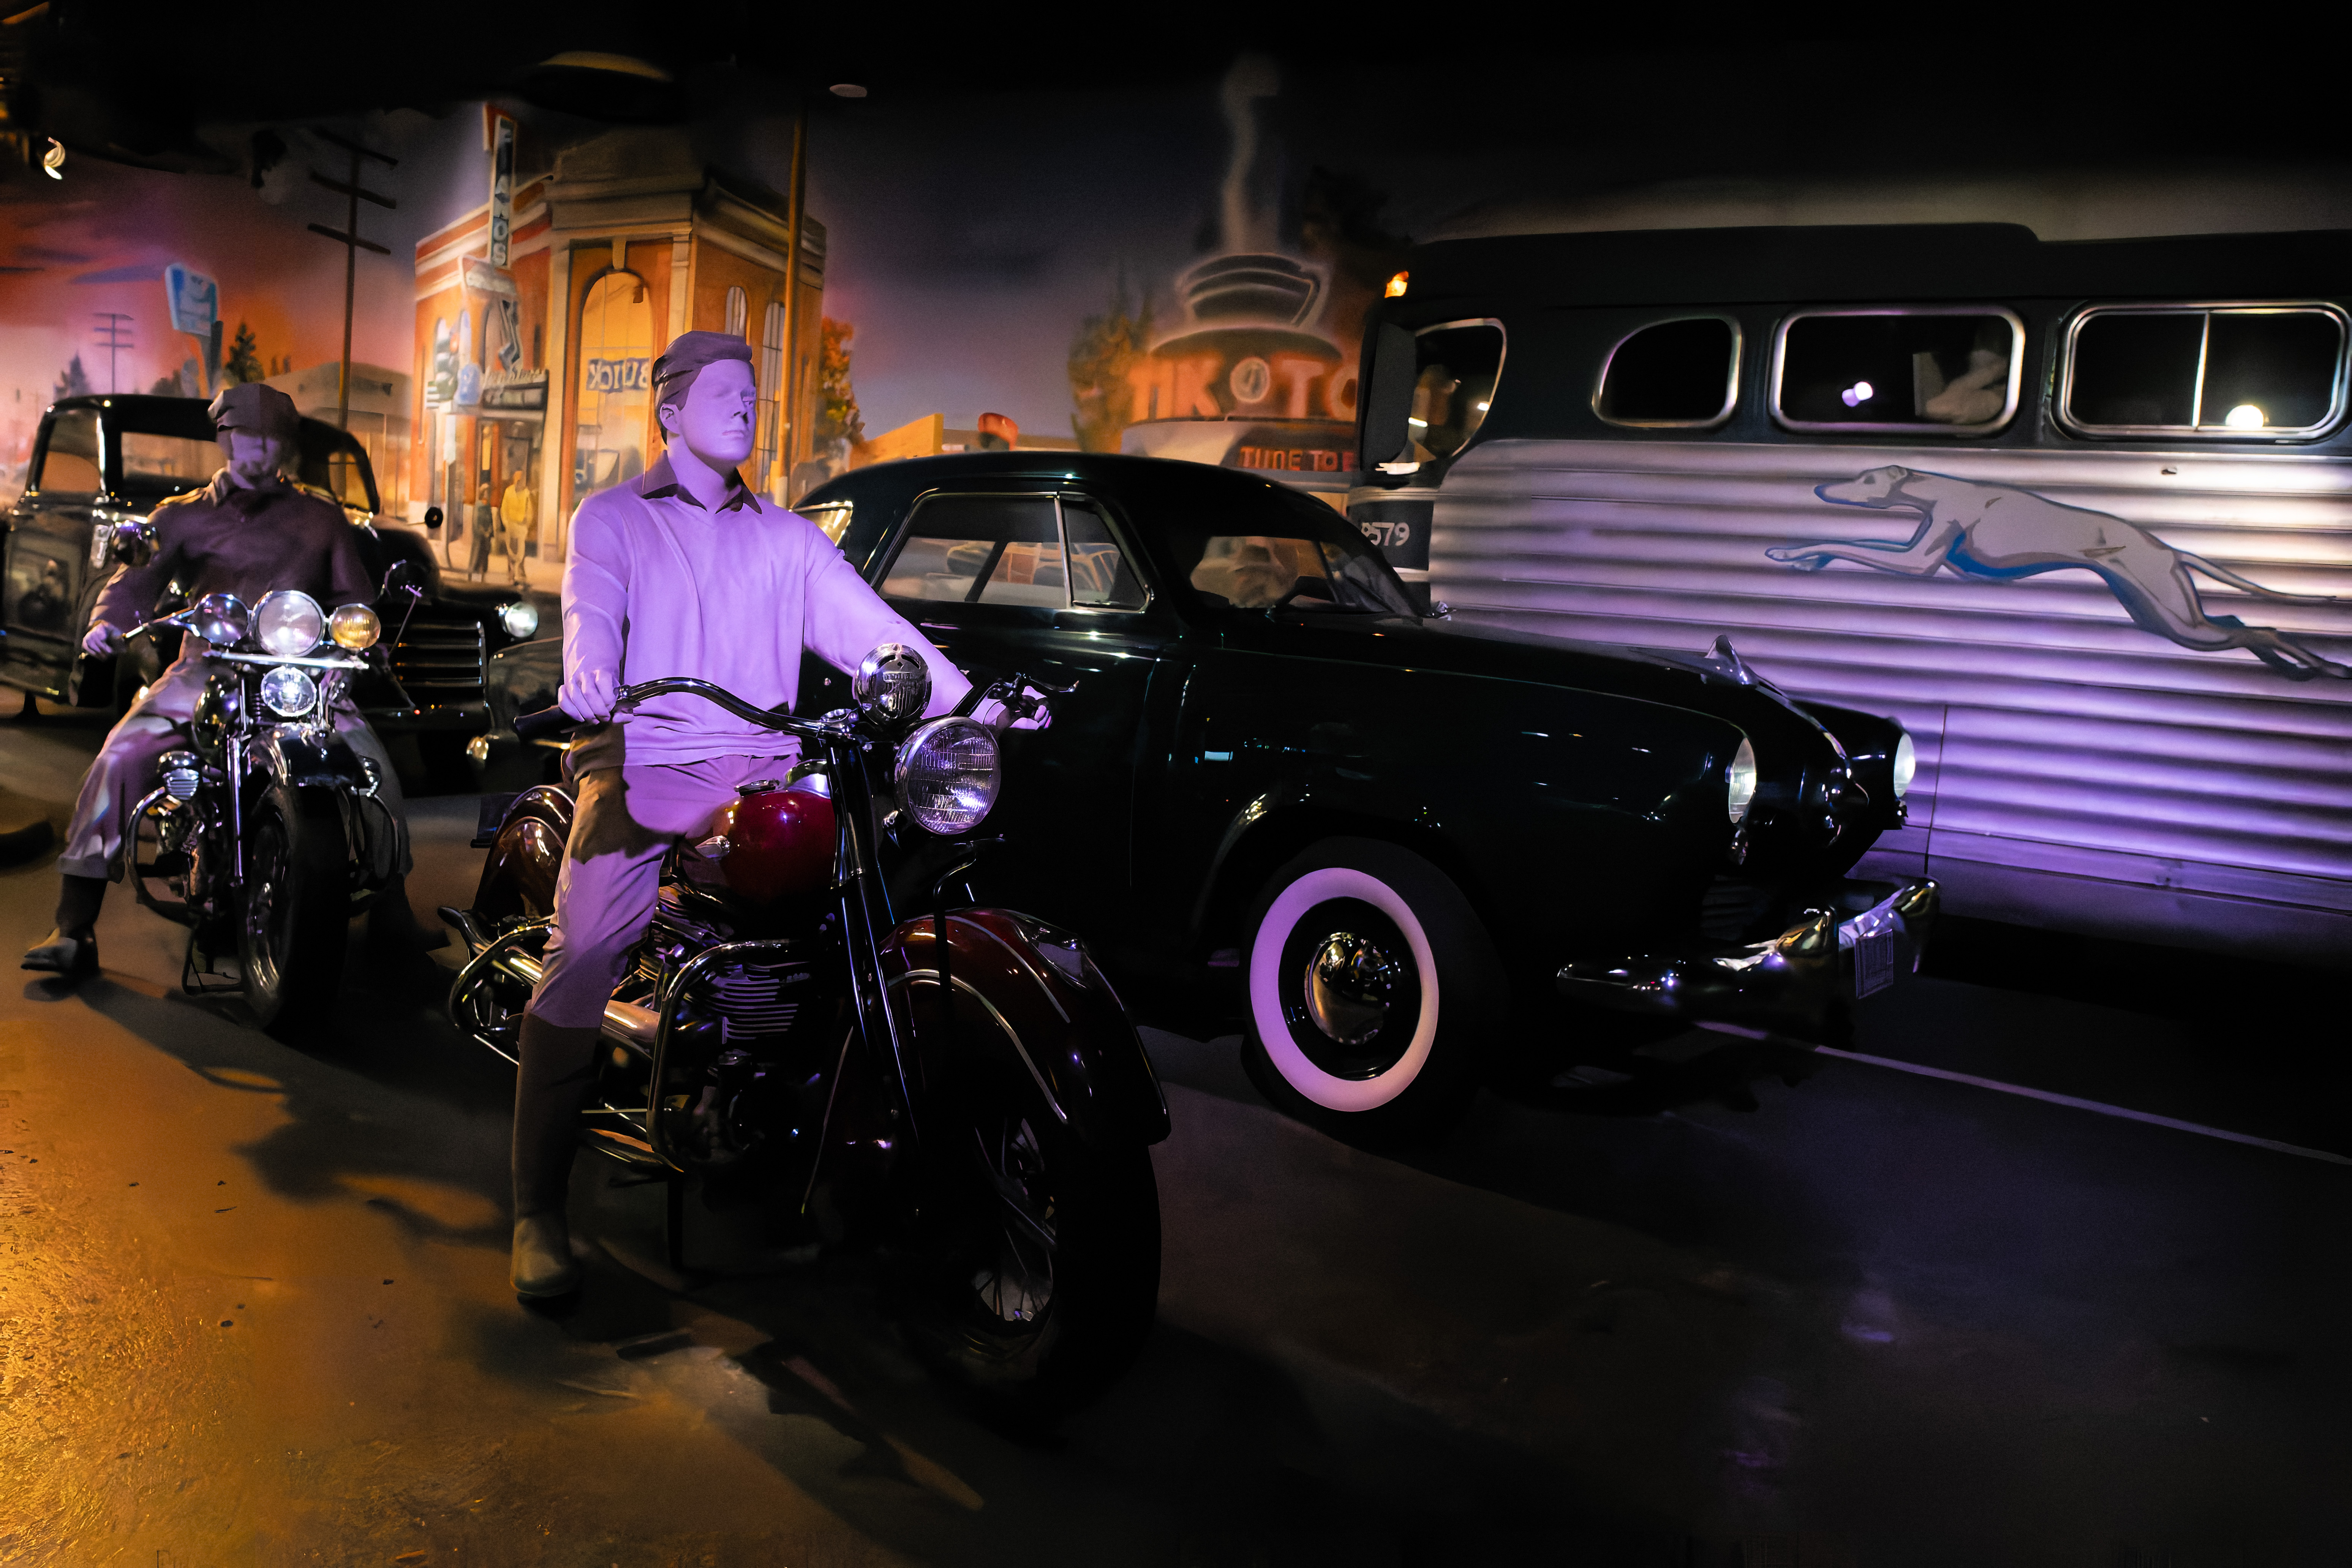
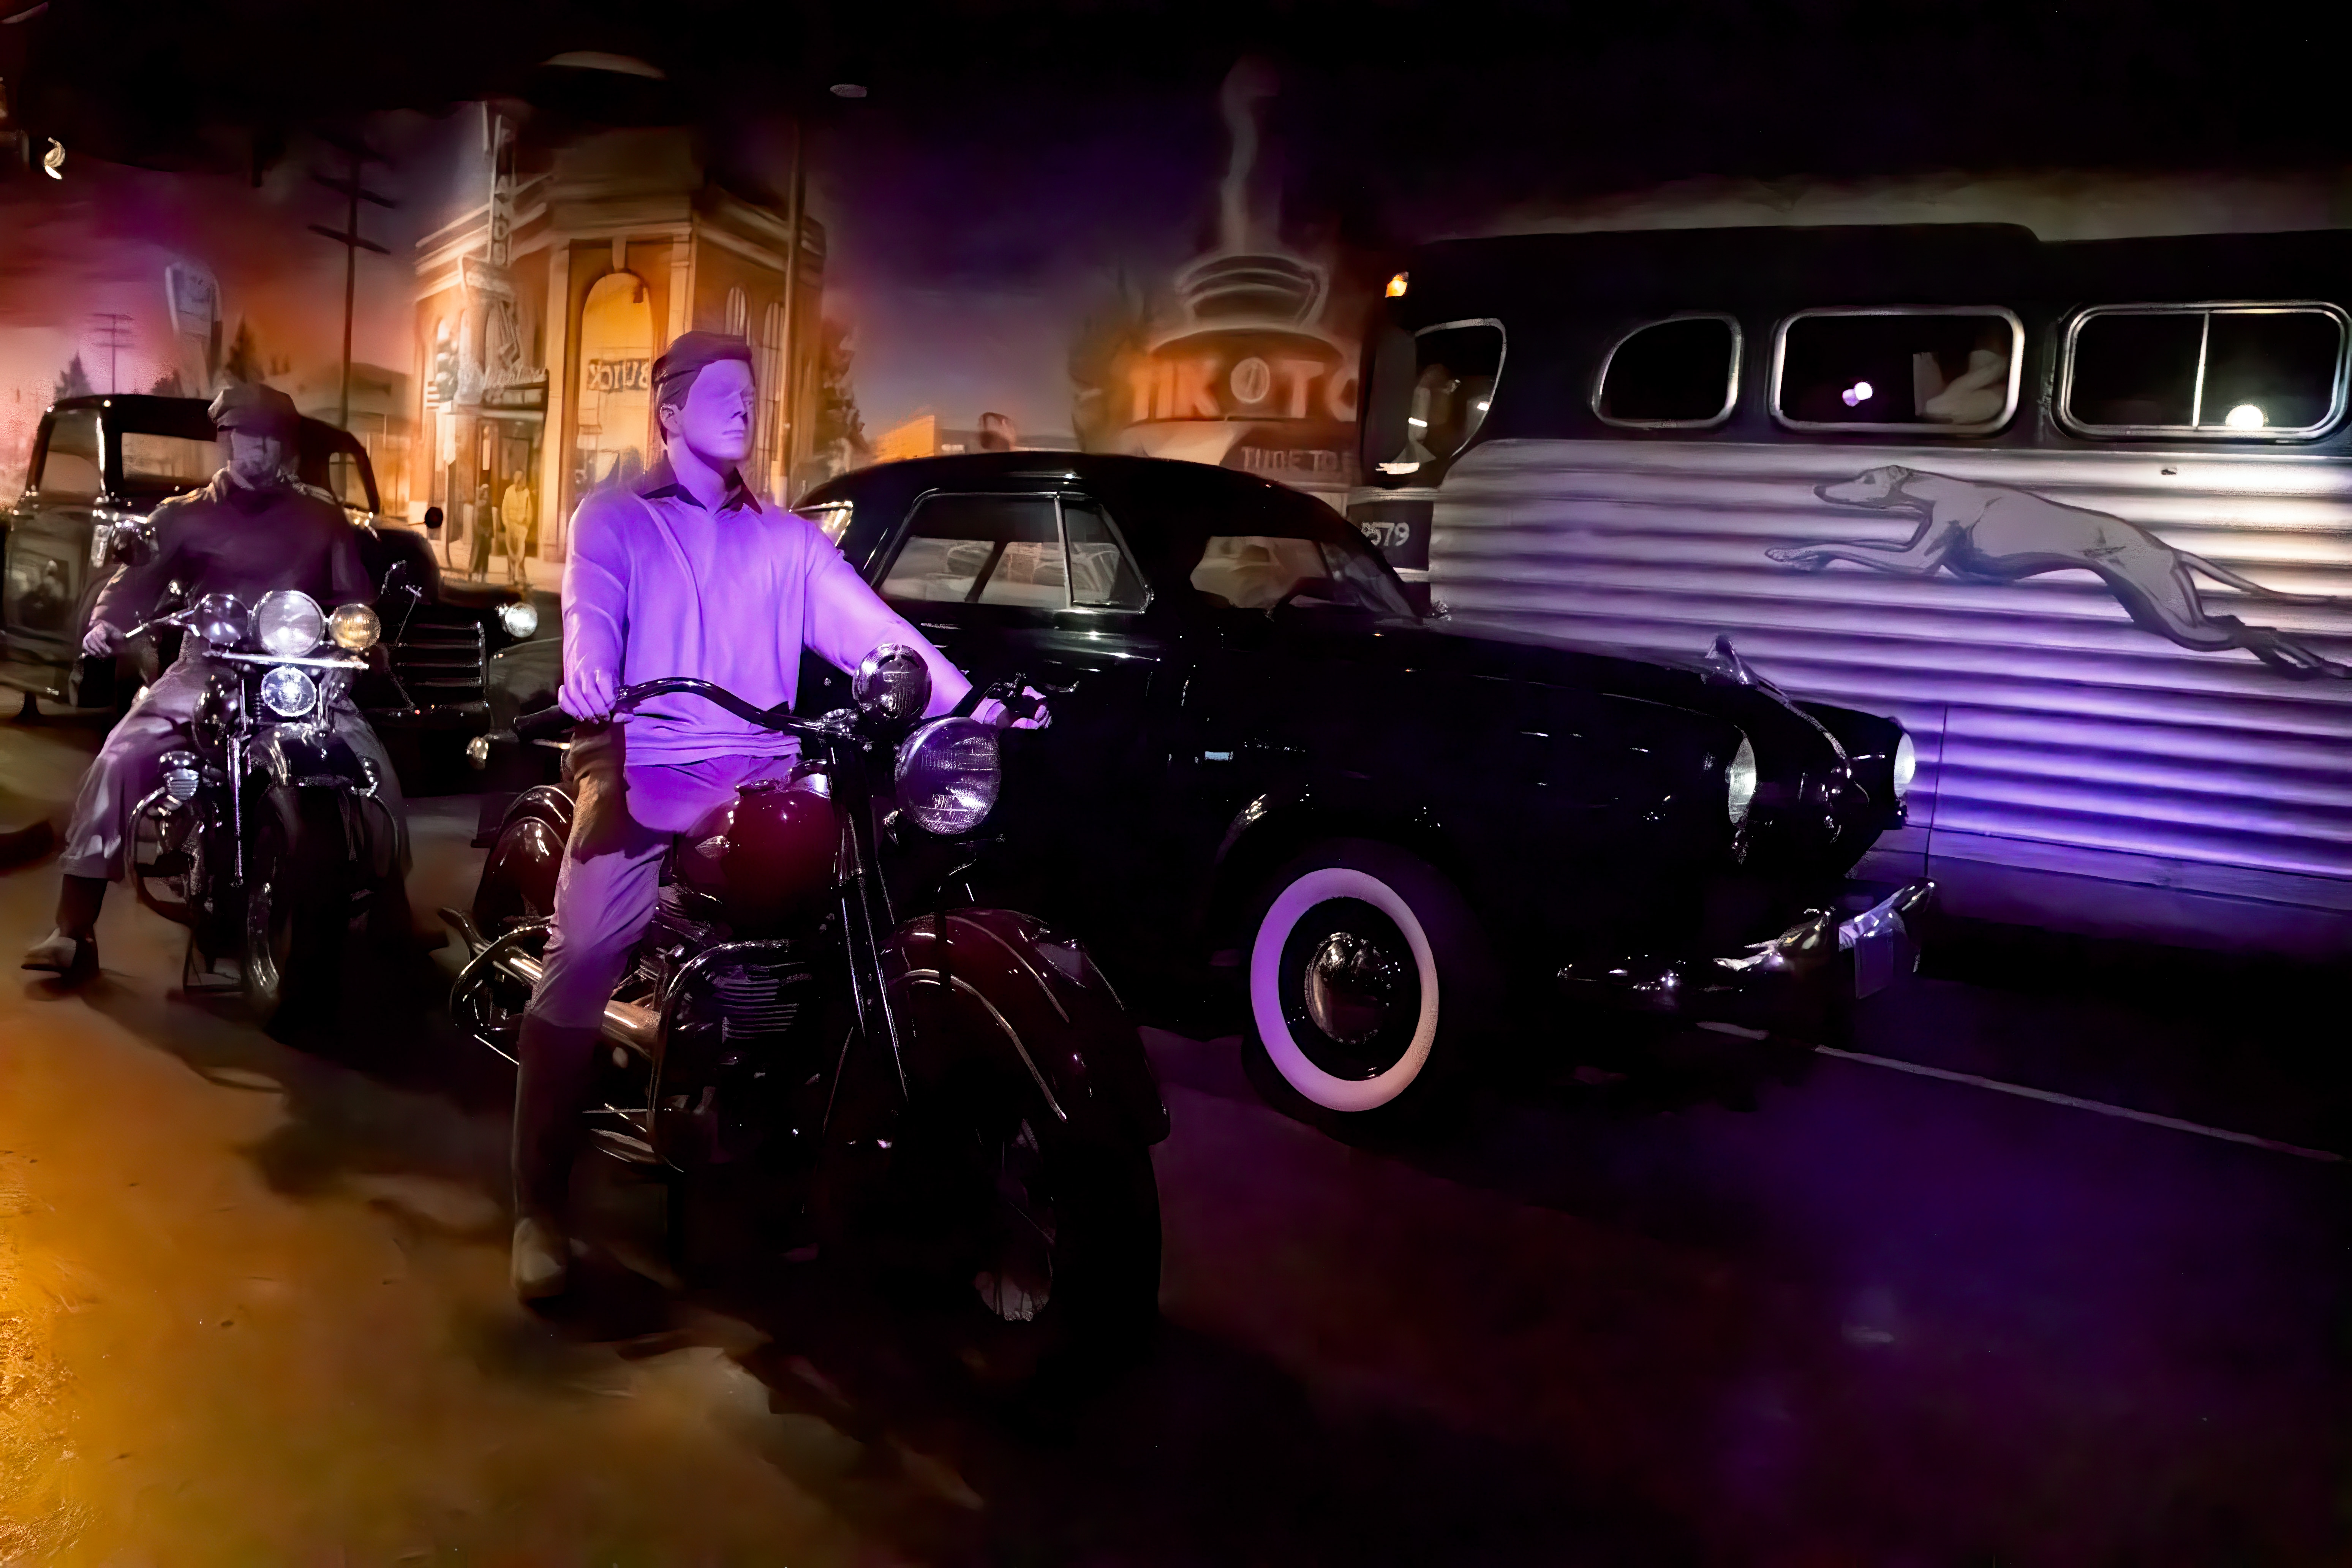
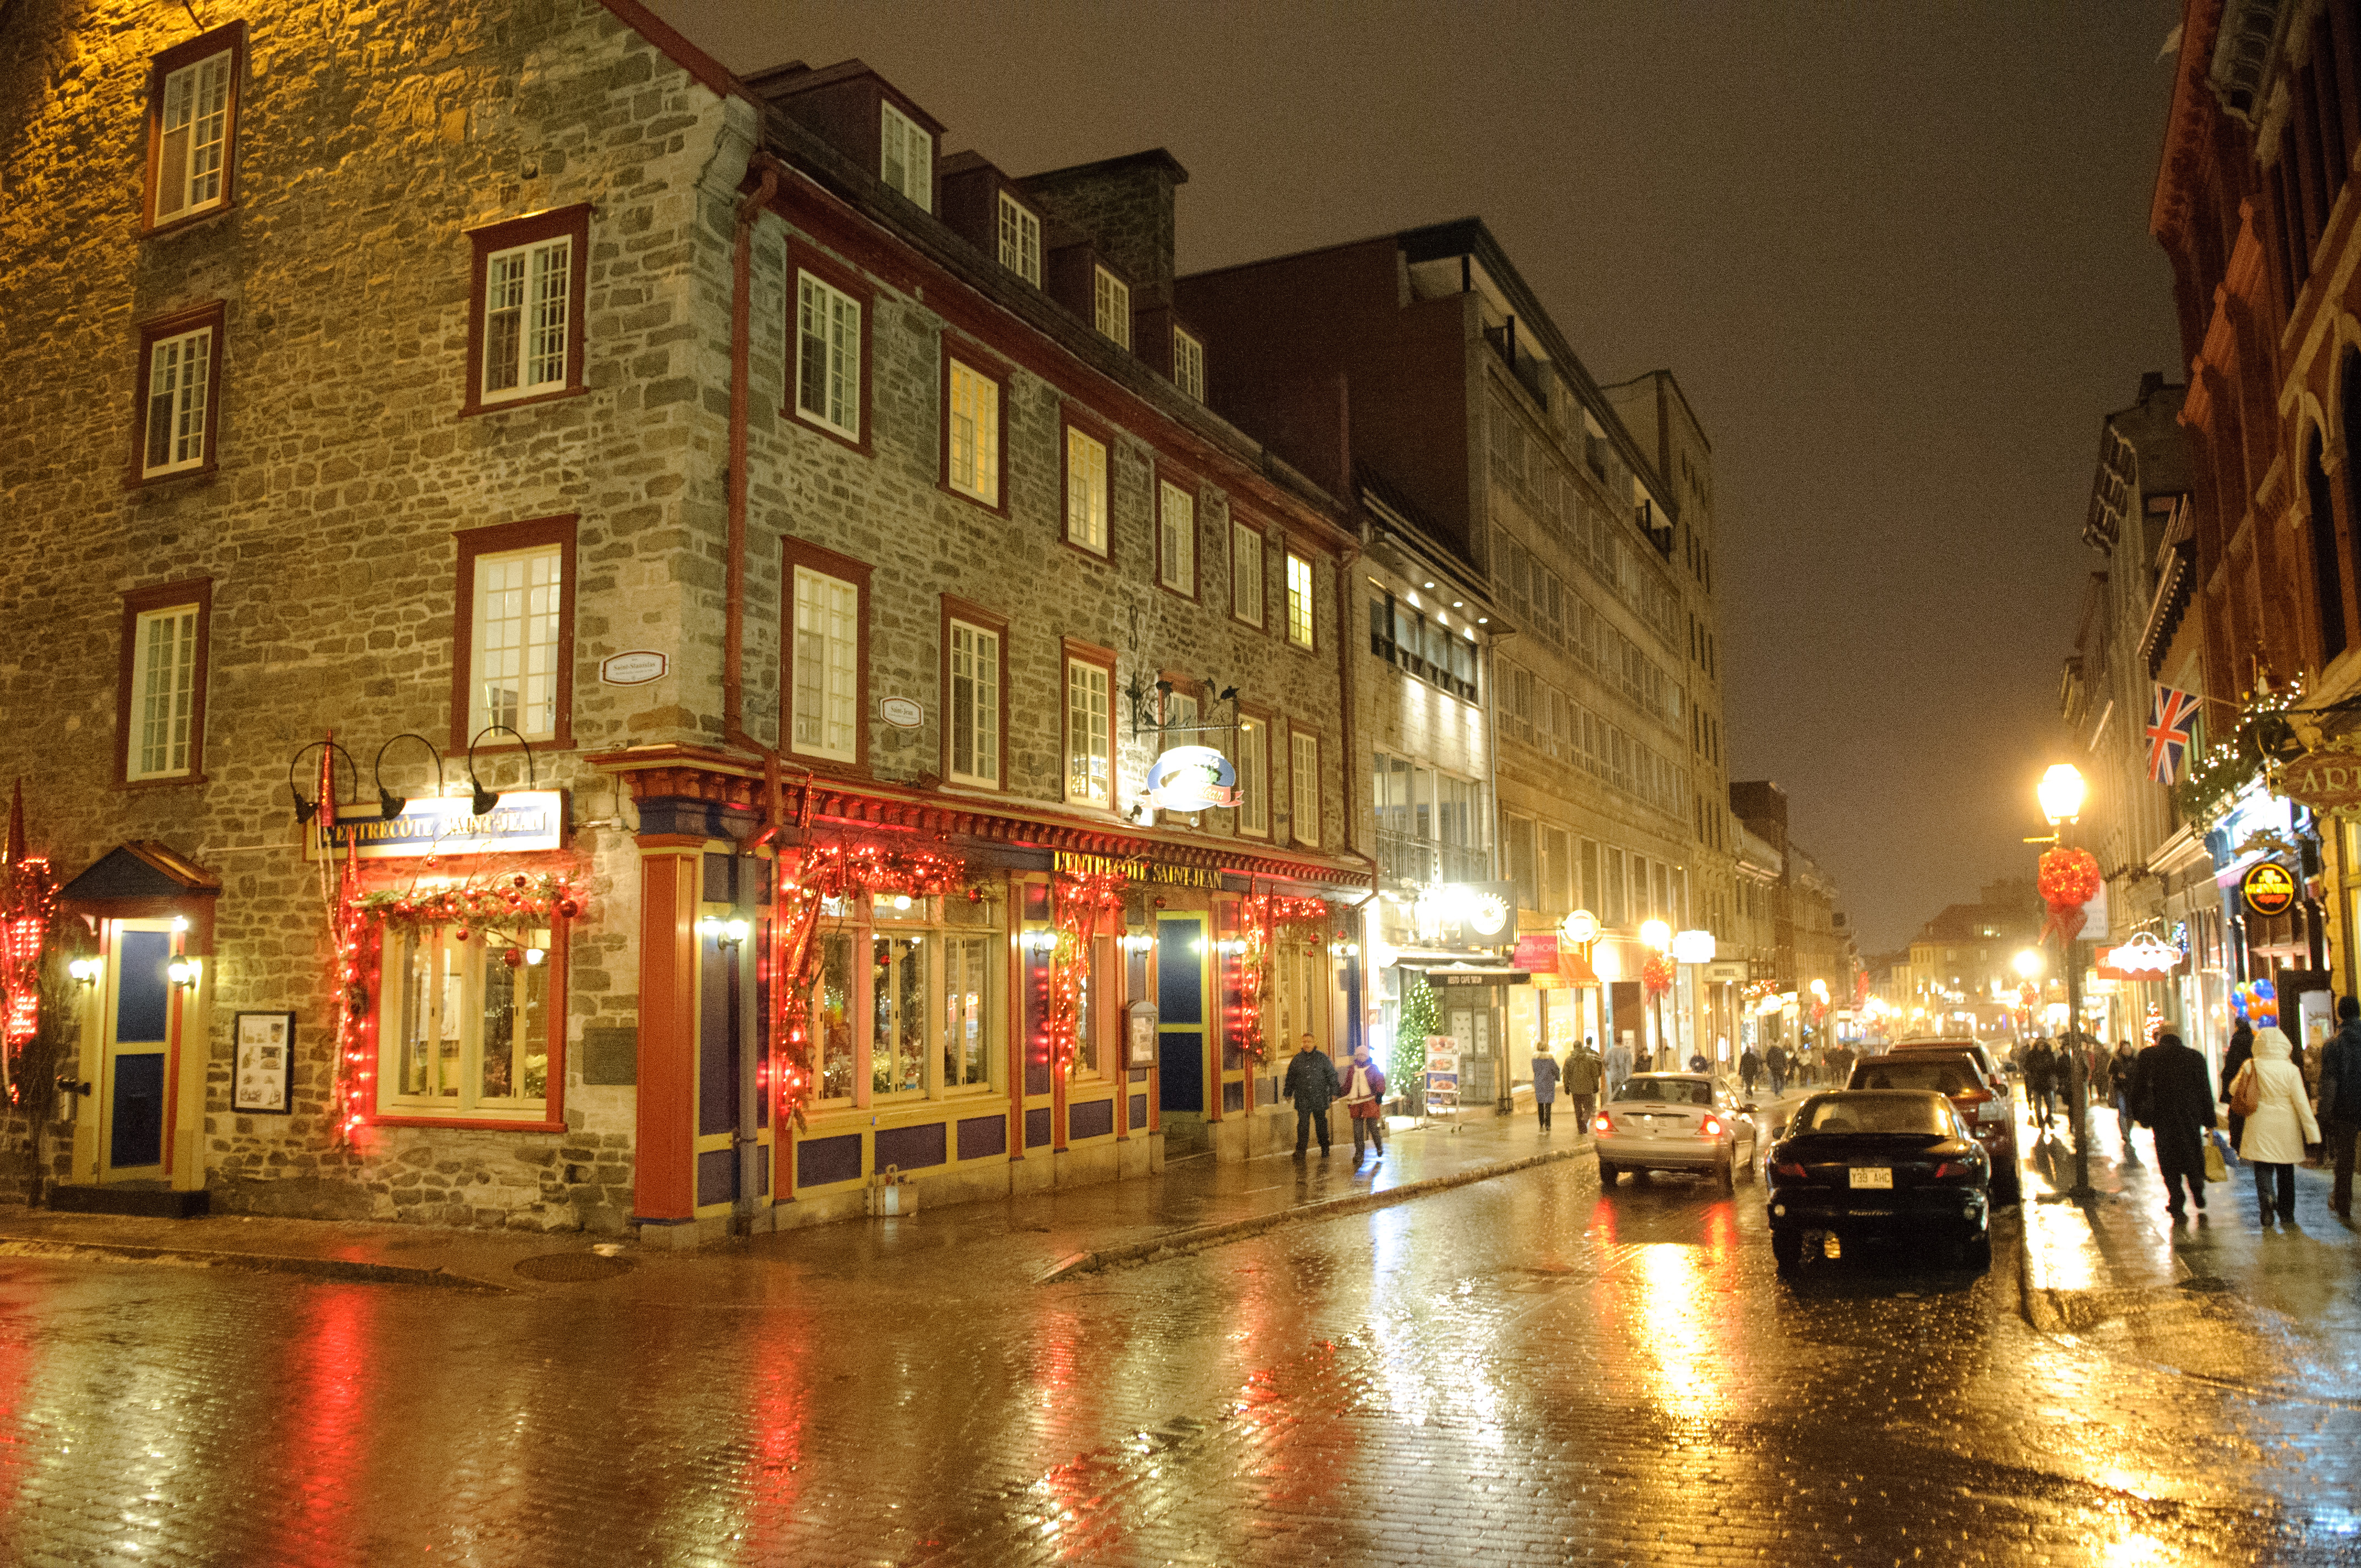
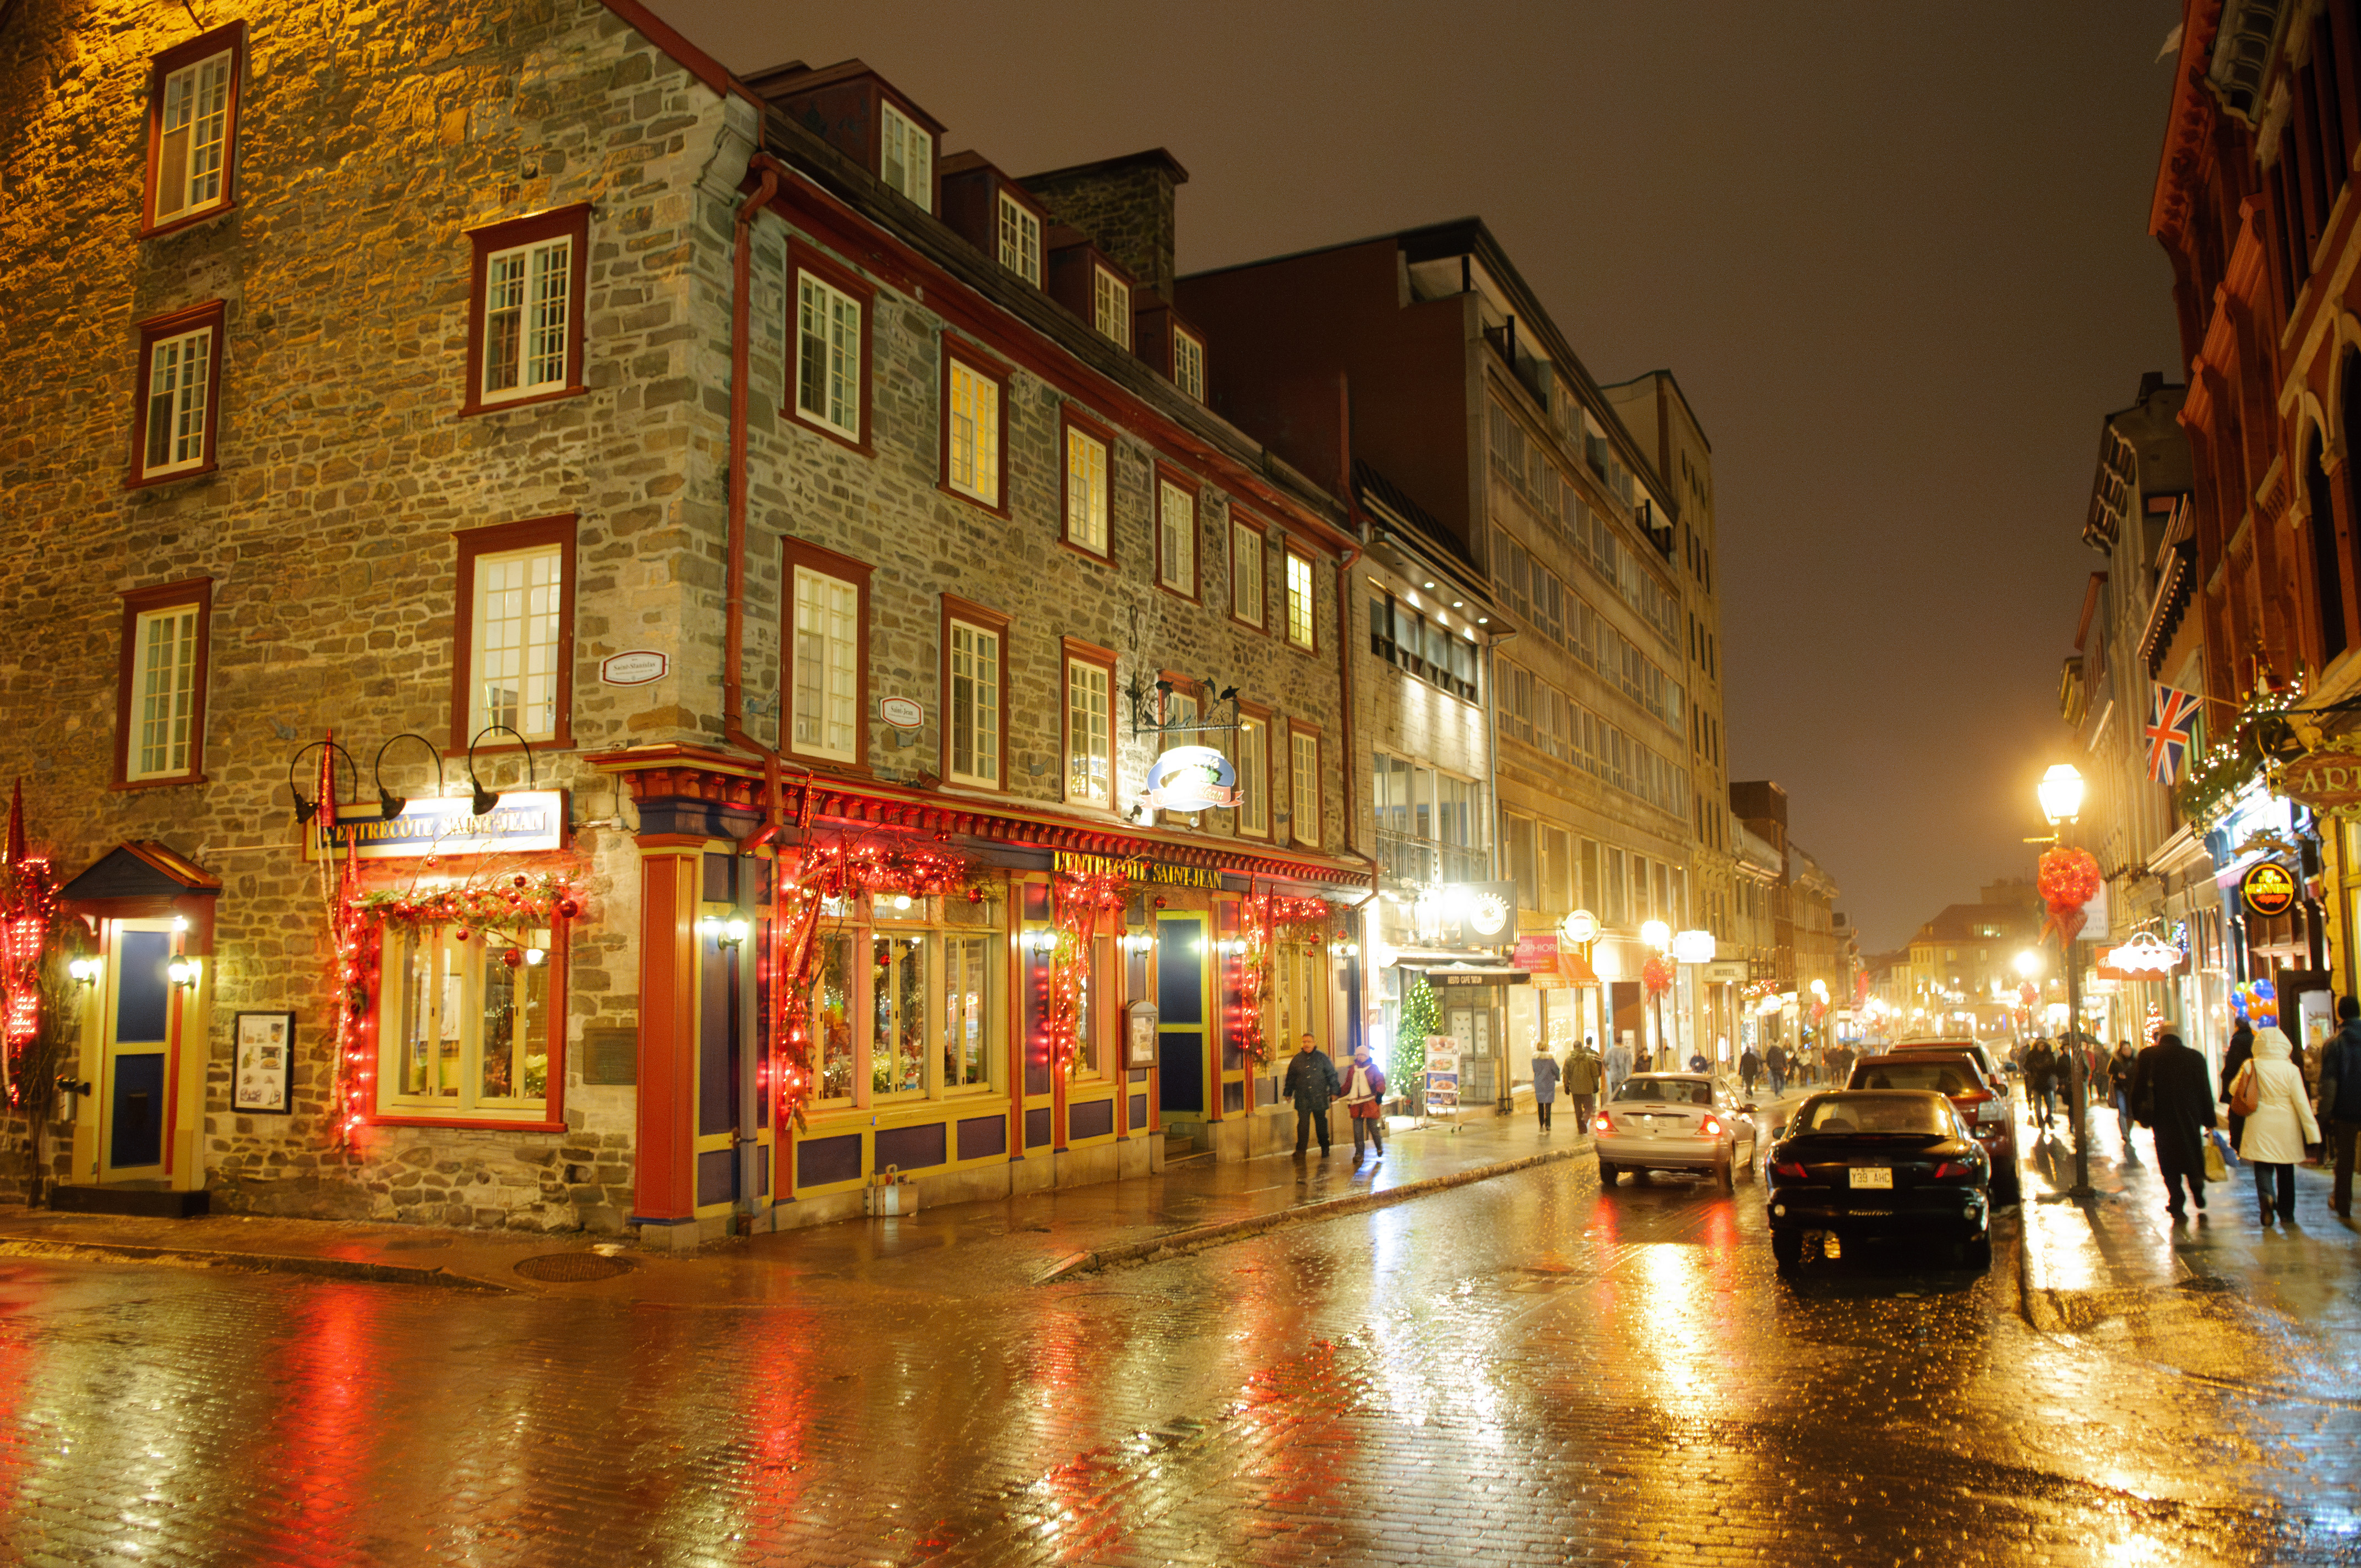
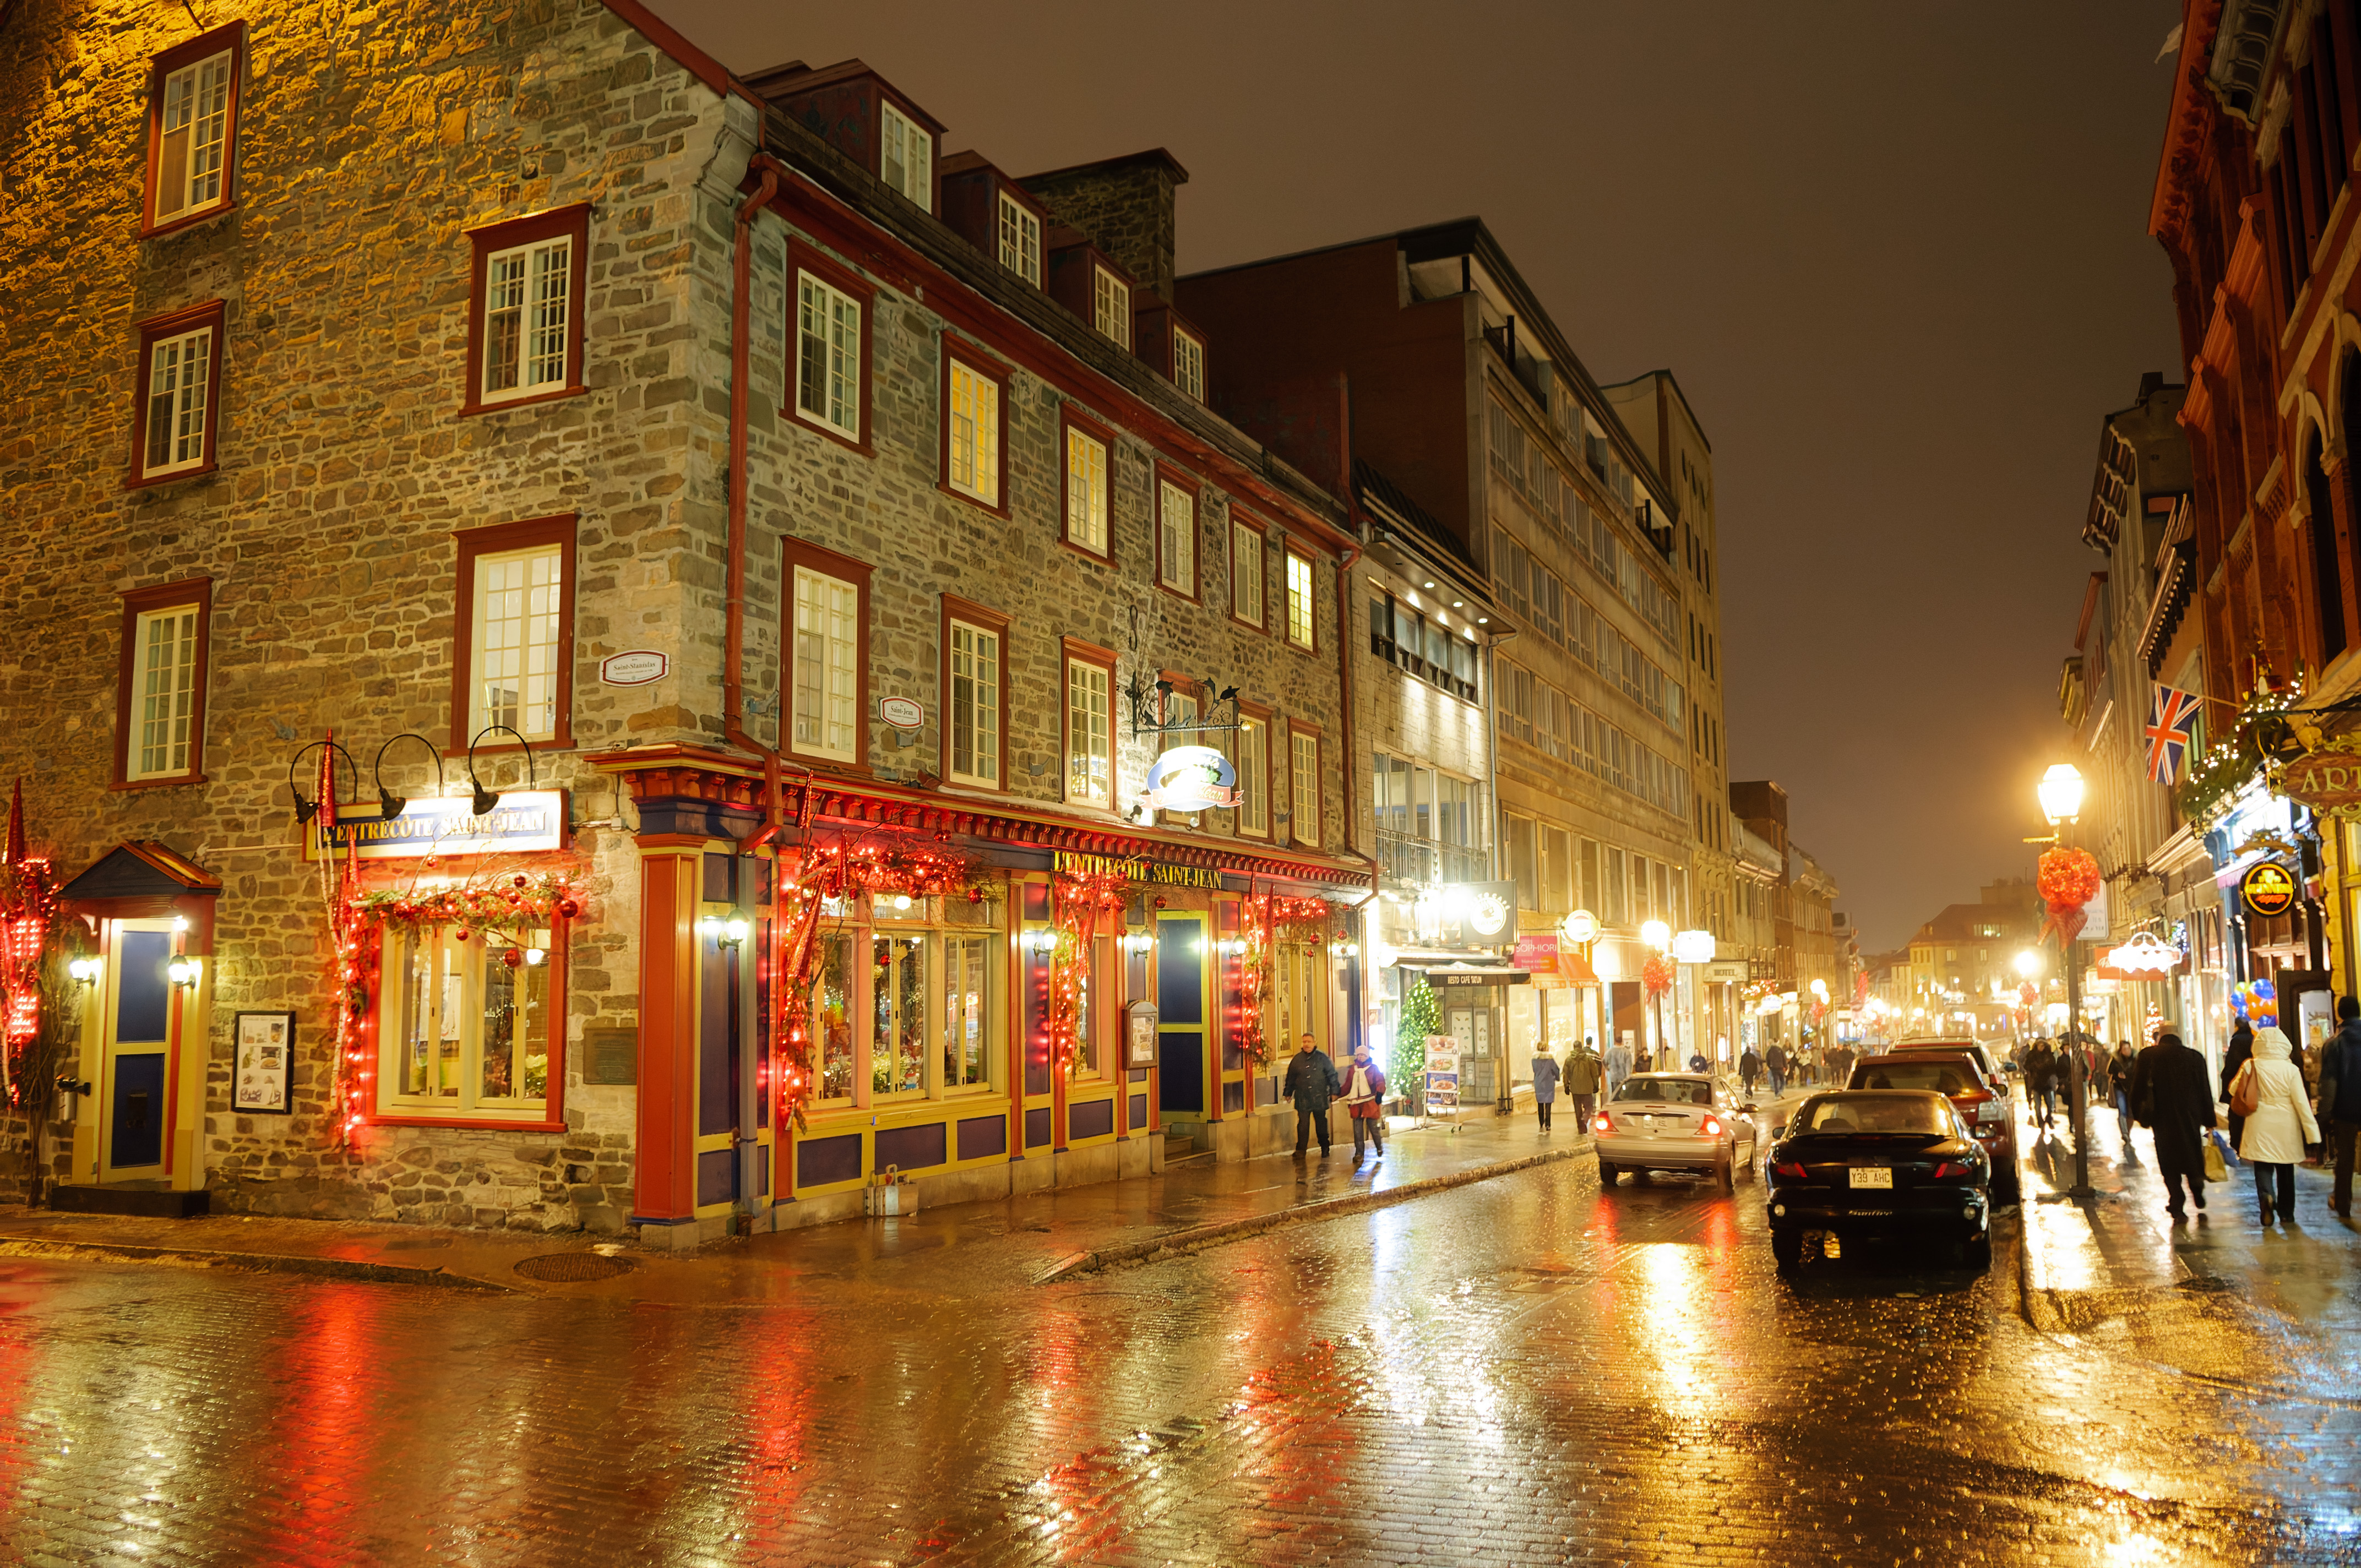
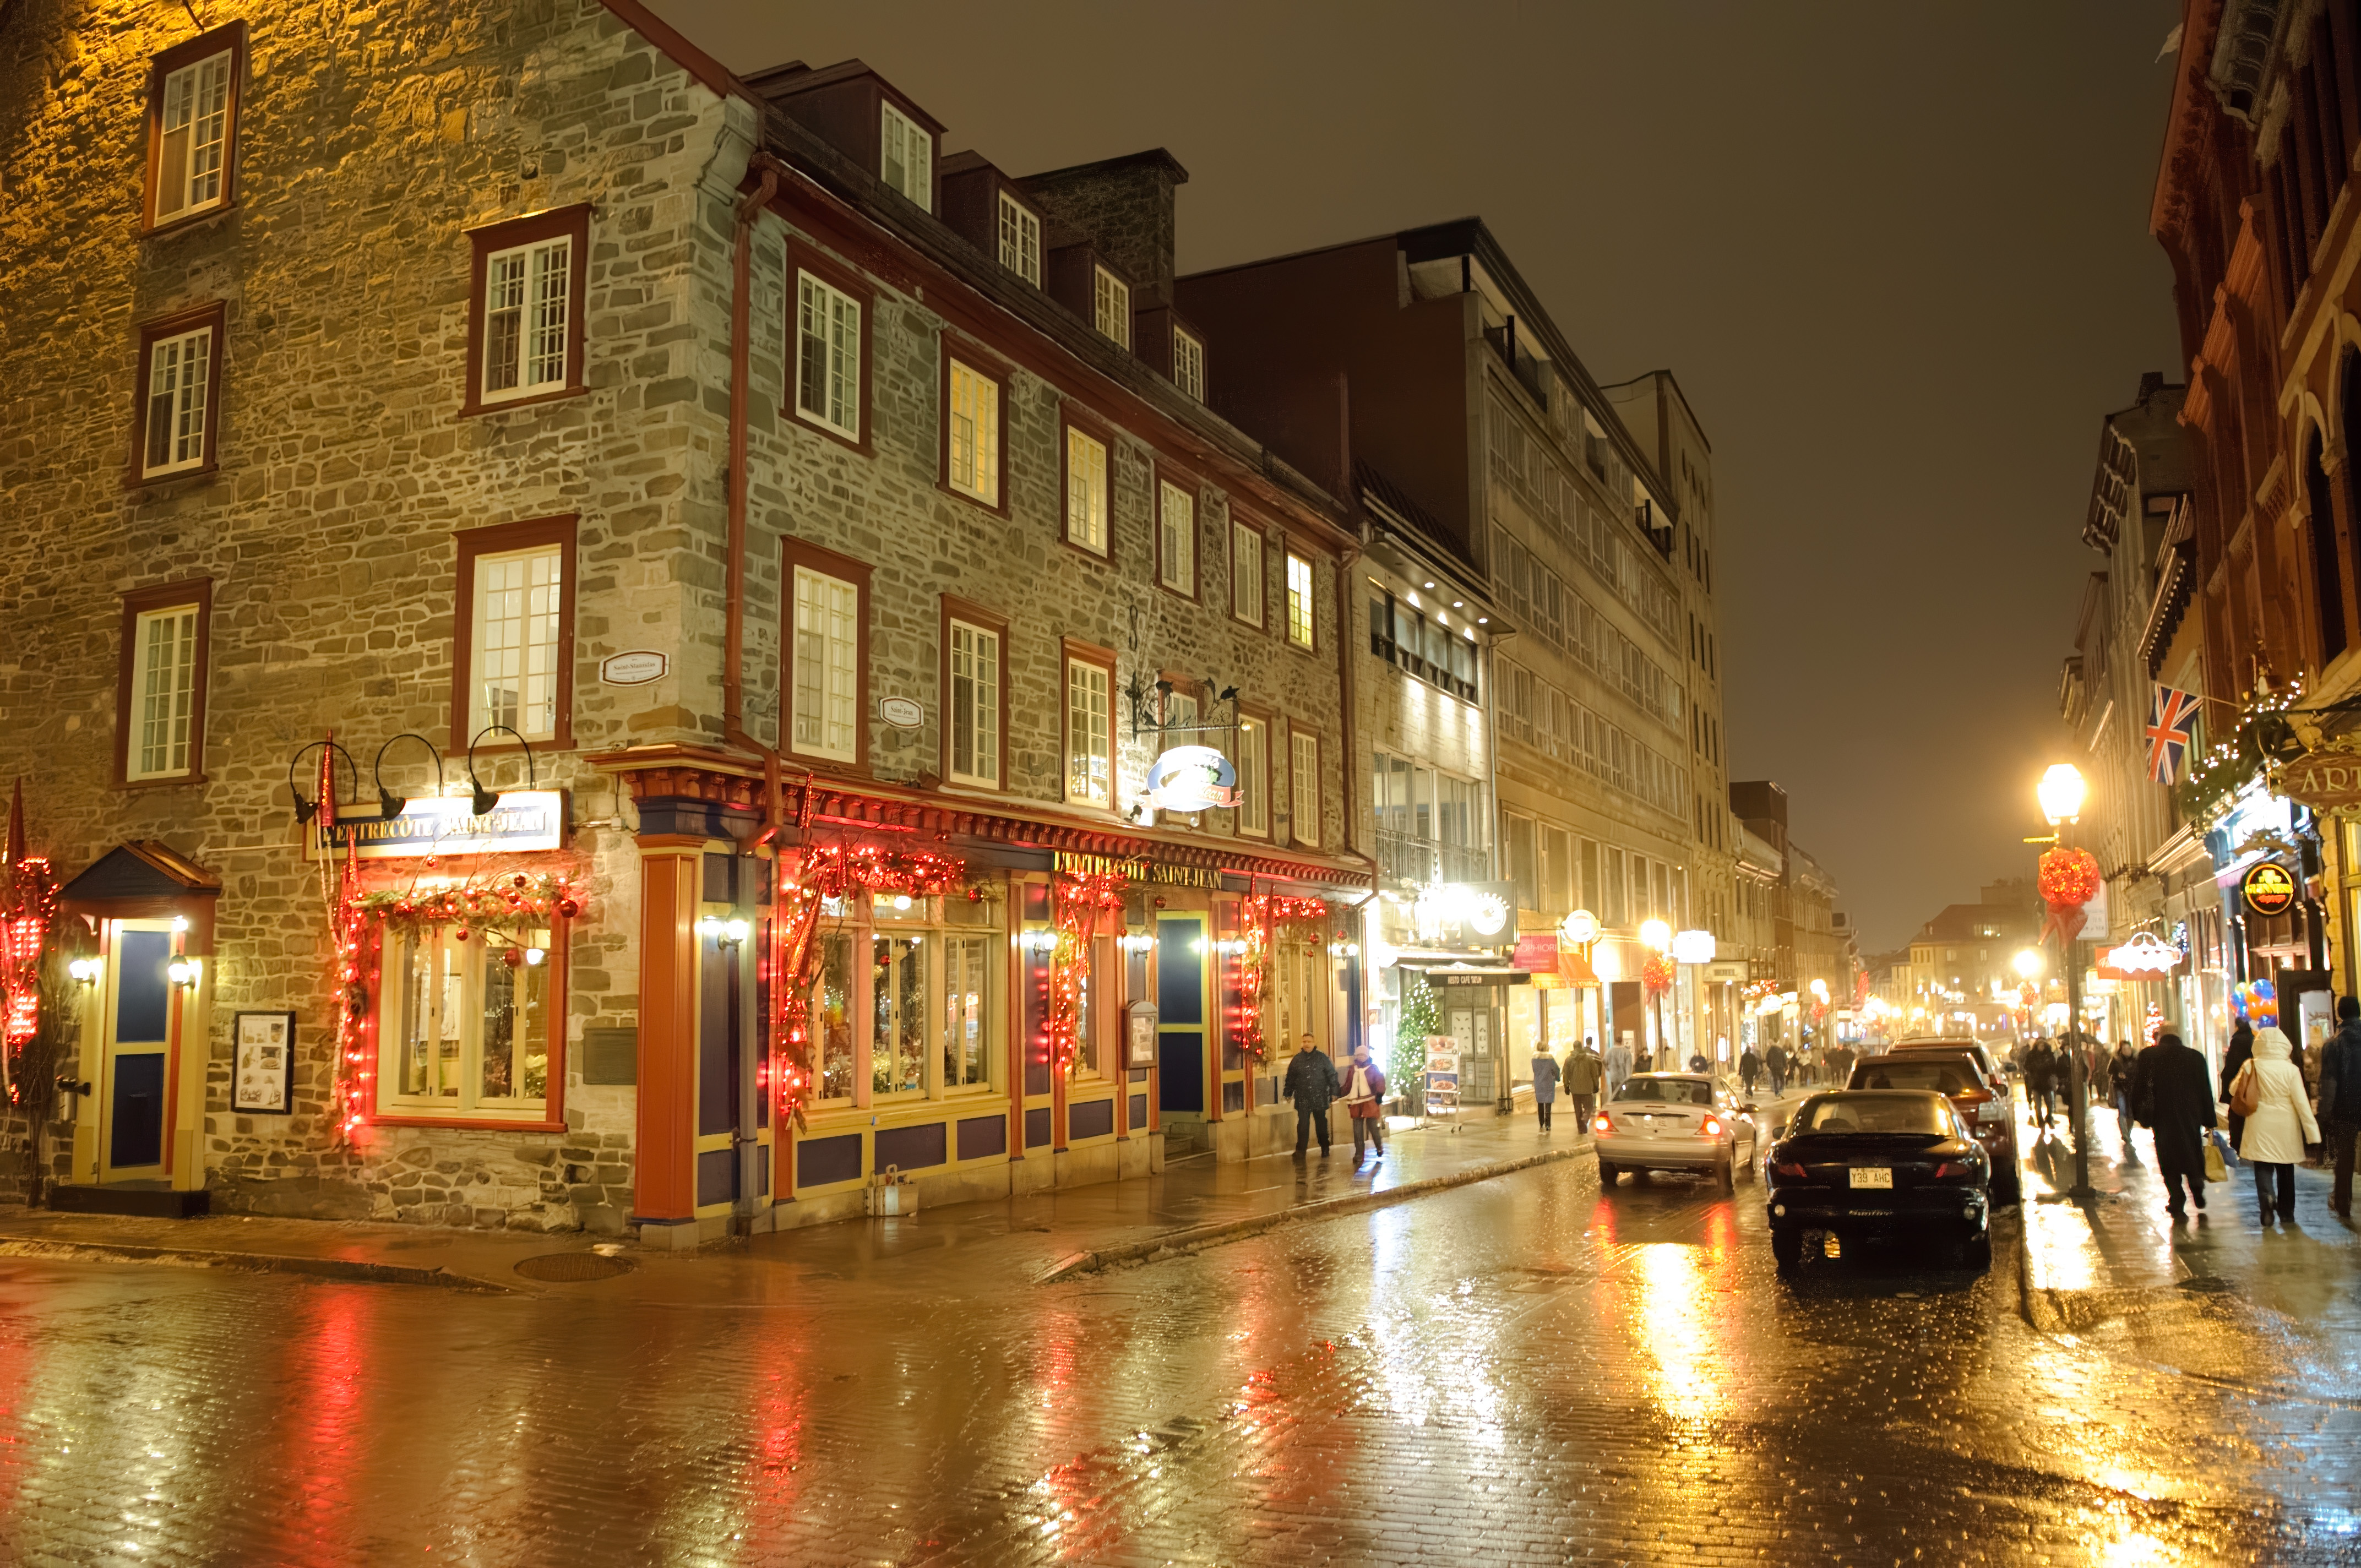
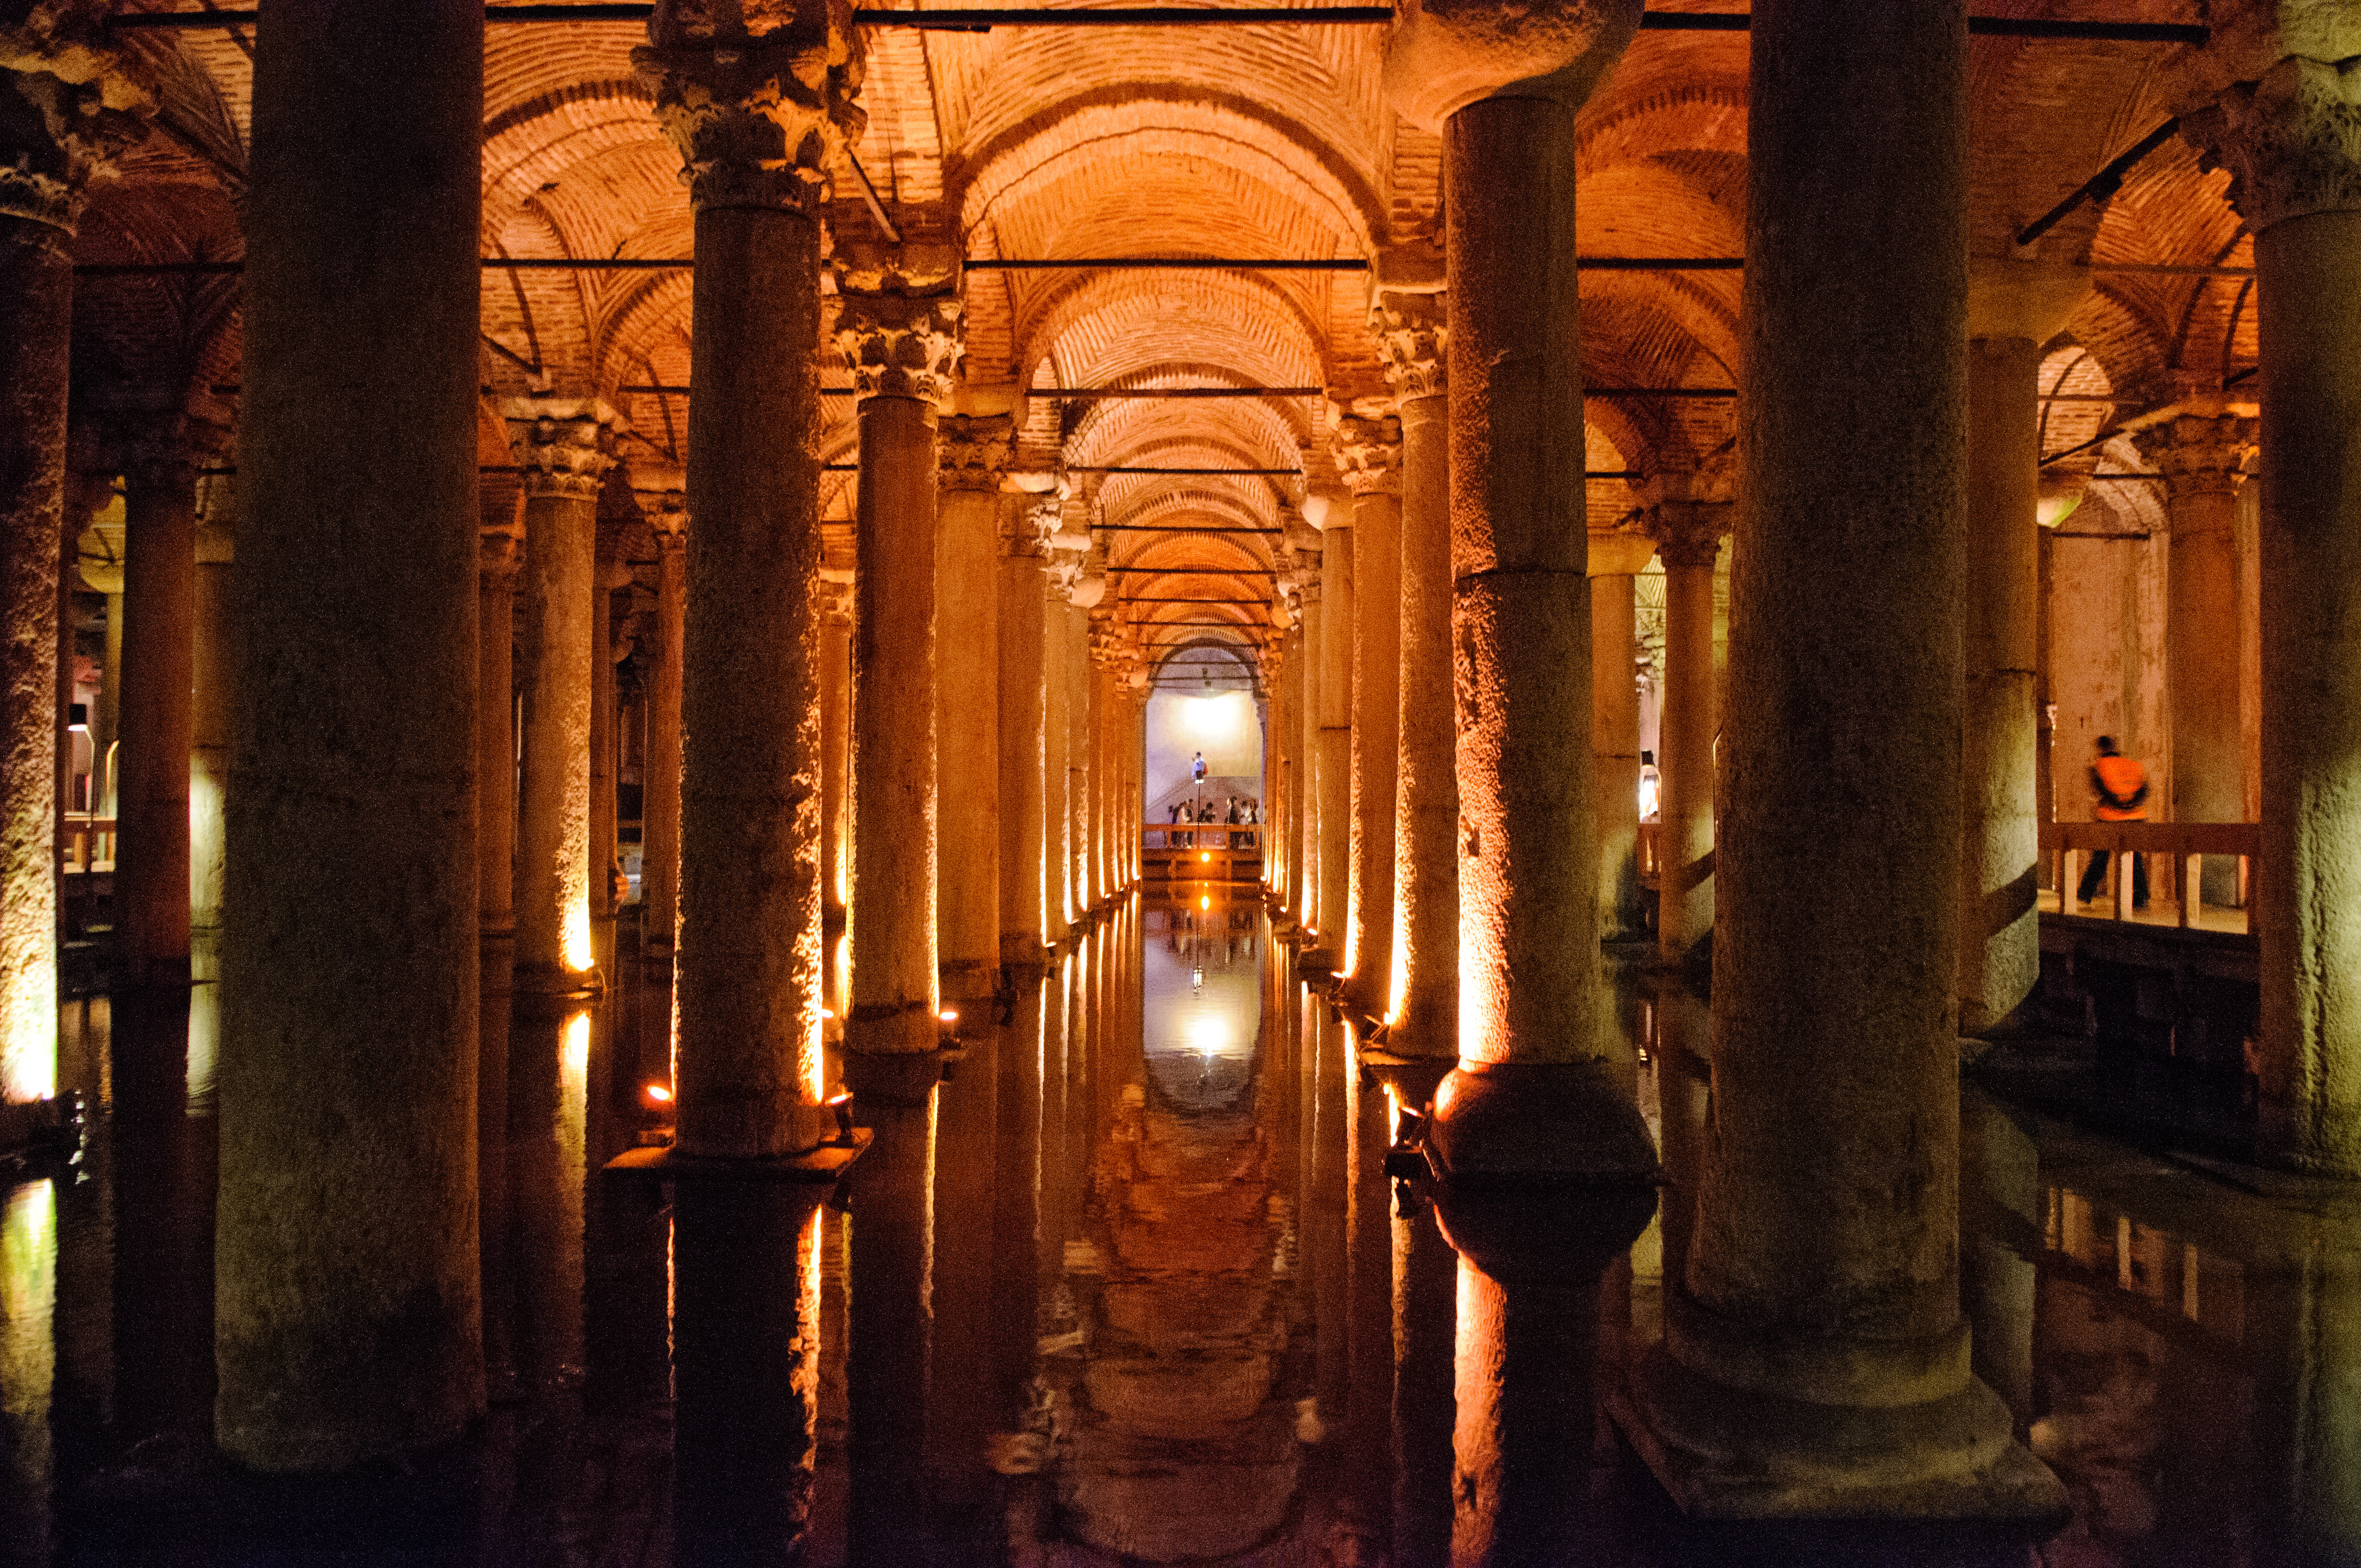
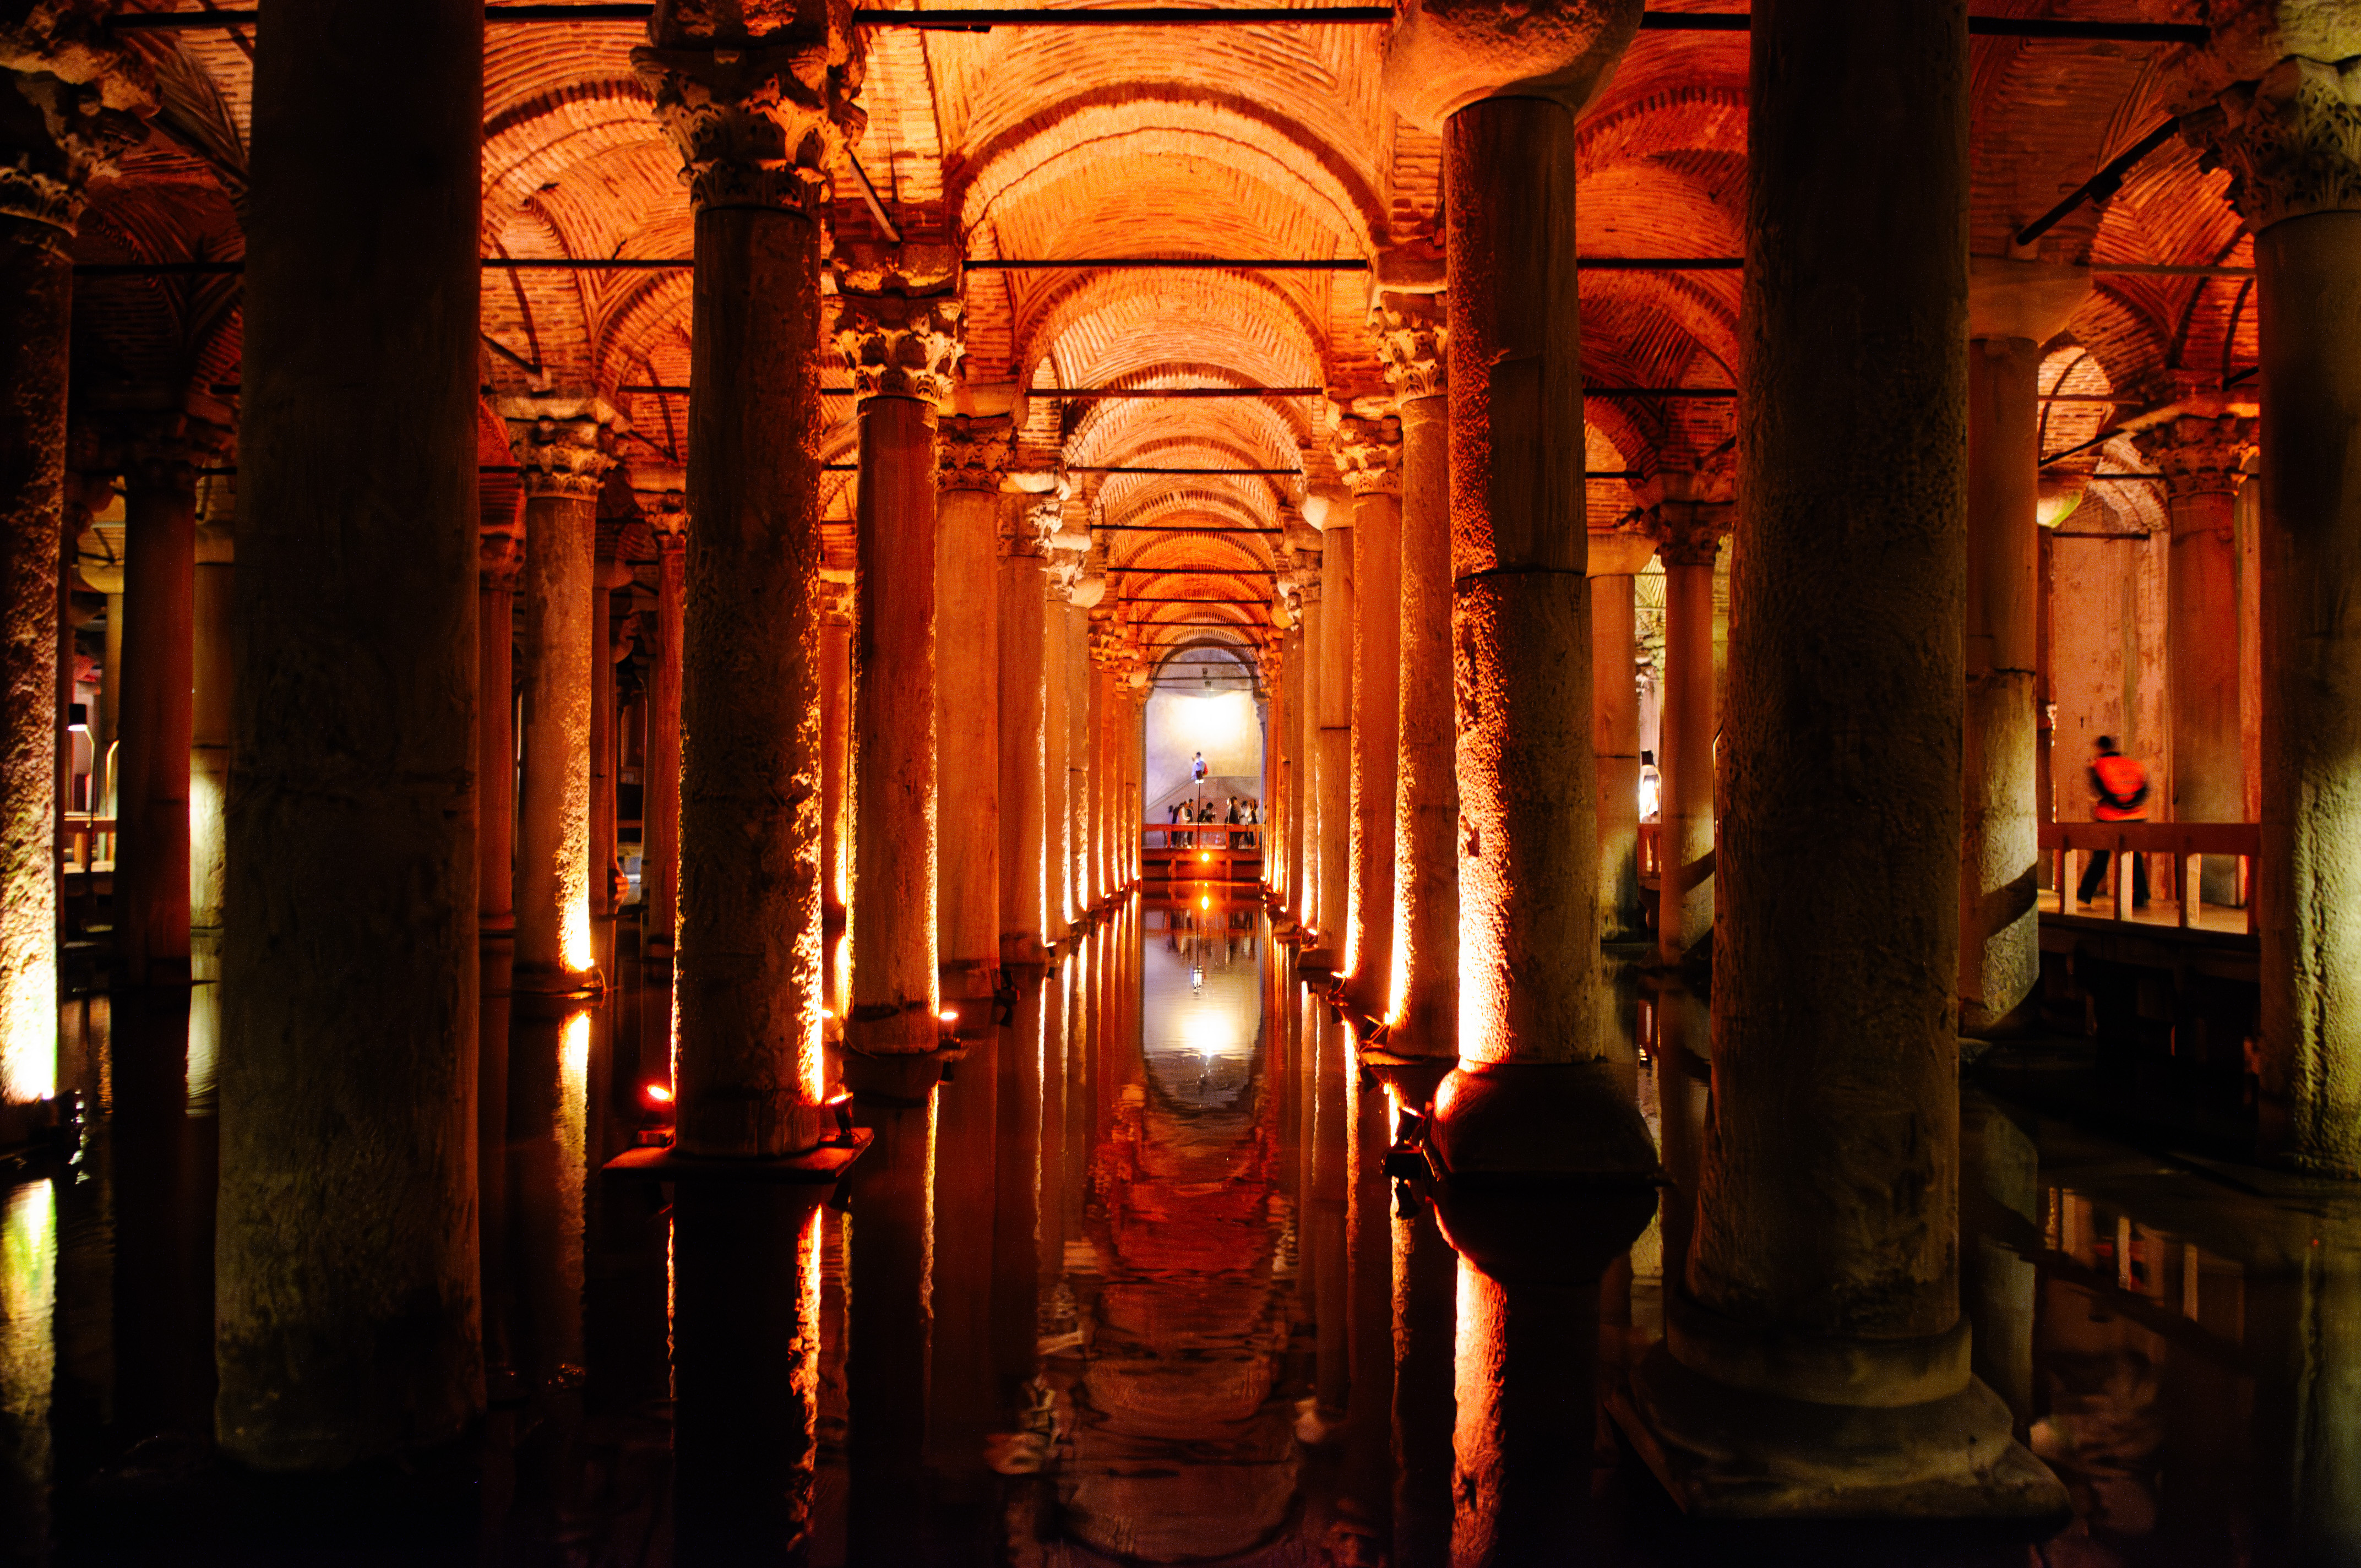
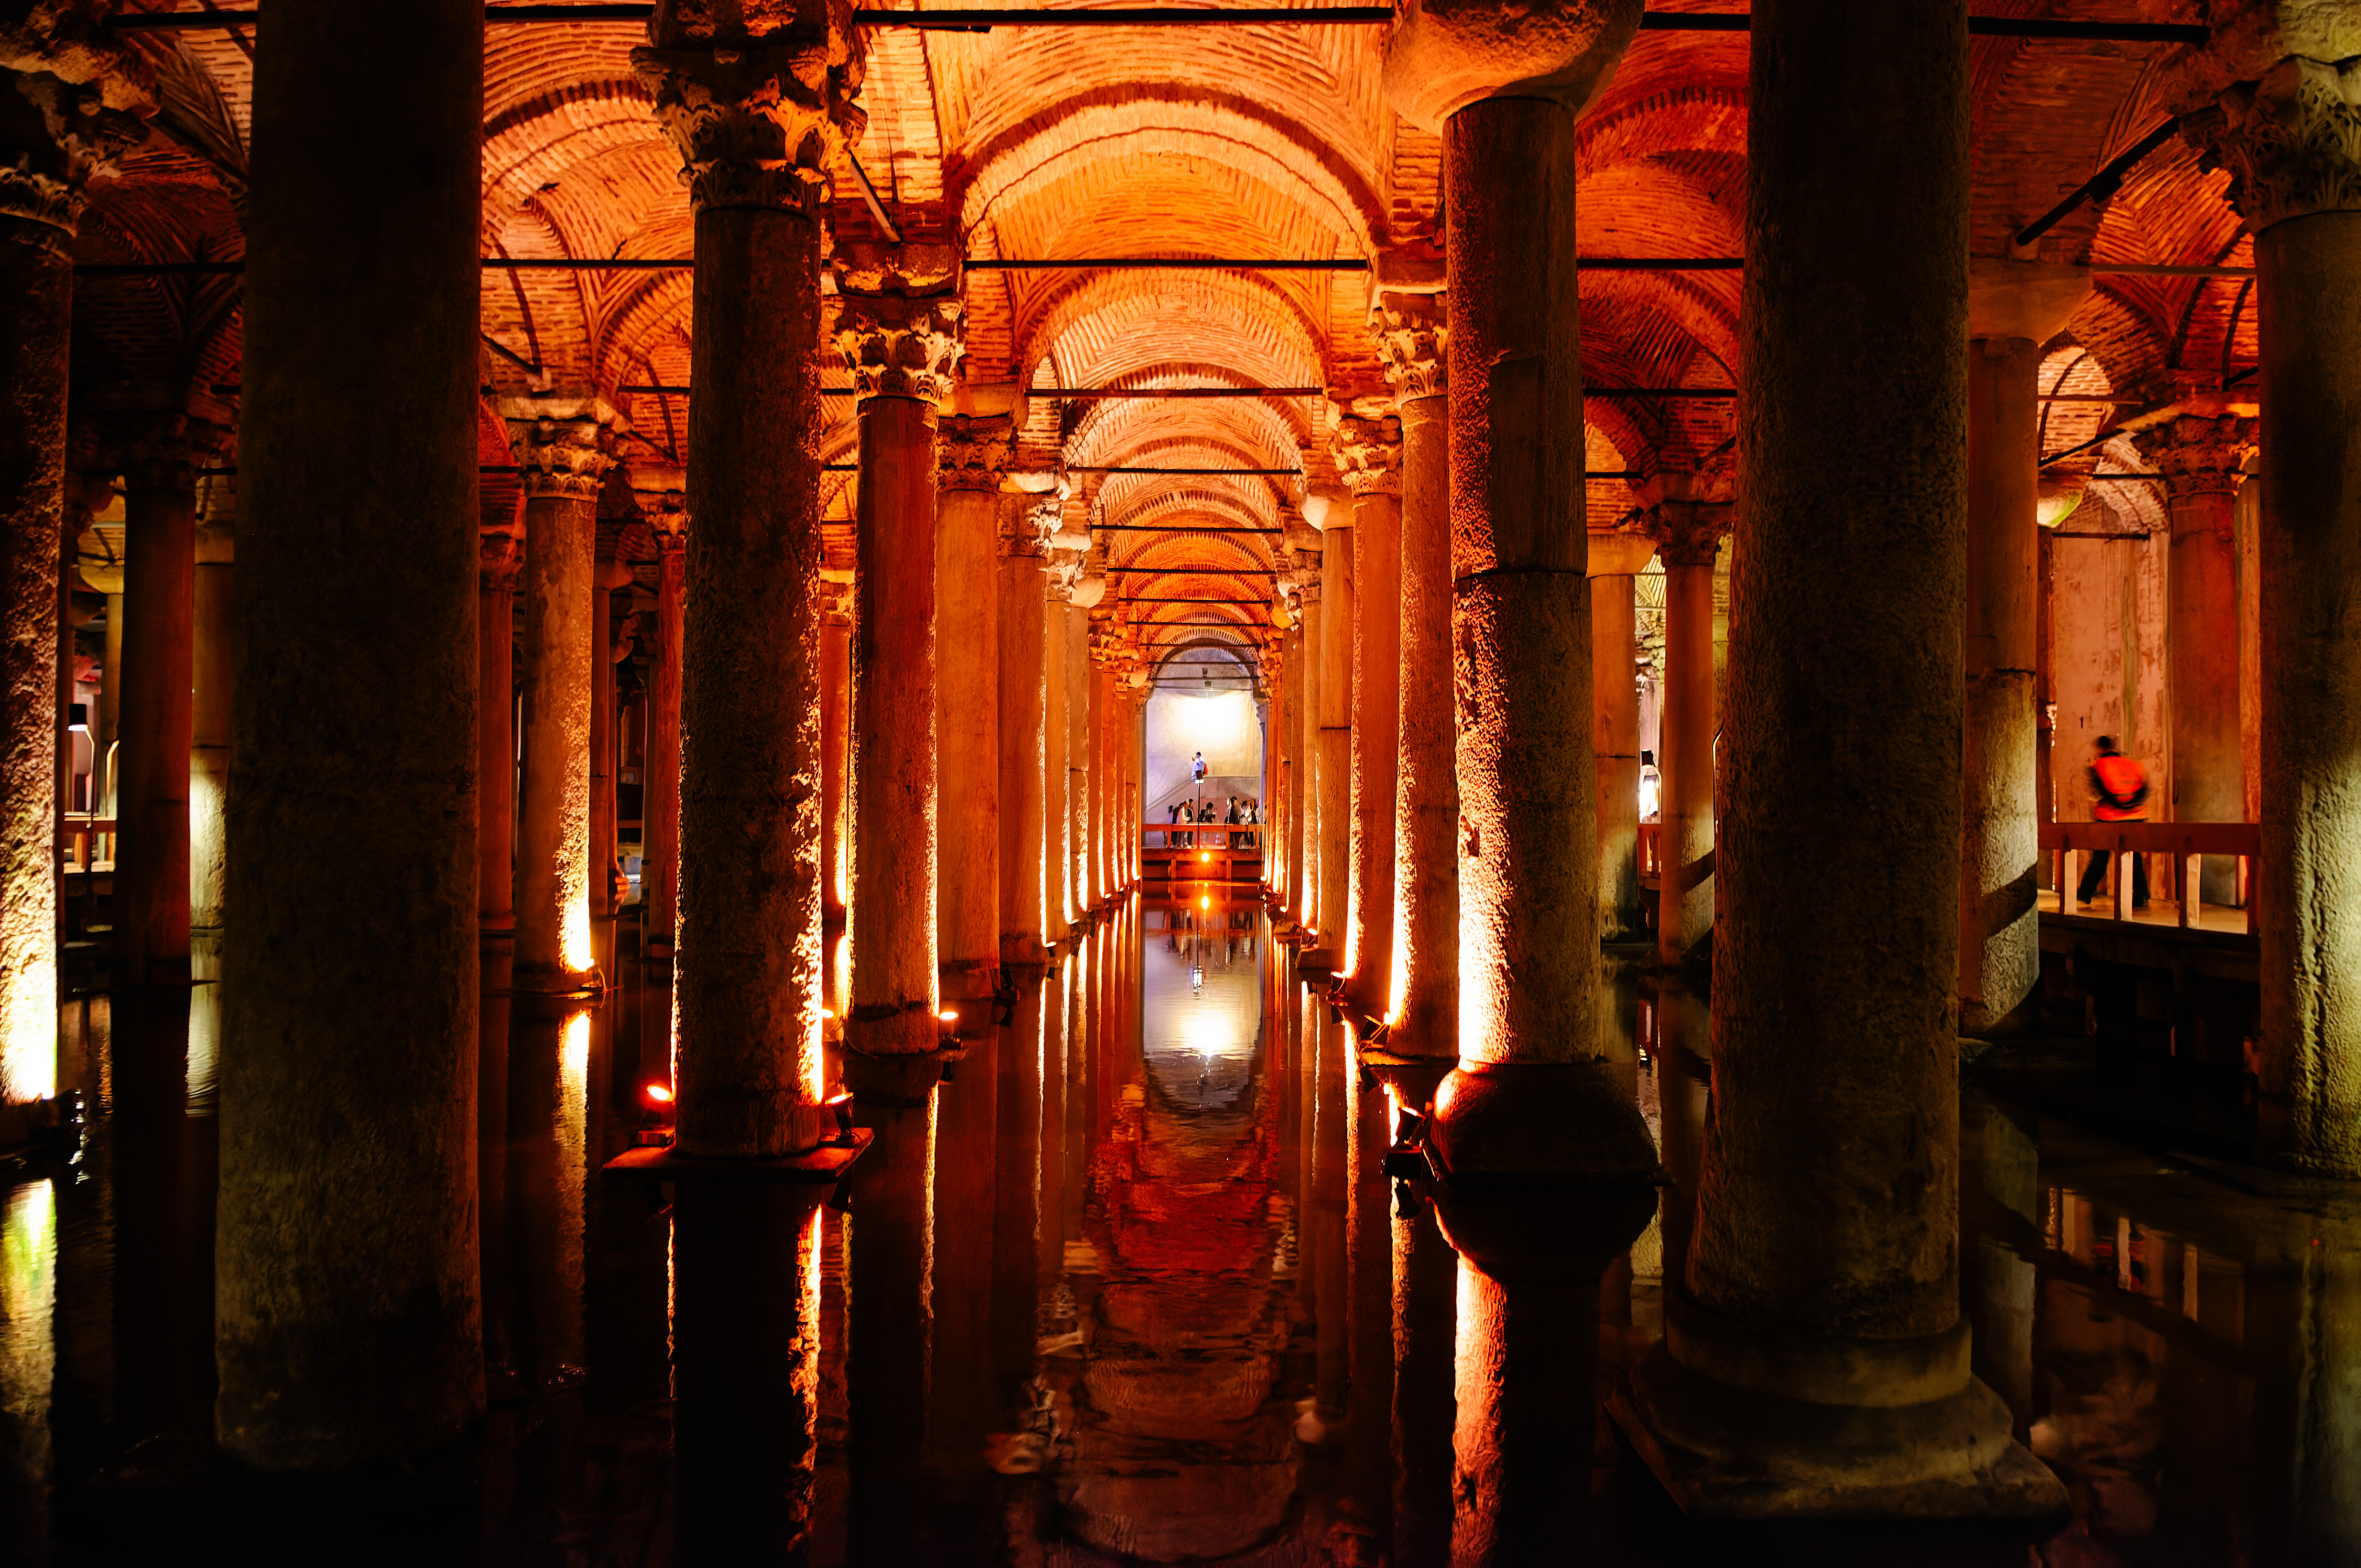
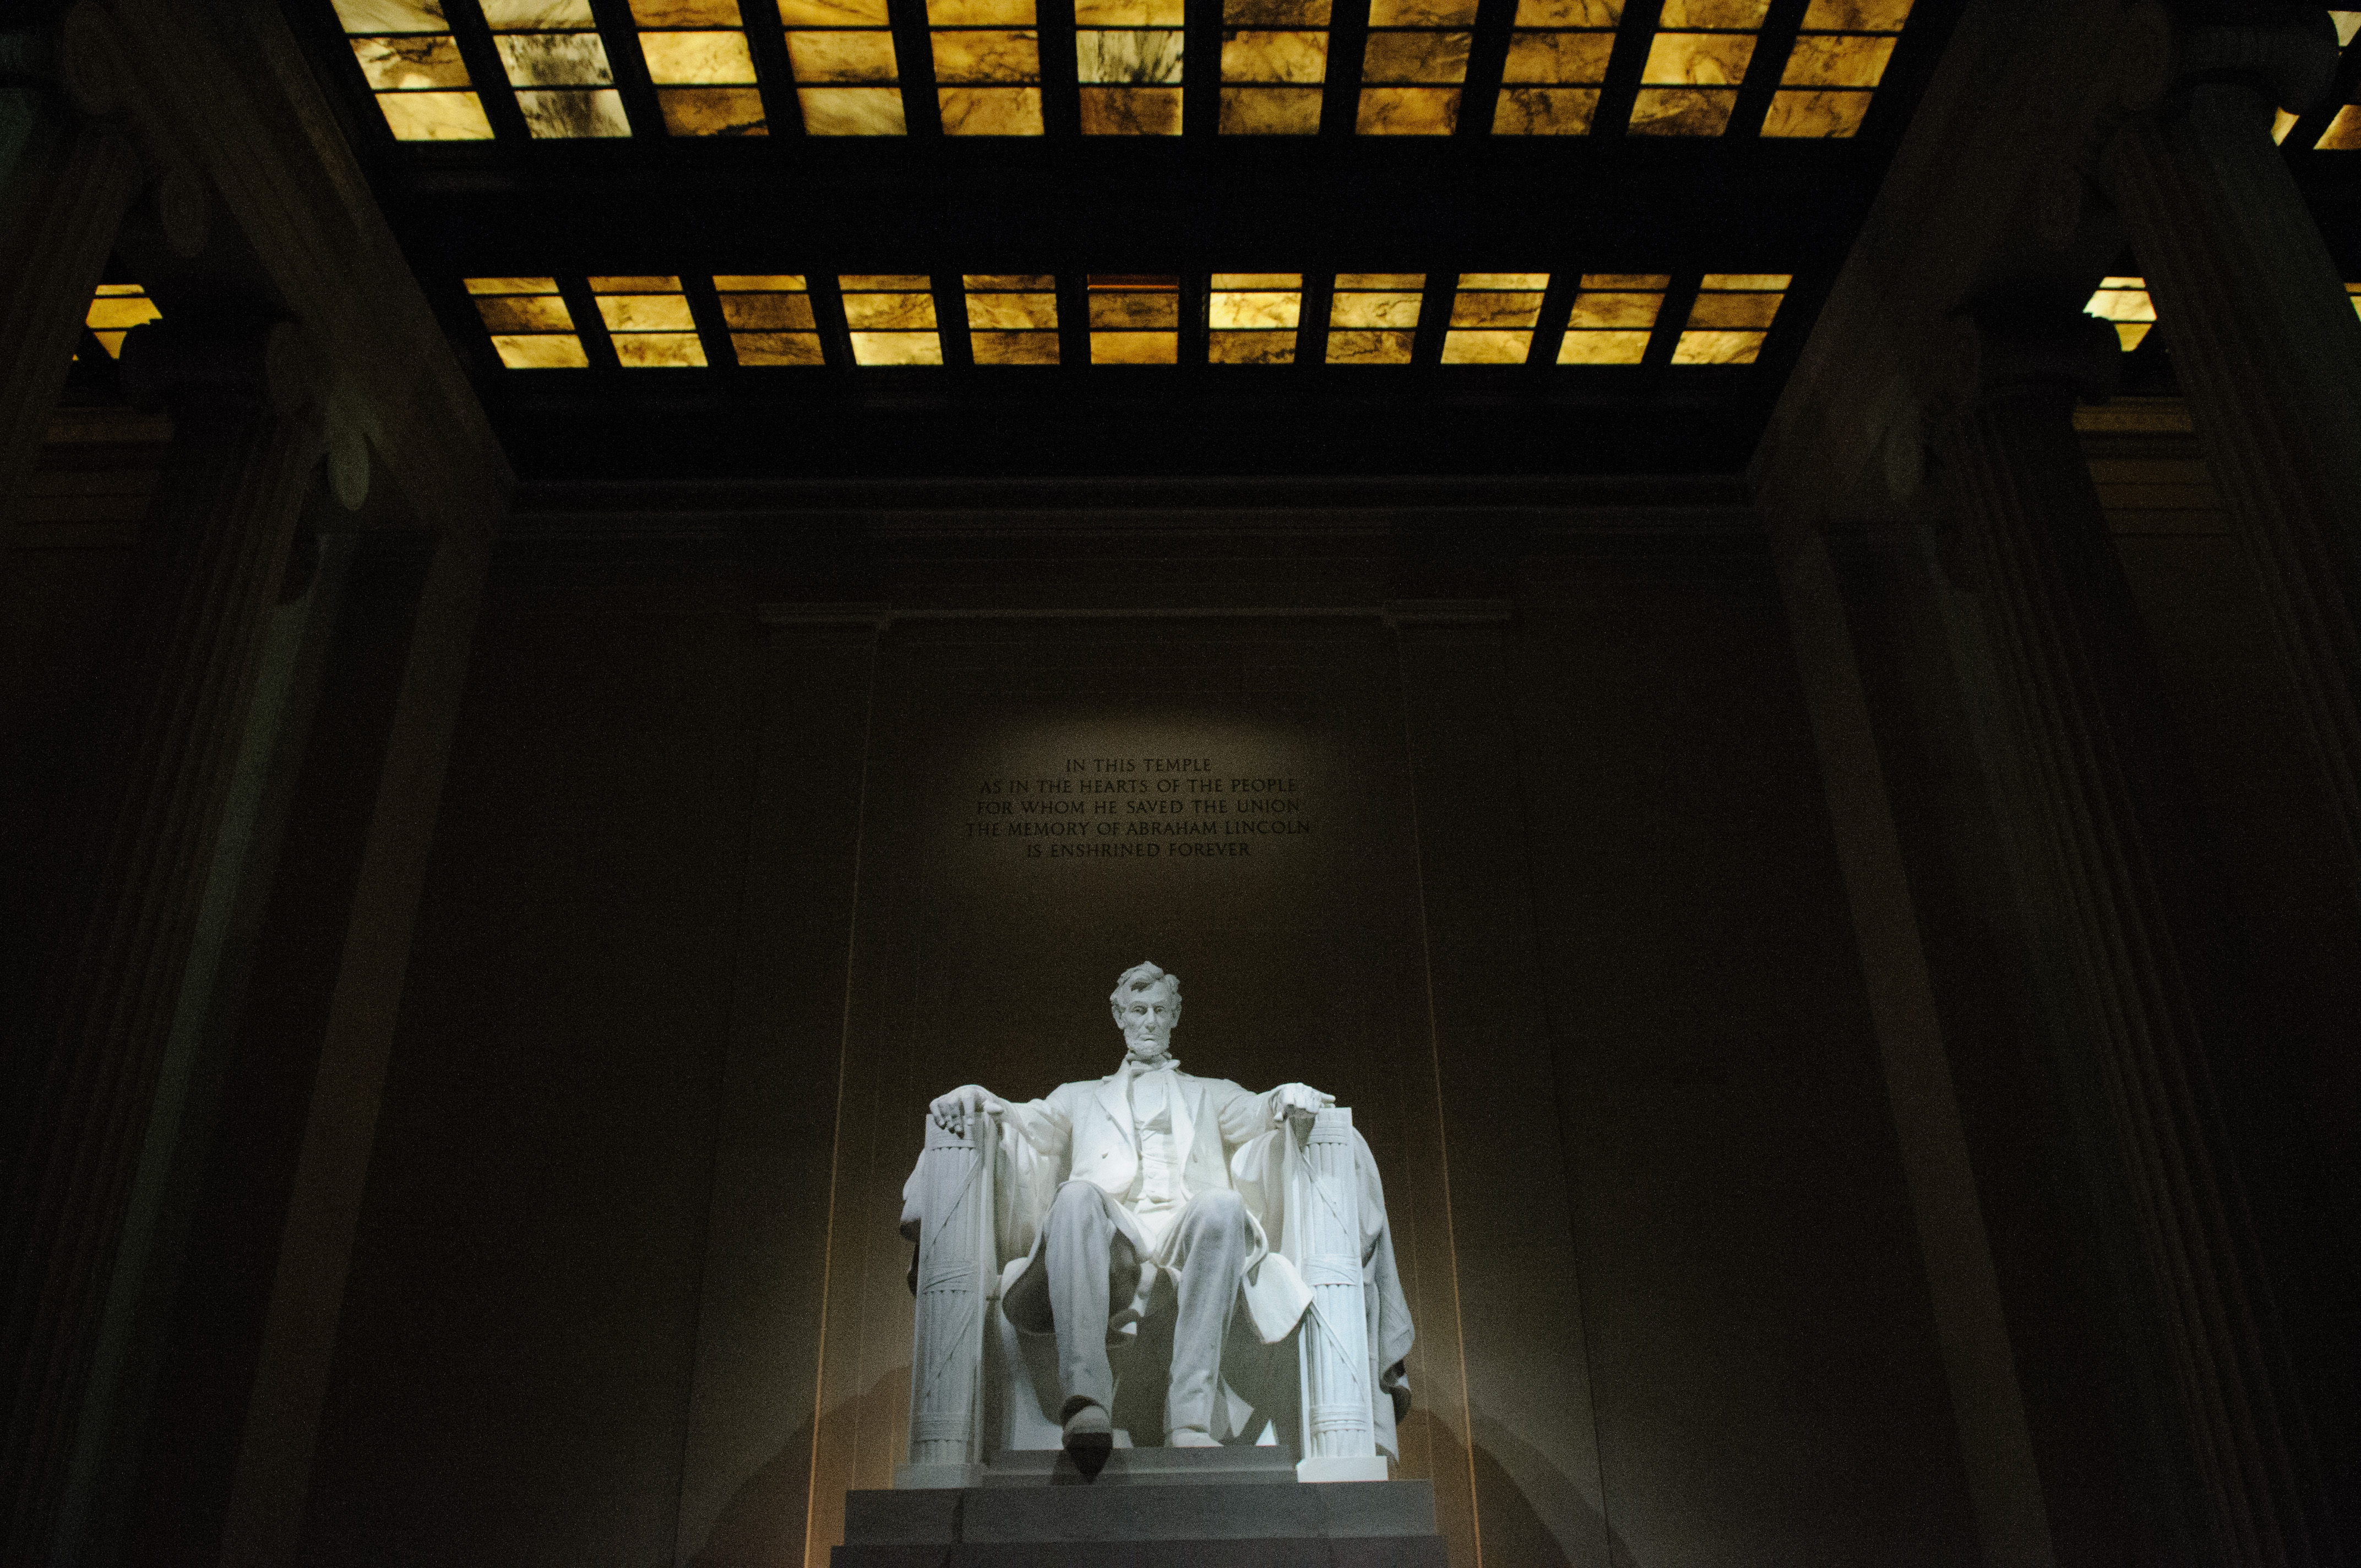
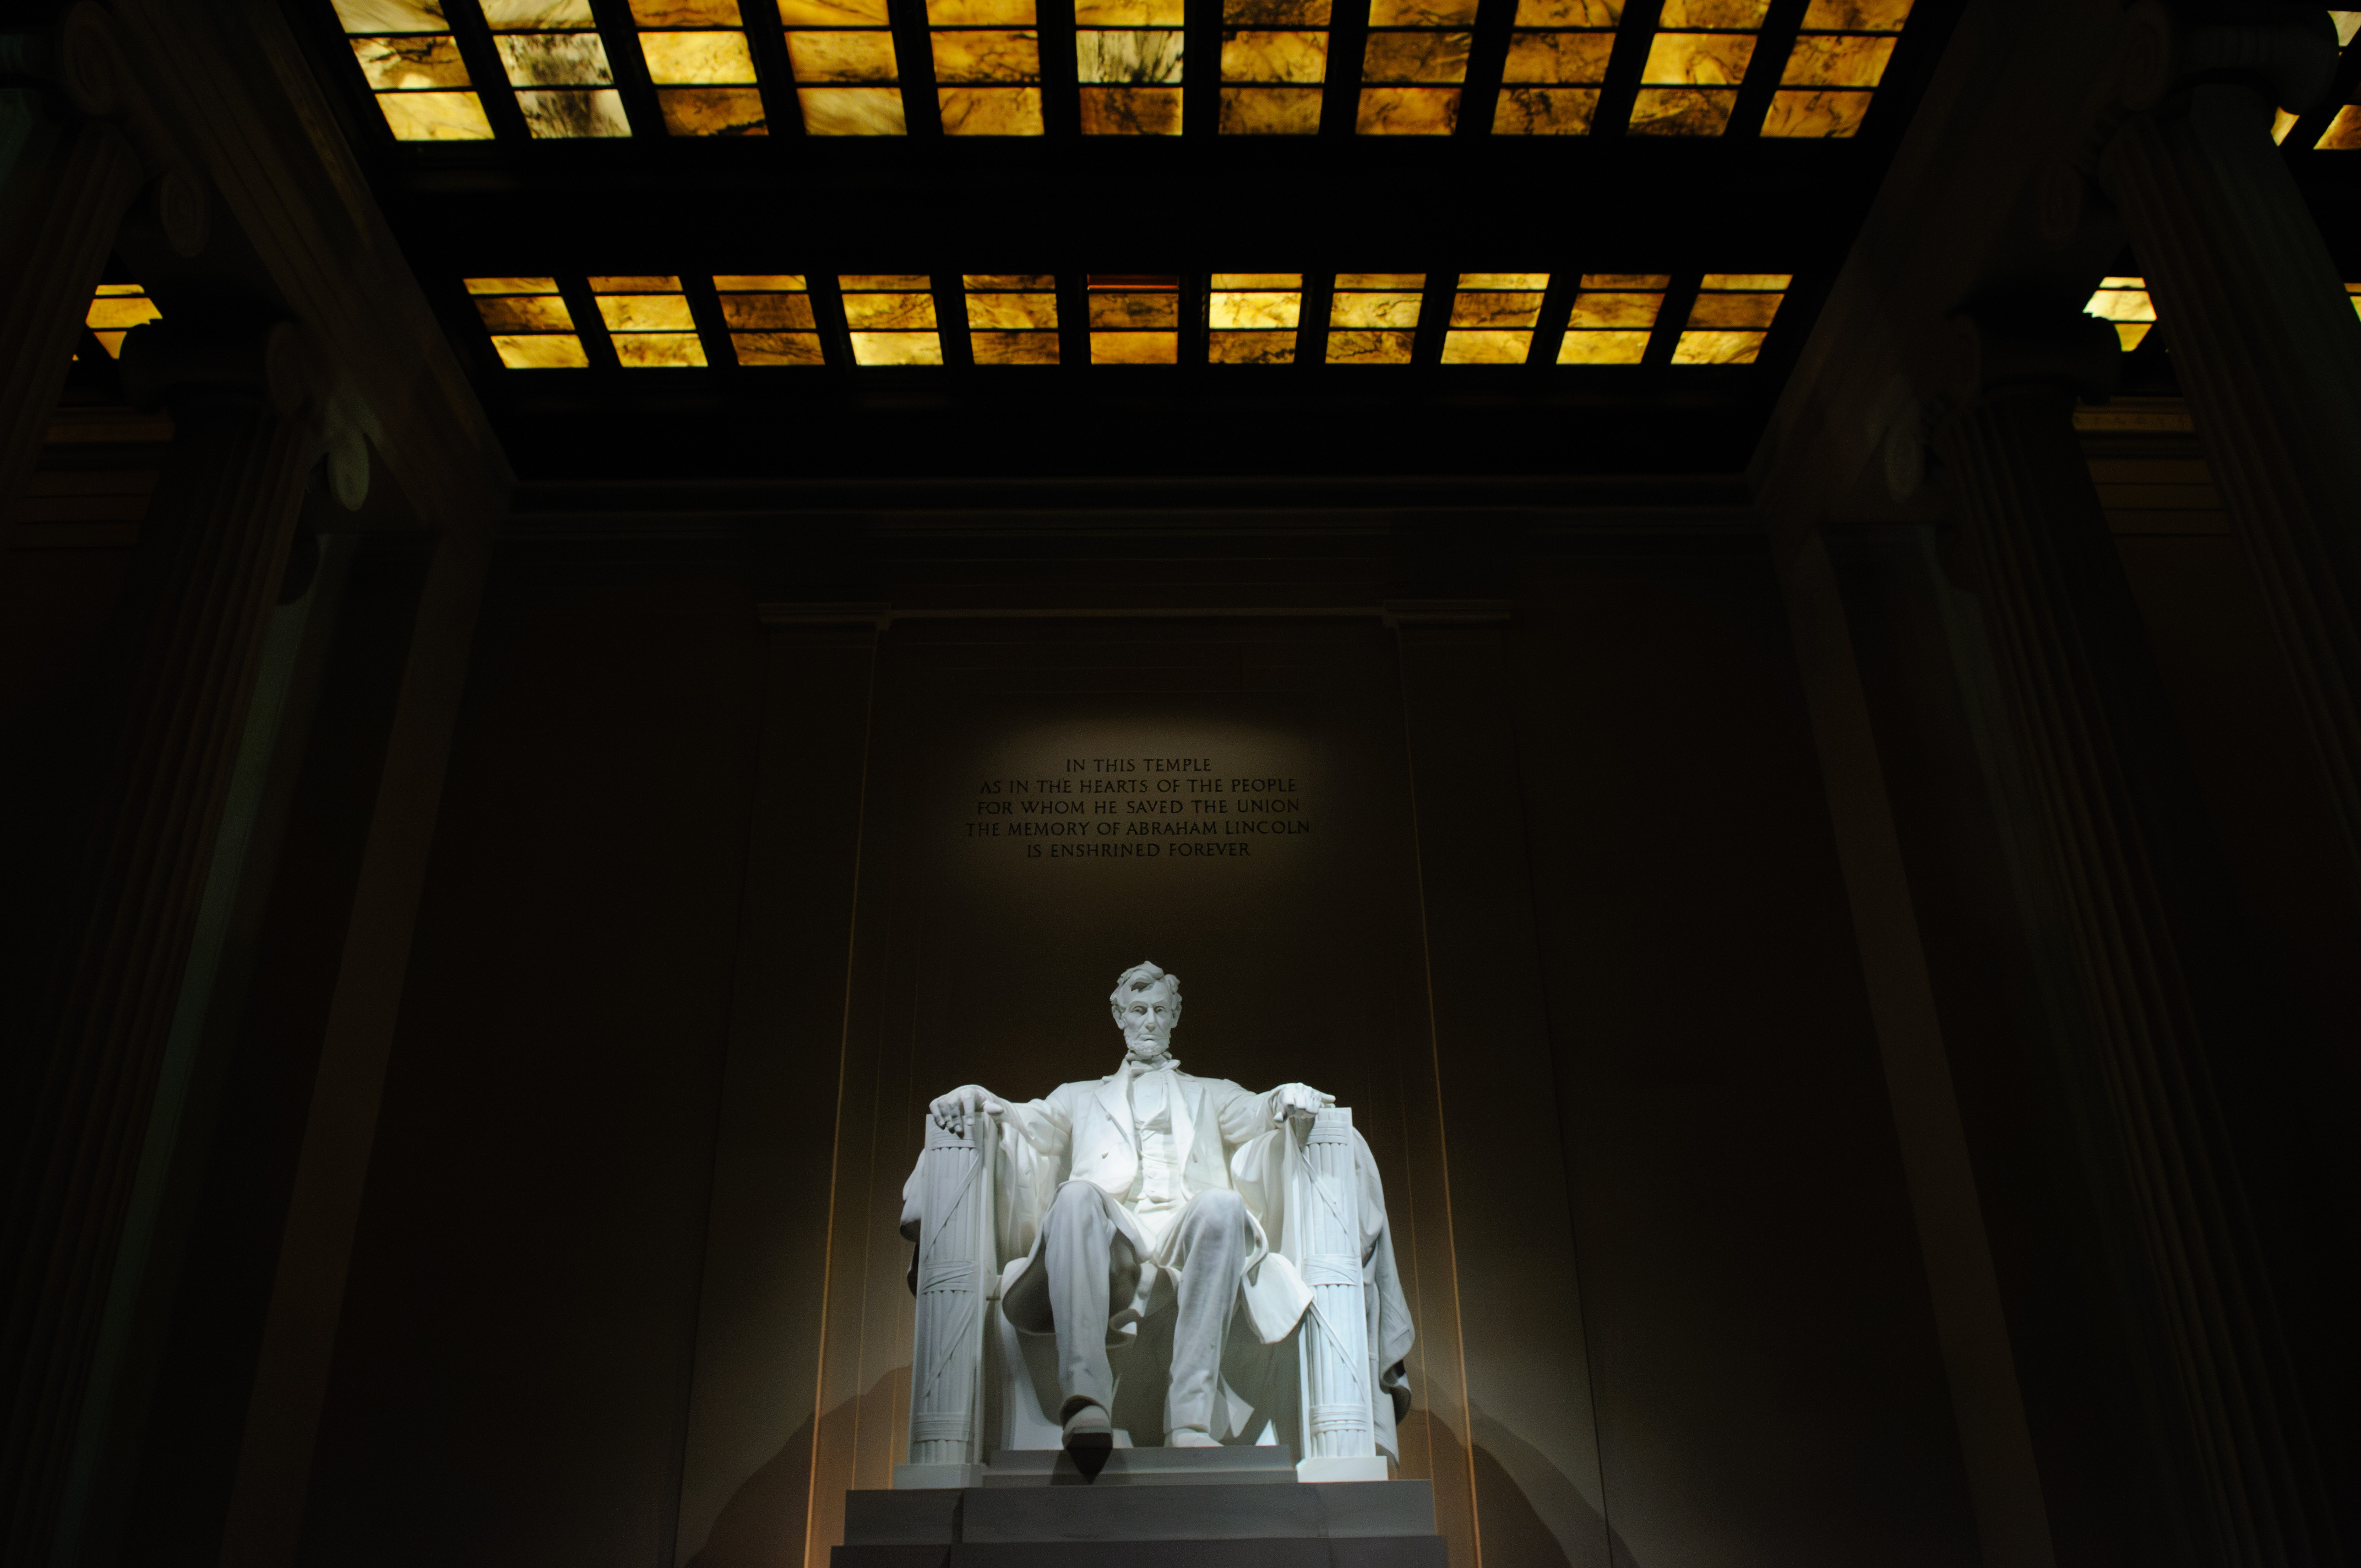
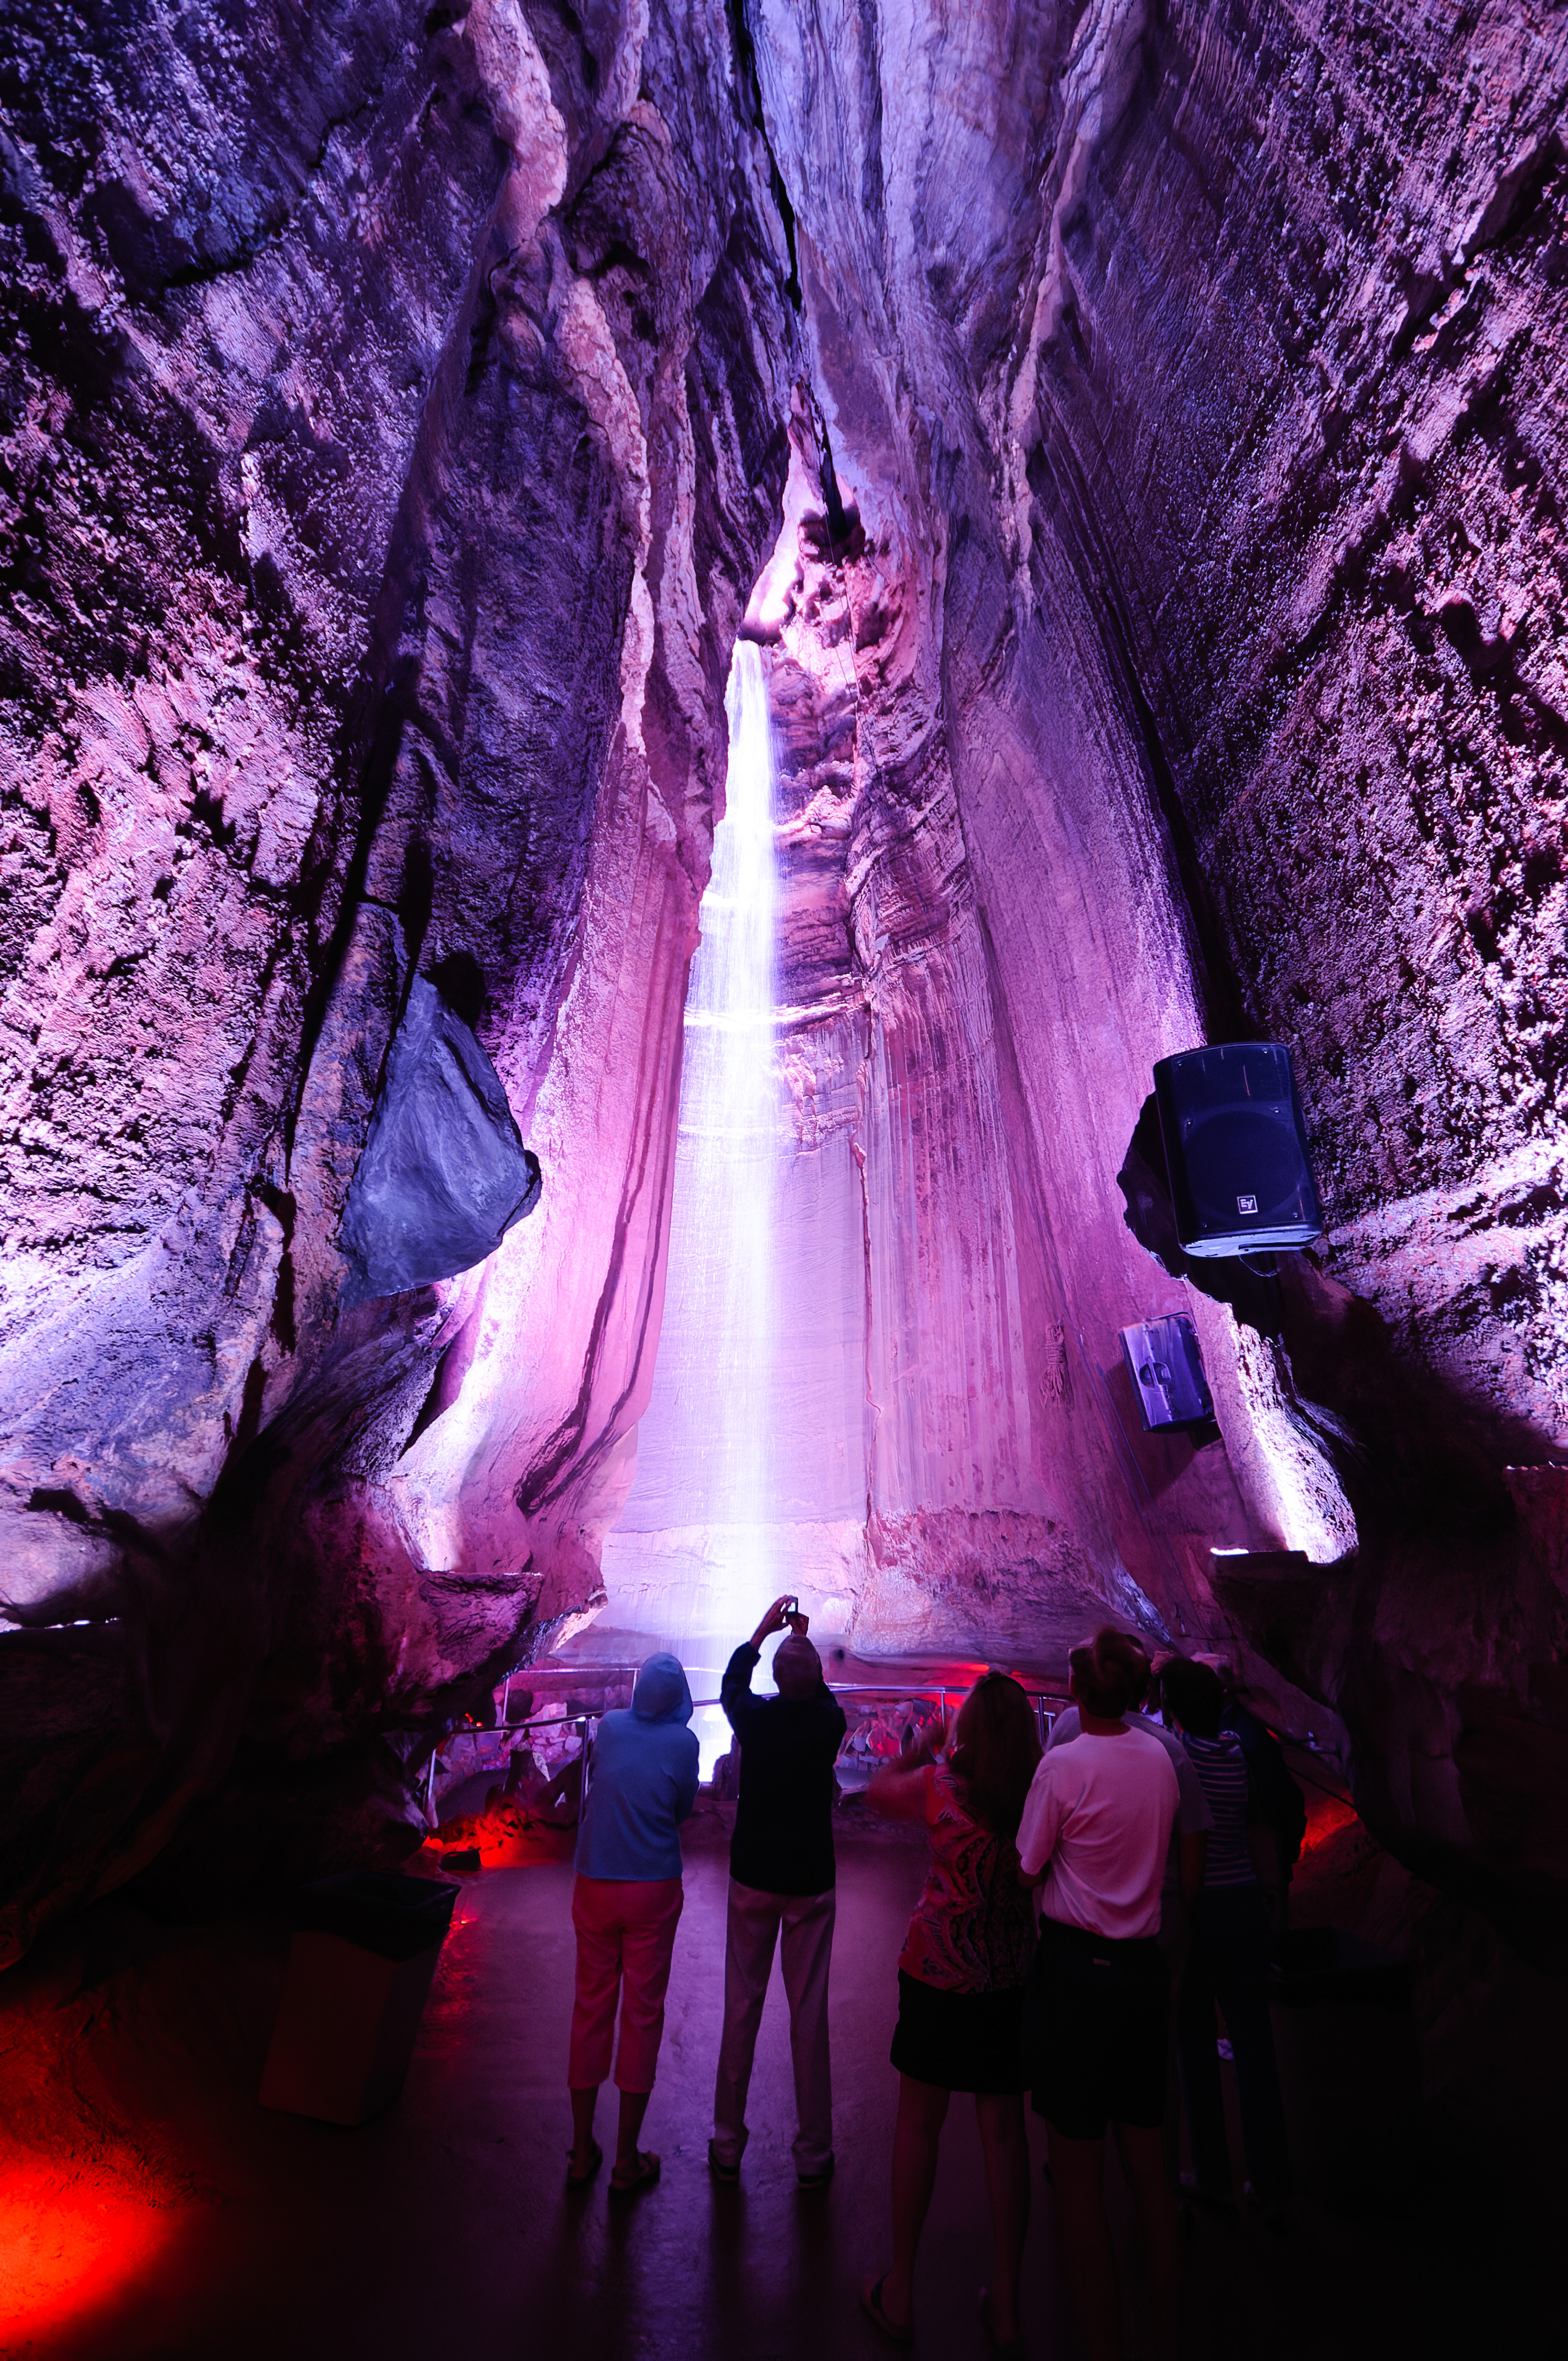
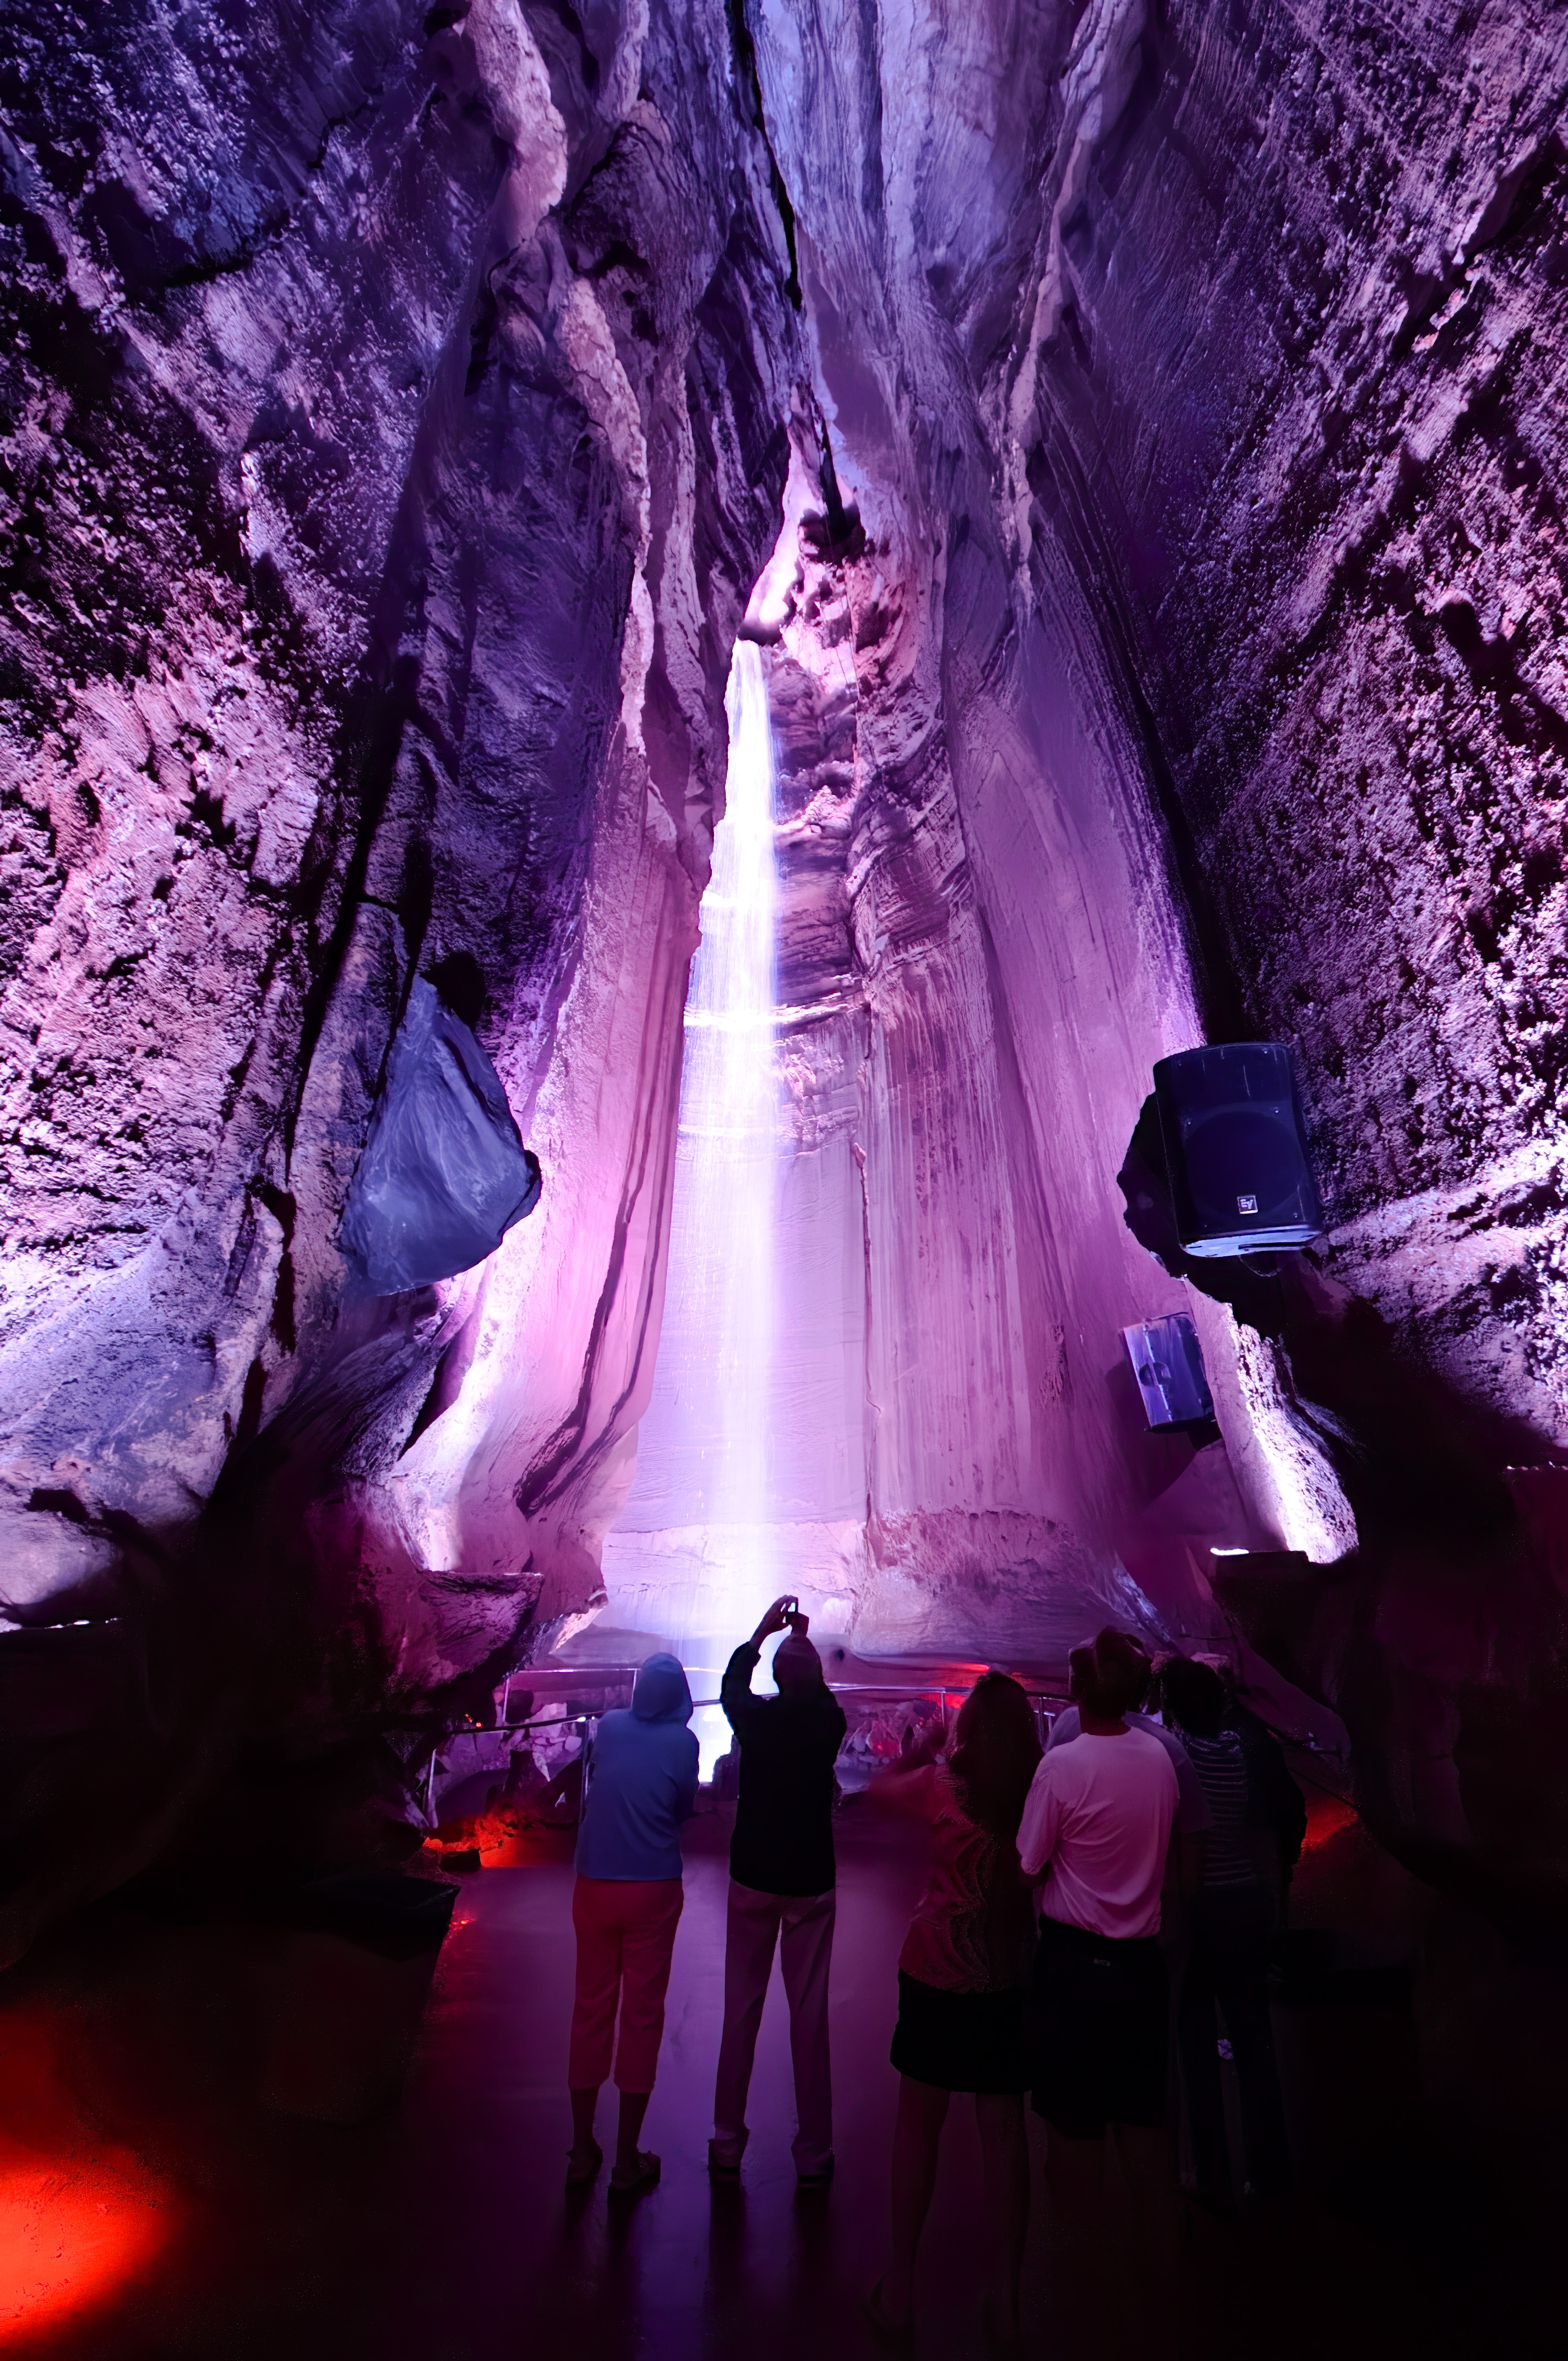
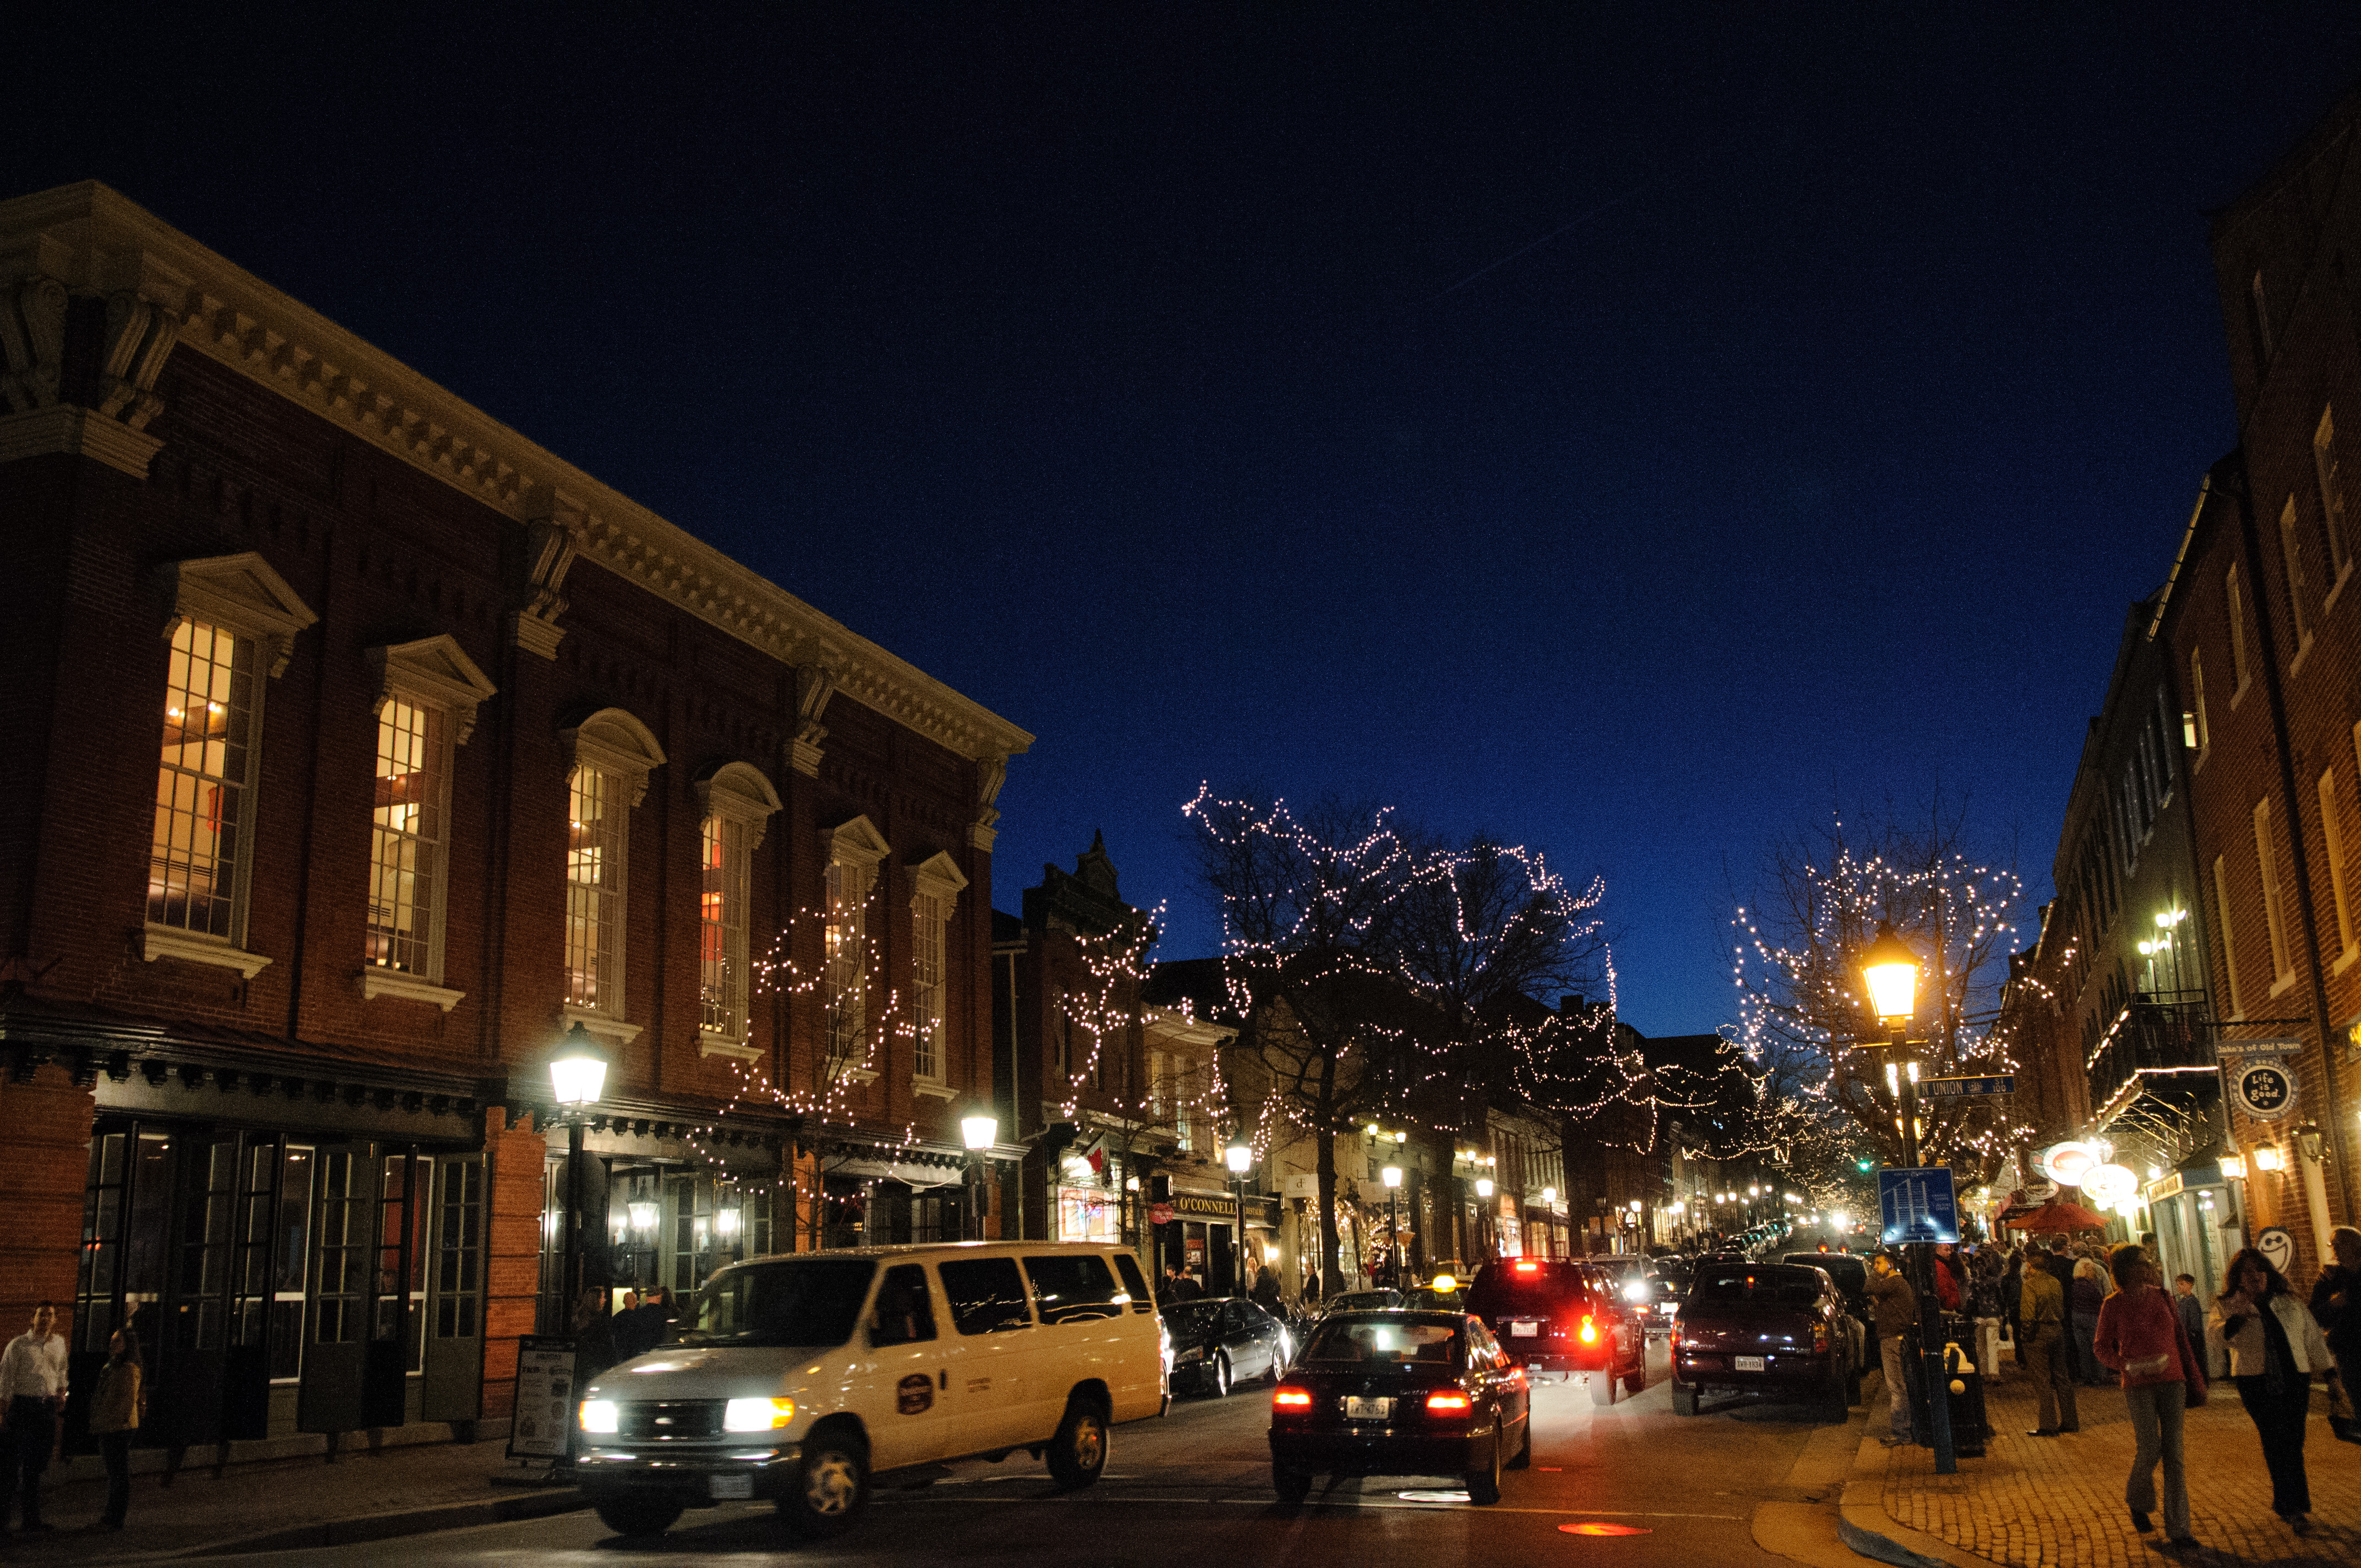
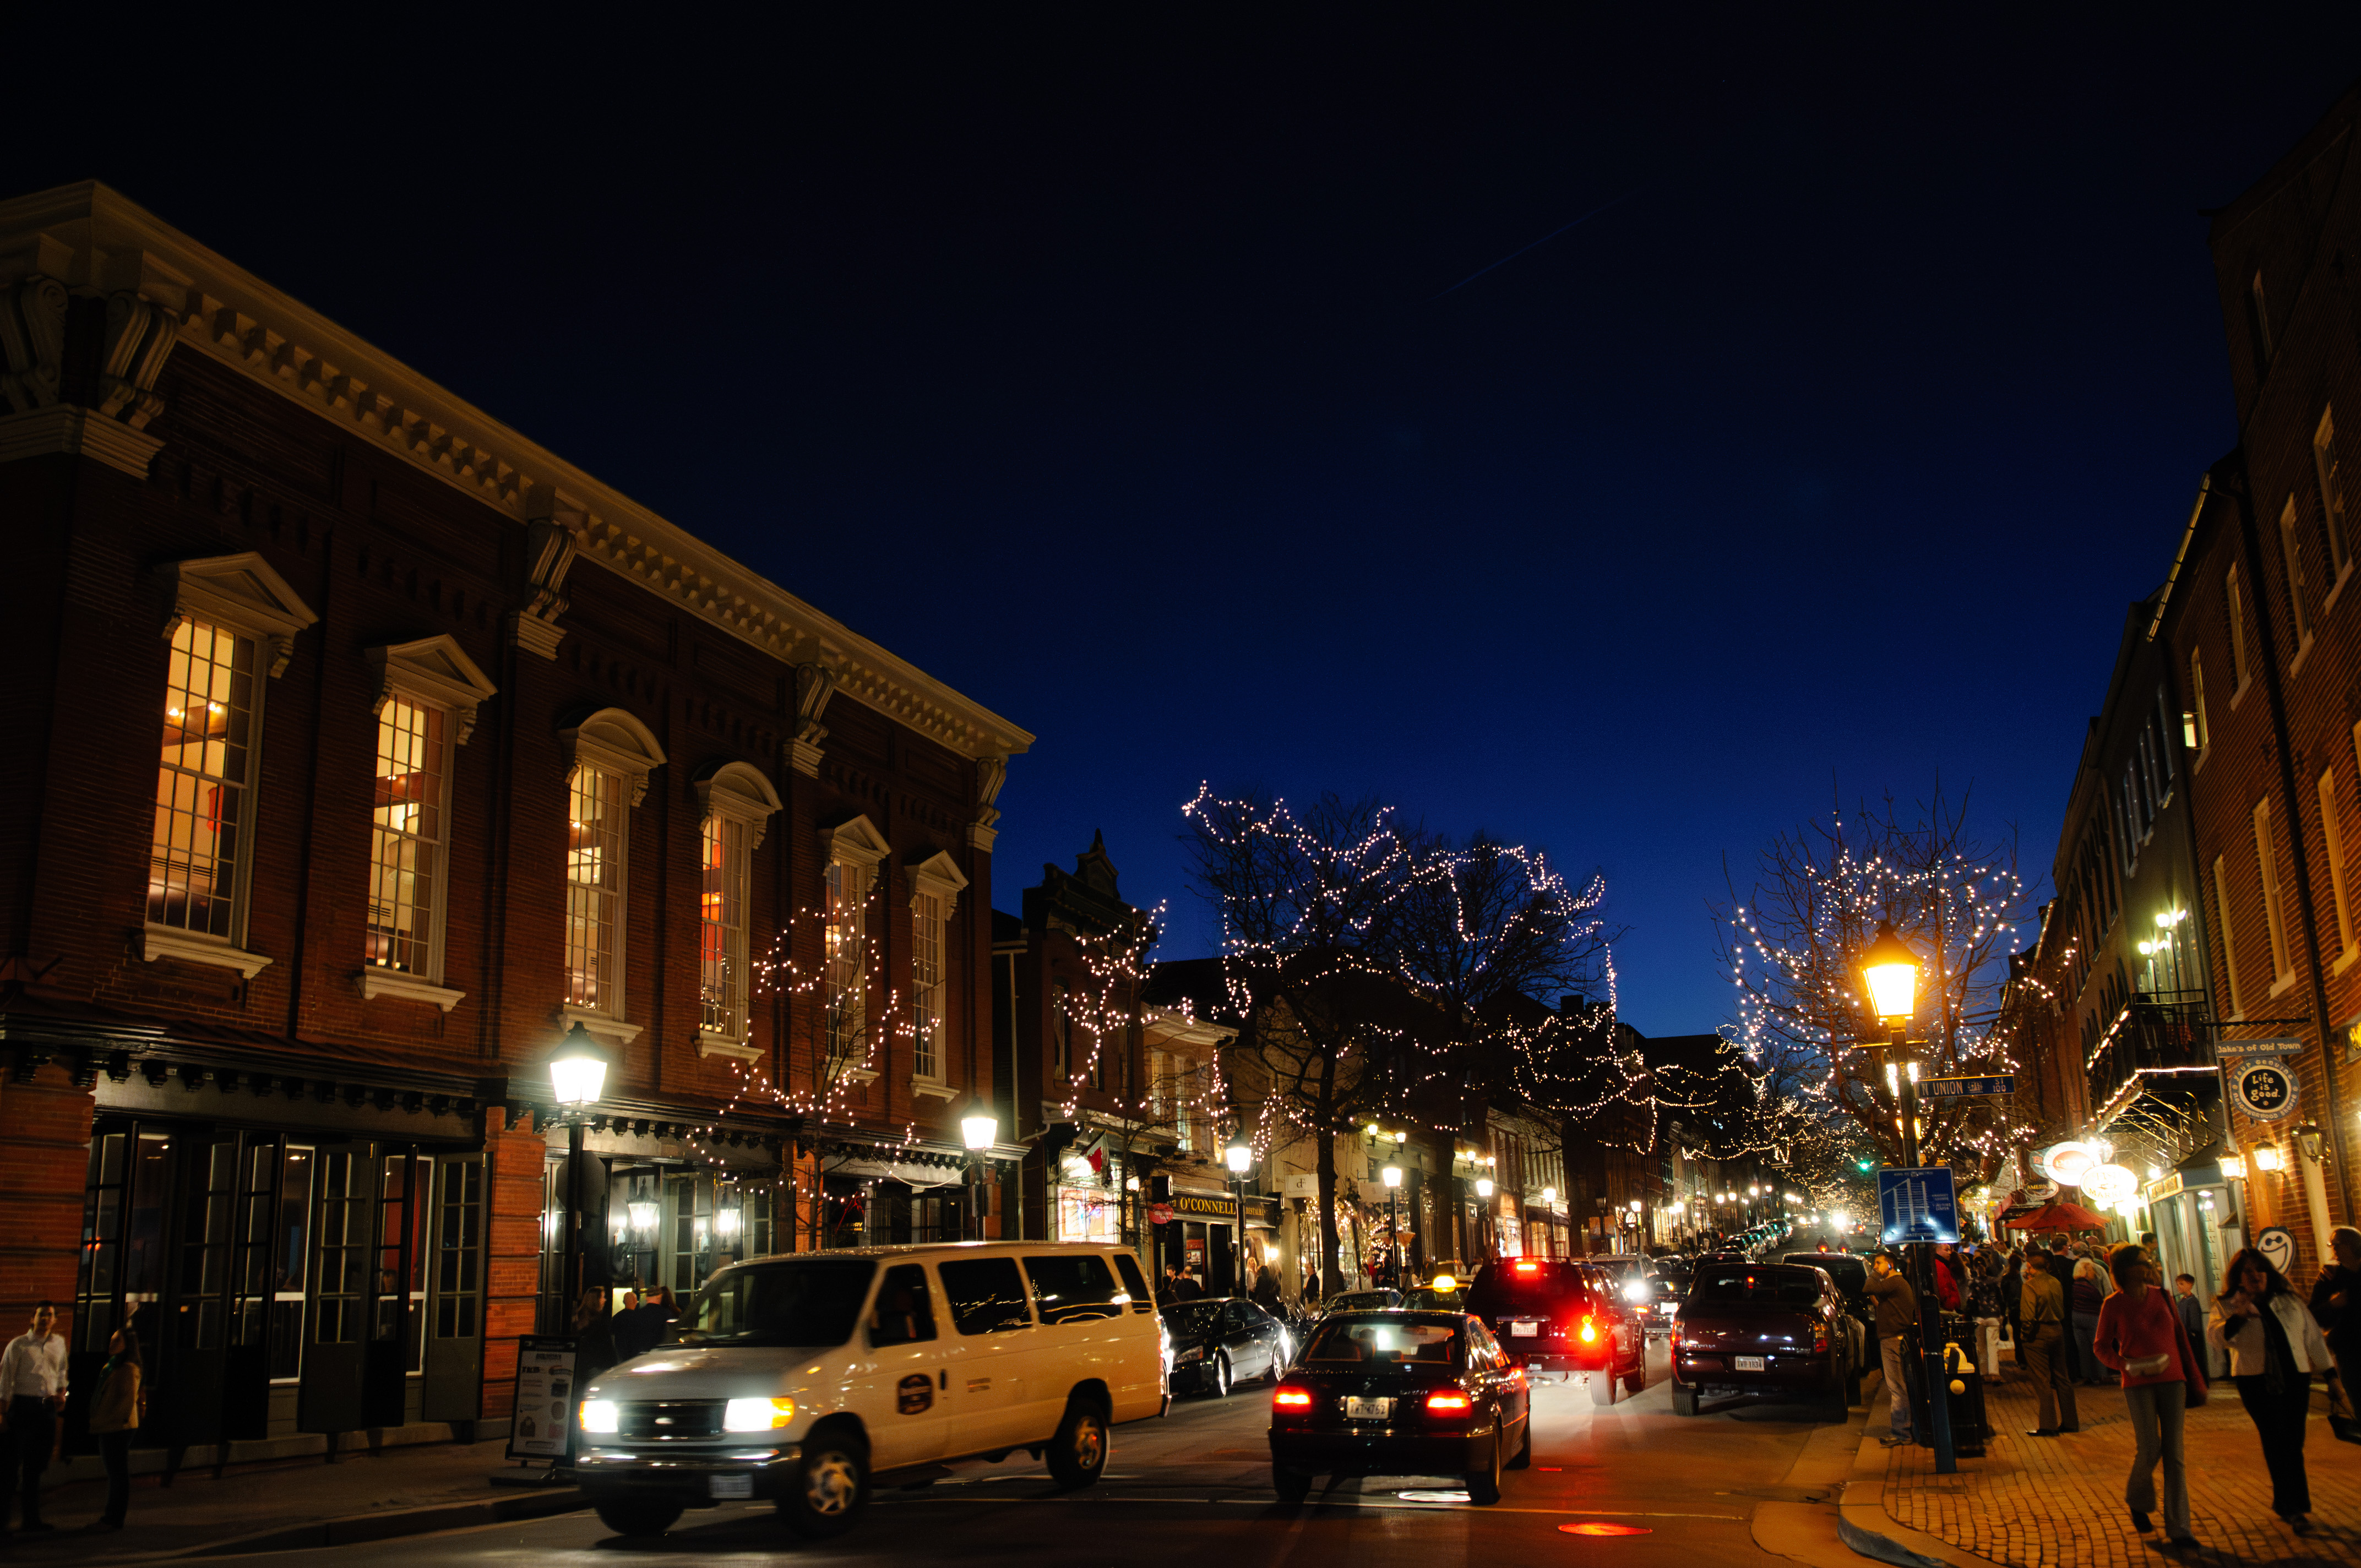
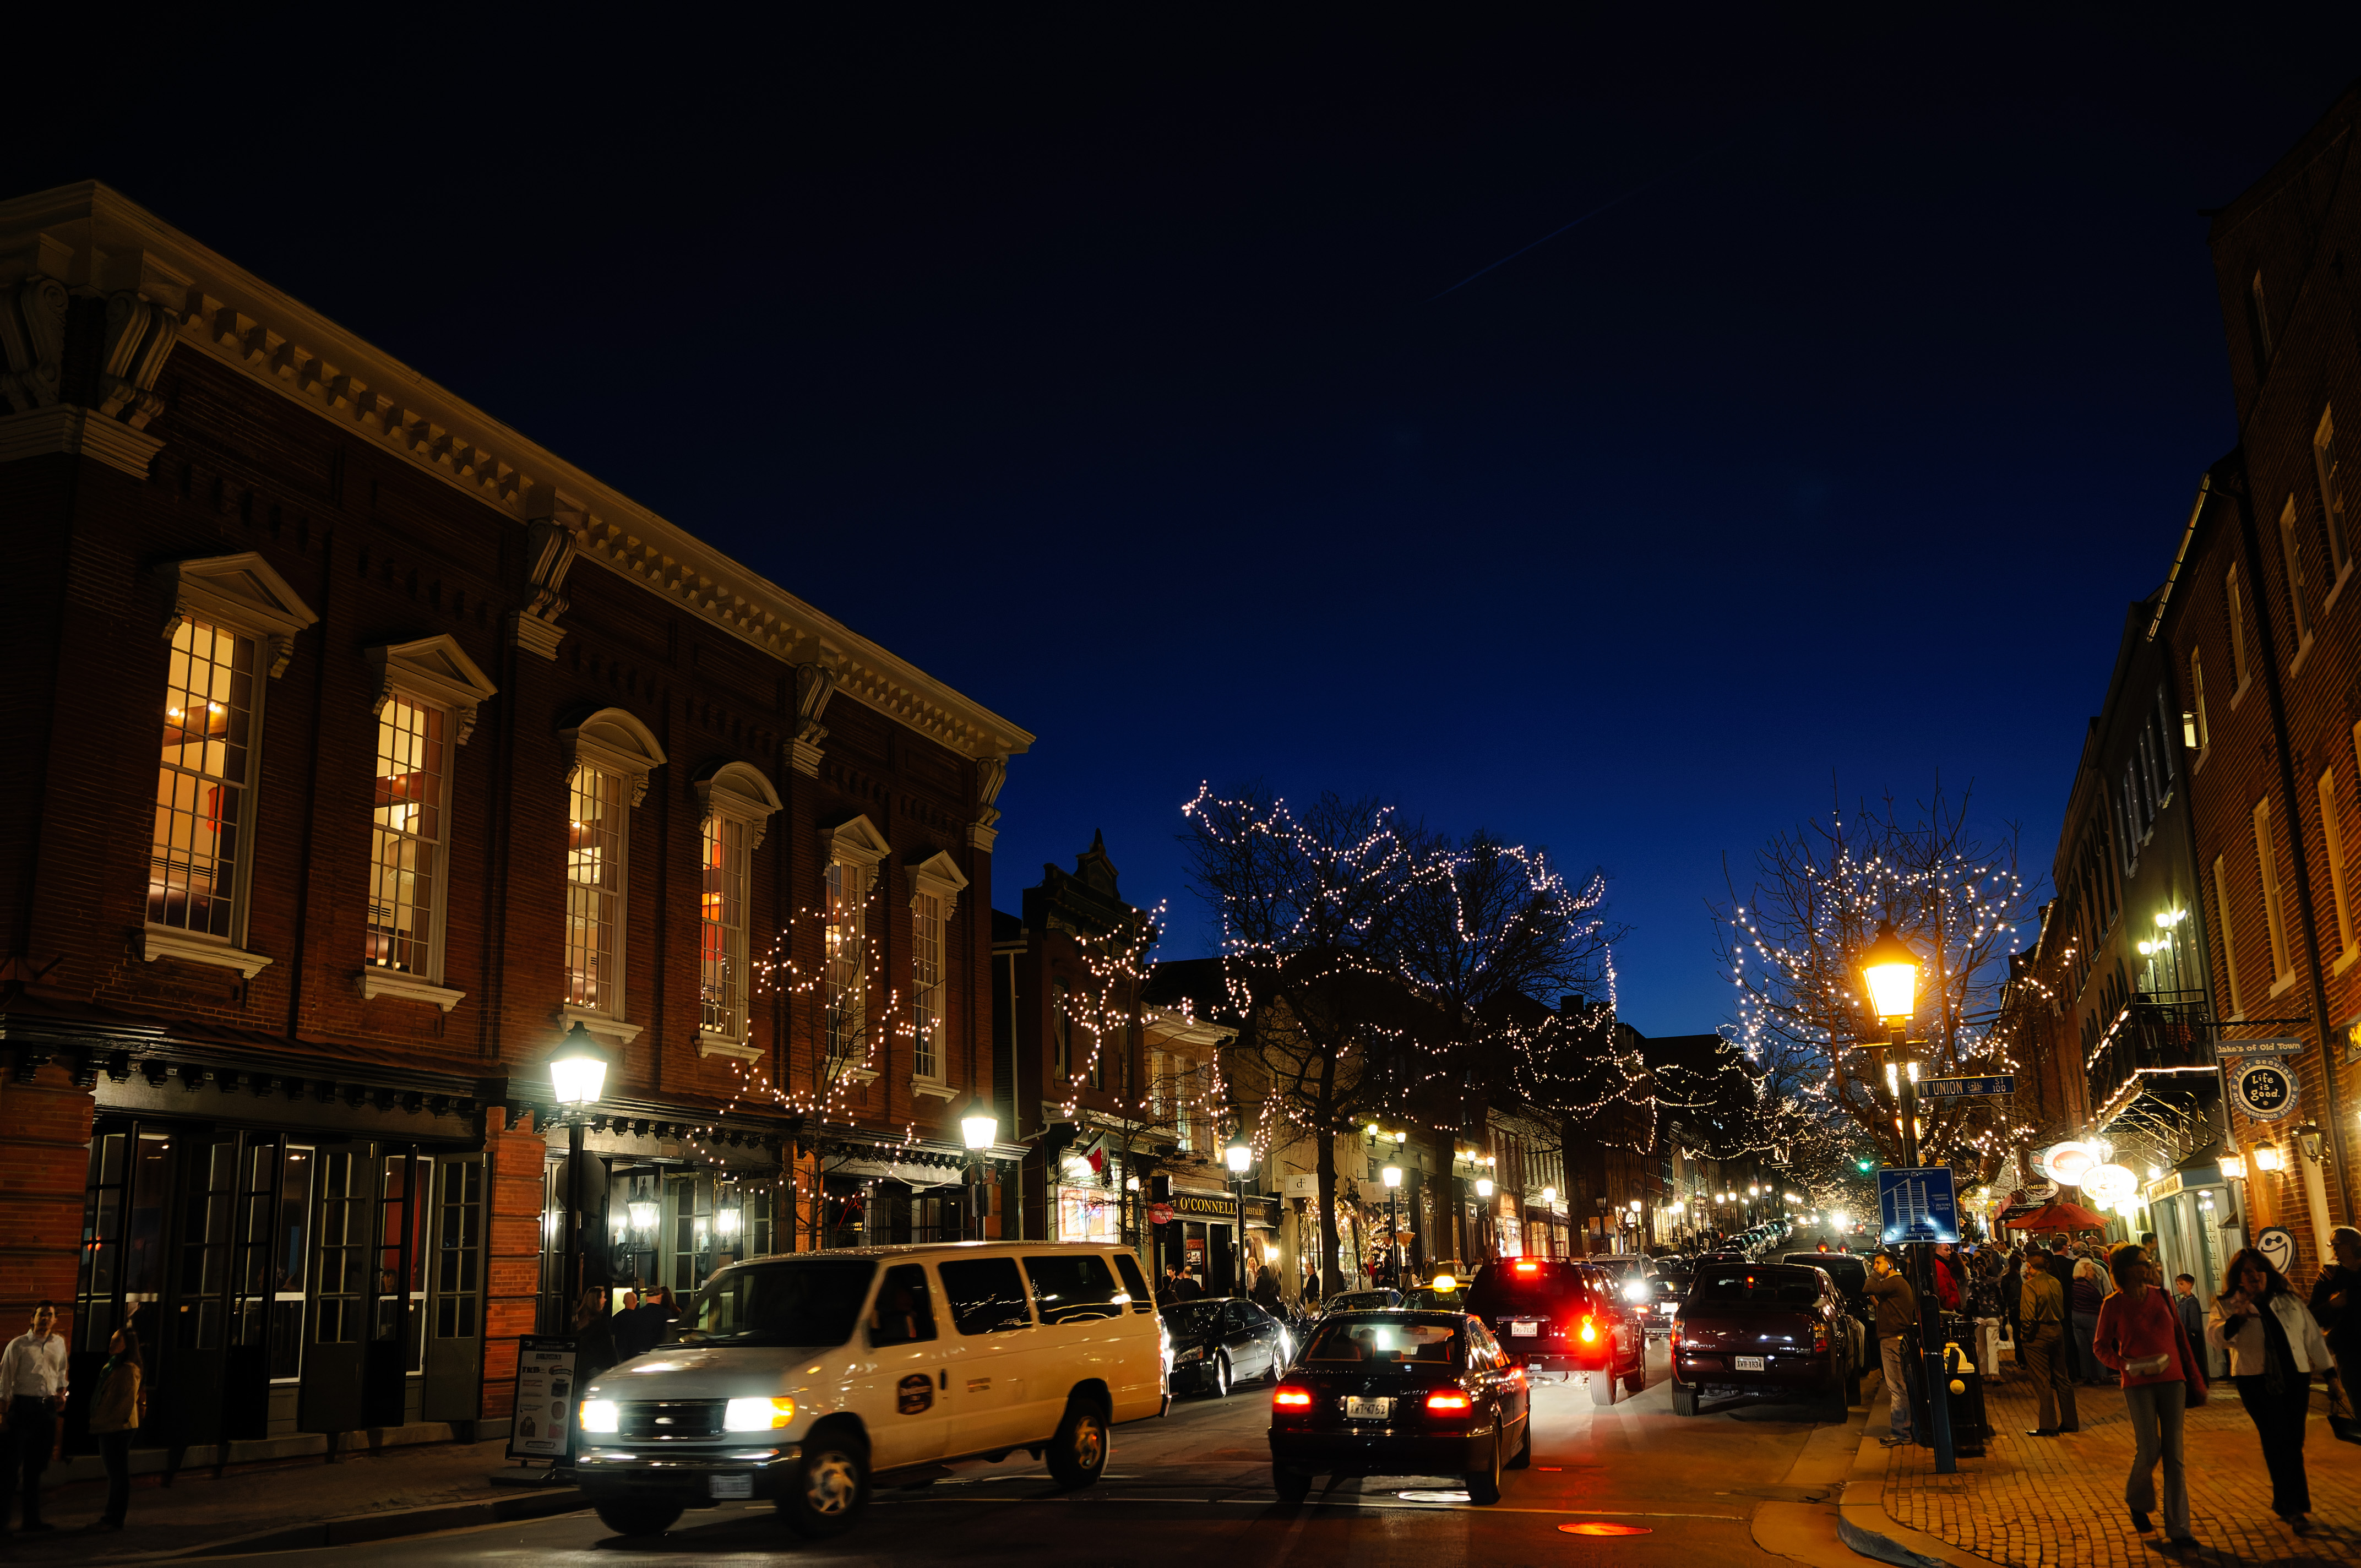
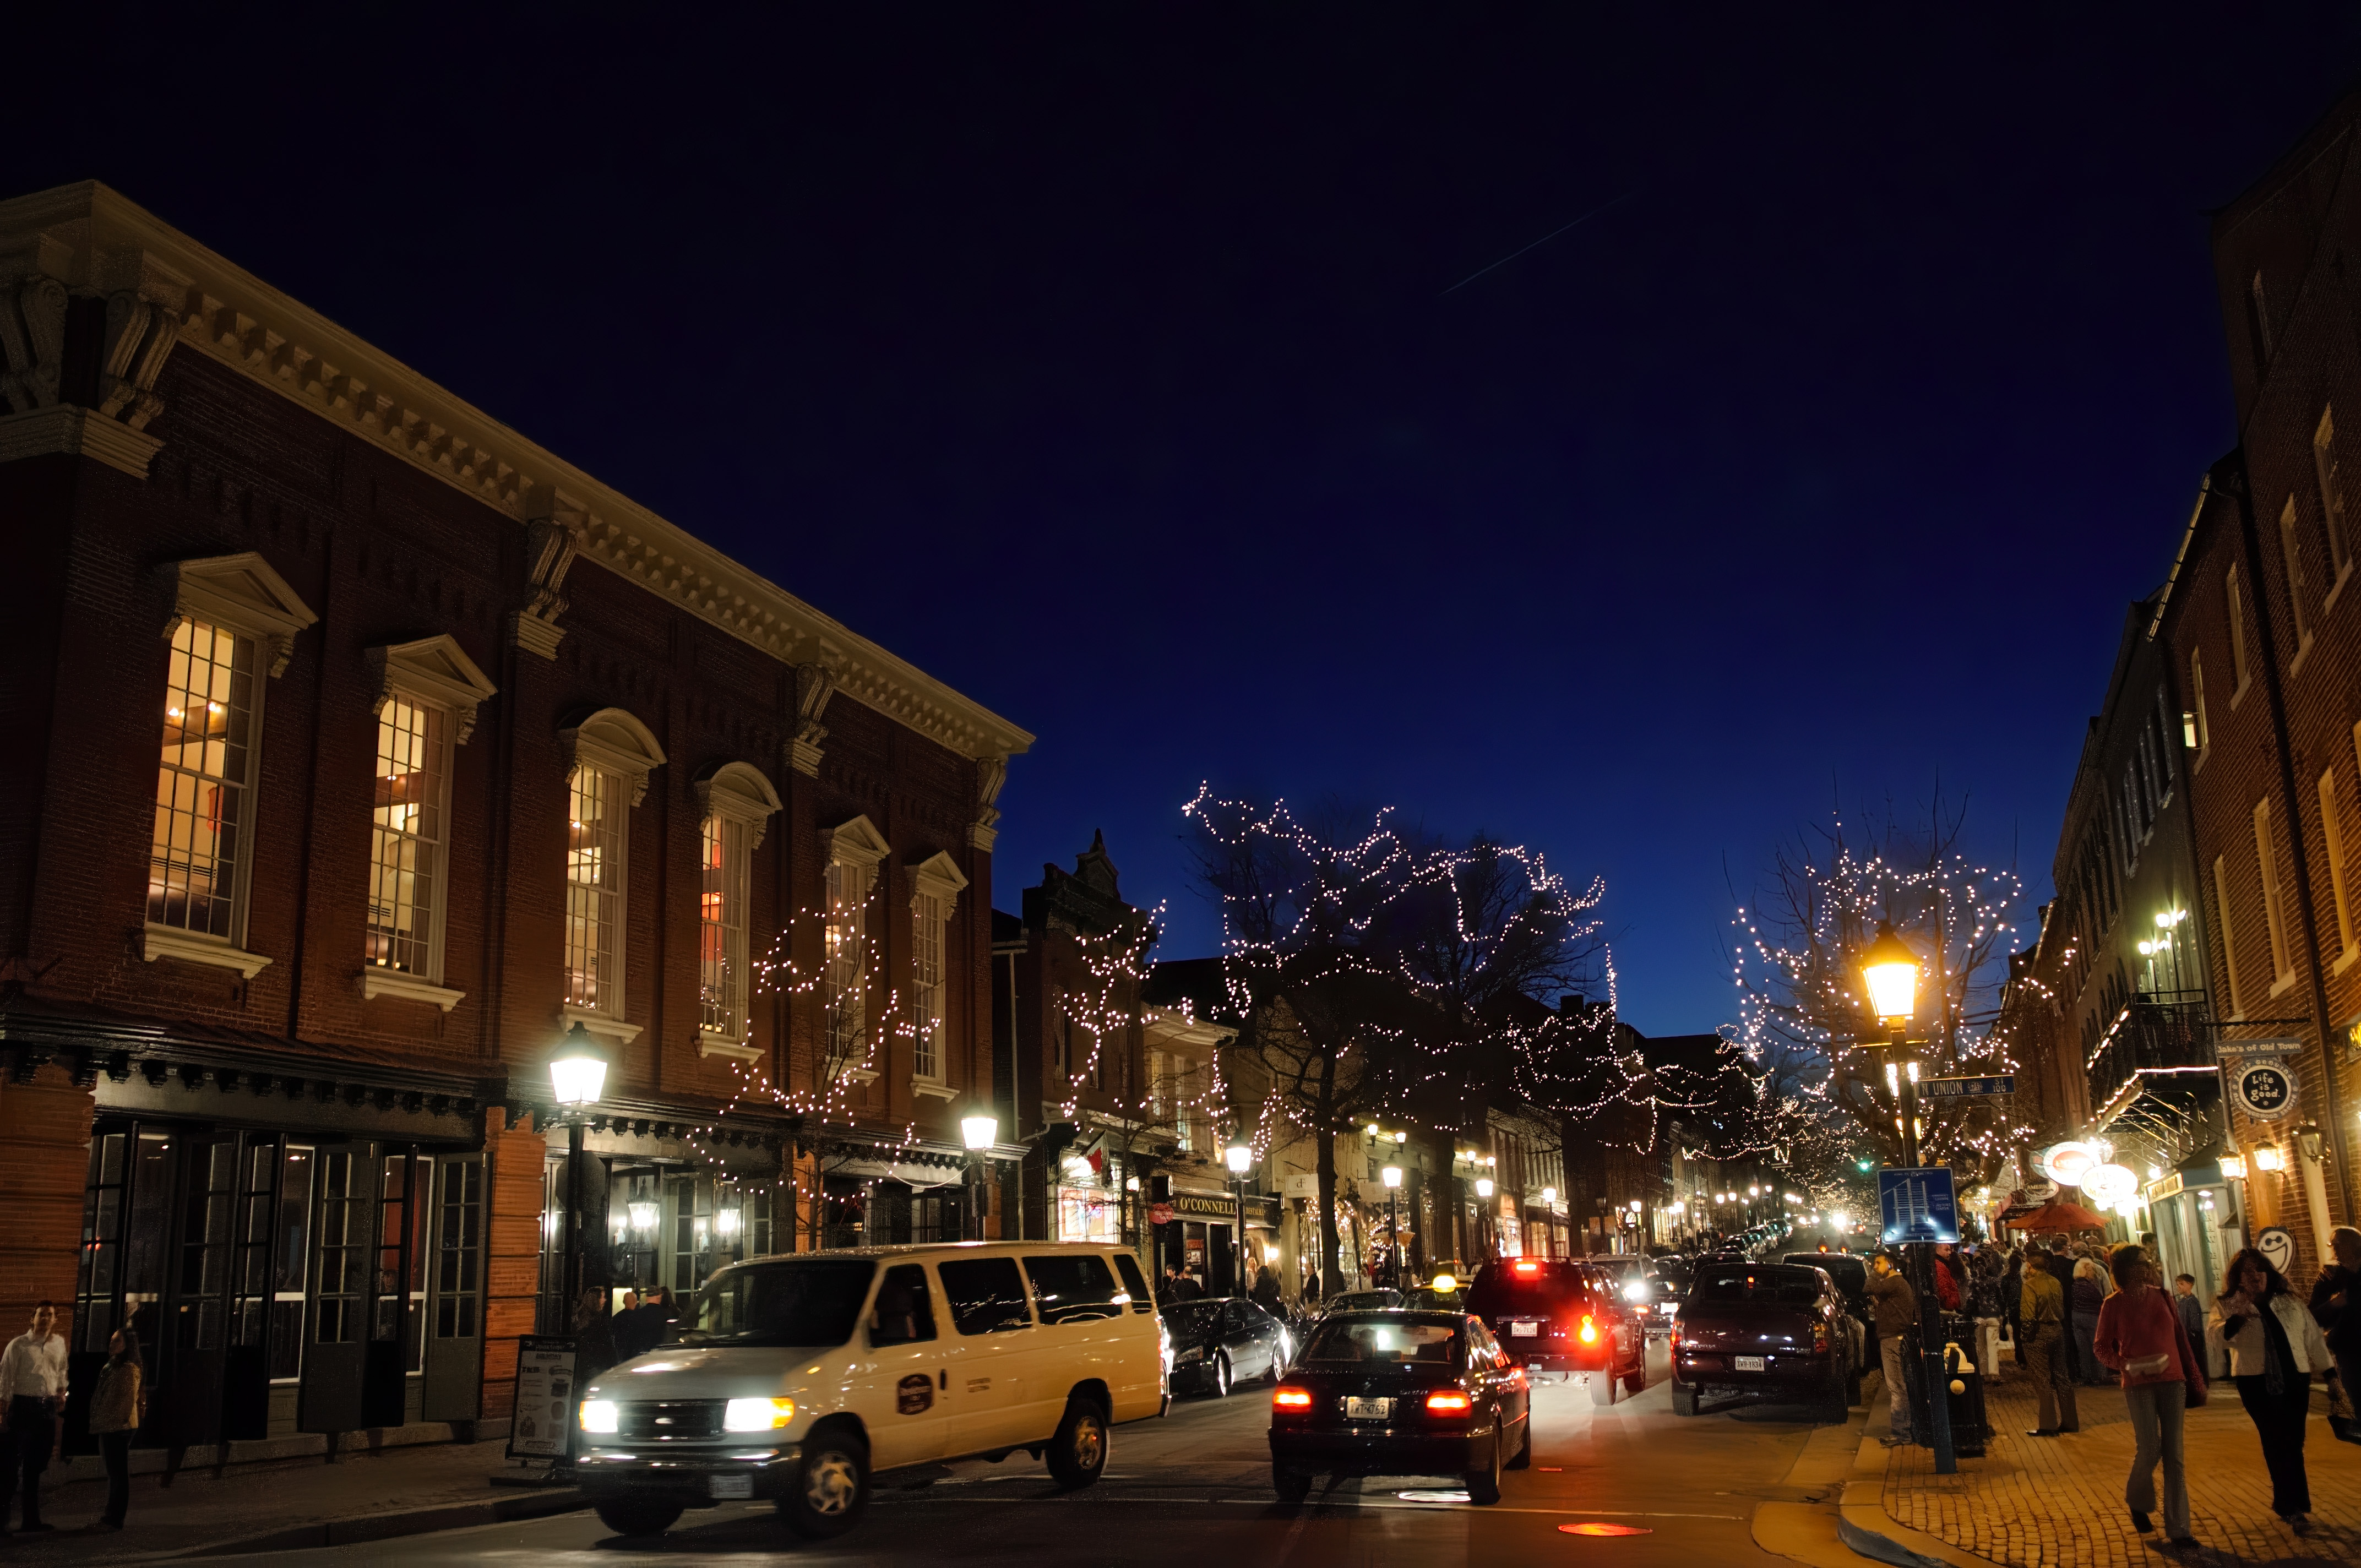
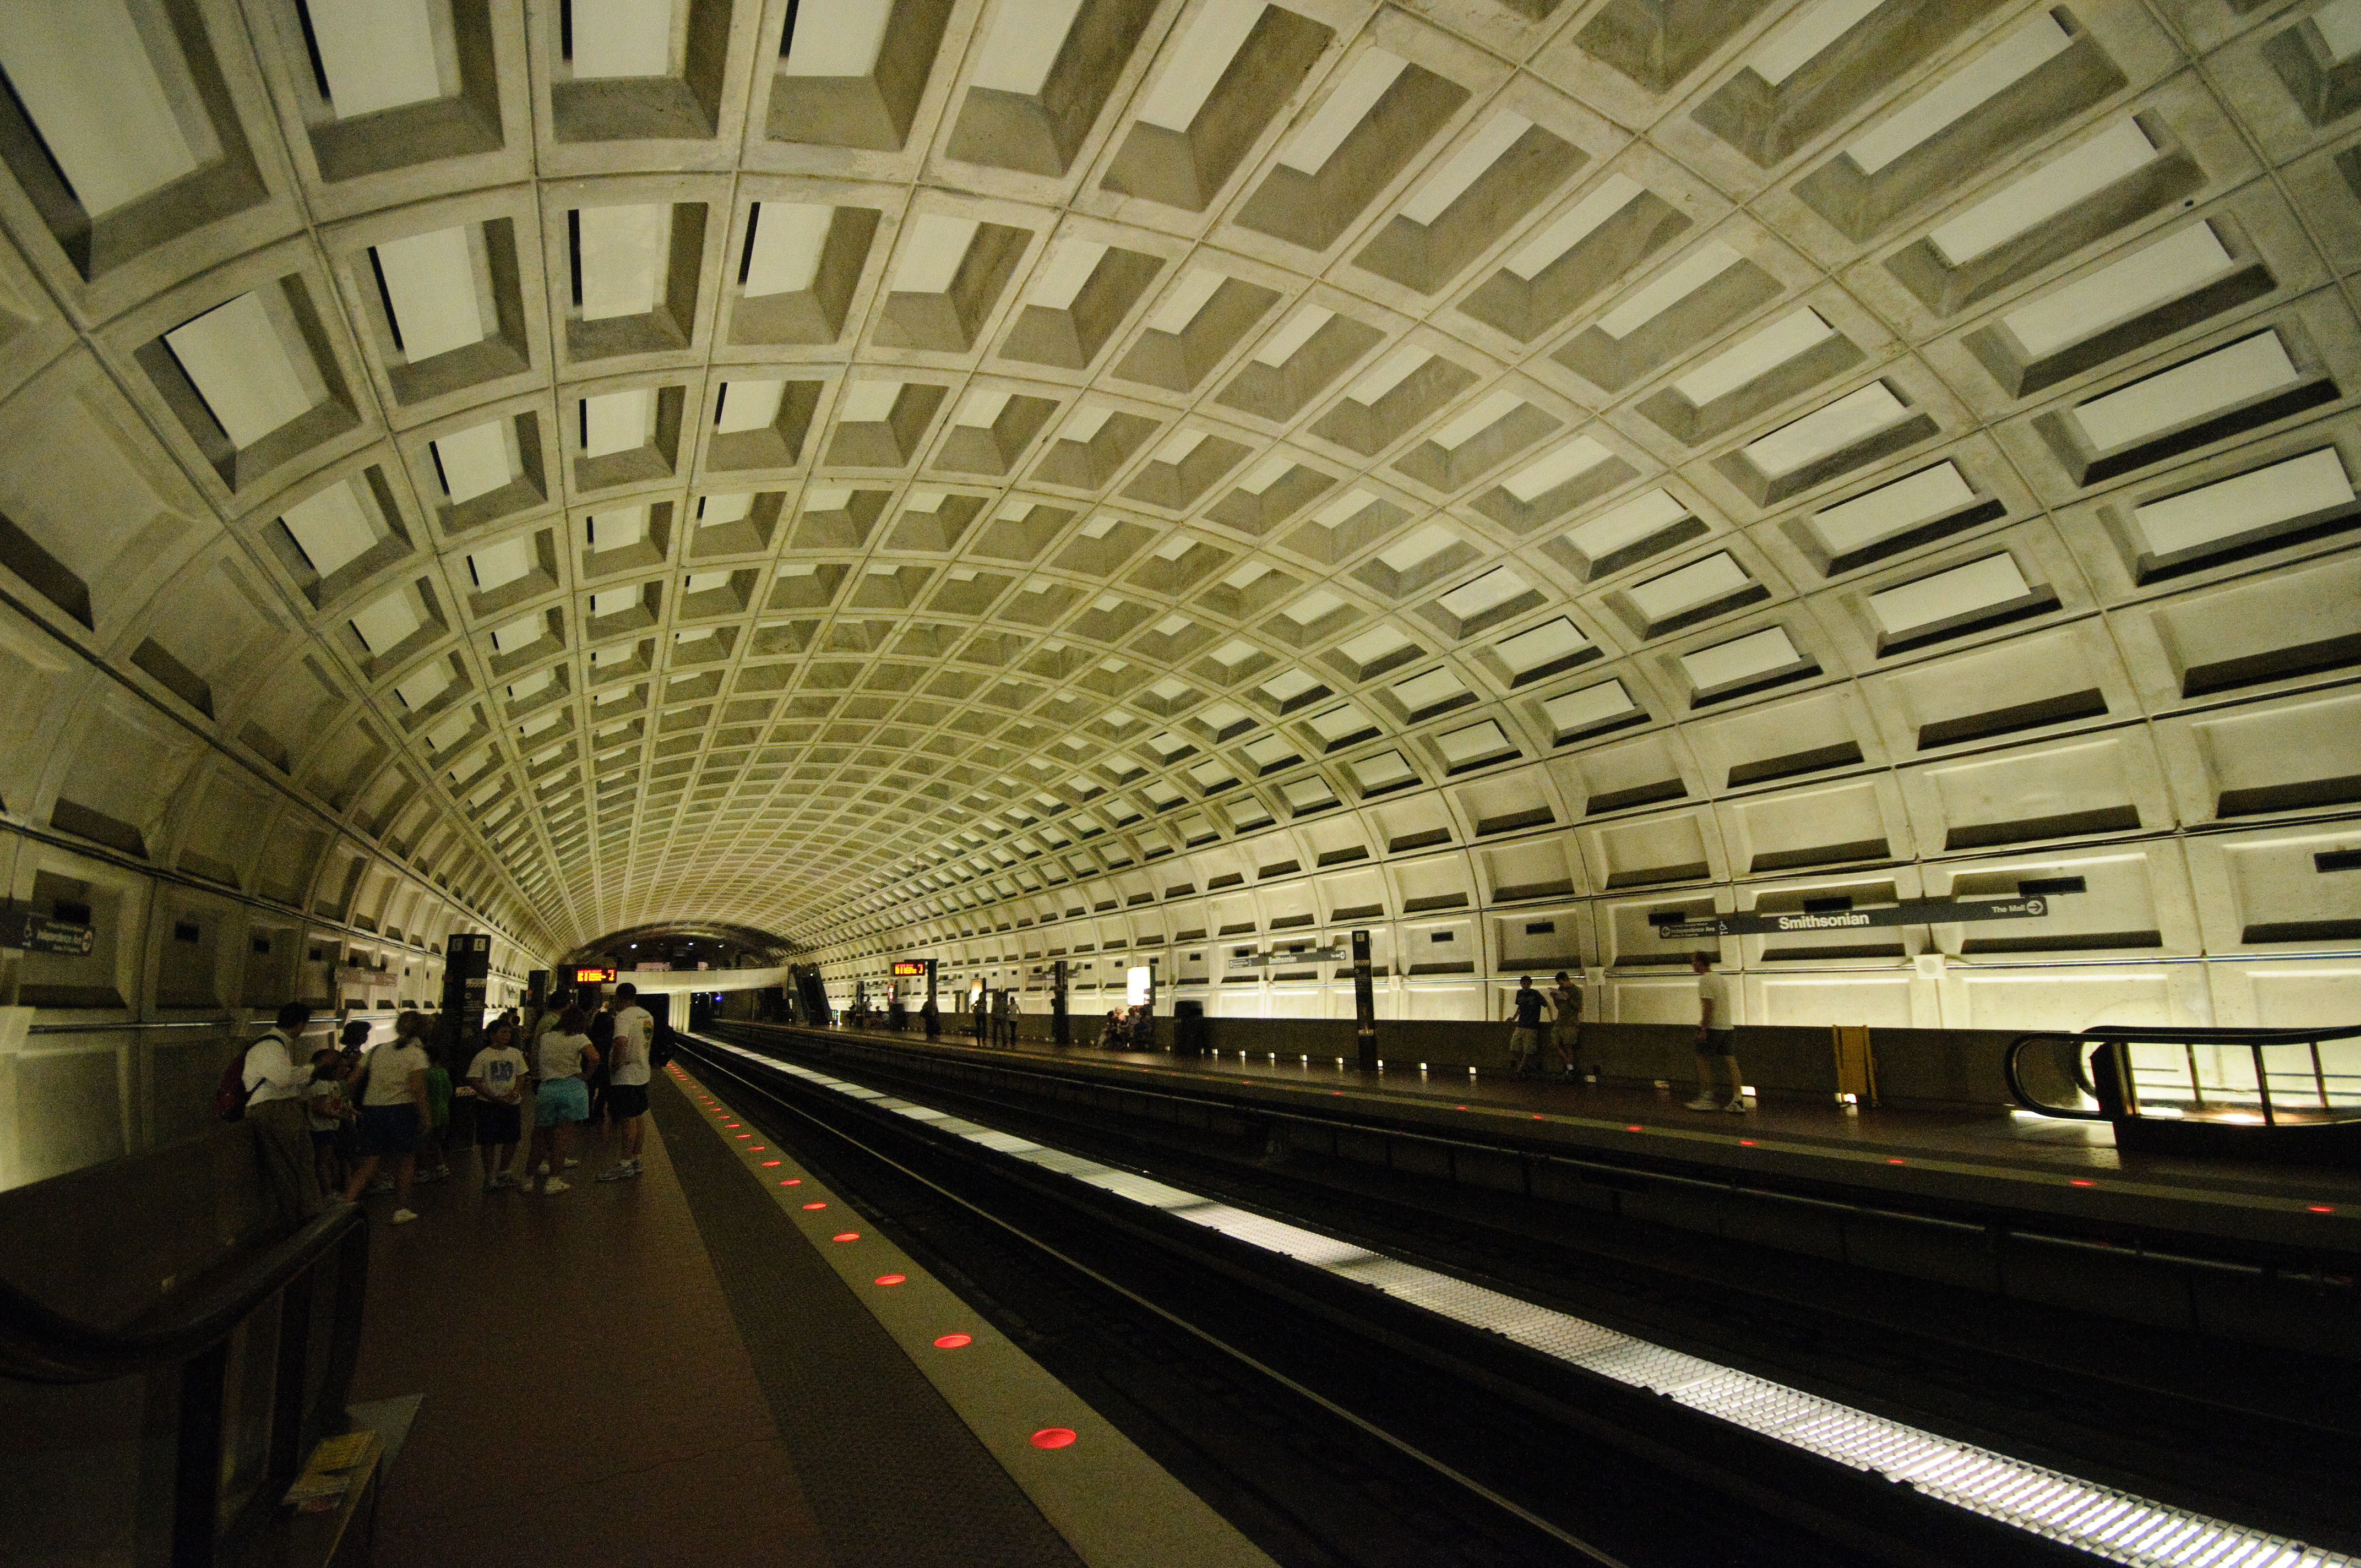
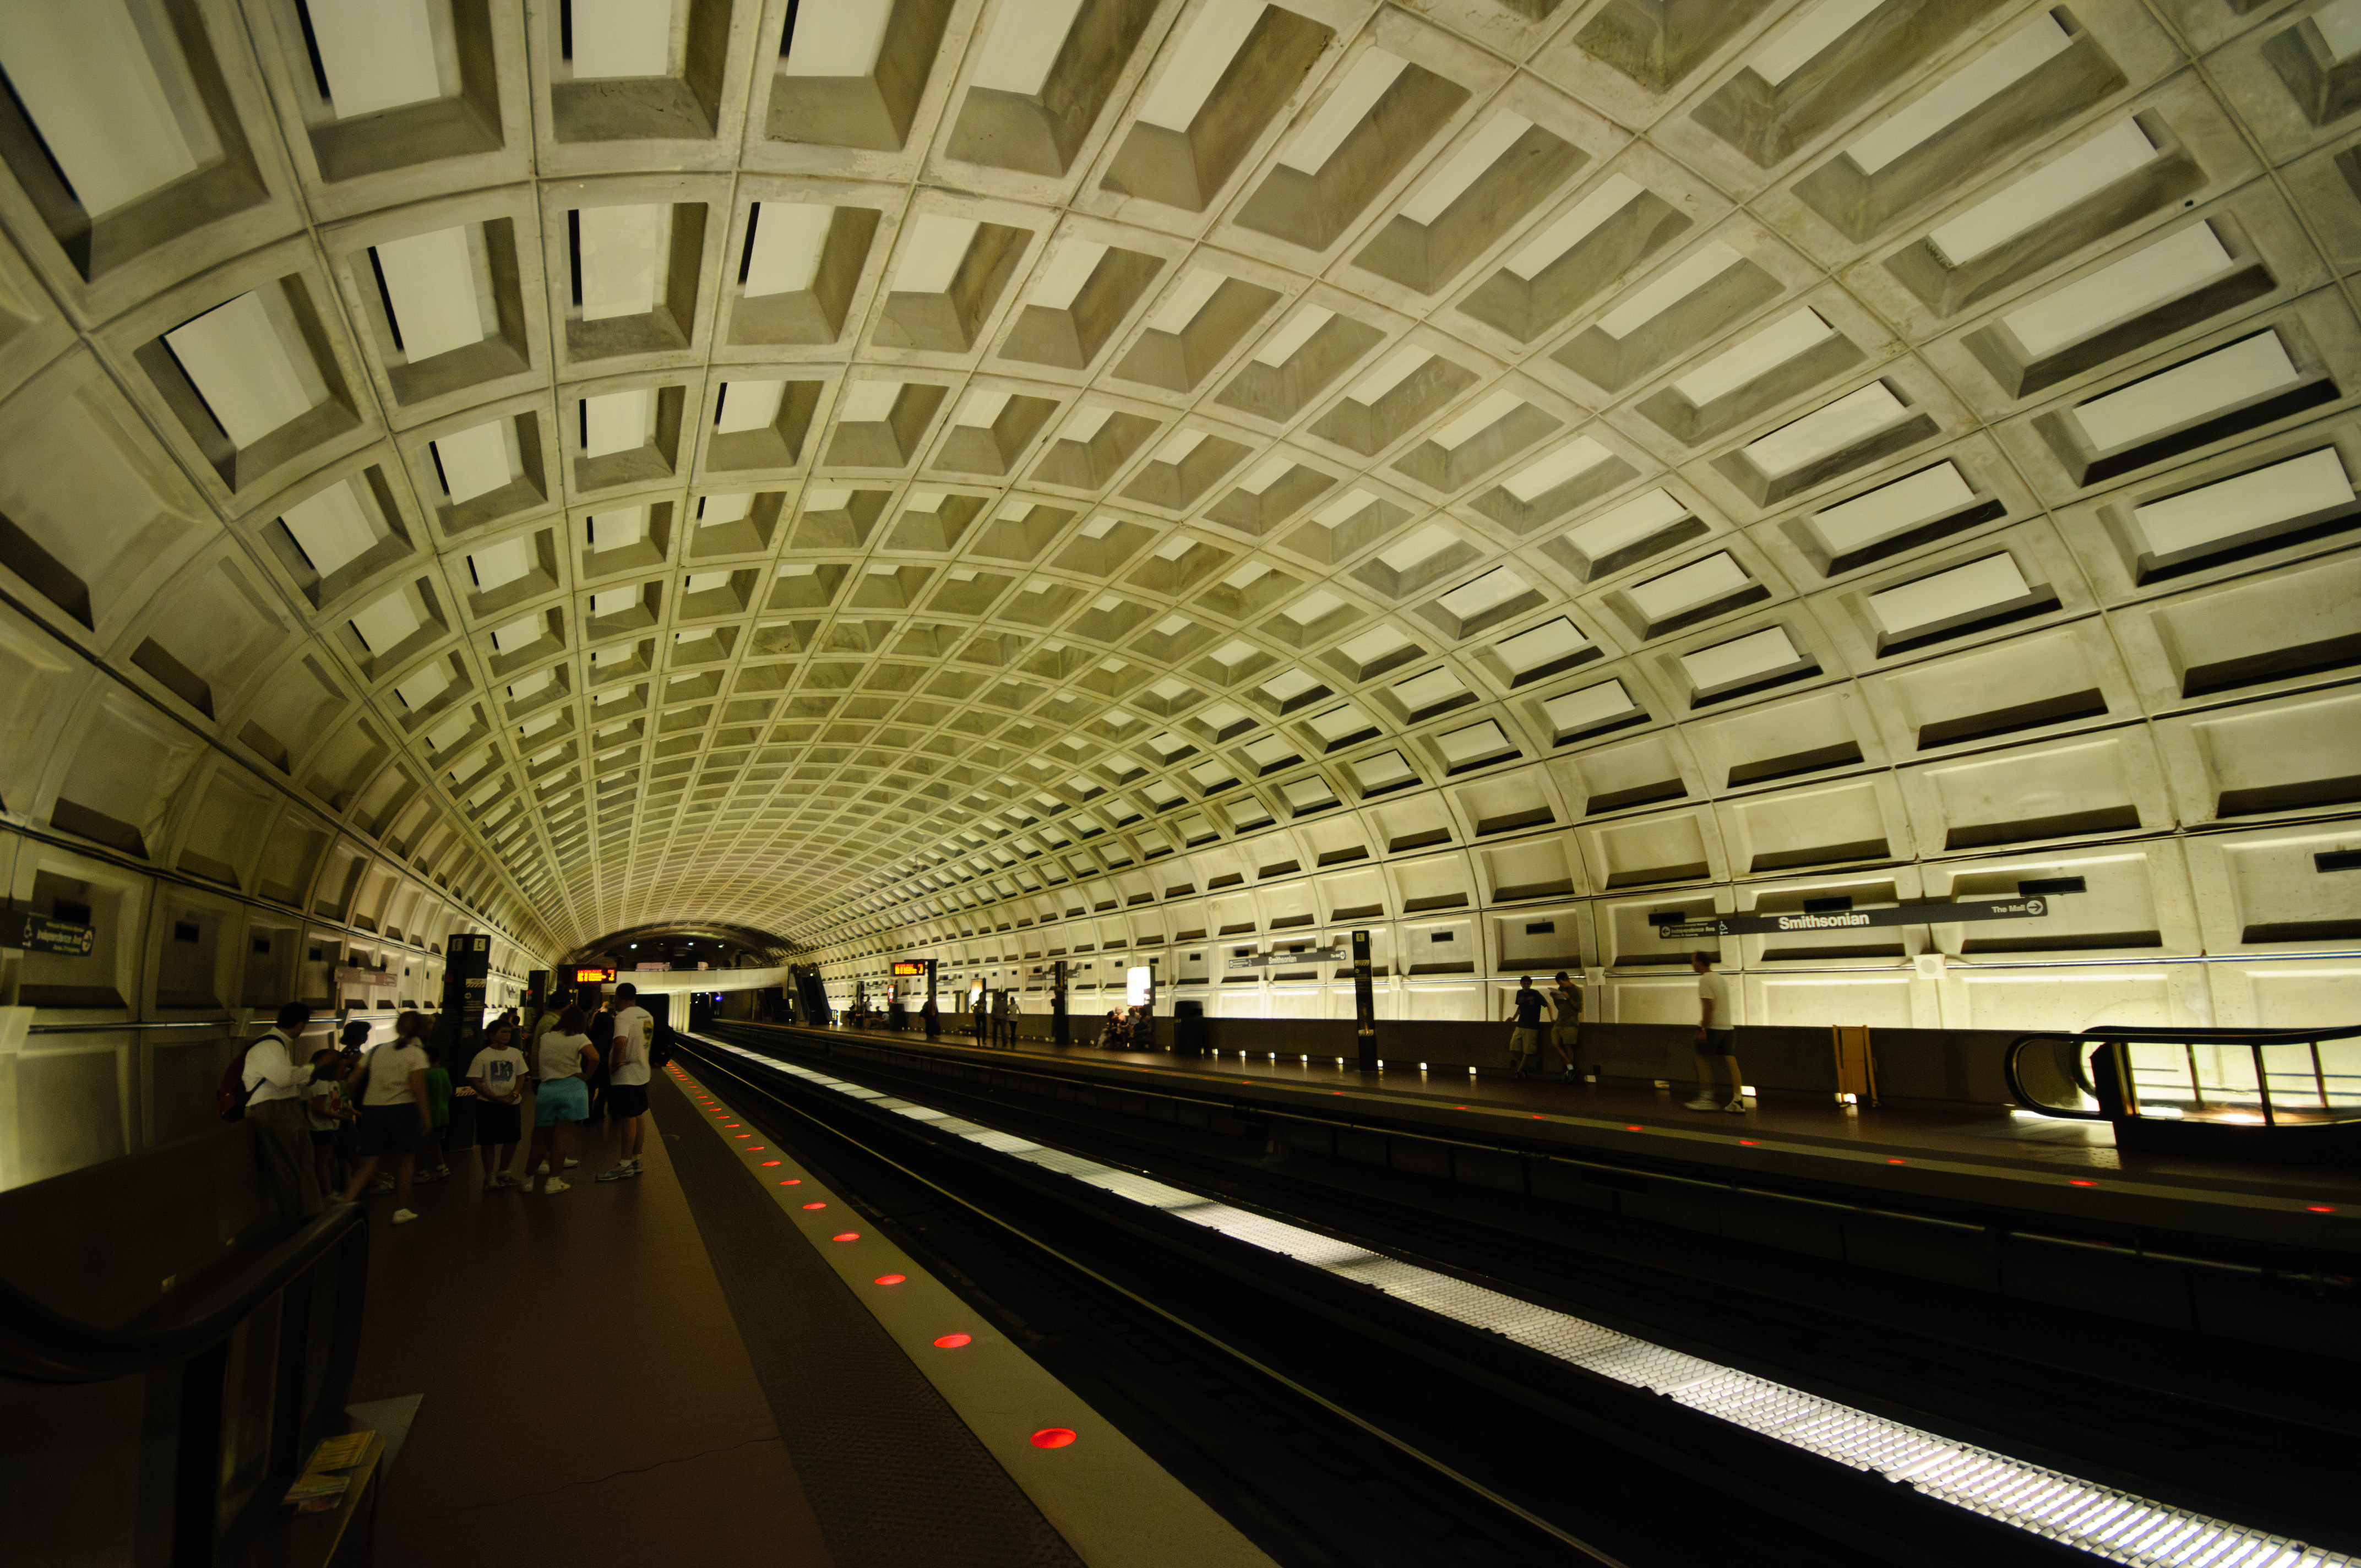
I went back through my archive and pulled out some shots to run through each of these tools for some side-by-side comparisons. Here’s how they were made:
- I’ve tried to include a mix of detail and tones. Some are more blighted by image noise than others, but all of them have fairly prominent image noise issues.
- I took most of these photos at least 15 years ago to fit the objective of what I’m trying to do here. Most of them weren’t at especially high ISOs — around 3200 or 6400. With today’s cameras, that’s not very high, but with the digital cameras of 15-20 years ago, the sensors simply weren’t as refined as they are now. A few of these shots are much newer images, but taken at extremely high ISOs (eg, ISO 102400).
- Significantly, all of these were shot in RAW, and I kept the original RAW files (not DNG derivatives). The versions here haven’t had any other processing done on them, because this type of noise reduction only really makes sense at the beginning of working on a file.
- With all of these, I’ve kept the default settings that are automatically applied. The amount of control you get varies by app, and some of these could be improved even more with tweaking of the settings. But for the sake of comparison, I’ve kept all of these with default settings. You might notice that colors and tones are much richer in the processed versions; that’s a side-effect of the denoising, not something I’ve applied separately.
There is one other wrinkle here that I want to mention. The “original” versions here are exported from Lightroom Classic. Even without touching the Detail panel, Lightroom Classic applies a default setting of 25 to the color noise slider in the manual noise reduction section. I’ve left that as is in the rationale that the purpose here is to test what these denoise tools offer that’s above and beyond what you’d normally see routinely in Lightroom (or similar tools). So that default setting is essentially a given for any image you edit in Lightroom (not too many of us would routinely go back and set that back to 0, after all).
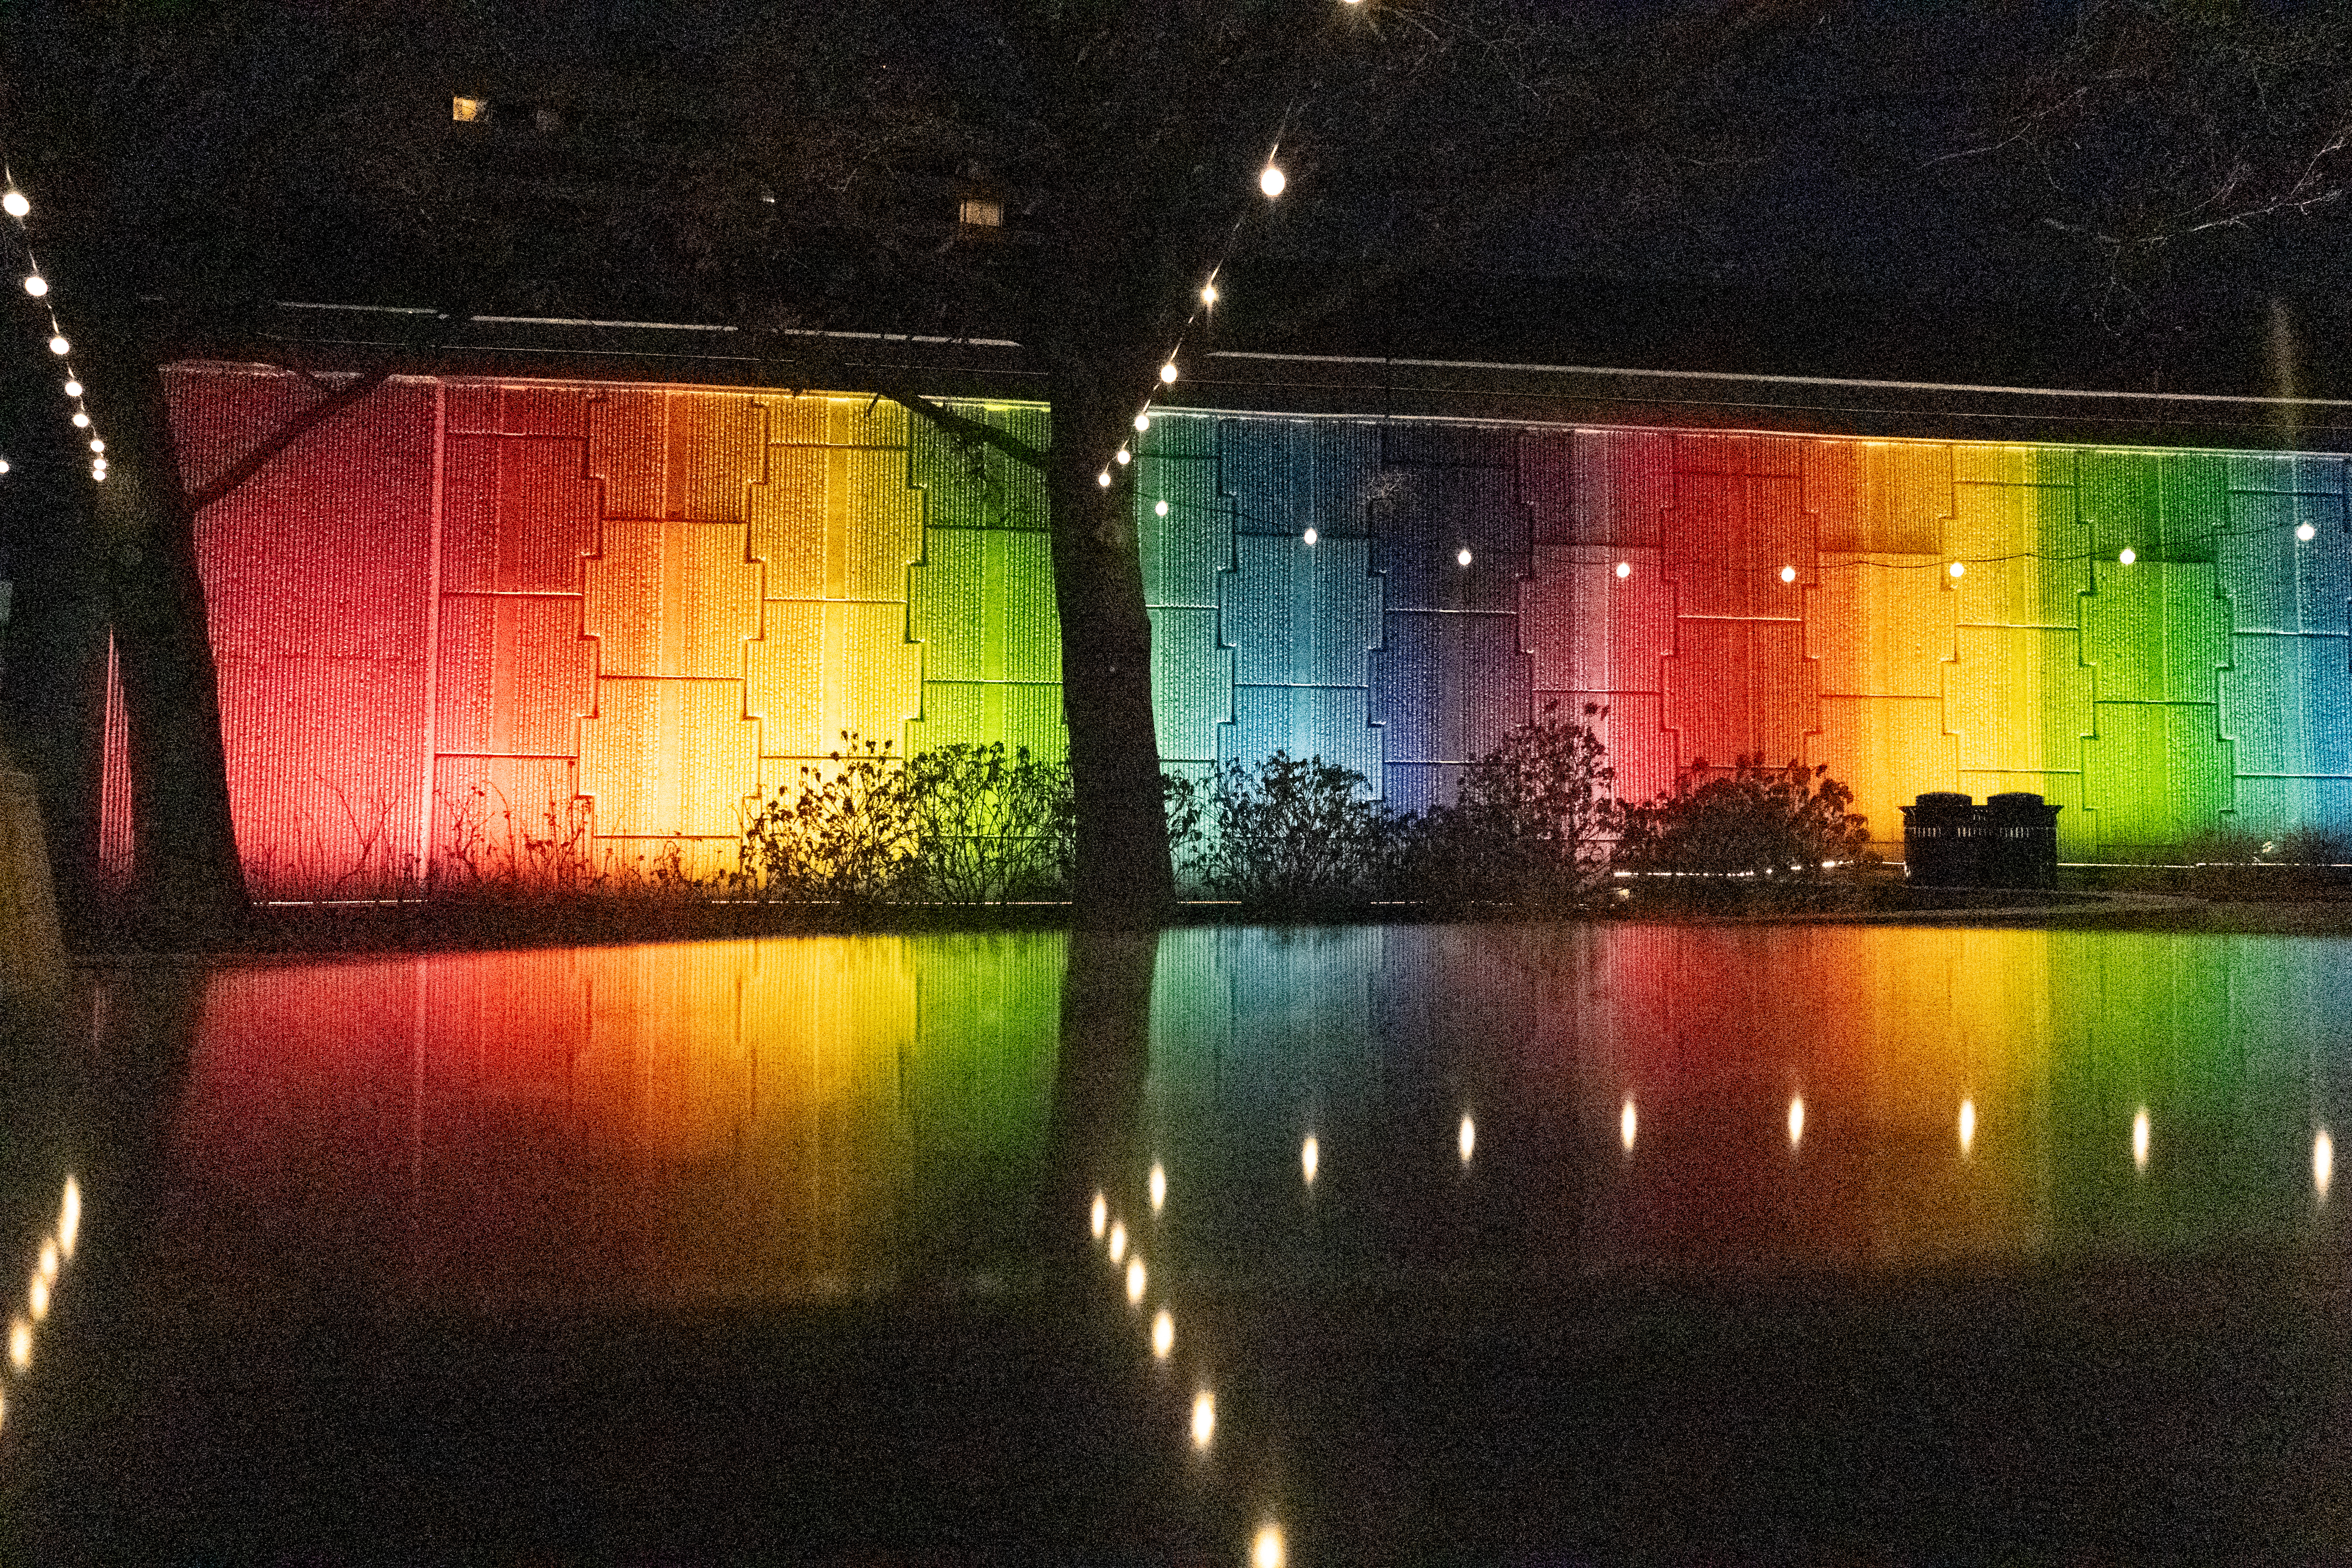
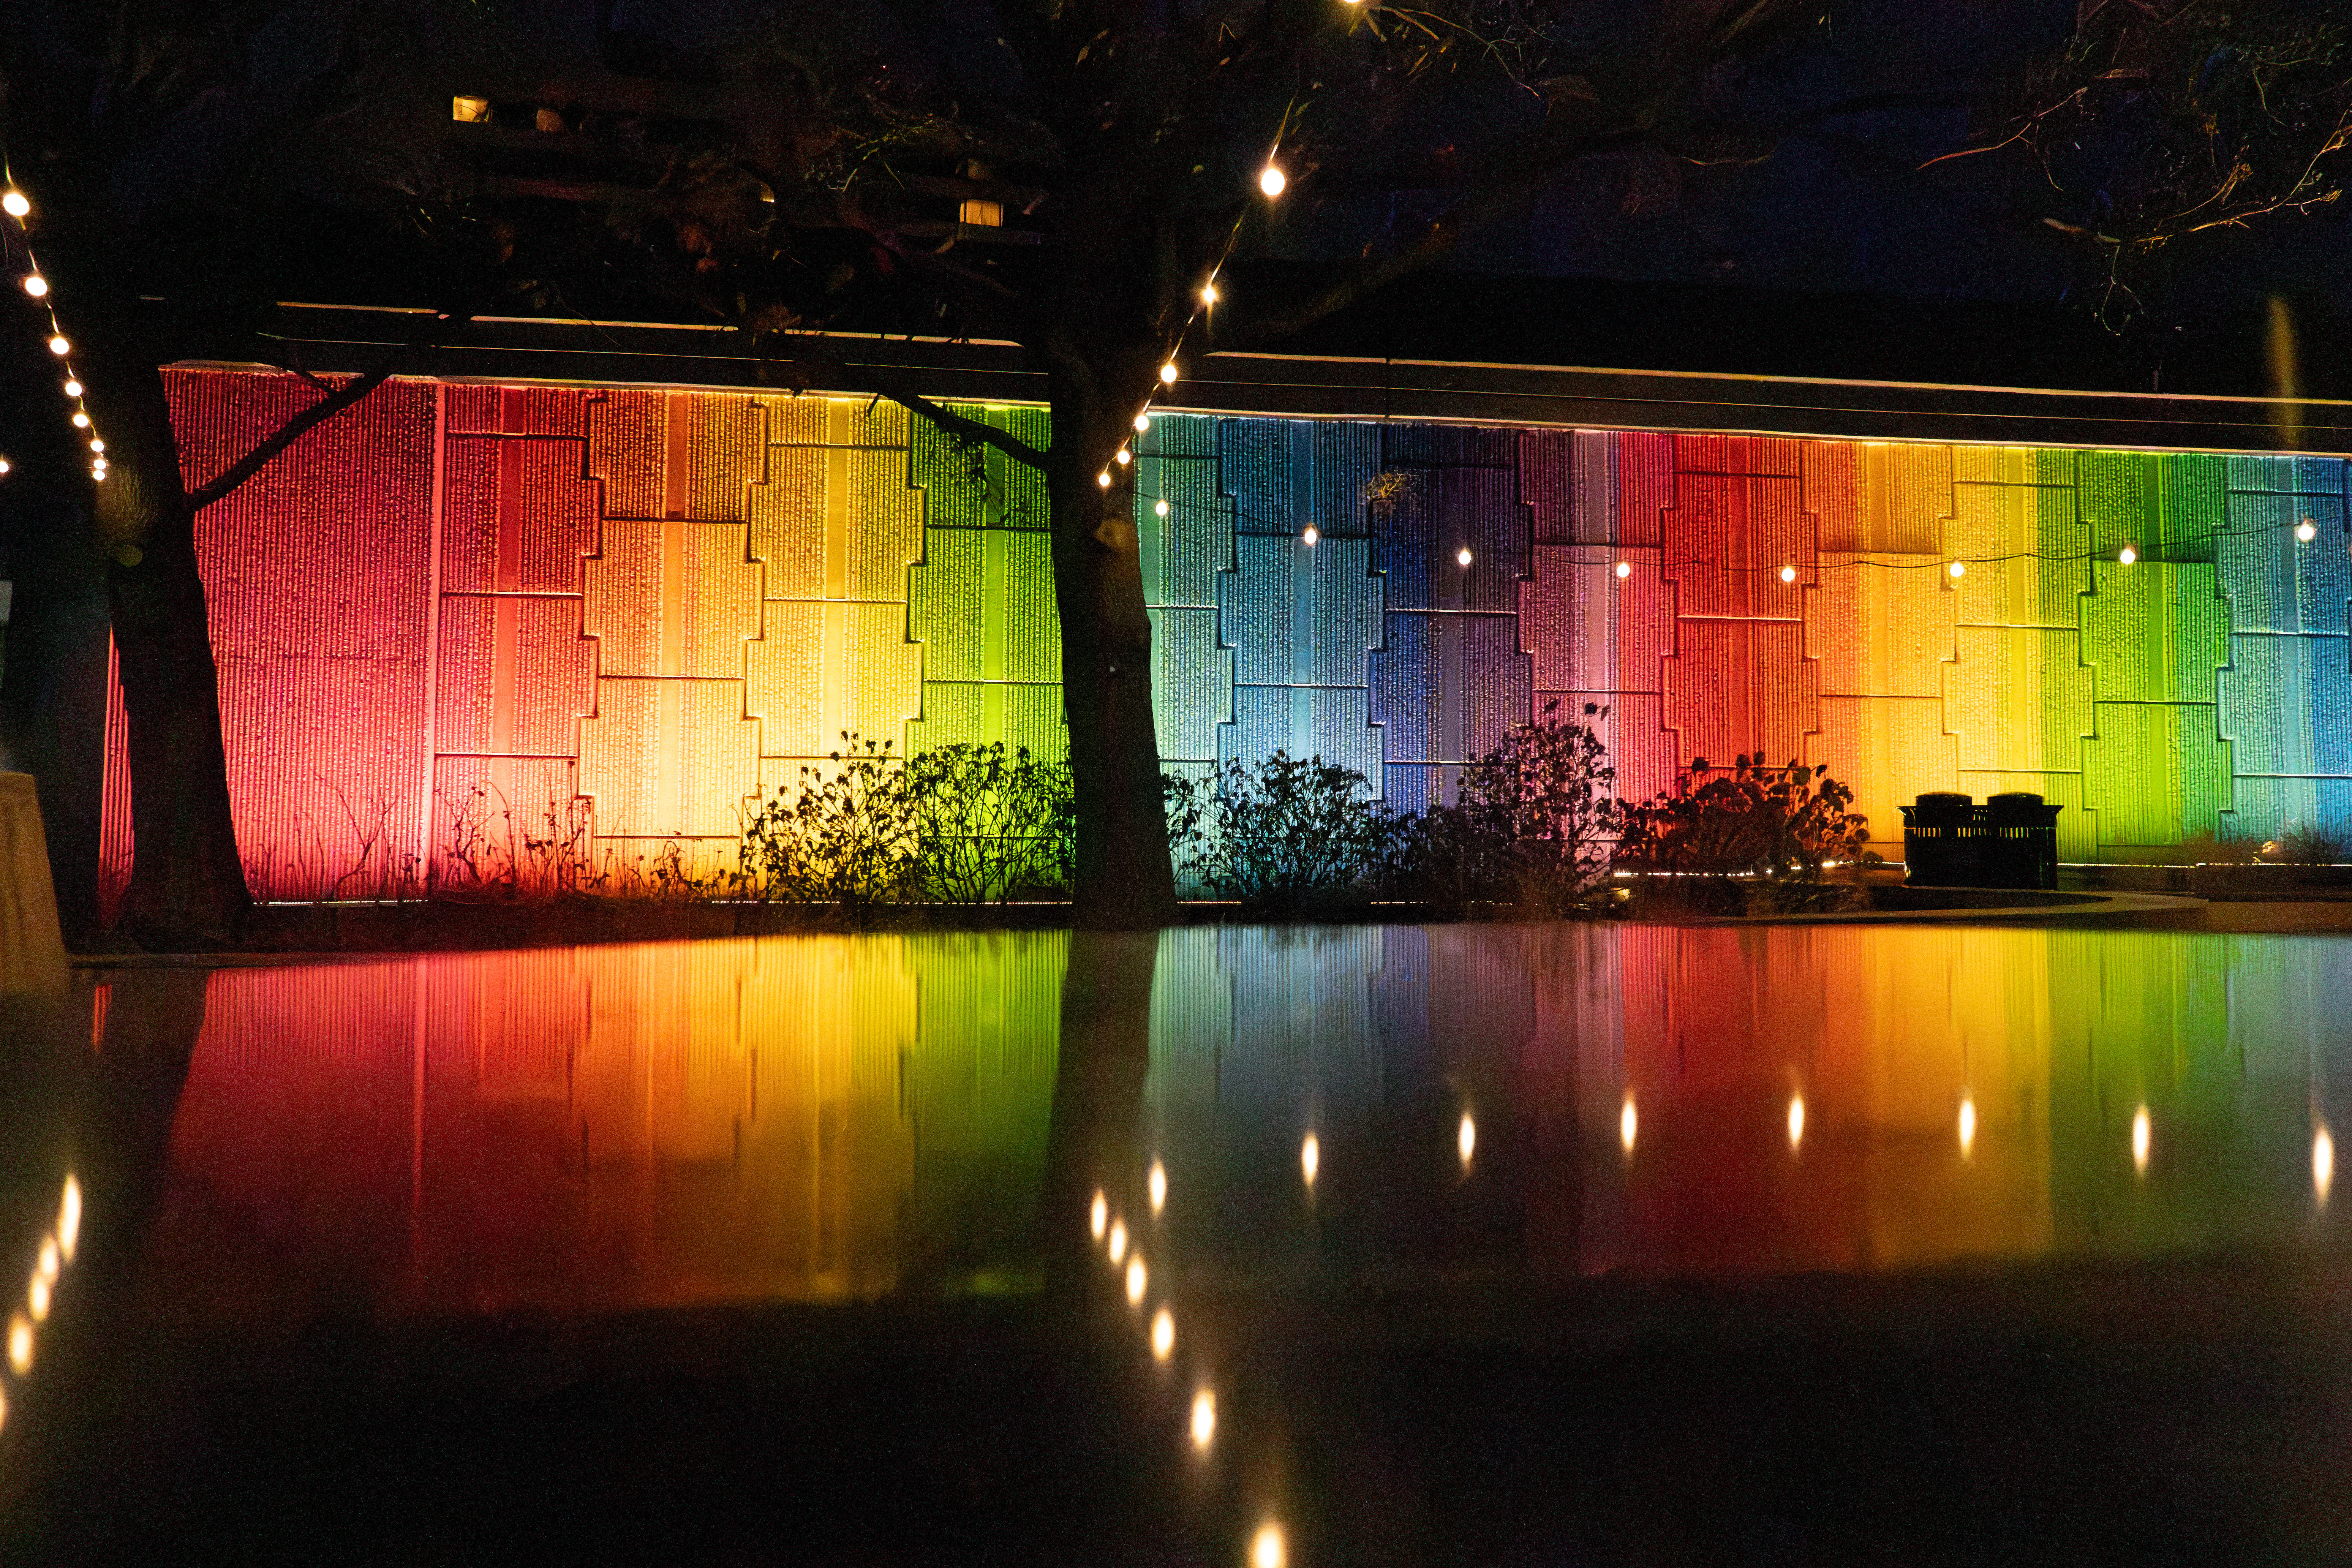
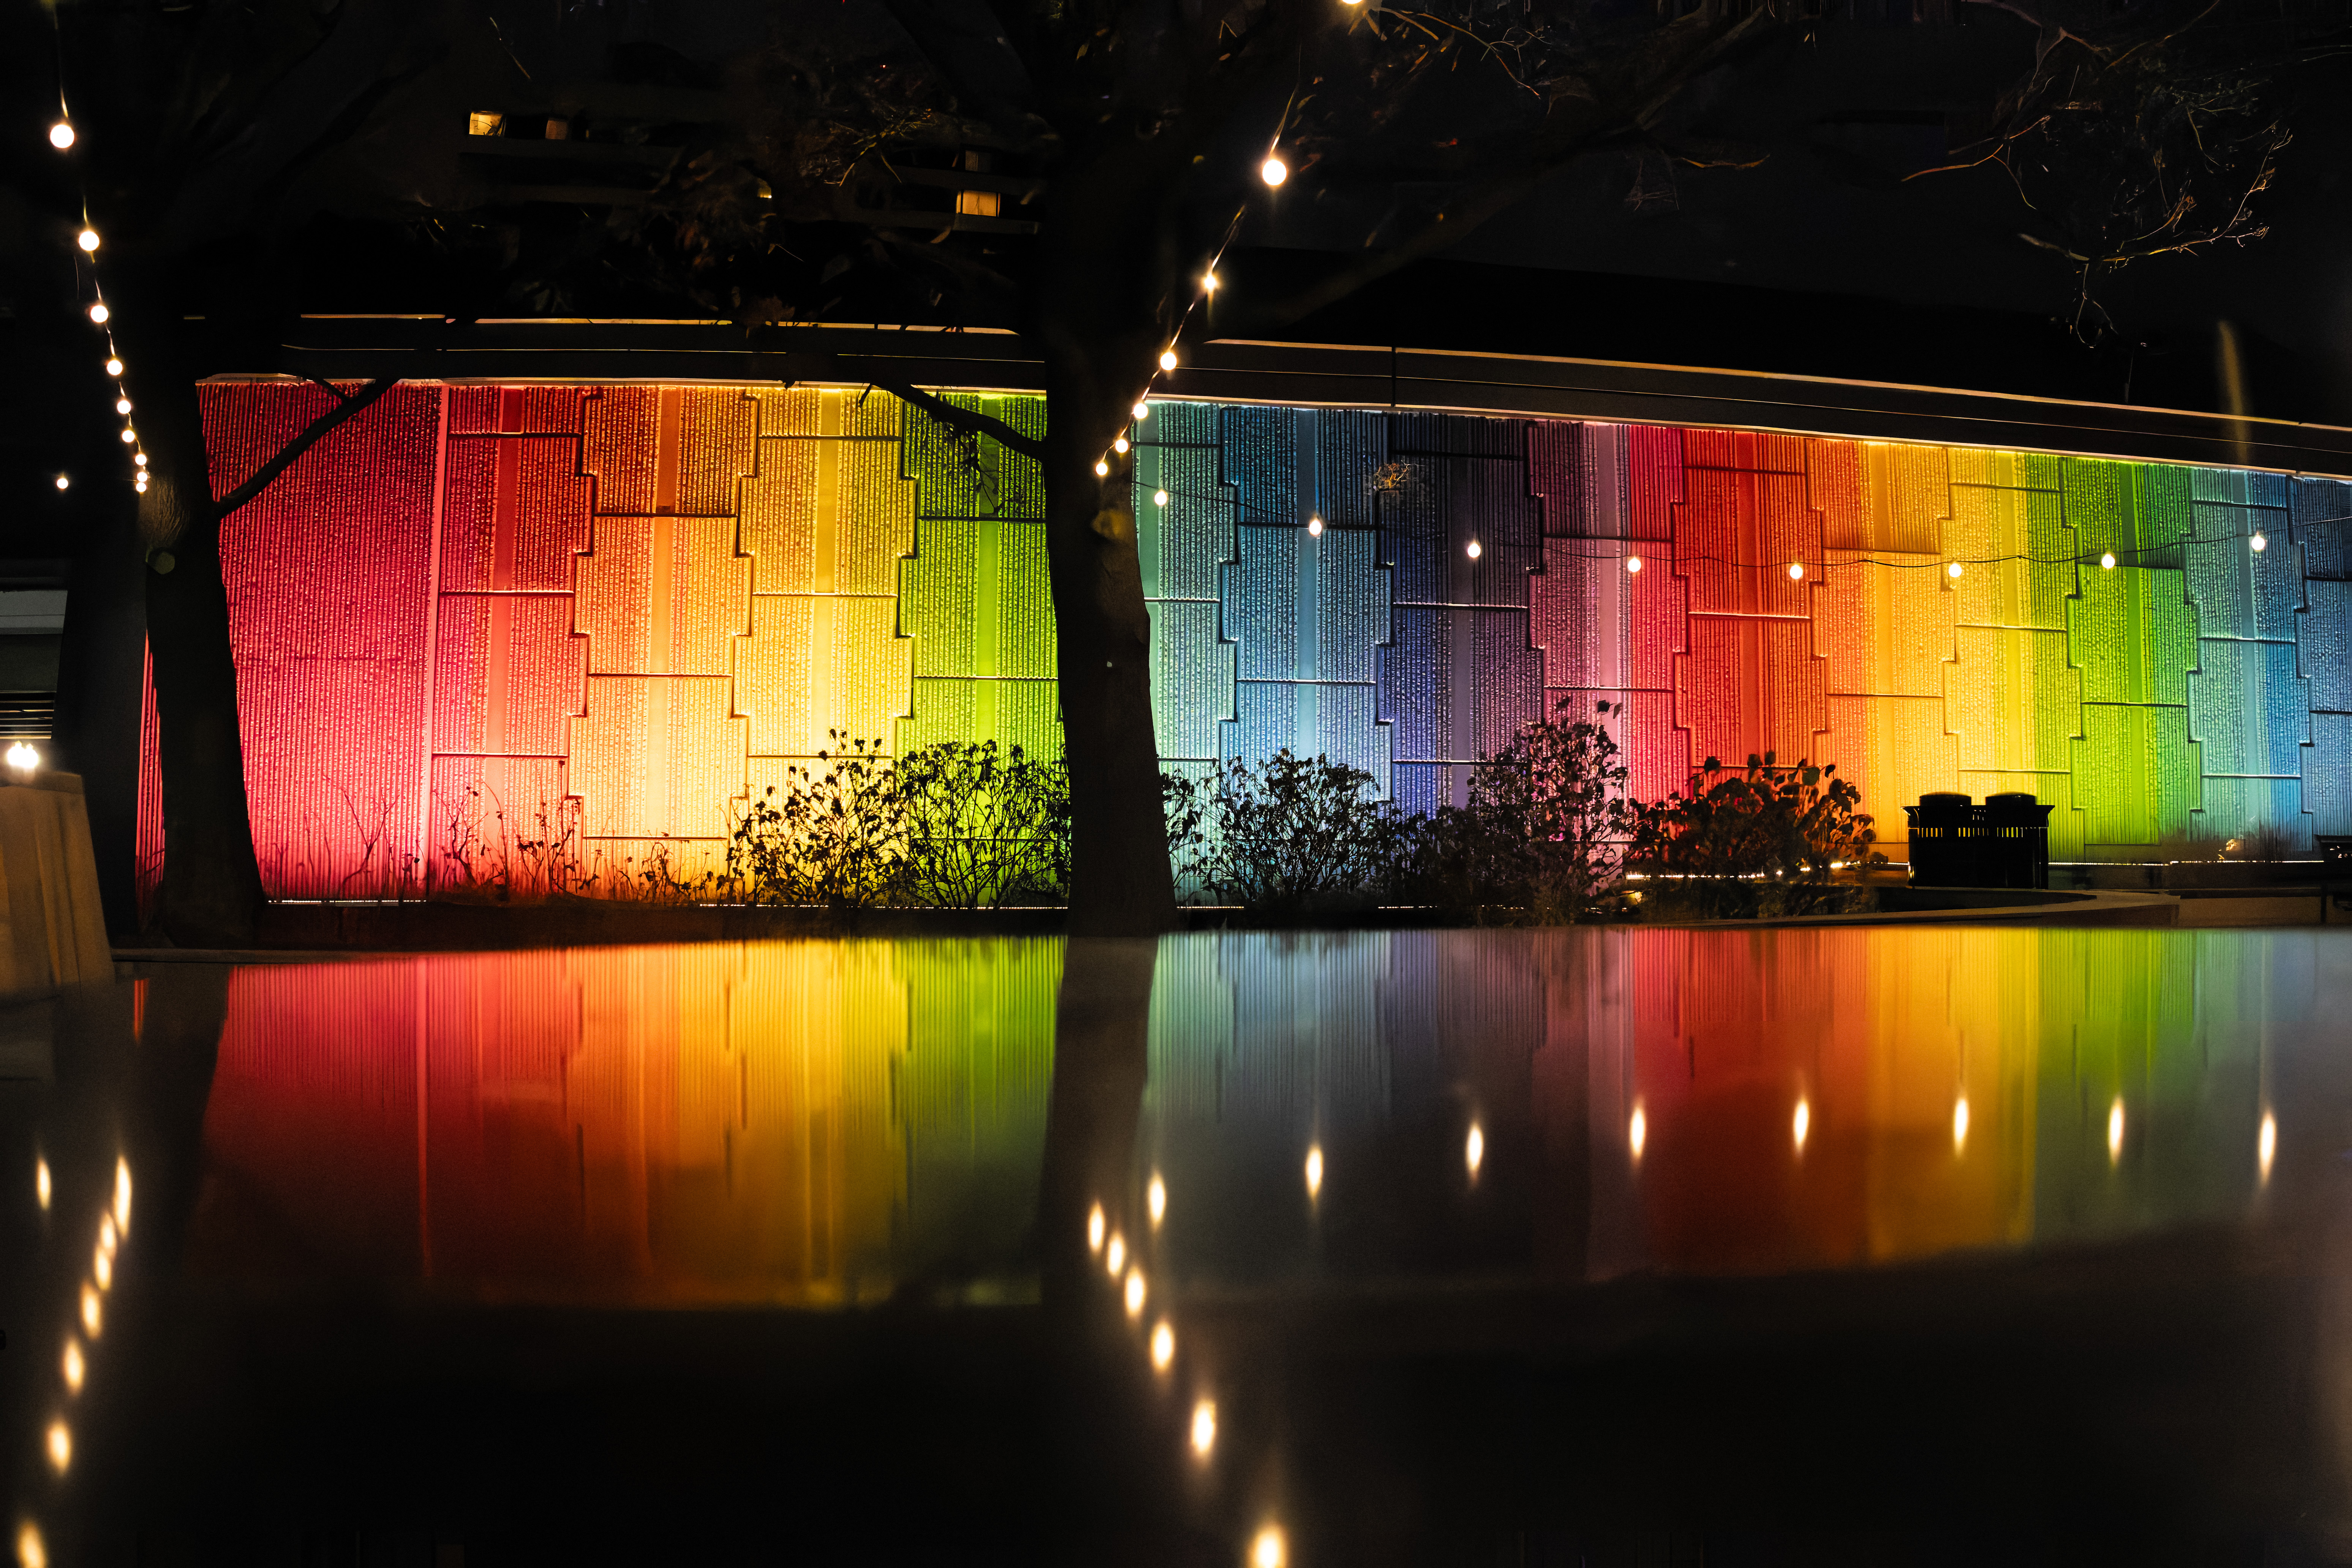
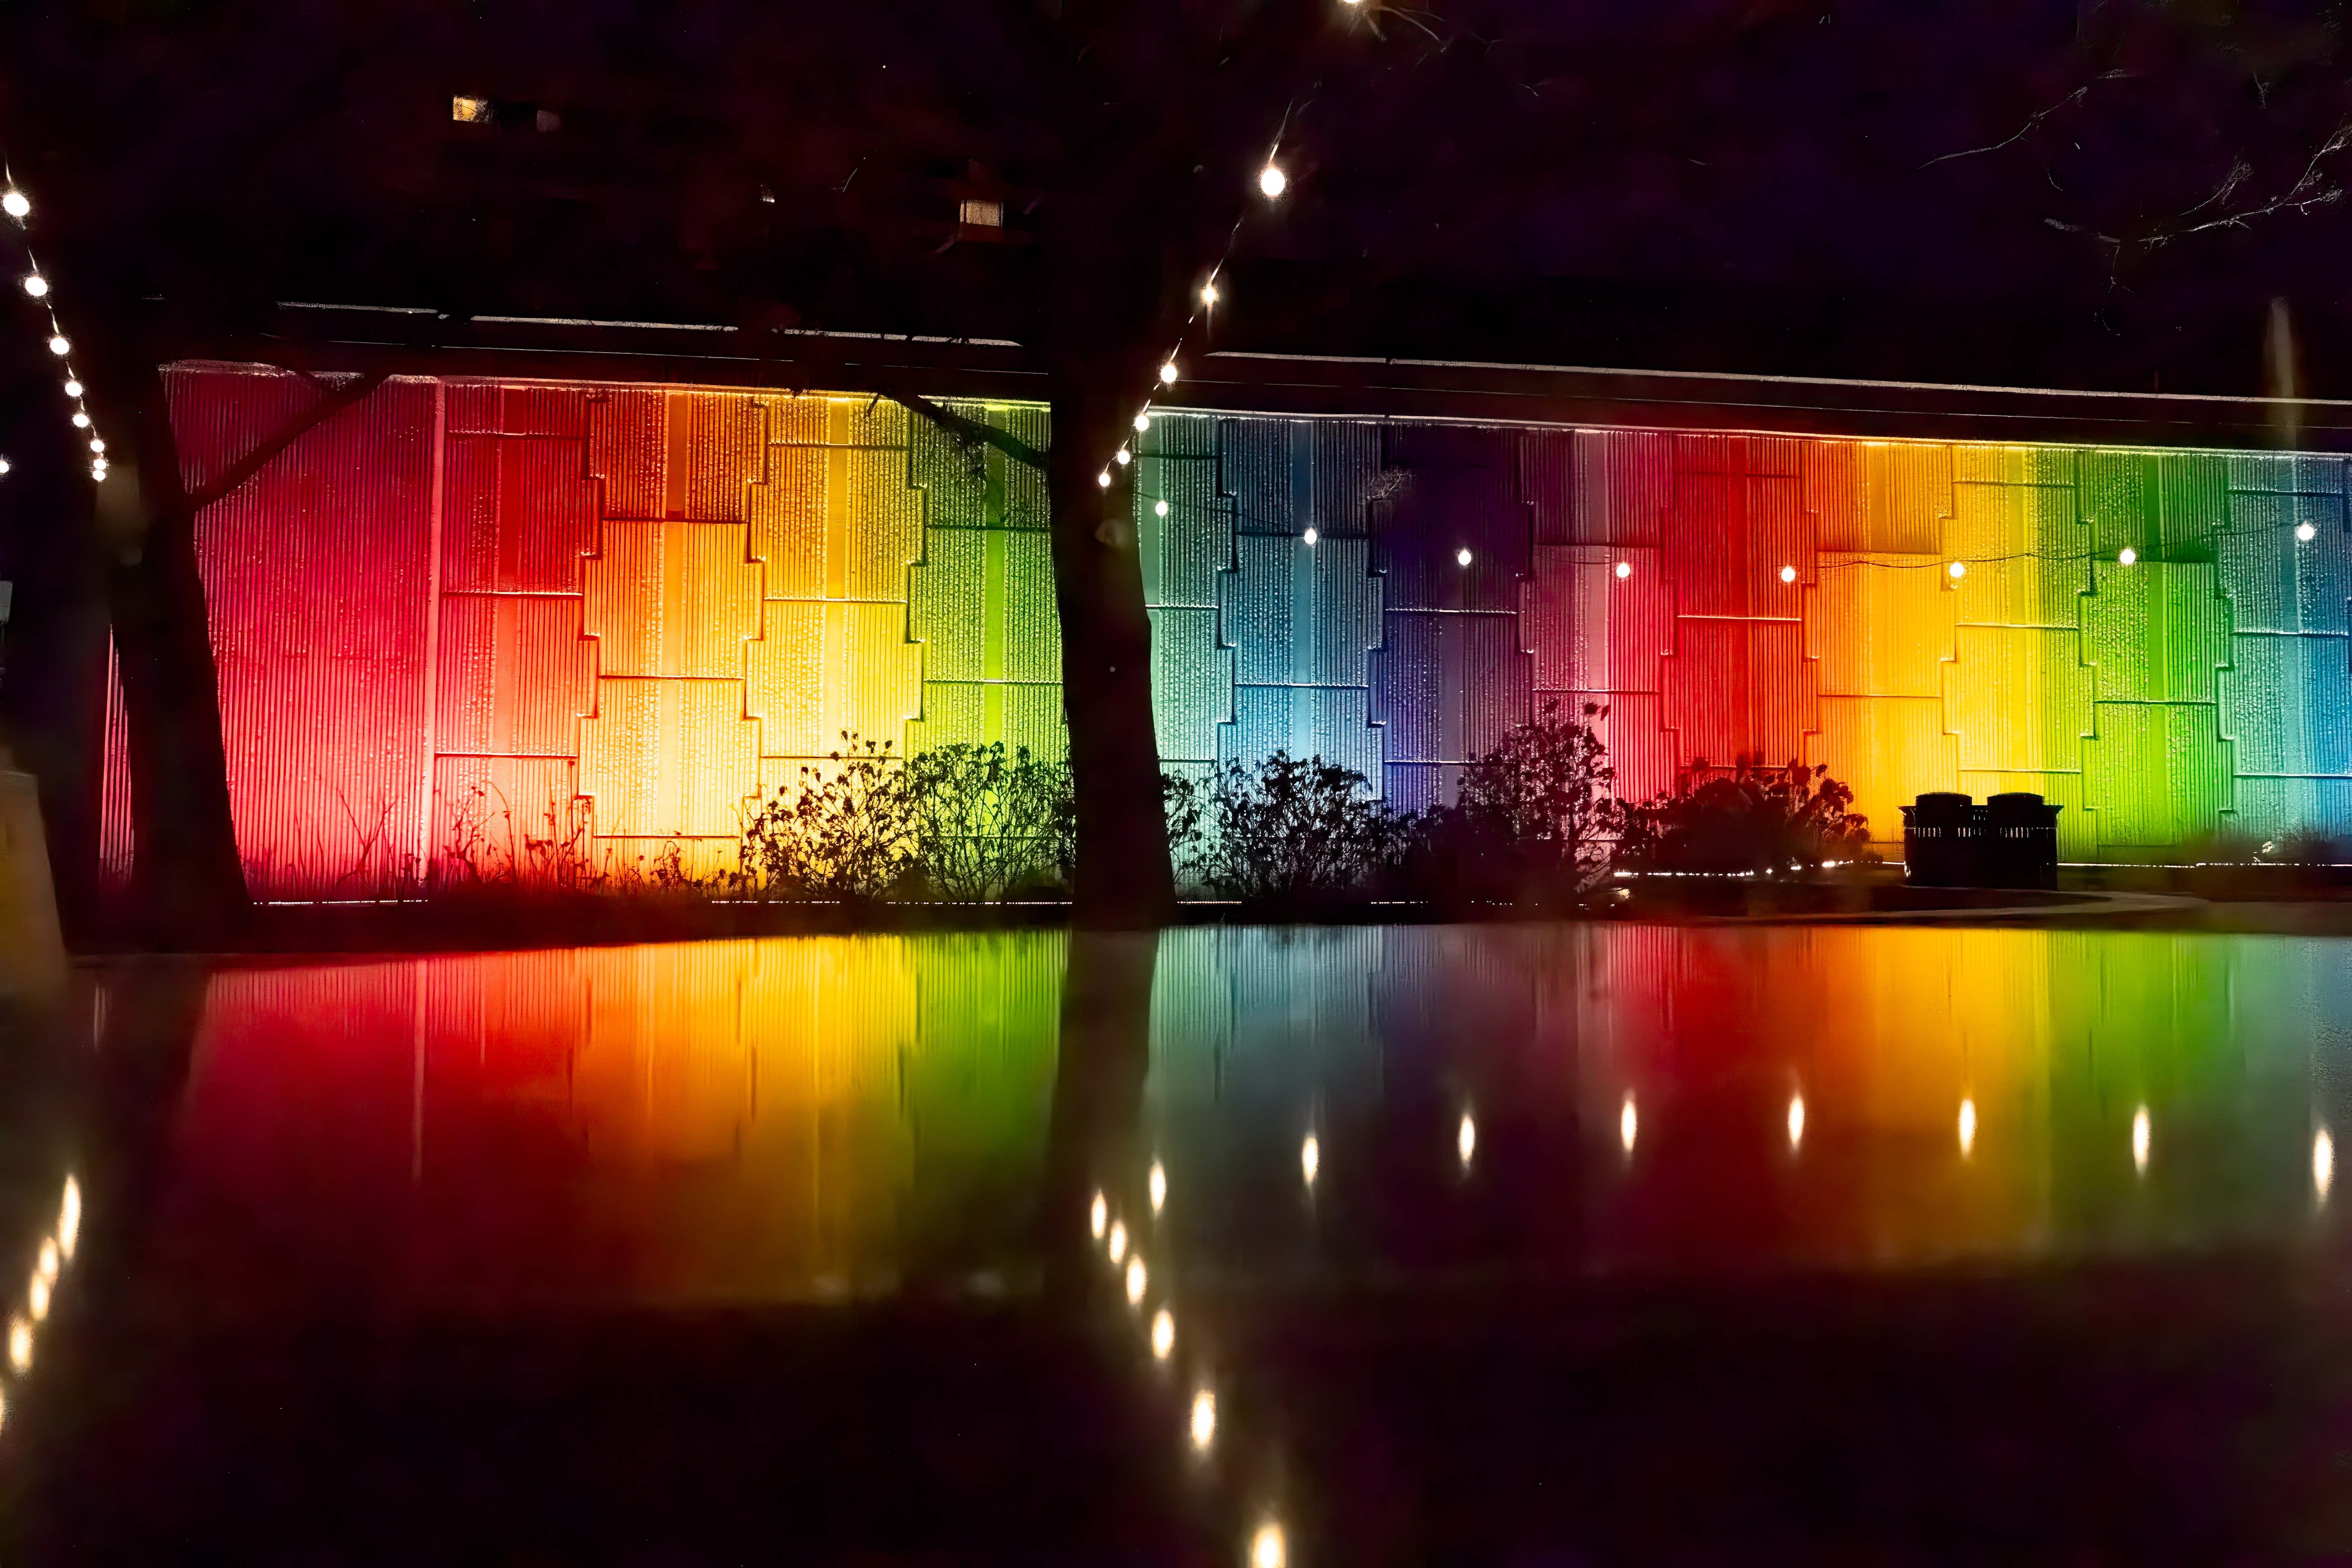
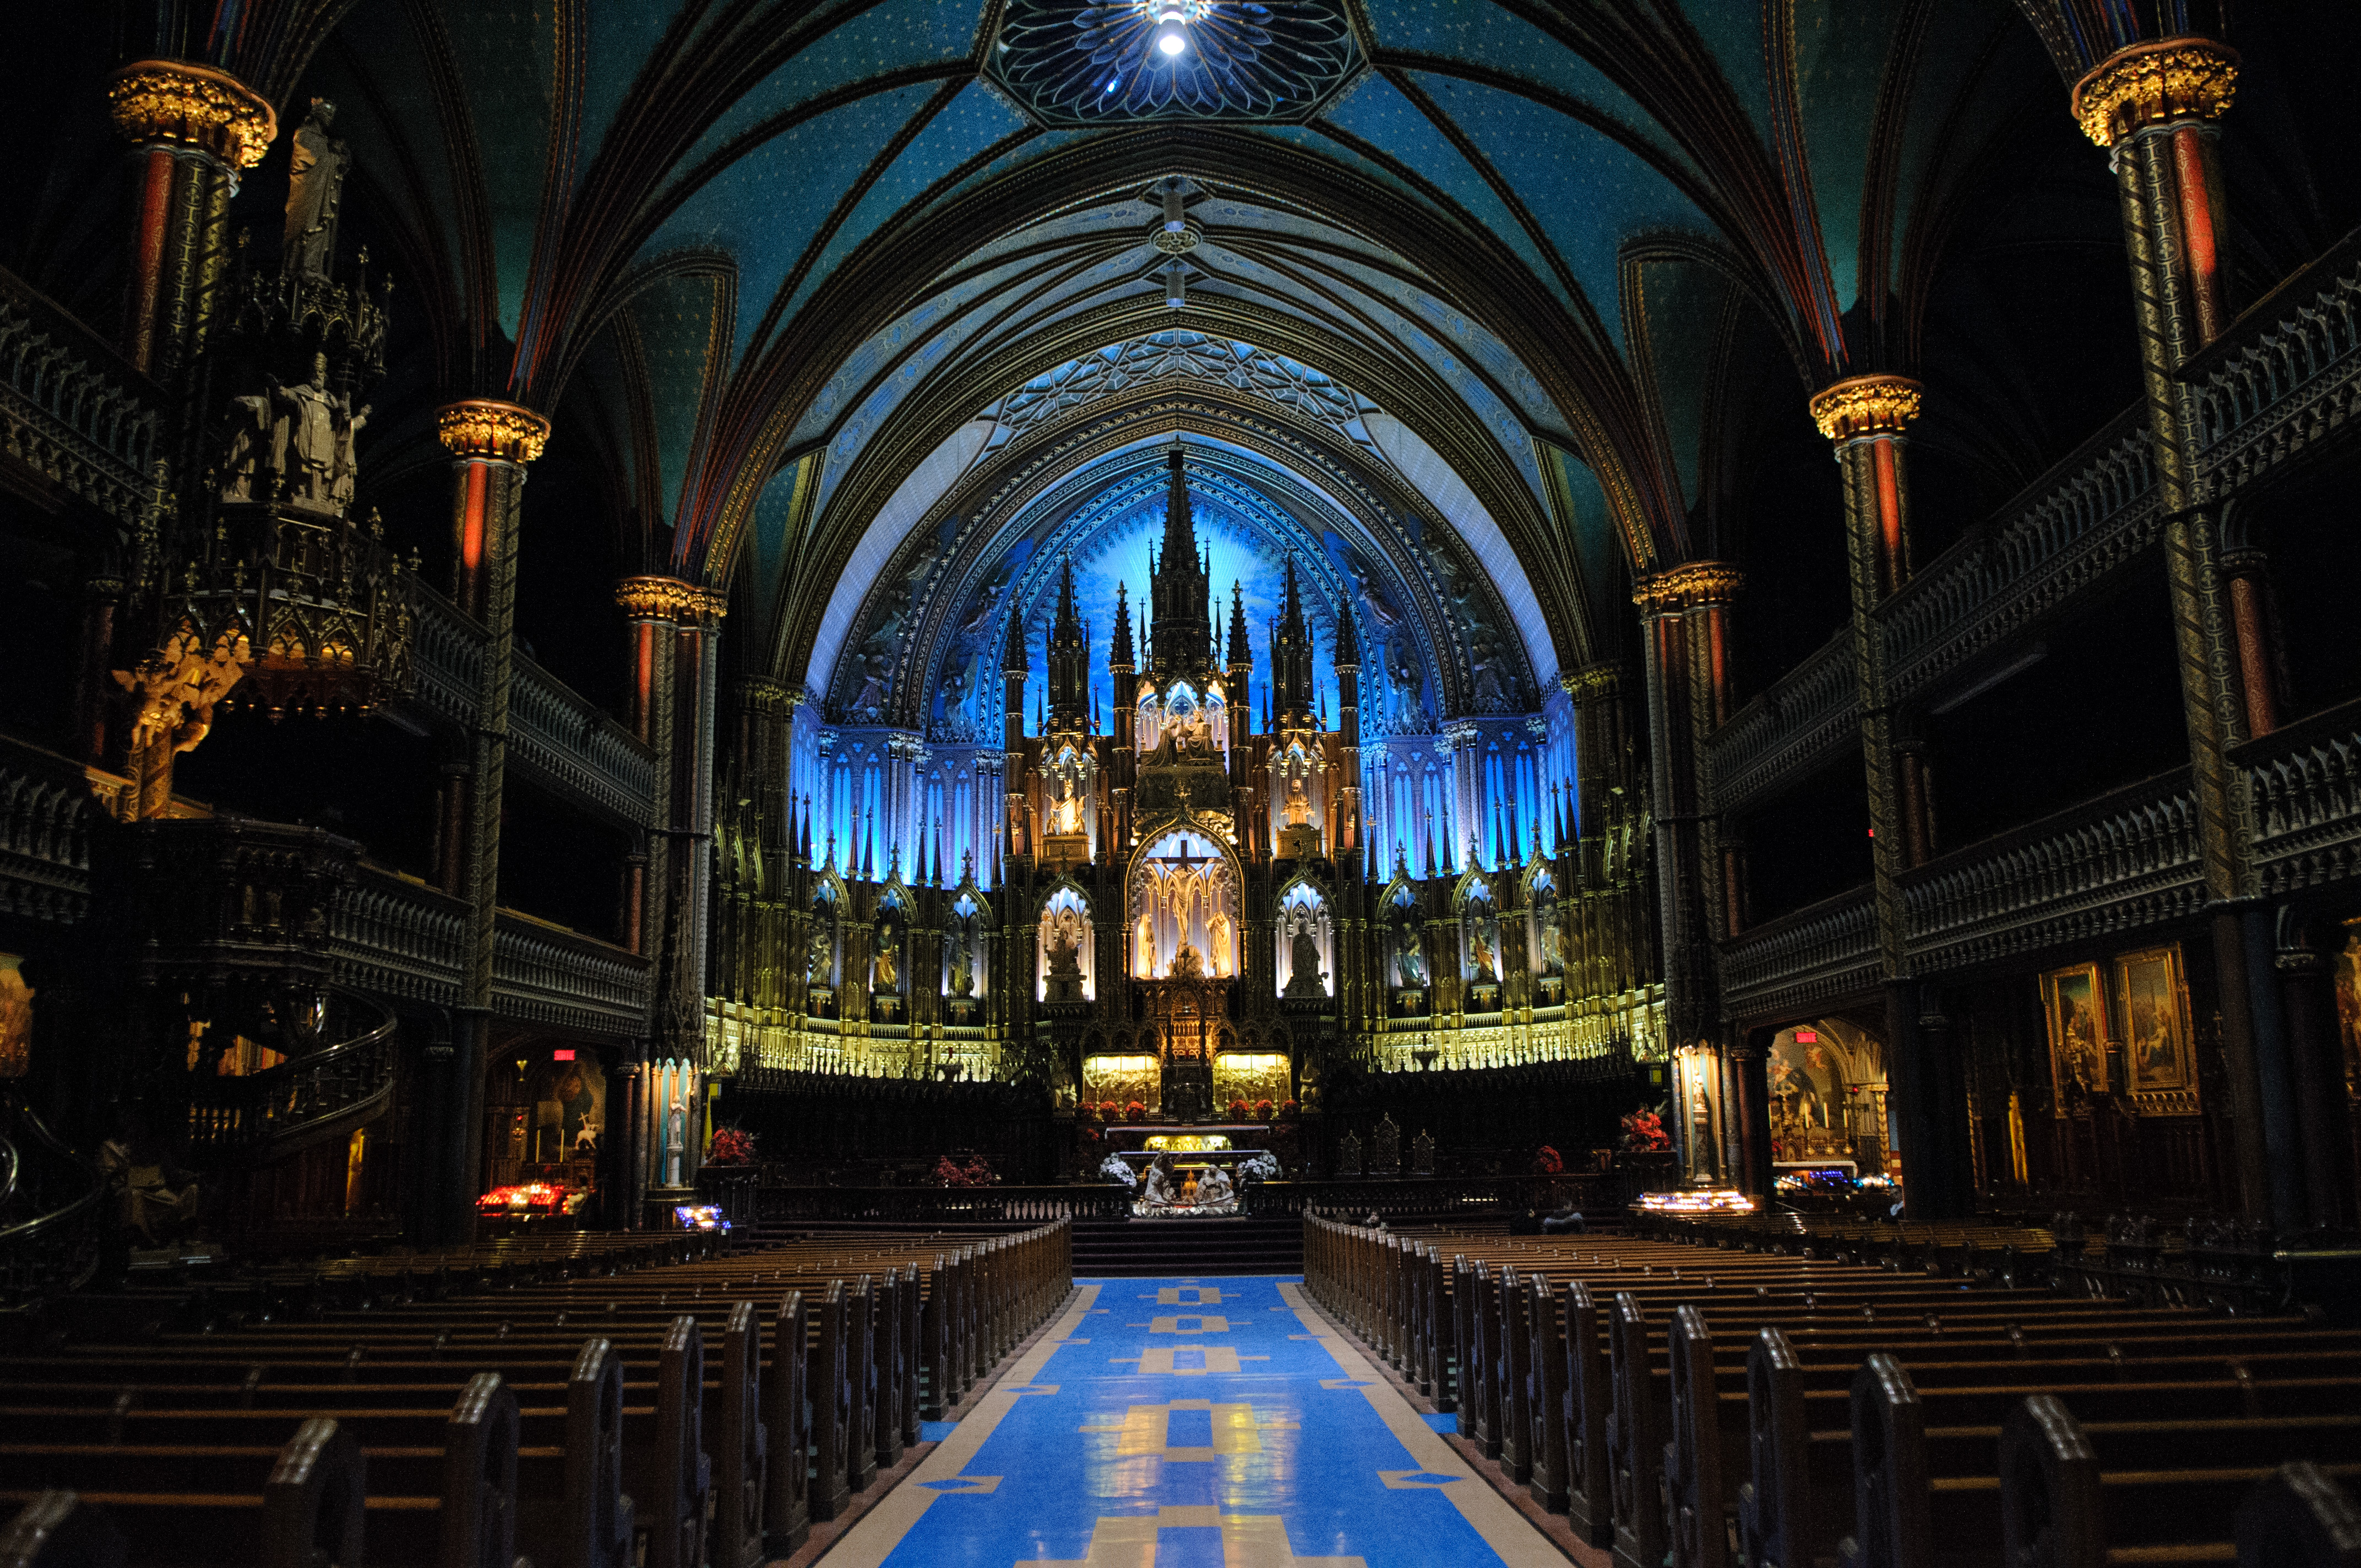
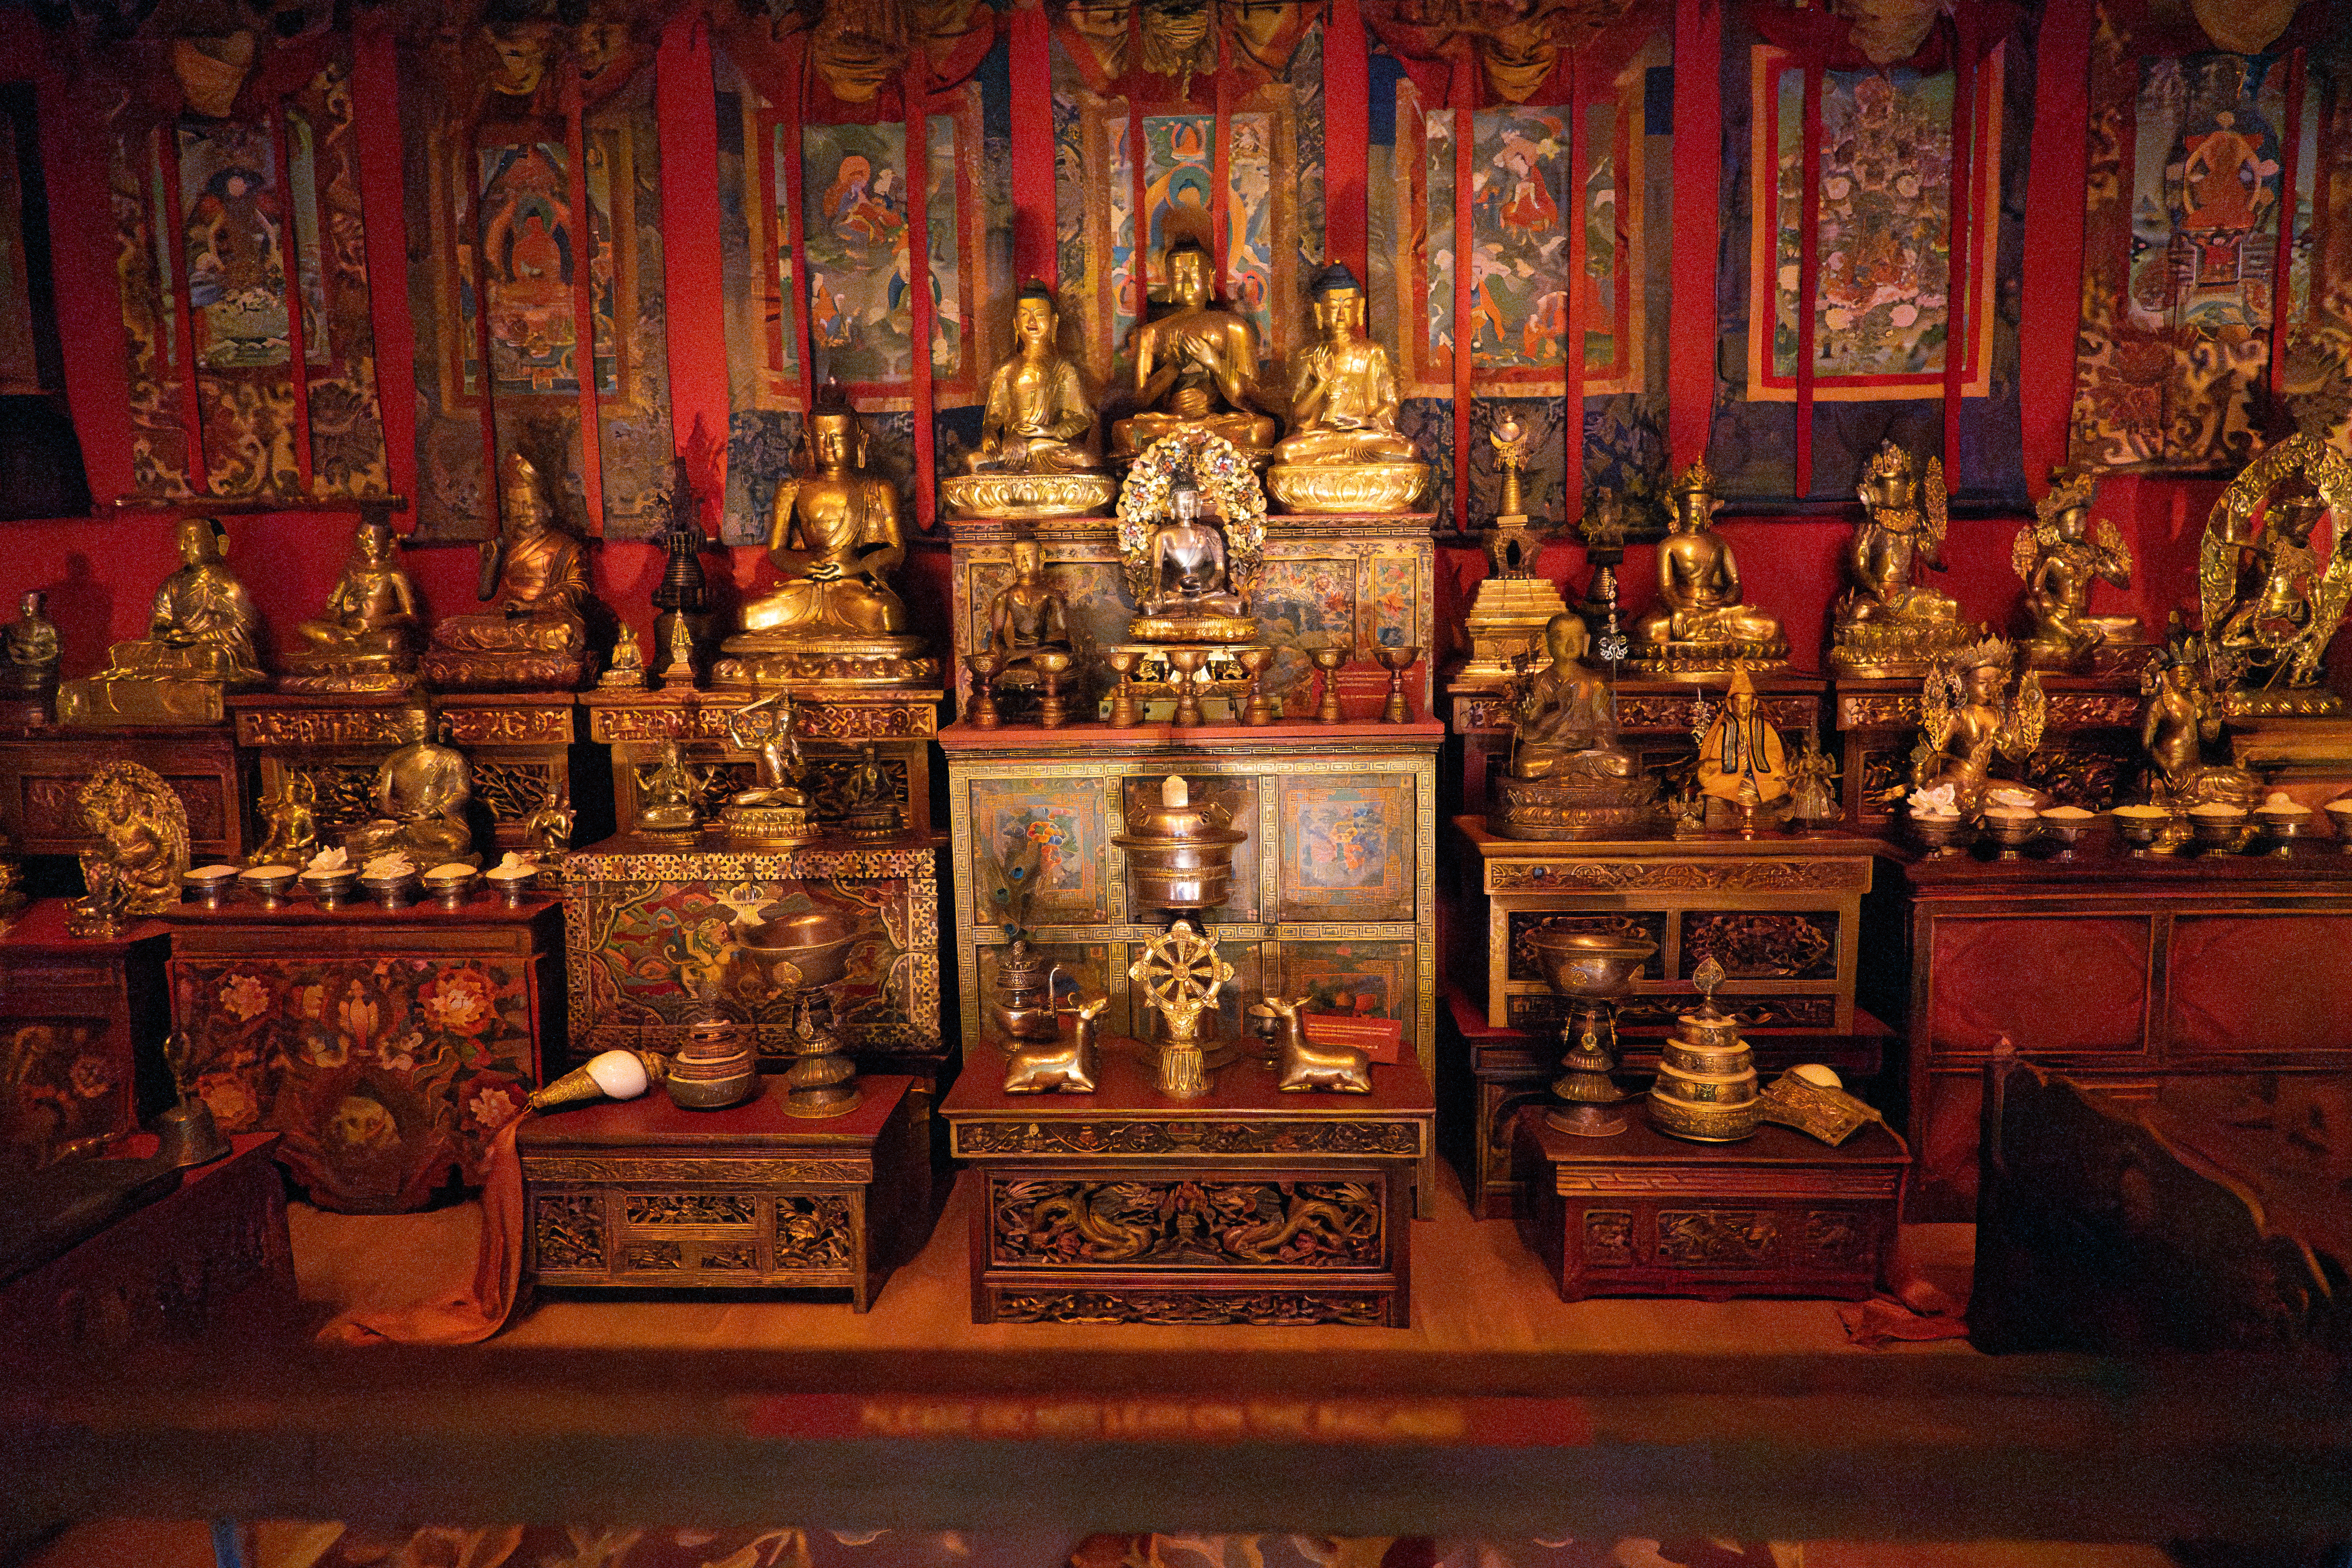
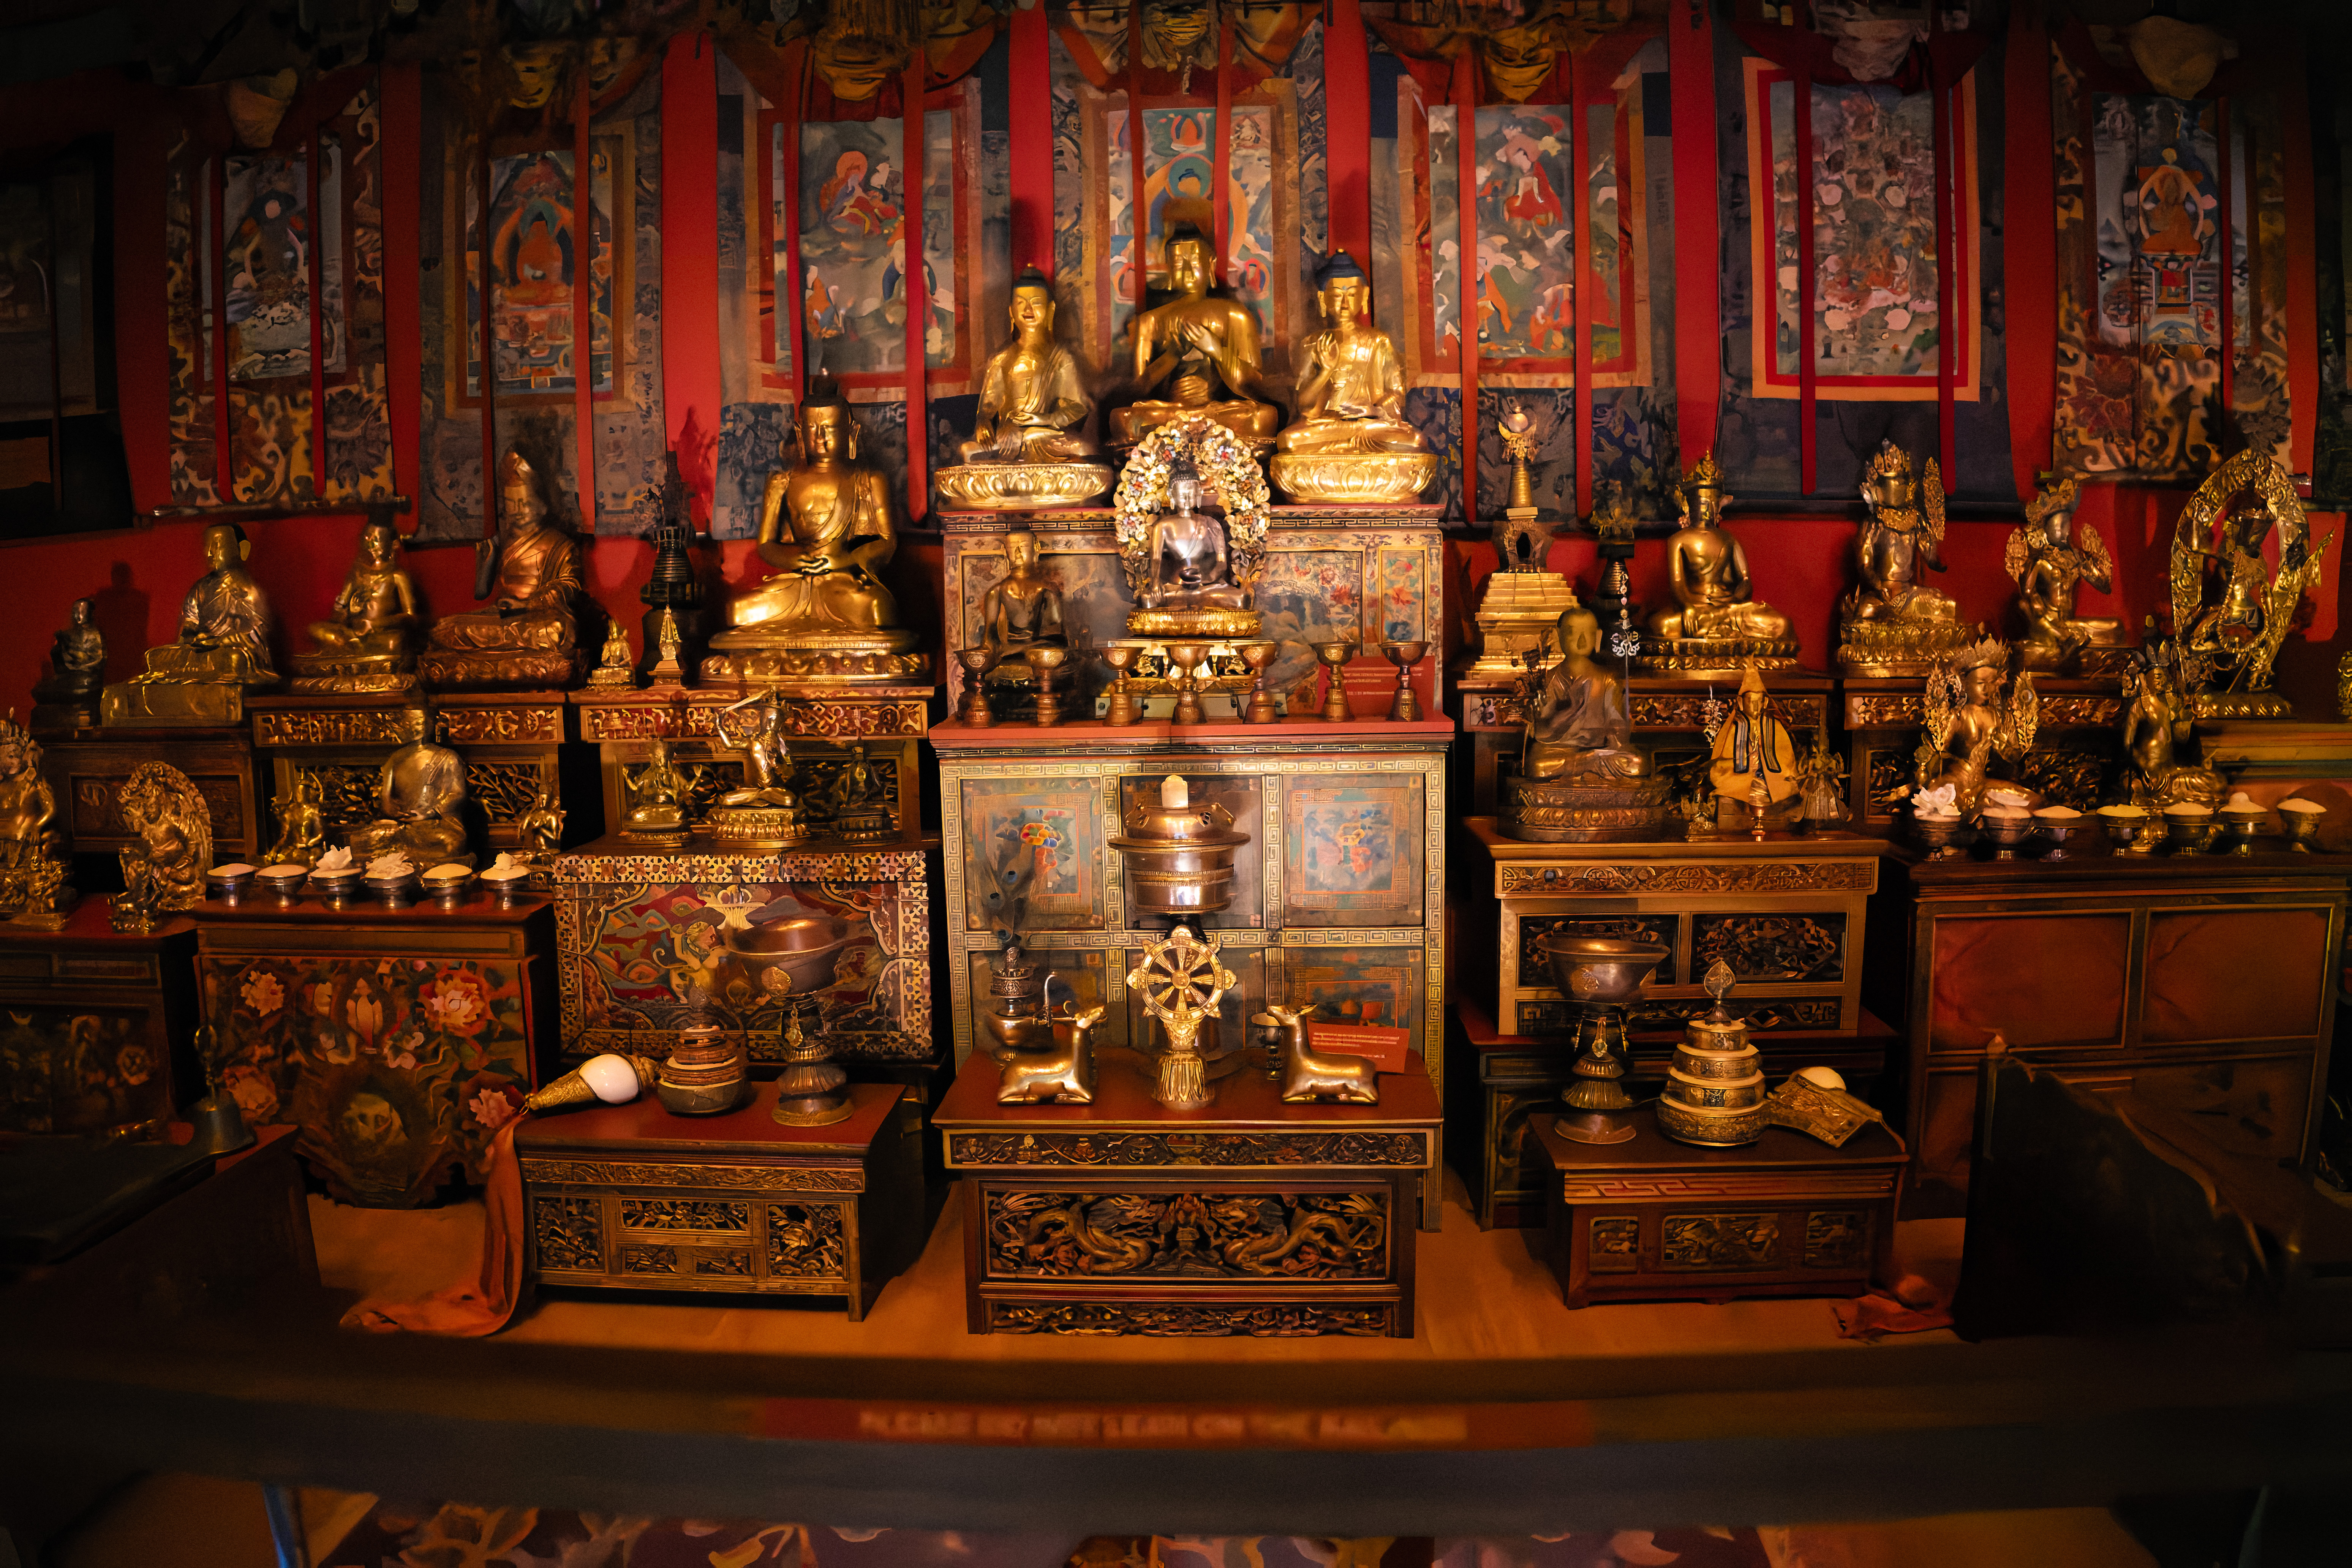
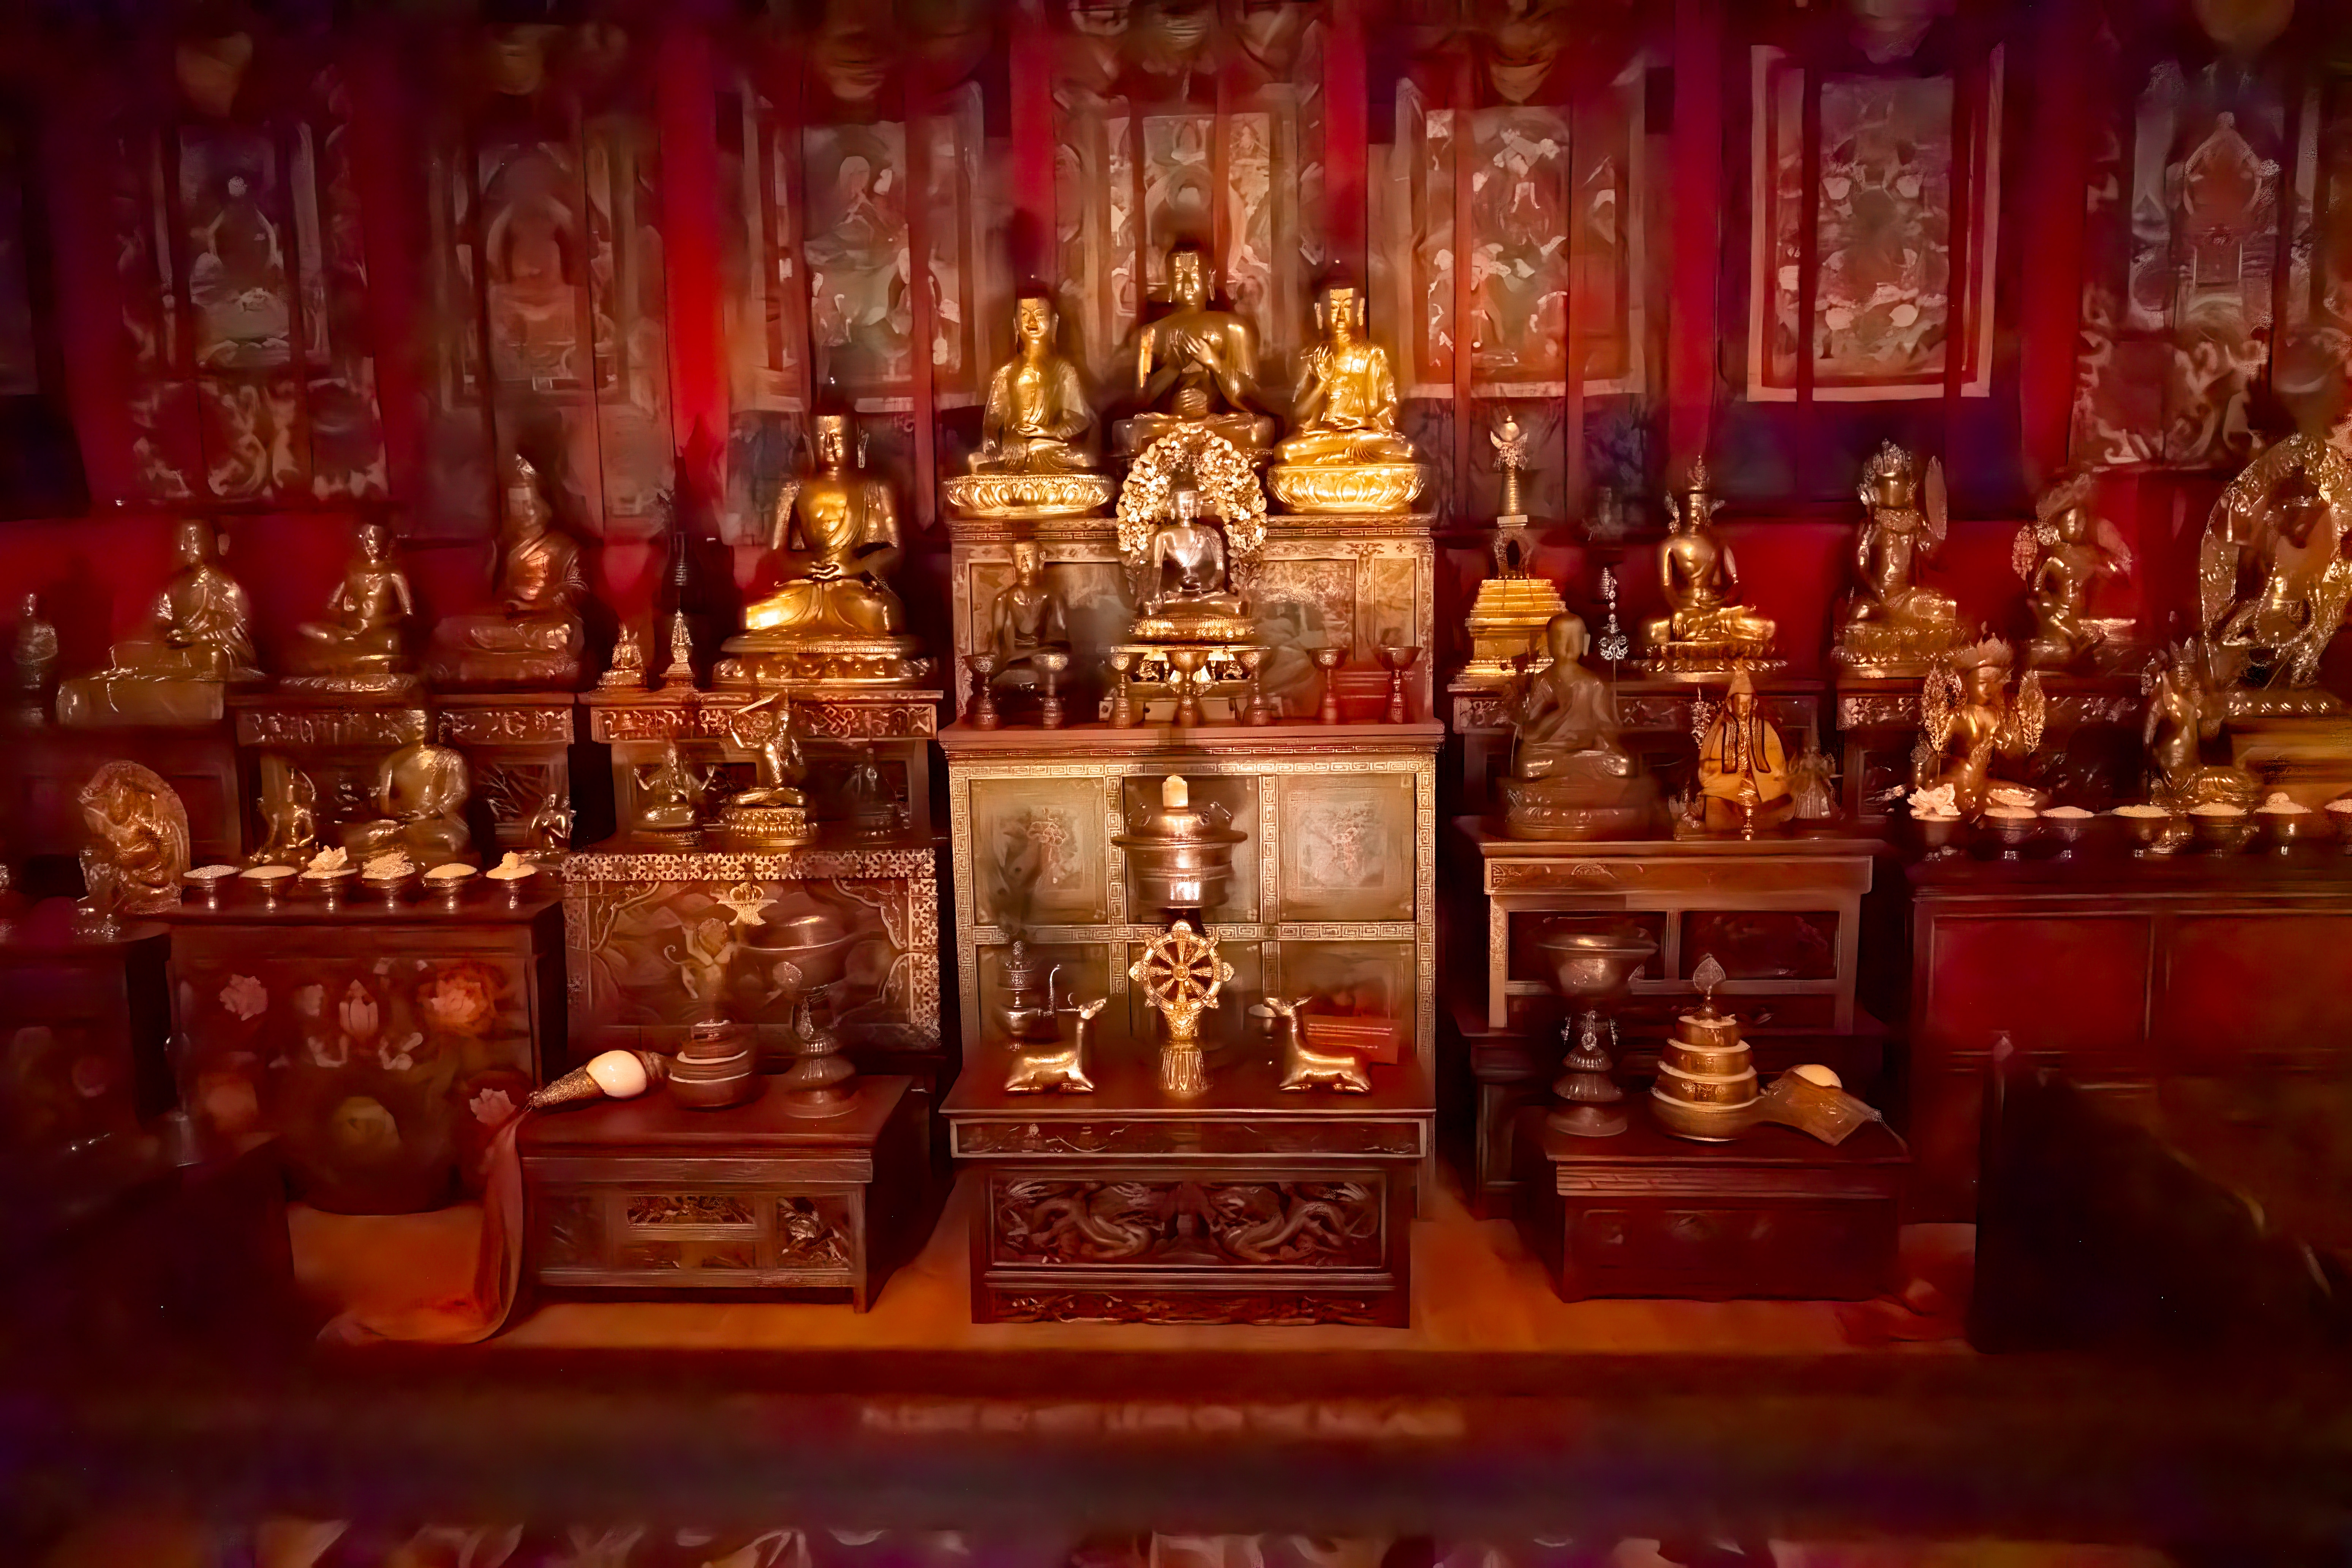
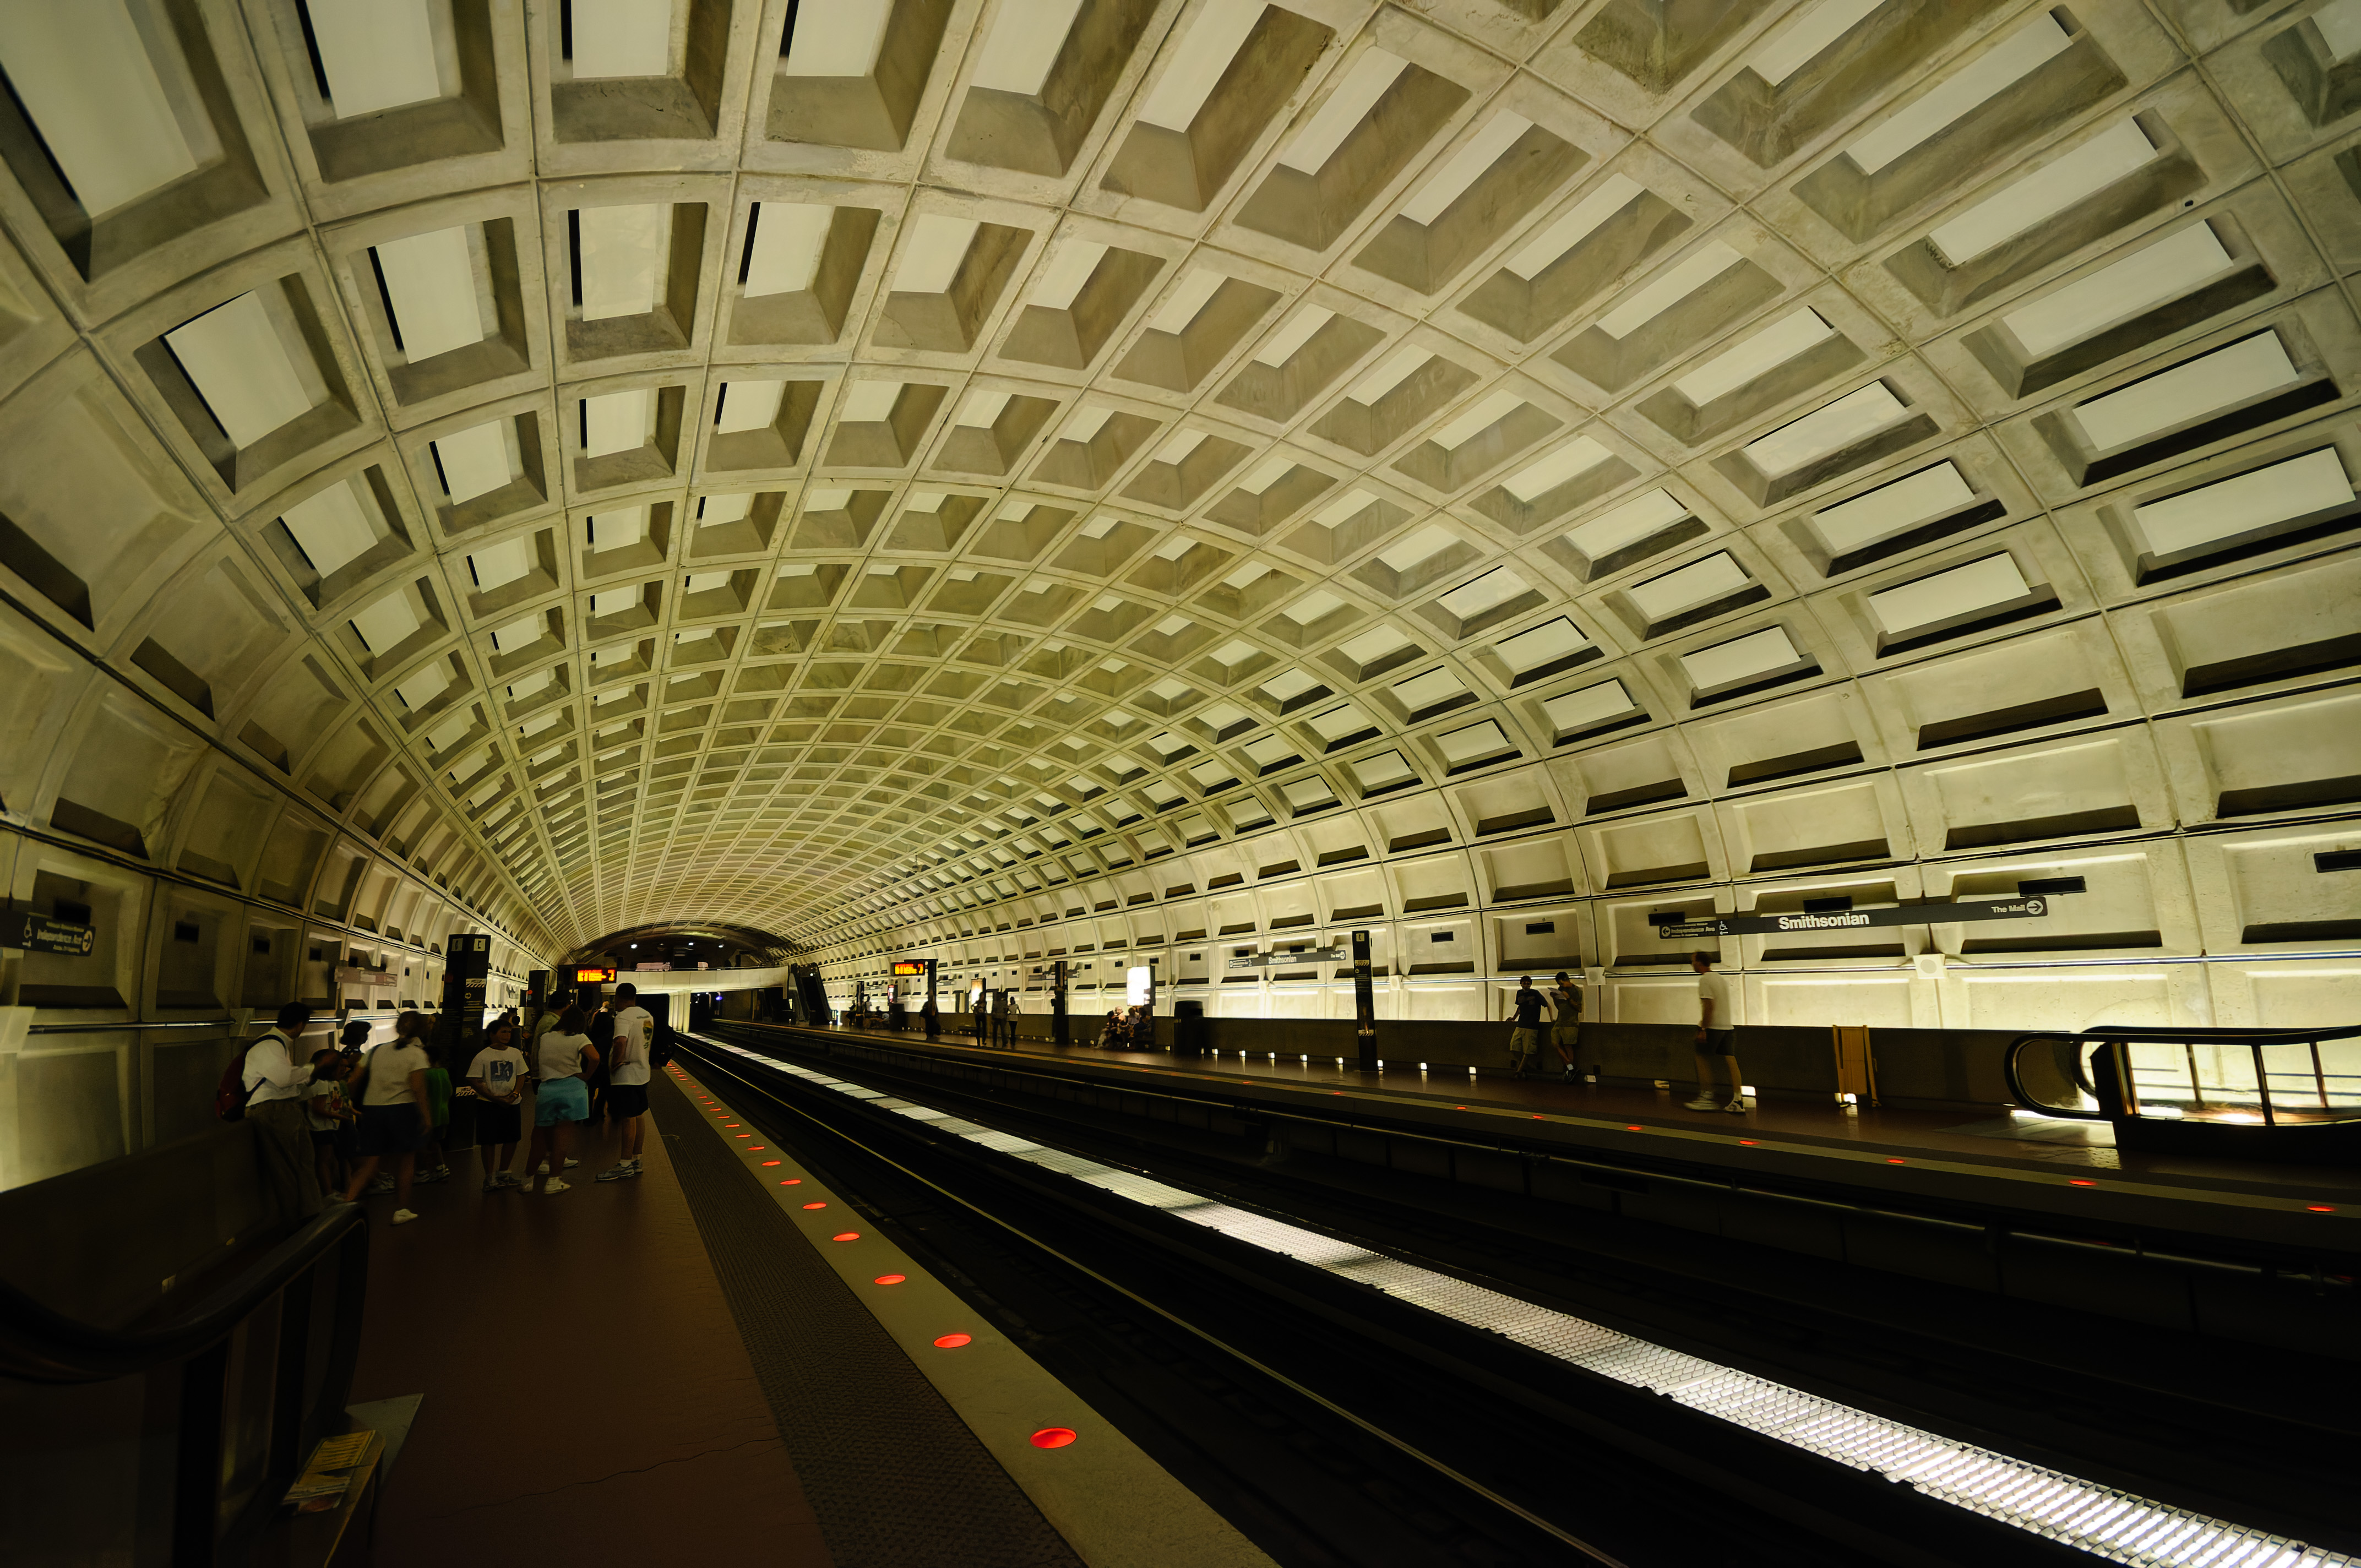
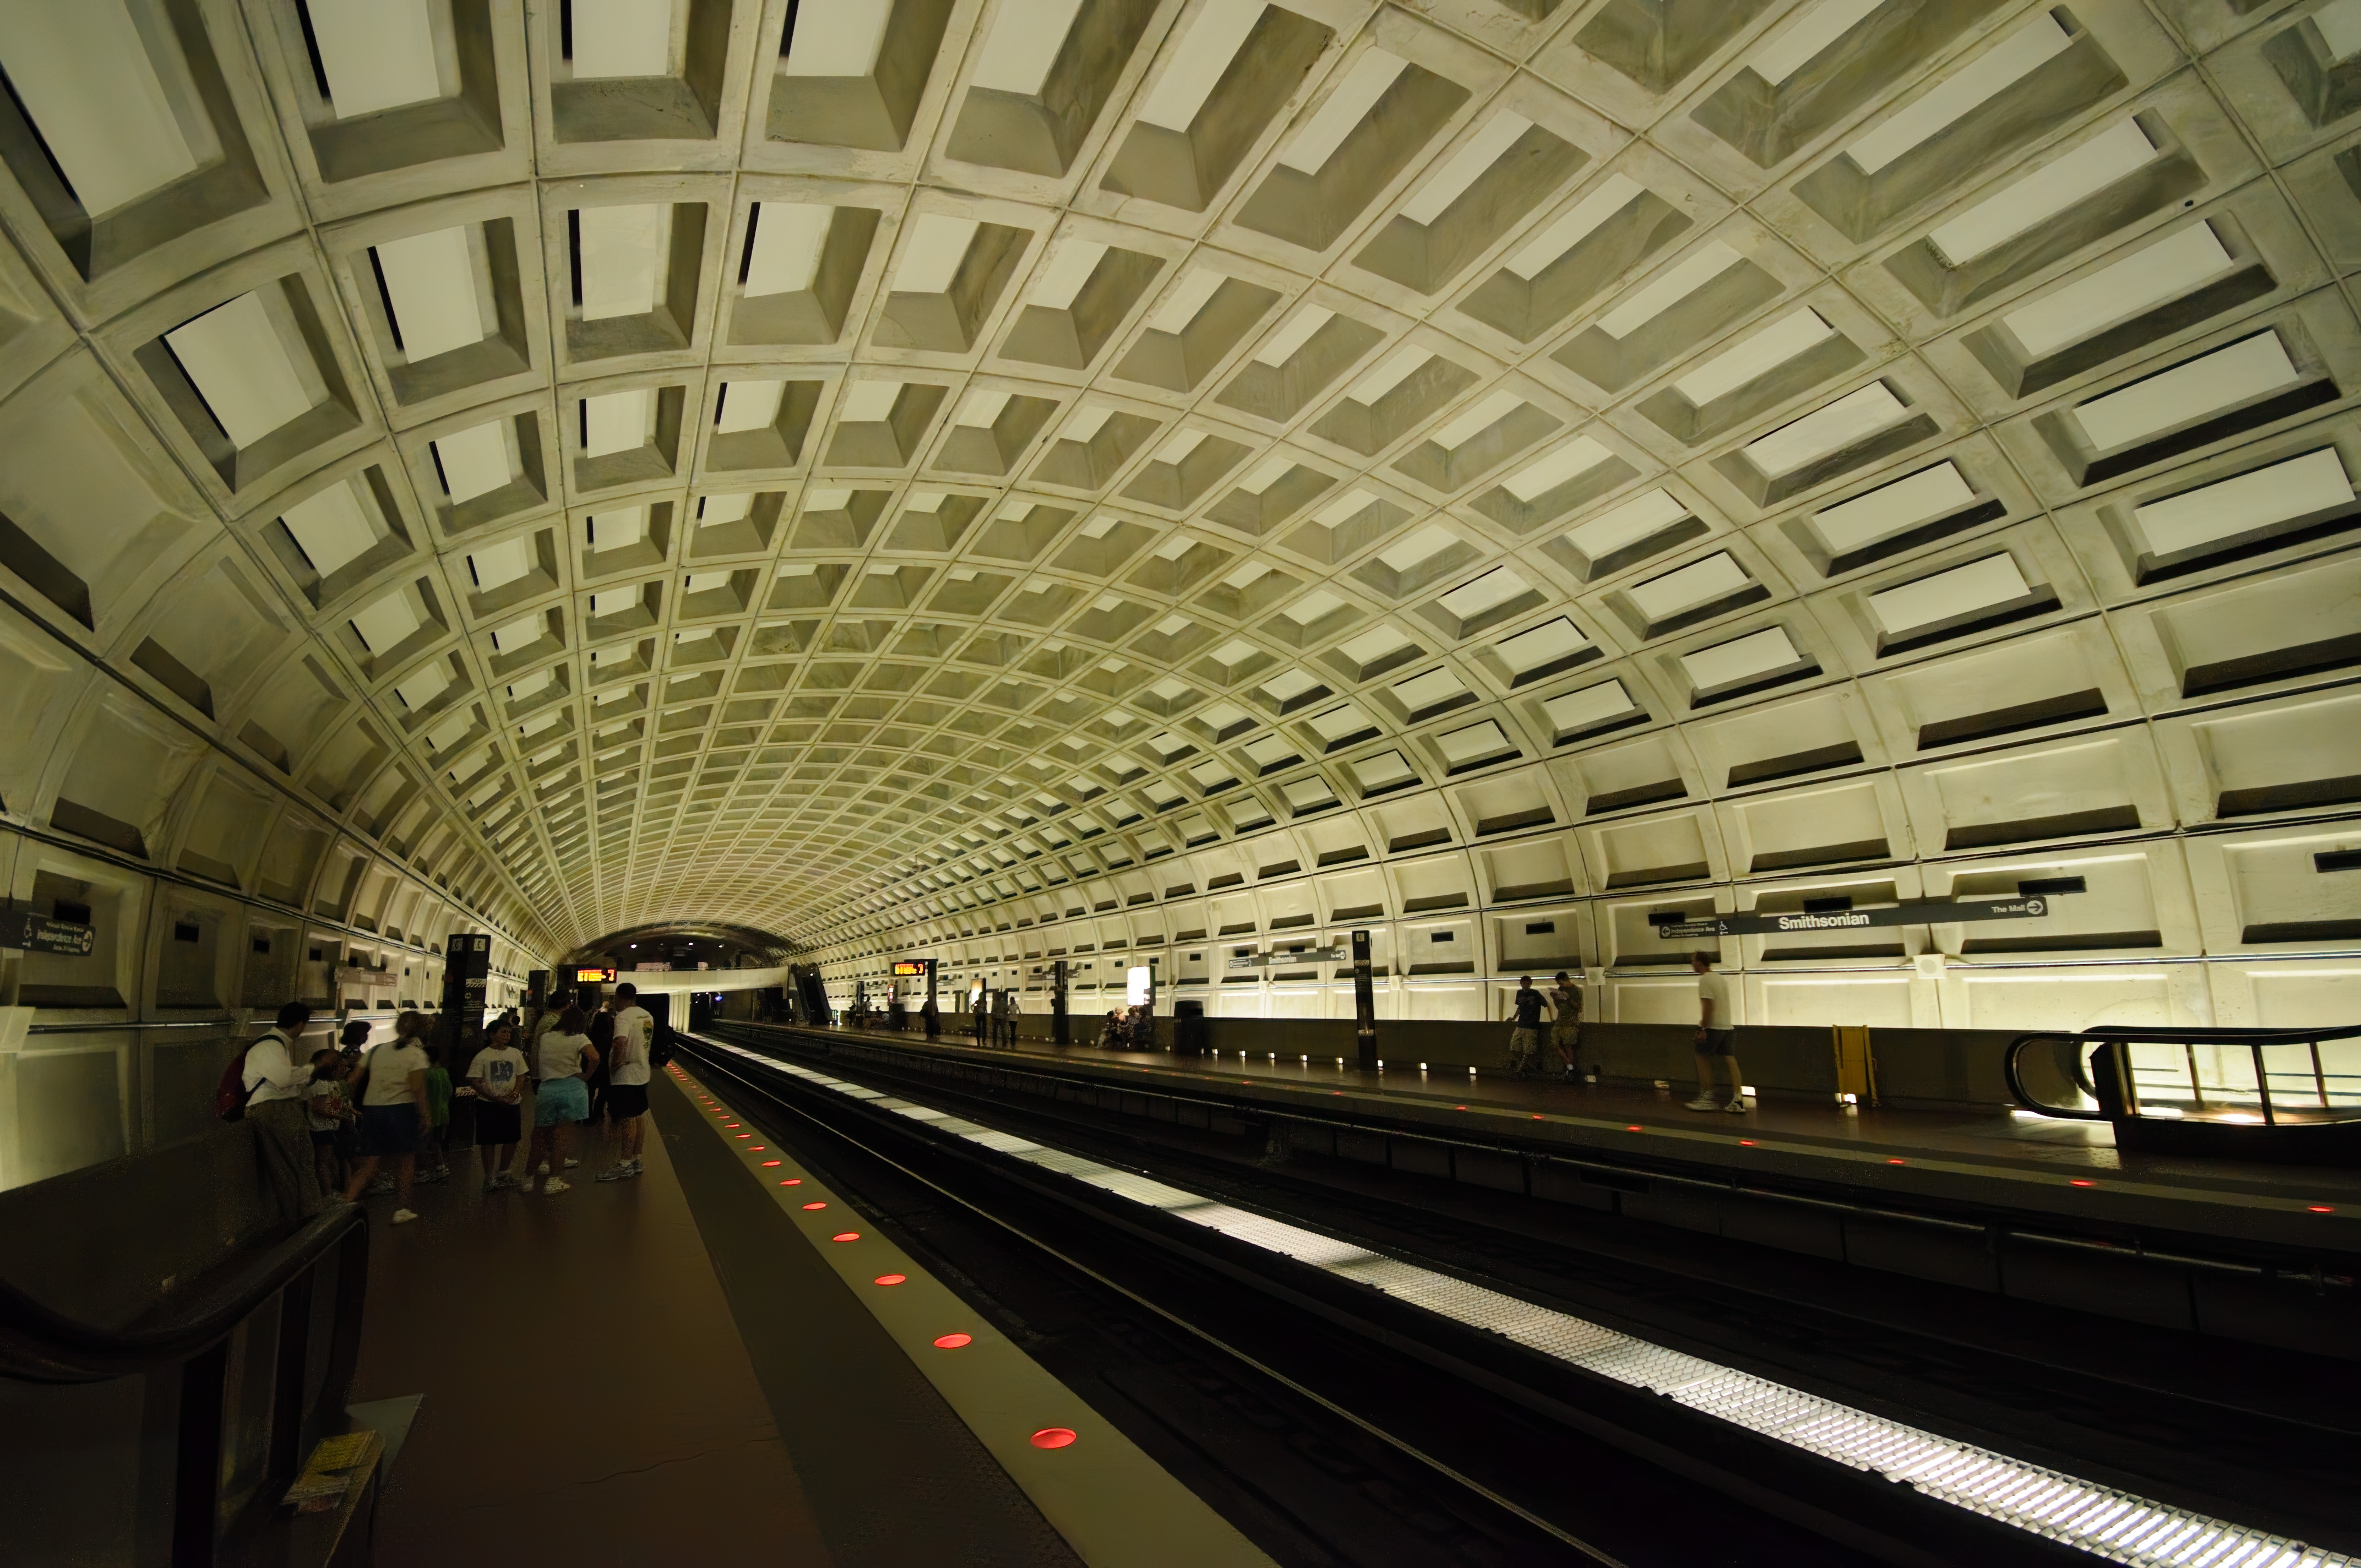
The effects of this processing are much easier to see when viewing the images at full size. The displayed versions are the originals without any processing. You can click on the image to open a full-size version in your browser window. In the caption are links to the corresponding full-size versions with processing: Lightroom Classic Denoise; DxO PureRAW; ON1 NoNoise AI.







Other alternatives
- DxO Nik Dfine. This noise reduction app originates from the Nik Collection, which DxO acquired from Google a few years ago. It’s a more traditional noise reduction app but is more powerful than Lightroom’s standard manual noise reduction tools. Overall, I don’t find it as effective as the other newer types of noise reduction apps above, but it still has its place for some situations and workflows. One big plus for it, though, is that it works with JPG or TIFF files.
- Topaz Photo AI. The denoise tool from Topaz Labs is extremely effective, especially when factoring in its sharpening tools. The reason that I haven’t included it above is less to do with its performance than with how it’s made available. Topaz used to have its noise reduction product as a separate app, but it’s since integrated into a suite of tools called Photo AI. And because it’s sold as a bundle, it’s also significantly more expensive if you’re looking for something for this specific purpose. They don’t offer a free trial anymore, but they do have a 30-day refund guarantee that you can use if the results don’t meet your expectations.
When noise reduction goes too far
Noise reduction is one of those processes that’s easy to take too far. And if you do, you’ll end up with less noise, yes, but also a waxy, plasticky look to the image — that uncanny valley look. A bit like someone smeared vaseline over the lens.
It can be particularly problematic when there are people in the photos. And you’ll tend to notice it more with larger enlargements and less at sizes you might post to social media. So it’s always a matter of finding the right balance, and I generally prefer to dial it back from the edge than go too far over the line.
Notes & References:
- If you’re saving JPGs in camera, those very often have in-camera noise reduction applied at the time you shoot it. Trying to apply further rounds of noise reduction and fixes to those can be problematic and usually doesn’t work particularly well. [↩︎]