
To open GoPro RAW (.GPR) files in software that doesn’t support them — Apple Photos, Windows Photos, Affinity, RawTherapee, and plenty more — you can first convert them to standard DNG with Adobe’s free DNG Converter. Just feed it the folder of .GPR files, choose a folder to save the converted files, and run. The result is a regular DNG that virtually any image app can read.
The reason this works that a GoPro .GPR RAW files is a DNG container with GoPro’s own VC-5 compression inside. It’s that VC-5 compression that trips up most DNG readers because they can’t decode it (renaming .gpr to .dng does nothing). Conversion rewrites the image data as standard DNG compression. The full background is in GoPro RAW (.GPR) files explained.
The step-by-step with the settings worth using is below, plus GoPro’s own command-line converter for batch work.
GoPro’s RAW format is based on Adobe’s DNG RAW format, but it’s distinctive enough that most RAW processors can’t handle them. And .gpr compatibility has been very slow to extend to other apps — even apps that boast about how many RAW formats they’re compatible with. Part of the problem is that .gpr files don’t contain an embedded preview JPG; many apps that work with RAW files rely on having an embedded preview JPG.
If you’re looking to work with .gpr files, GoPro recommends using “Adobe Camera Raw (ACR), version 9.7 or later, Adobe Photoshop Lightroom CC (2015.7 release or later) and Adobe Photoshop Lightroom 6 (version 6.7 or later).” But those are paid apps — and not inexpensive, at that — and not everyone has them or wants them.1
So what happens if you still want to use GoPro RAW image files but don’t want to fork out the cash for those apps? There’s a free workaround that’s not mentioned on GoPro’s page, and that is to convert the files from .gpr to .dng files using Adobe’s free DNG Converter.

Have Camera Will Travel Newsletter
Practical field notes, hands-on gear tests, and the fun of exploring the world with a camera in hand.

The advantage in doing that is that all RAW image processors, and even many broader image editing apps, can work with DNG files. You can find a roundup of free options here. So once the .gpr files are converted to .dng versions, you can open them in just about any image editing app worth its salt.
Download some test files
You don’t need to shoot your own test file to try this. Here are three versions of the same frame, straight from a HERO13 Black at 5568 × 4872 pixels:
- Original .gpr file — 10.2 MB
- Converted with Adobe DNG Converter — 21.9 MB
- Converted with GoPro’s gpr_tools — 54.3 MB
Start with the .gpr. If your software opens it, you can stop there and ignore the rest of this page. If it doesn’t, try the two DNG versions — those should open anywhere that reads DNG.
The size difference is the first thing you’ll notice. All three hold the same sensor data, but they store it differently.
GoPro’s VC-5 compression is efficient, so the original is the smallest file of the three. Adobe’s converter recompresses the data and roughly doubles it. gpr_tools doesn’t compress at all, which is why its version is more than five times the size of the .gpr you started with.
Nothing is lost in either conversion. I checked by converting the DNG back to .gpr and comparing the pixel values against the original, and they came out identical. You’re paying in disk space, not image quality. Side by side, the two DNG versions render the same, too — I compared them through the same decoder and the difference was too small to see.
One quirk with the gpr_tools version: it doesn’t write an embedded preview image, so it may show a blank or slow thumbnail in Finder, Bridge, or anything else that relies on previews. The file itself is fine, and your raw processor will render it normally. The Adobe version does include a preview, so if thumbnails matter to your workflow, that’s a point in its favor.
How to convert GoPro .gpr files with Adobe DNG Converter
First, you’ll need to download Adobe DNG Converter and install it. It’s free, and there are versions for Windows and Mac.
The interface isn’t especially pretty, but it’s also not complicated to use. You simply follow the sequences of steps from 1 to 4.
First, you select the files you want to work with. This is pretty self-explanatory and works just like any other file selector. There are two options you can use. One is to select images within subfolders, which is useful if you’re trying to batch convert a bunch of files at once. The other is to skip the source image if the destination image exists, which saves you processing files where a DNG version already exists.
Then choose where you want the converted files to be saved. If you’re batch converting and want to preserve the folder structure, you can check that option.
Then you can choose the file naming format. This is useful if you’re creating archive versions or want to distinguish the converted files from the originals using file naming systems.
Finally, you can set preferences. The defaults work well for many uses, so there’s no requirement you mess with these. But if you want to, you can set things like preview images, whether it uses lossy compression (I don’t recommend that here), and embedding the original RAW file (most useful if you’re creating archival versions for long-term backup, but there can be an argument for doing it here — just expect larger resulting file sizes).

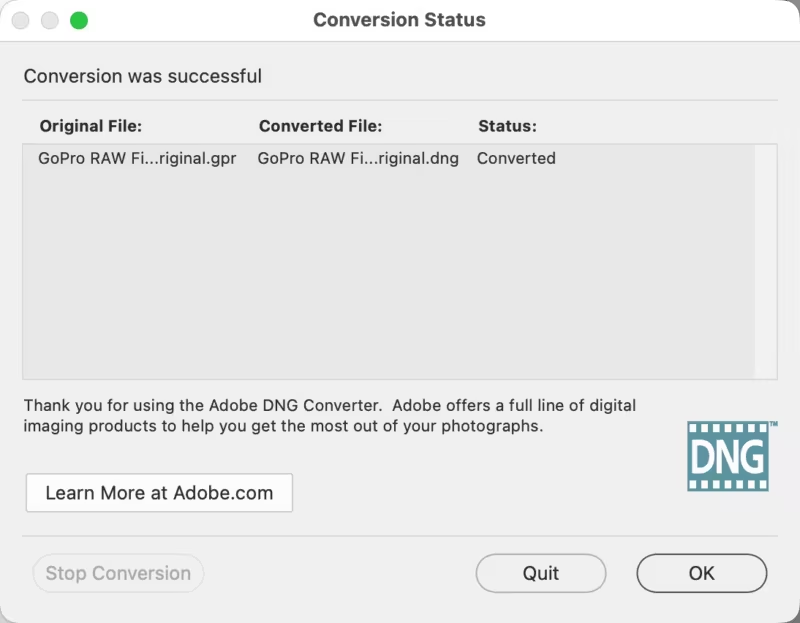
Then you simply hit the Convert button at the bottom right and it will give you a popup showing the conversion progress. How quickly it converts will depend on the speed of your computer and drives, the preferences you’ve set, and how many files you’re converting.
Things to watch out for
One thing to be aware of is that the resulting .dng filesizes will typically be much larger than the original .gpr files. That’s especially true if you’re embedding the original file into the DNG version.
Sometimes, when file formats are fundamentally similar, you can cheat and simply change the file extension and the file will still open and work. Unfortunately, that doesn’t work here. If you simply change the file extension rather than actually convert the file, you’ll get a decoding error and won’t be able to open it at all.
The command-line option: GoPro’s gpr_tools
For most people, Adobe’s point-and-click converter above is the best option and the one I’d recommend. And it’s the one I use nearly all the time.
But there’s another option that you run through the command line. It doesn’t give you exactly the same results — there are some limitations worth knowing about that I discuss below — but it’s useful in scripted, high-volume workflows.
GoPro publishes the GPR format as an open-source SDK, and it includes a command-line converter, gpr_tools, that does a GPR-to-DNG conversion:
gpr_tools -i GOPR1234.GPR -o GOPR1234.DNGThere are no ready-made downloads, so you compile it yourself from the GPR SDK on GitHub. On a Mac that takes about two minutes. You’ll need CMake, which is the build tool the project uses, and then it’s a clone and a build:
brew install cmake
git clone https://github.com/gopro/gpr.git
cd gpr
mkdir build && cd build
cmake ..
make
The finished binary goes into build/source/app/gpr_tools/gpr_tools. Copy it into ~/bin or /usr/local/bin so you can use that path from anywhere in your OS.
Don’t be put off by the README, which still lists macOS High Sierra as a test platform. The project is being maintained — the most recent commit was May 2026 — and it built cleanly for me on Apple Silicon under macOS 26, with nothing but a couple of harmless deprecation warnings. Windows and Linux are supported too. It’s fast, as well: a 10.2 MB HERO13 file converted in under half a second.
But there are two significant downsides that are worth knowing about before going down this path:
It writes uncompressed DNGs, and they are large. Converting my 10.2 MB test file gave a 54.3 MB DNG. Adobe DNG Converter, working from the same original, produced 21.9 MB. That’s more than five times the original and roughly two and a half times Adobe’s version, and there’s no compression setting to turn on — uncompressed is all gpr_tools writes. No image data is lost either way, so you’re paying in disk space rather than quality, but it adds up quickly on precisely the kind of high-volume workflow that it’s designed to excel at.
It doesn’t write an embedded preview. Adobe’s version embeds a small JPEG preview inside the DNG, which is pretty standard for most camera-generated RAW files.
But the gpr_tools version doesn’t have that. In practice, it means you’ll see either blank or slow-to-appear thumbnails in Finder, Bridge, Photo Mechanic, and anything else that leans on previews to show you the picture. The file itself is fine, and your raw processor will render it normally, but you lose the ability to skim a folder visually quickly.
Those two downsides aside, it does have strengths that Adobe DNG Converter can’t do. But these are really power-user moves that most users won’t want to mess with.
The first, and most obvious, is that it’s scriptable. It converts in both directions, so it will turn a DNG back into a GPR — including DNGs that Adobe made. It can render a GPR straight to a JPG or PPM at a reduced size, which is a quick way to generate proxies or a contact sheet without opening a raw processor at all:
gpr_tools -i GOPR1234.GPR -o GOPR1234.JPG -r 8:1And gpr_tools -i GOPR1234.GPR -d 1 dumps the file’s internal parameters as JSON, which is useful if you’re trying to understand what the camera actually recorded.
JPG fallback
If all this seems like too much work for what you want, the fallback is that when you select the .gpr RAW format in the GoPro cameras, it also saves a JPG version at the same time. So if all else fails and you simply can’t get the .gpr versions to work, there are also .jpg versions you can use instead.
Common questions
Does converting to DNG lose quality?
No meaningful image data is lost — the sensor data is rewritten into standard DNG compression. The files typically get larger, since VC-5 compresses more aggressively than standard DNG.
Can I just rename .gpr to .dng?
No. I’ve tried that, and it doesn’t work. It turns out the extension isn’t the problem; the compression inside is (that VC-5 compression codec). A renamed file still fails in apps without GoPro’s decoder.
Which apps need this, and which don’t?
Lightroom, Camera Raw, Photoshop, darktable, Capture One, ON1, and Iridient open .GPR directly. Apple Photos, Windows Photos, RawTherapee, DxO, and Affinity don’t — those are the ones you convert for. The full compatibility table is in the GoPro RAW guide.
Is Adobe DNG Converter really free?
Yes. It’s a free download from Adobe for Windows and Mac, no subscription required, and Adobe keeps it updated with new camera support.
Notes & References:
- Adobe Camera RAW (or ACR) works as a plugin or underlying RAW processing engine for Photoshop, Lightroom, and Bridge rather than as a standalone app. [↩︎]
Should I be shooting RAW on a GoPro at all?
That depends on whether you edit. JPG vs RAW on GoPros weighs the two up with side-by-side examples.


I found this article and followed your recommendation to be able to access my GoPro raw photos by converting to dng. To my surprise, I found the dng images are flipped from the originals. Everything is backwards! A sign in the image reads backwards. I looked to flip it in post but I don’t think my software has the option to flip. Is there something that can be done when converting?
I’ve just tried replicating this issue testing GPR files from H5 Black, H6 Black, and H7 Black and run through both DNG Converter v.10 and v.11, but it’s working normally for me. DNG Converter doesn’t have any option to create a mirror image version, so I’m not sure what could be causing it. It’s not some setting in your viewing/editing software, is it?