Grid lines on the Nikon Z50 II take two settings, not one.
Choosing a grid pattern is only half of it. Until you also add that grid to one of the camera’s display layouts, nothing shows up on the screen or in the viewfinder.
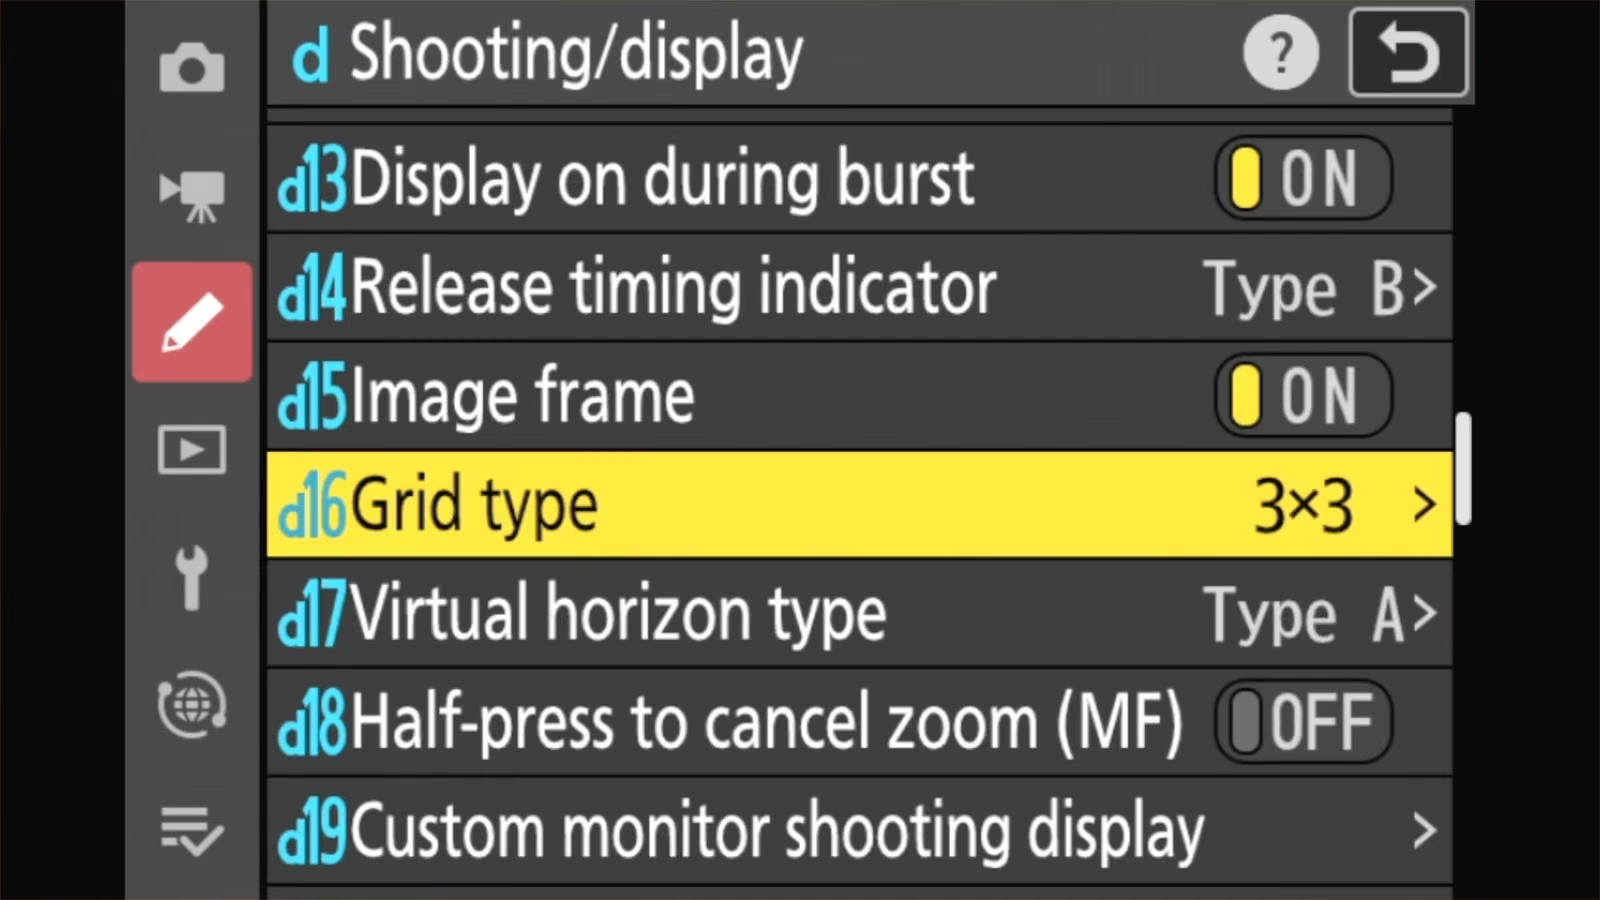
- Choose the grid pattern: Custom Setting d16 Grid type.
- Add the grid to a display: tick Framing grid in d19 (for the rear screen) or d20 (for the viewfinder). Then press the DISP button until you reach that display.
The histogram and the electronic level work the same way. If you’ve done step 1 and nothing appeared, step 2 is what’s missing. Your camera isn’t broken.
Grid lines themselves are overlays for the viewfinder and back screen. They don’t appear on the saved photo itself — they’re purely composition aids.
But they can be very useful for aligning elements in the frame and keeping things straight. They’re something that I always enable on every camera I use, and they come in especially handy for things like travel photography and landscapes.
Step 1: Choose a grid type
I’m going to focus here on setting it up for shooting photos. Setting it up for video is the same kind of process but has to be done specifically for the video displays (more on that below).
First, set the type of grid you want. On its own, this doesn’t make a grid appear. It only decides what the grid looks like once you’ve turned it on in step 2.
You can find the setting under:
MENU > CUSTOM SETTINGS MENU > d16 Grid type 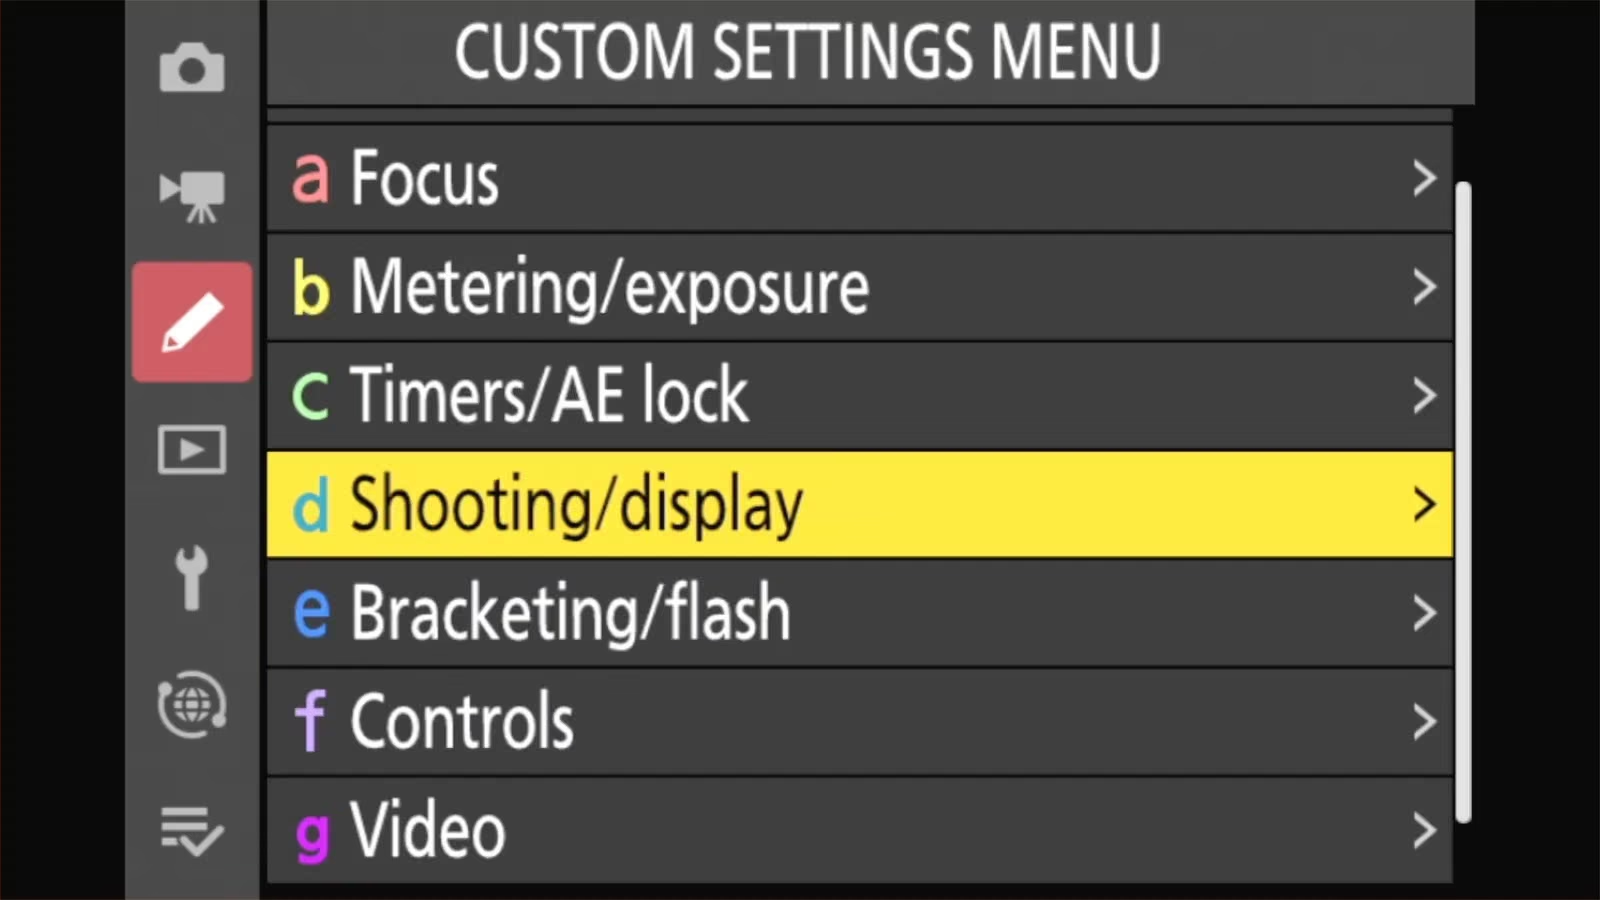
Pick the grid pattern you want. There’s no right answer on which to use — it’s just a matter of personal preference. The options are:
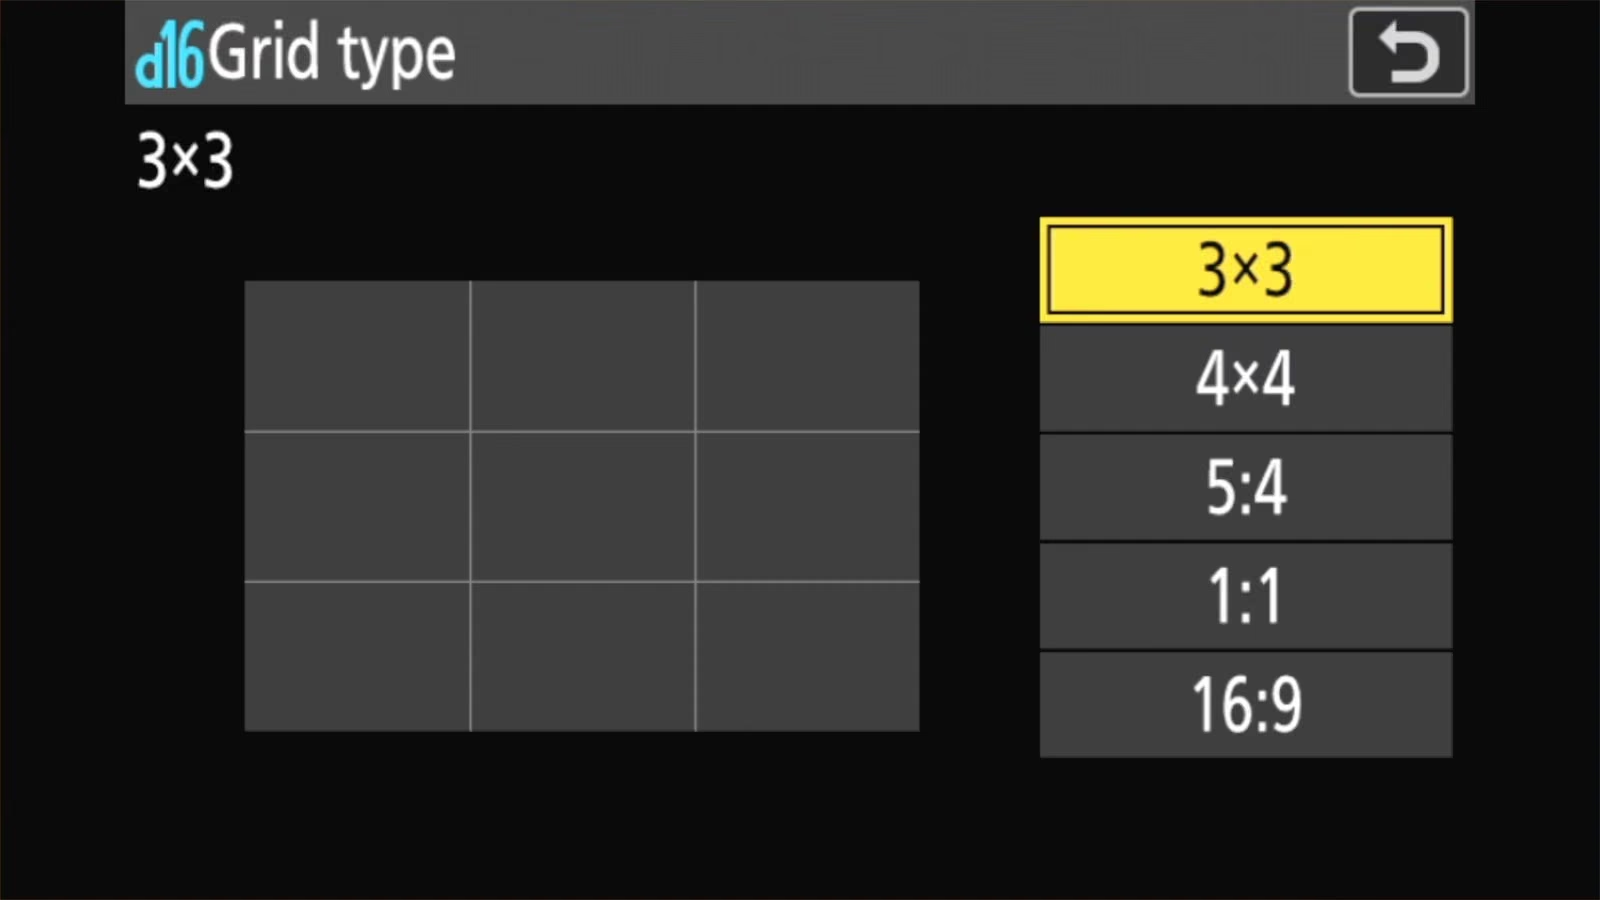
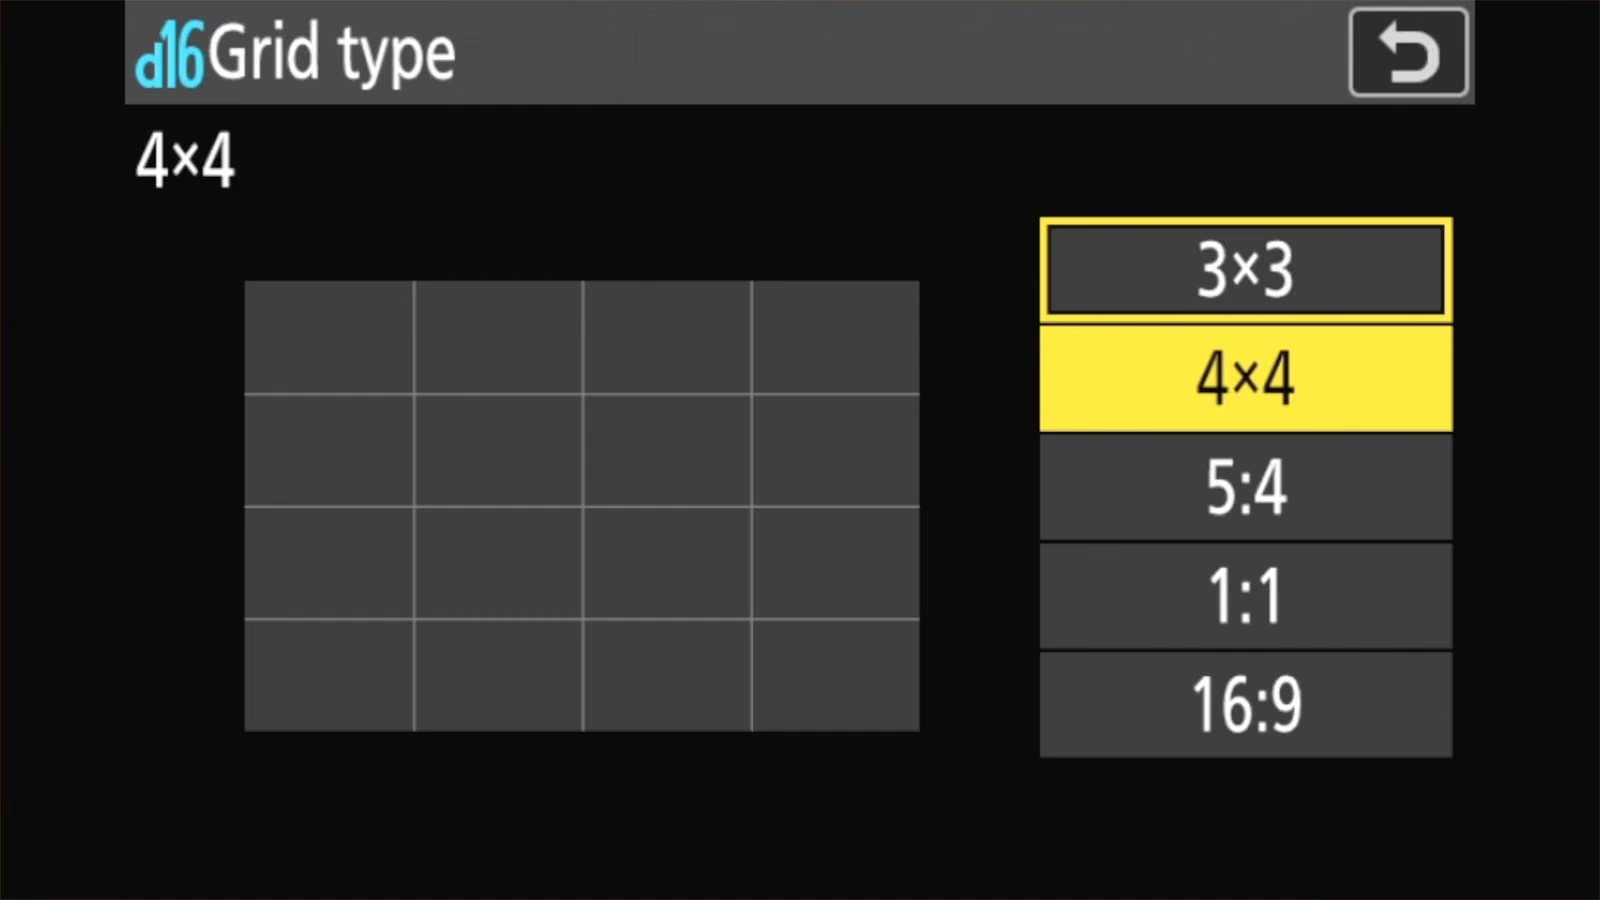
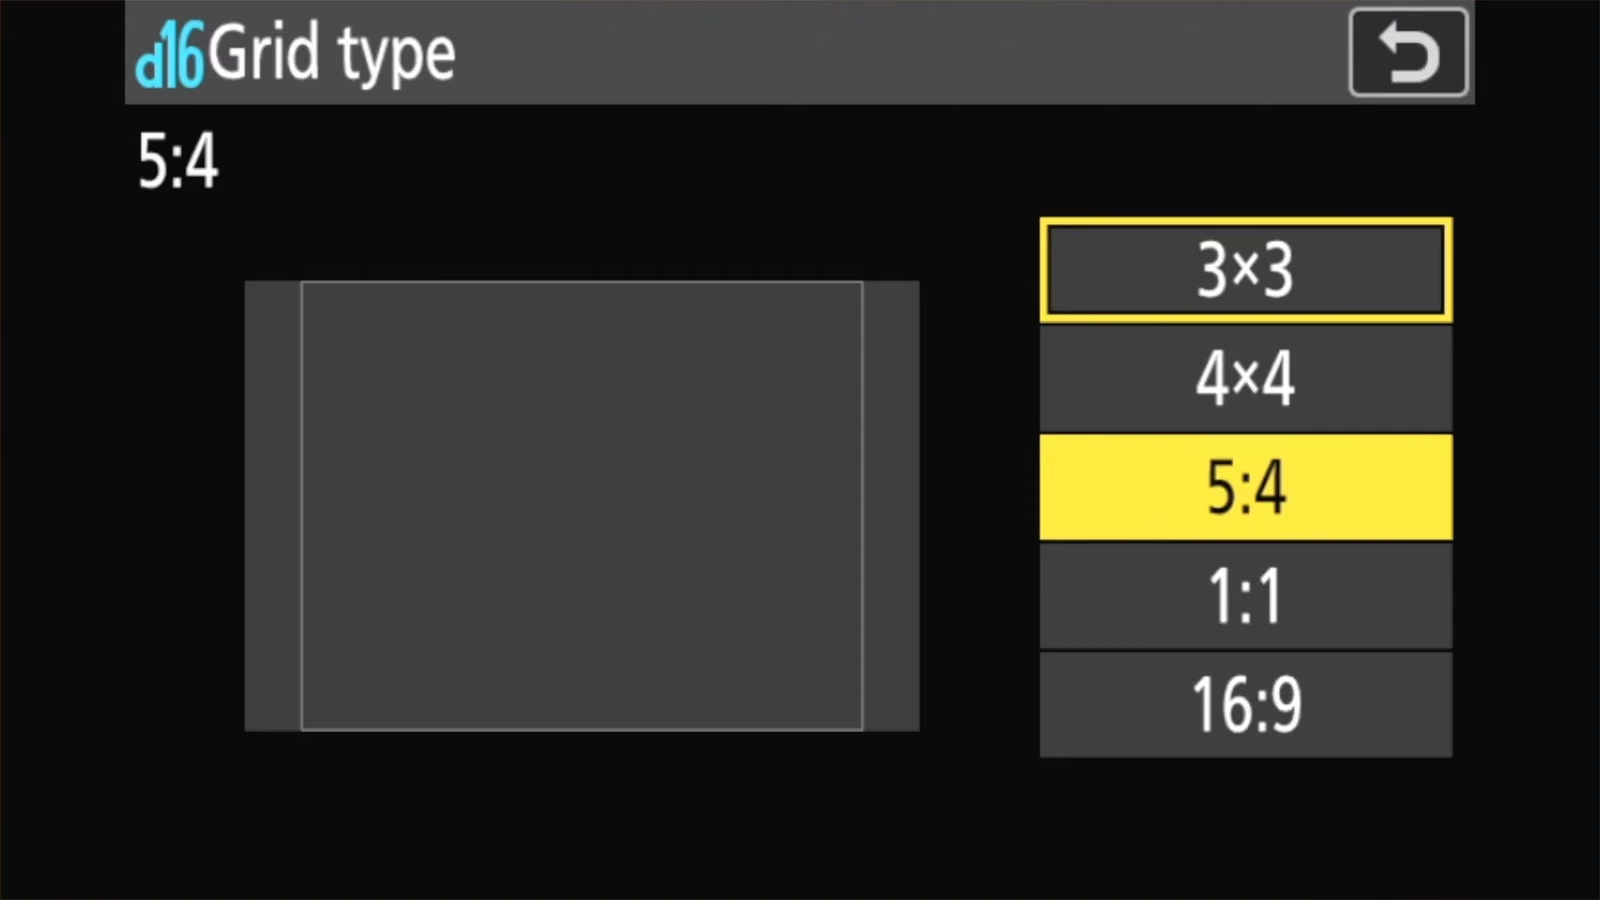
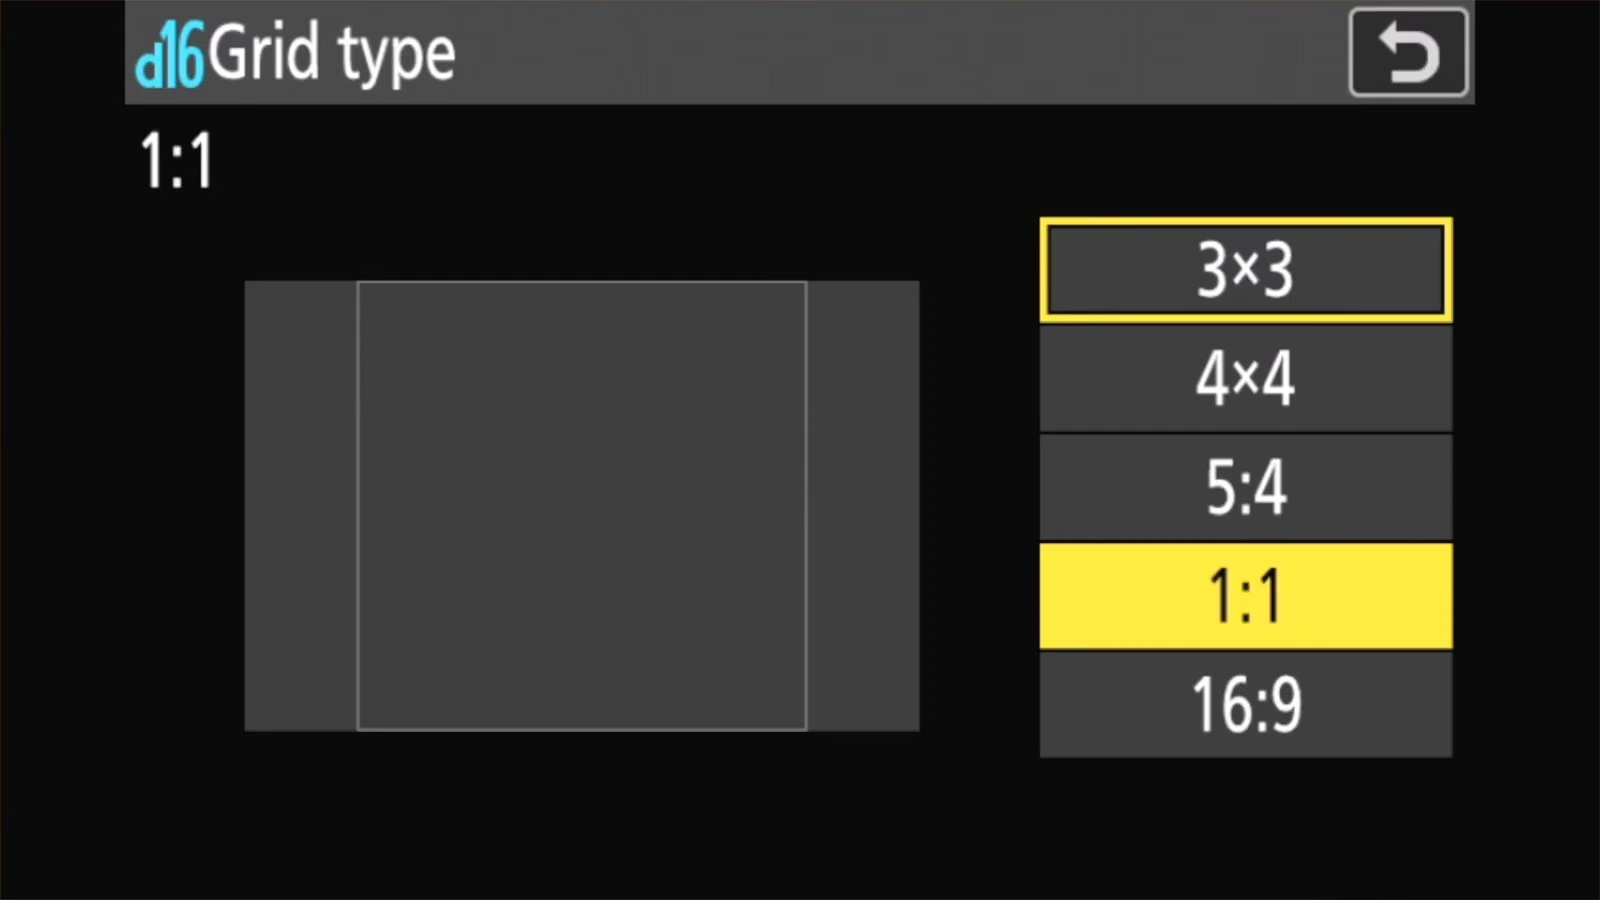
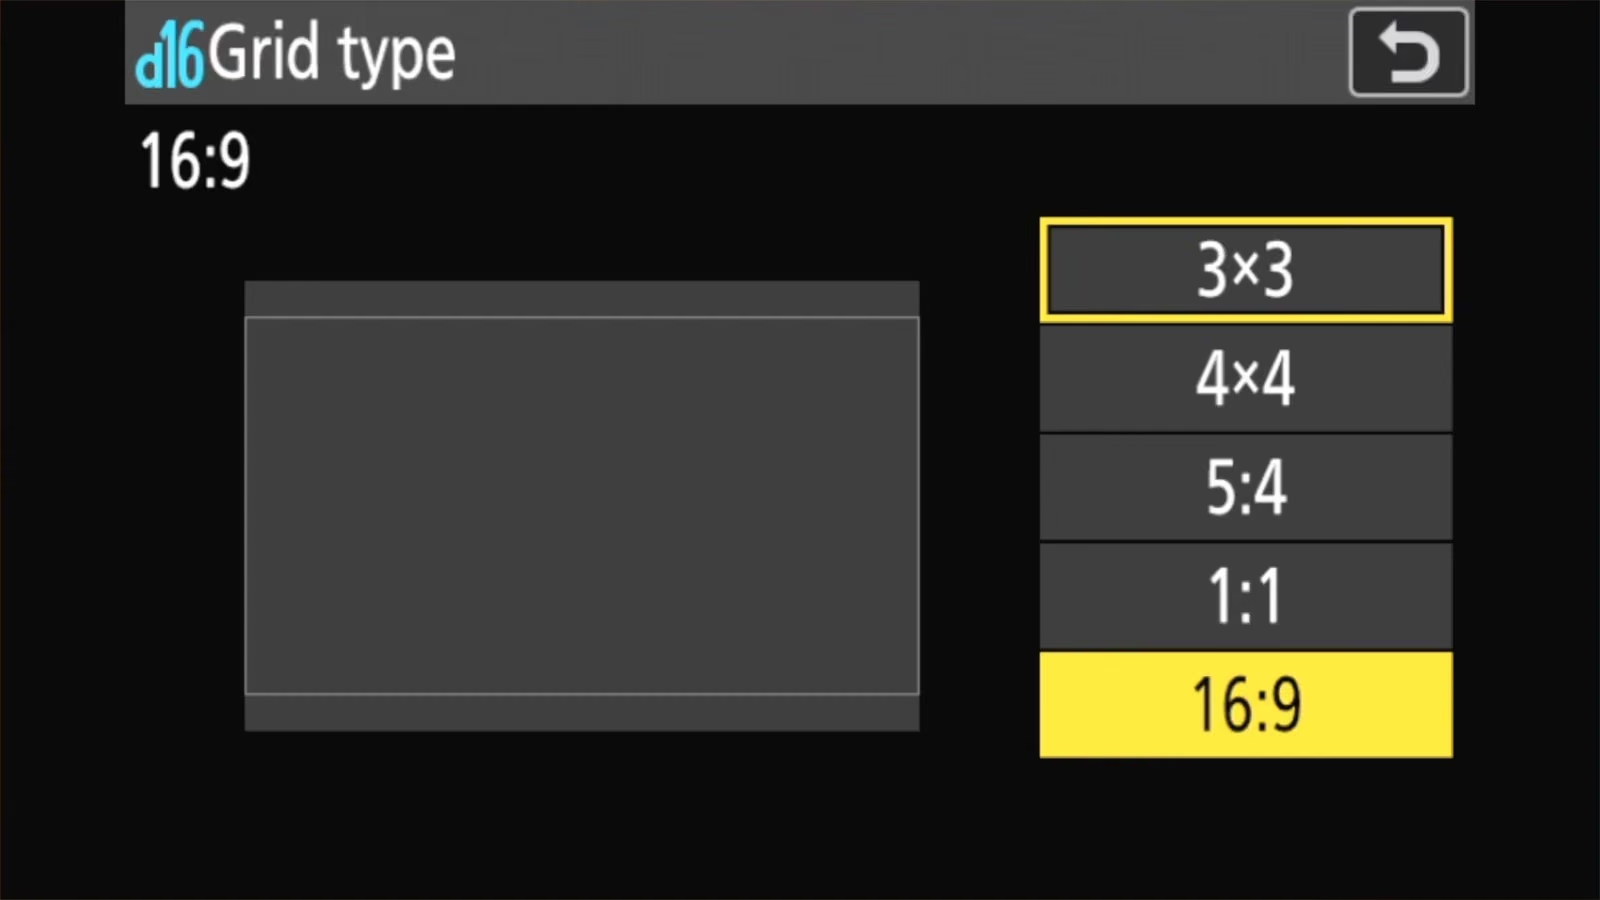
The last three aren’t grids in the usual sense — they’re crop guides. They mark the edges of a different aspect ratio so you can frame for a crop you plan to make later. The photo itself is still saved at the sensor’s full 3:2 shape.
If you want the camera to actually record that shape rather than just mark it, that’s a different setting. Choose image area in the photo shooting menu gives you DX (24×16), 1:1 (16×16), and 16:9 (24×14), and those do change the file. The grid guides leave the file alone, which is usually what you want — you keep the full frame and decide on the crop later.


Step 2: Add the grid to a display
Once you’ve chosen which type of grid to use, there’s a second step to making it actually appear on your screen.
The Z50 II has several display layouts, and you cycle through them with the DISP button. Each layout has its own checklist of what it shows. The grid only appears on a layout where you’ve ticked it. So if you want it on both the viewfinder and the back screen, you’ll need to enable it on each separately.
For the rear screen:
MENU > CUSTOM SETTINGS MENU > d19 Custom monitor shooting display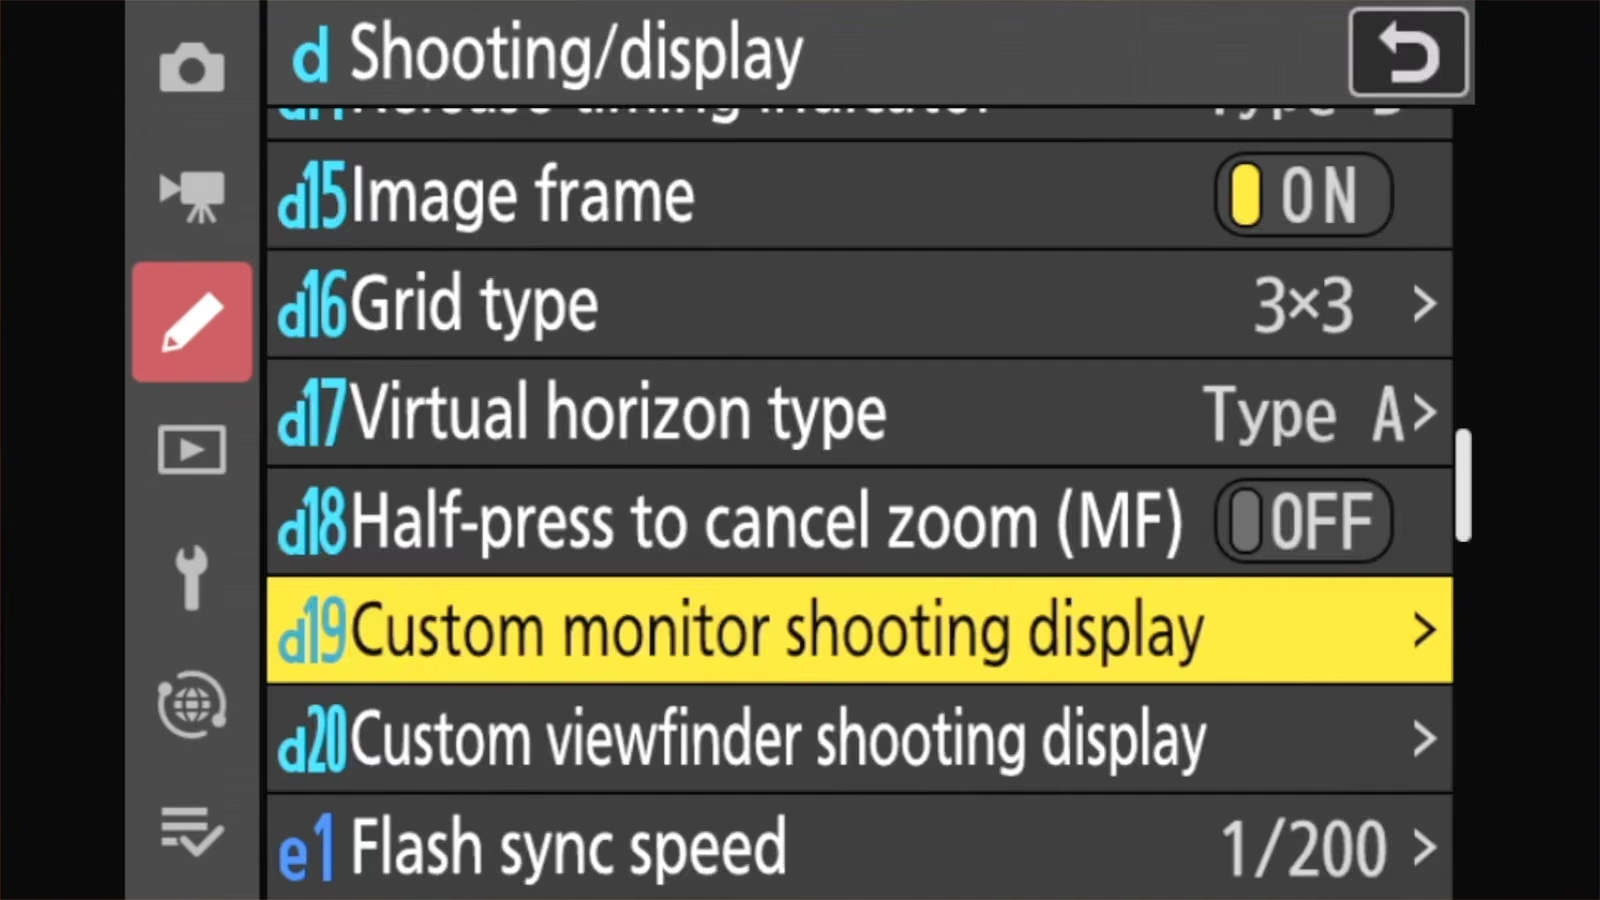
For the viewfinder:
MENU > CUSTOM SETTINGS MENU > d20 Custom viewfinder shooting display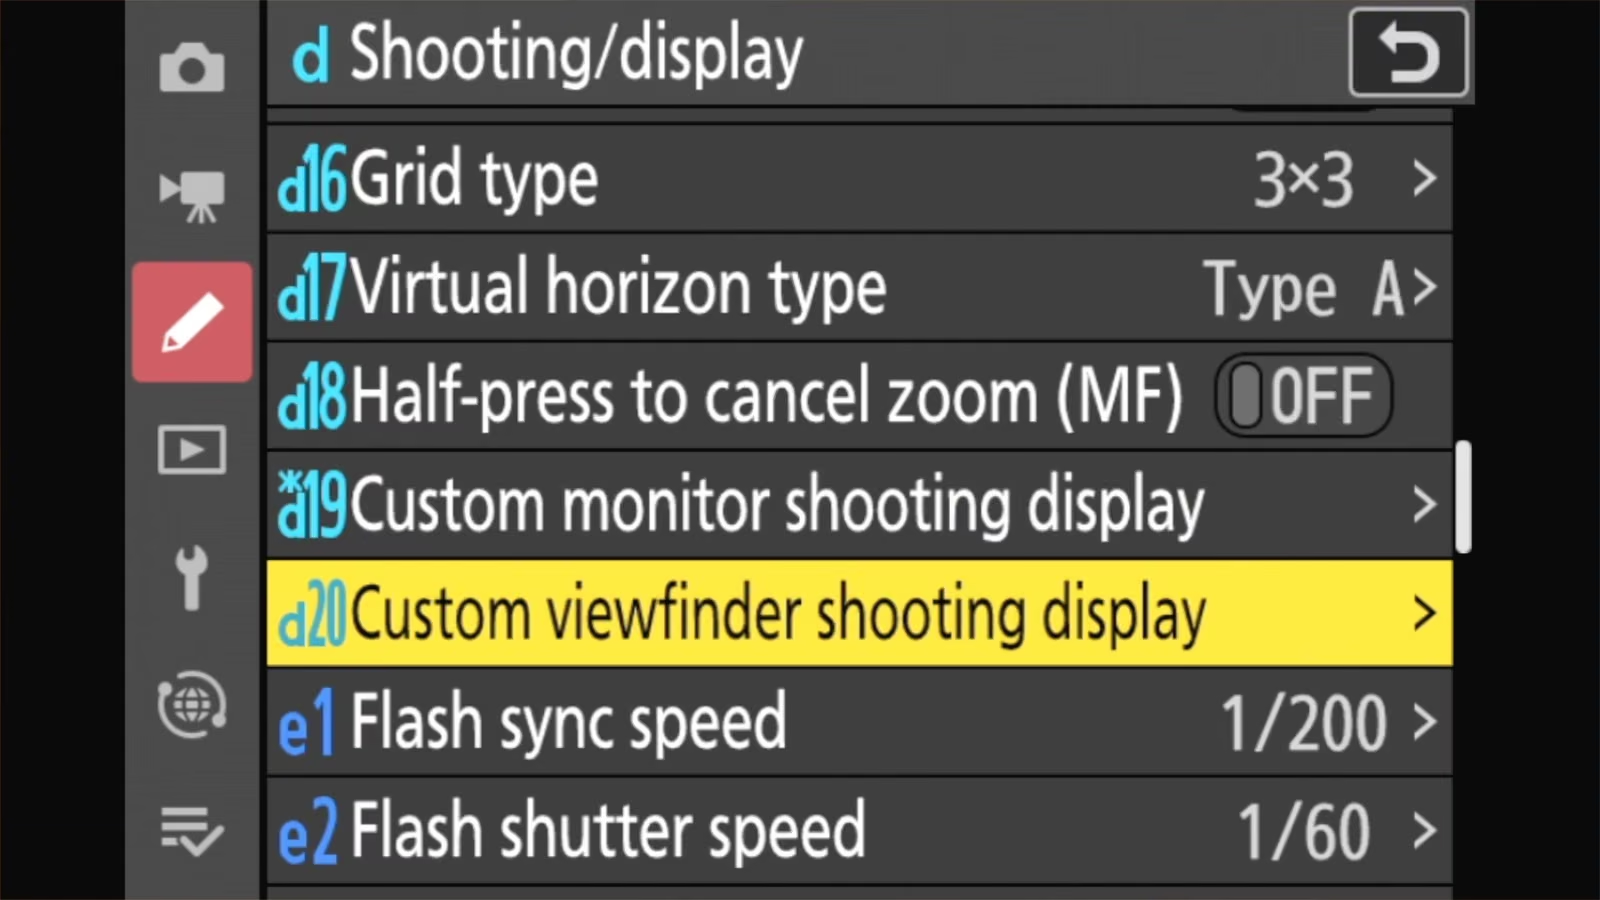
- Choose one of the displays in the list.
- Tick Framing grid.
- Press OK to save.
- Back in shooting mode, press DISP until you reach that display.
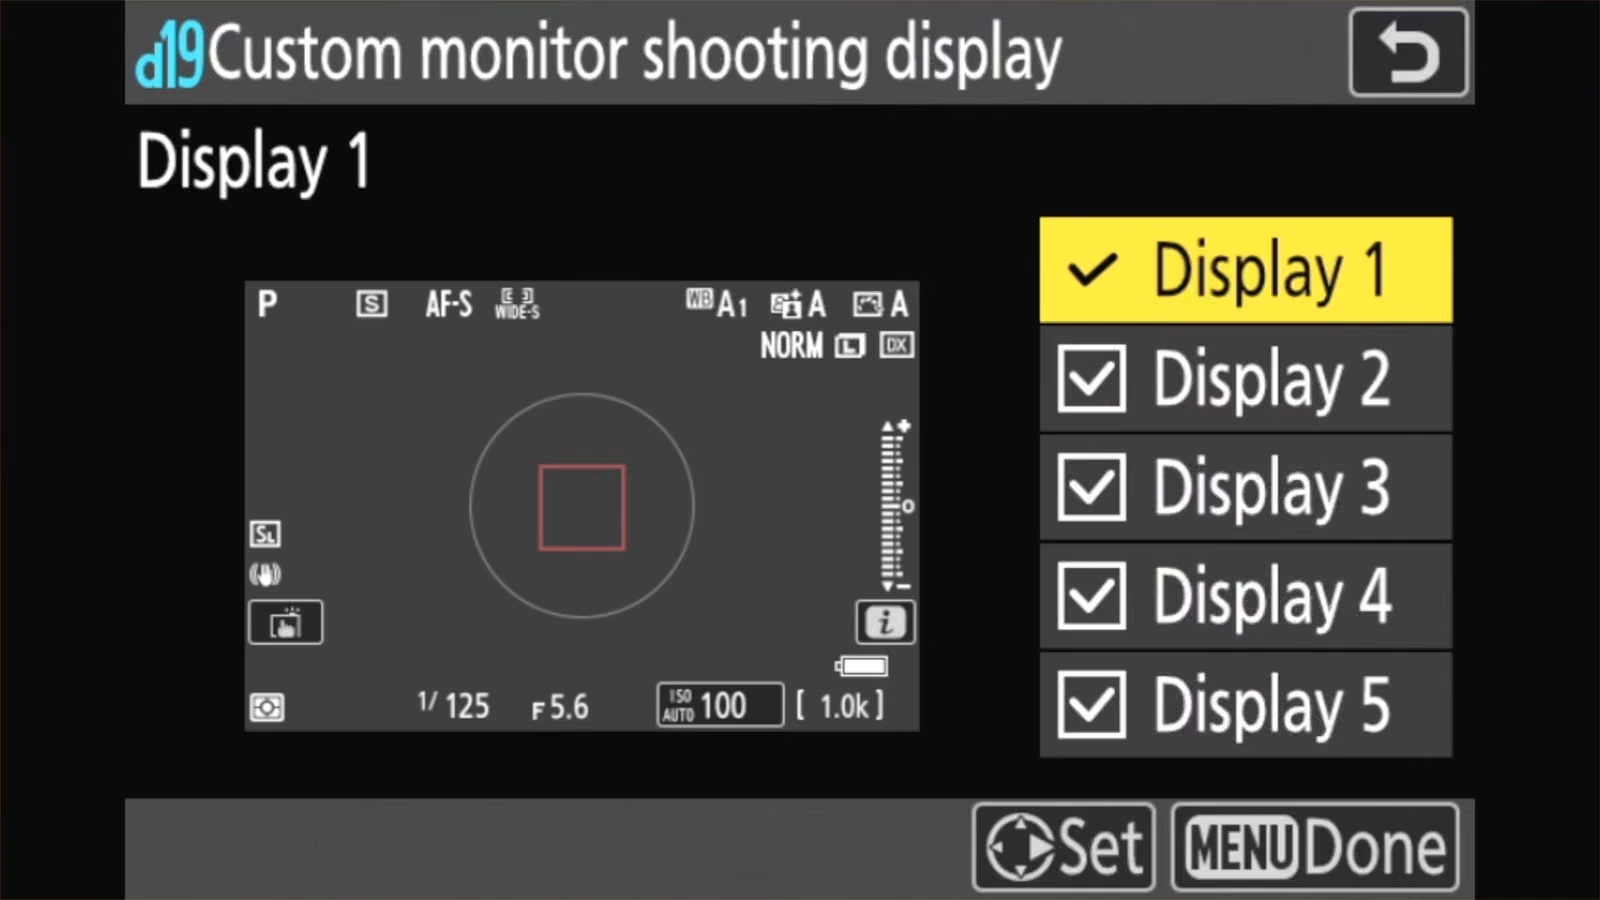
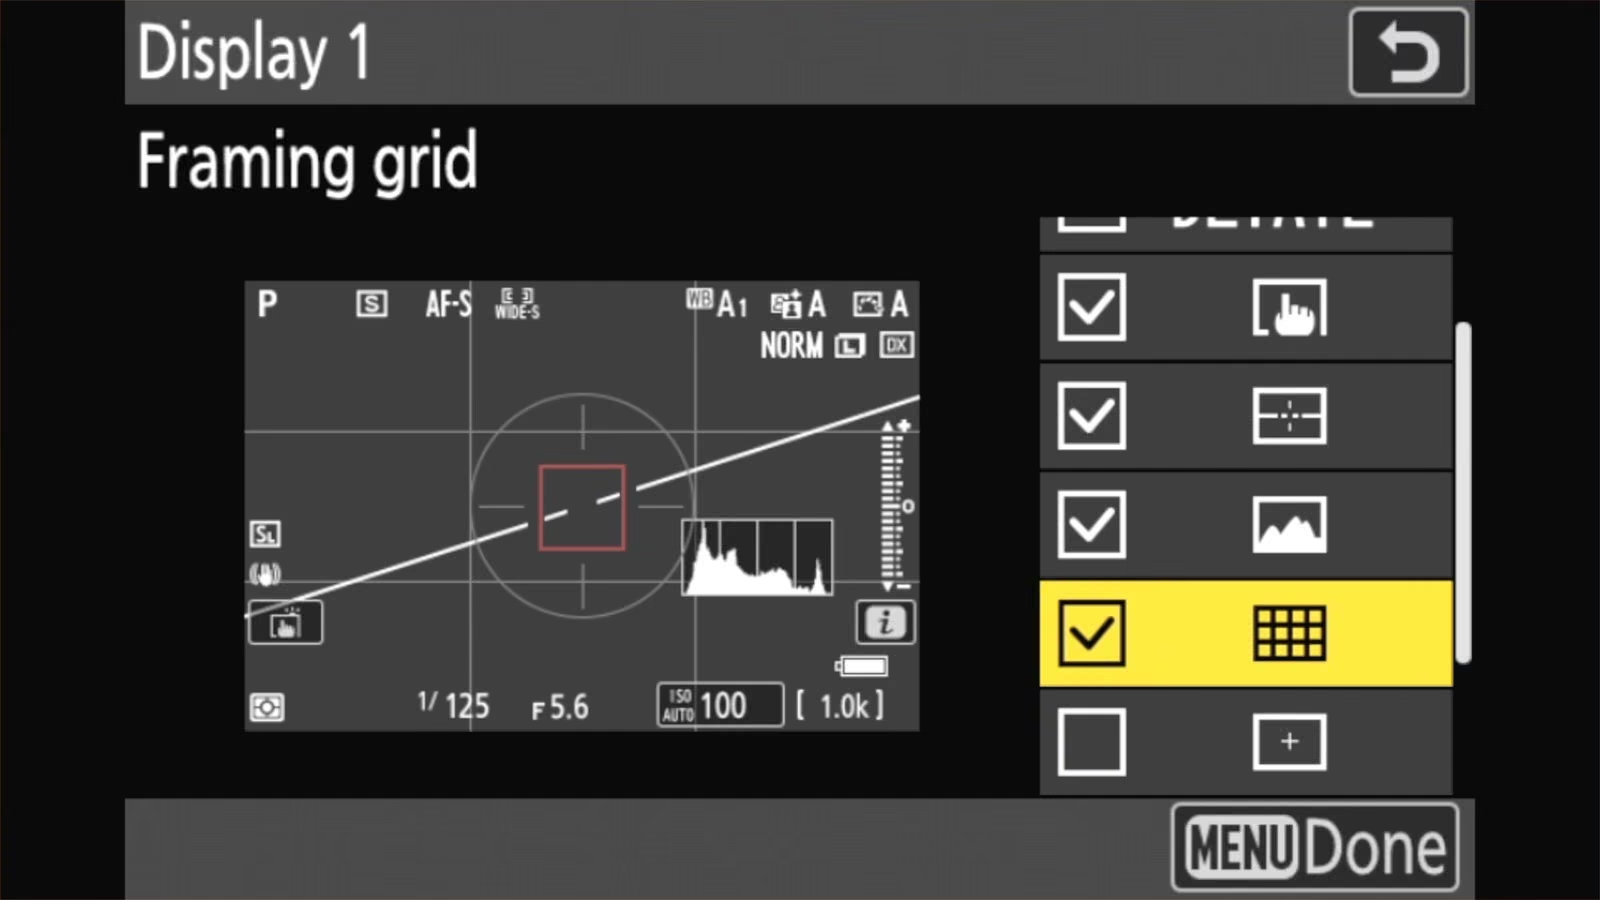
Reminder: The screen and the viewfinder have separate settings. If you use both, add the grid in d19 and d20.
Turning the grid off again works the same way in reverse: untick Framing grid in d19 or d20. If you’d rather keep it on hand, leave the tick where it is and press DISP to move to a display that doesn’t have the grid — the setting stays put for when you want it back.
If you’ve set this up on a Z8 as well, it works the same way there — I’ve written that one up separately in how to display the framing grid on the Nikon Z8.
How to show the histogram
The steps above will enable the grid lines, which is very useful for framing and composition. There’s a similarly useful shooting tool to help with exposure.
A histogram is a small graph showing the spread of brightness in your photo, from dark on the left to bright on the right. It’s a more reliable way to check exposure than judging the screen by eye, especially outdoors in bright light.
It’s turned on the same way as the grid: tick Histogram in one of the displays in d19 (screen) or d20 (viewfinder), then press DISP to reach that display.
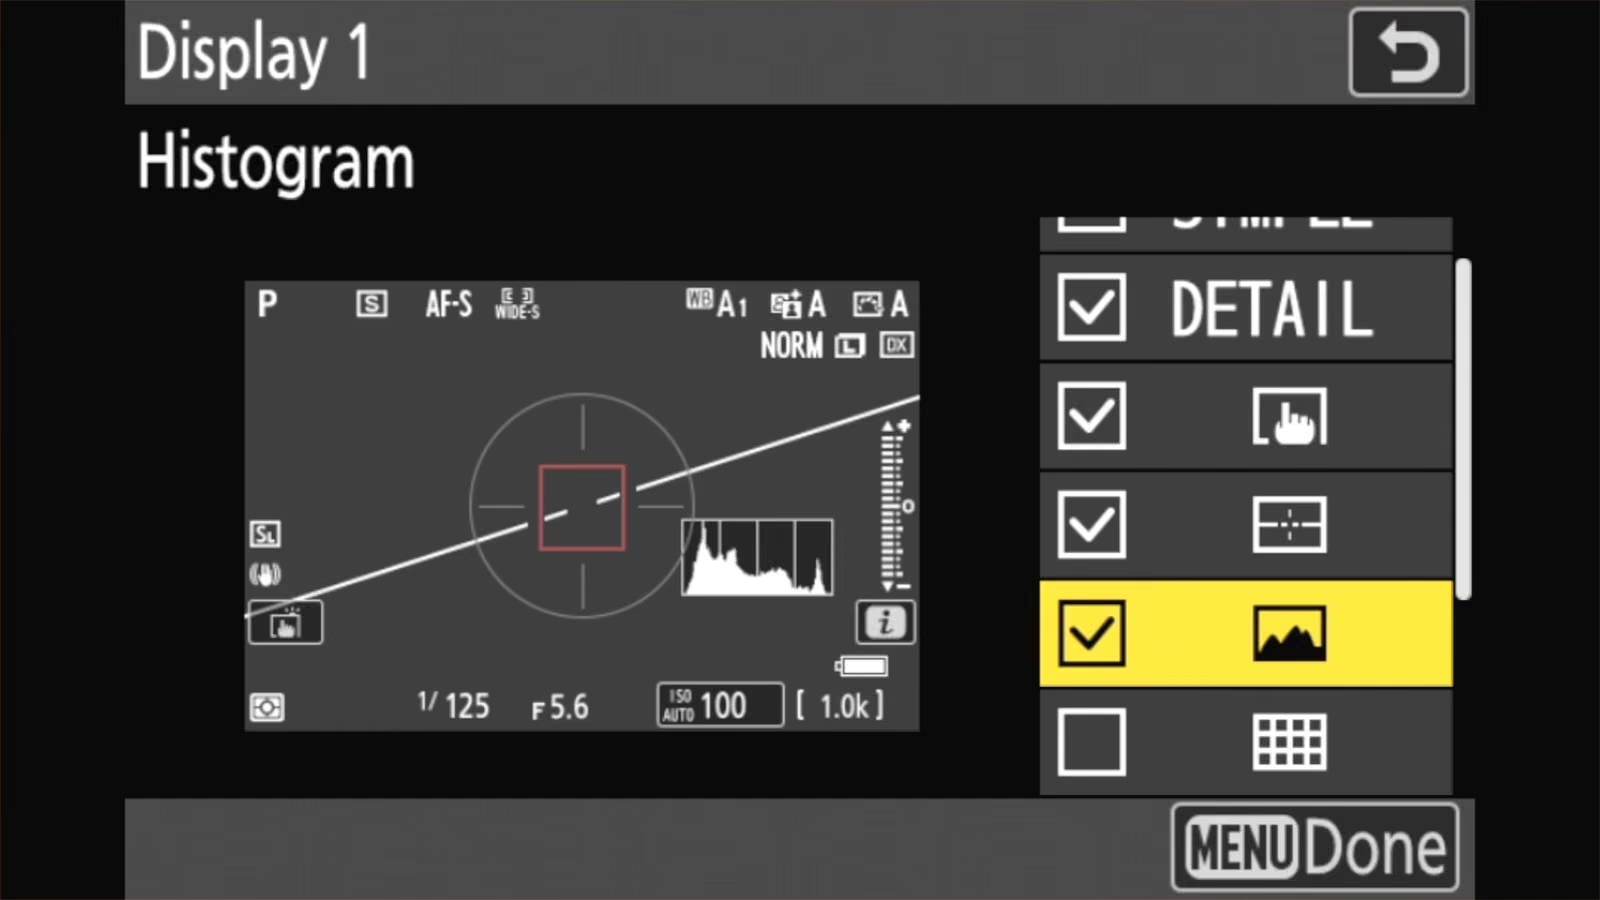
If the histogram still won’t appear, a common culprit is that Starlight view is enabled. While Starlight view is on, it brightens the screen for shooting in the dark, and the histogram is hidden. Turn Starlight view off and the histogram comes back.
You can find the setting at d11 Starlight view (photo Lv).
How to show the level (Virtual horizon)
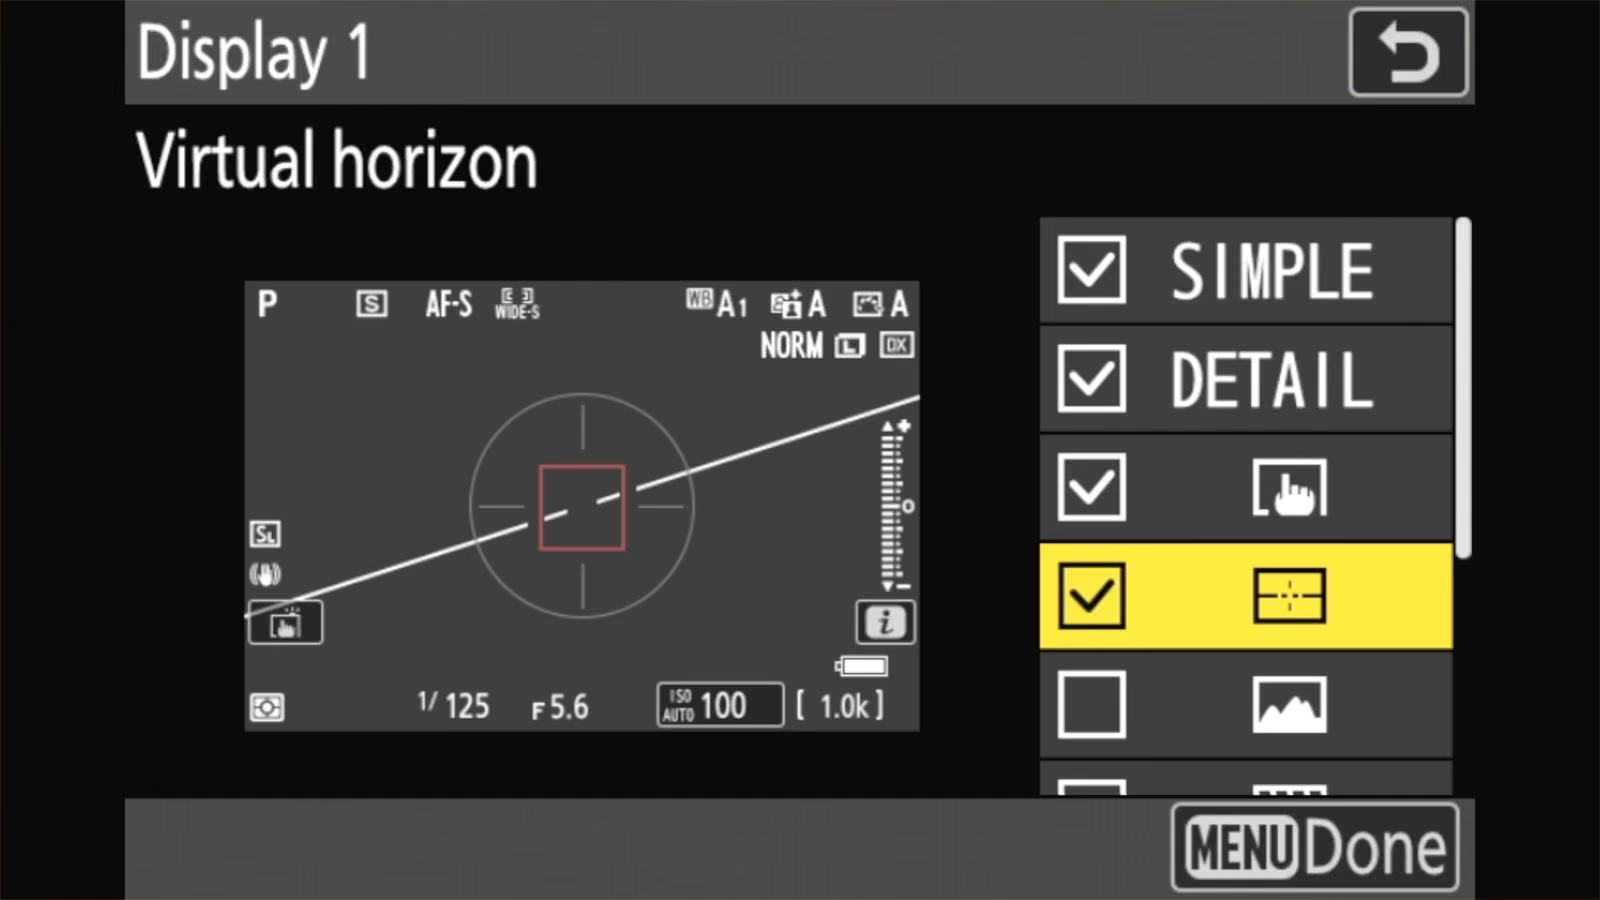
While we’re at it, the electronic level works the same way as well, with a two-step process to actually see it.
First, choose the style in d17 Virtual horizon type.
There are two options:
- Type A fills the screen
- Type B puts small indicators along the bottom and side.
Once you’ve selected which of those you want to use, you can make it appear on your display by ticking the Virtual horizon box in a display in d19 or d20. The indicators turn green when the camera is level.
Grid lines in video mode
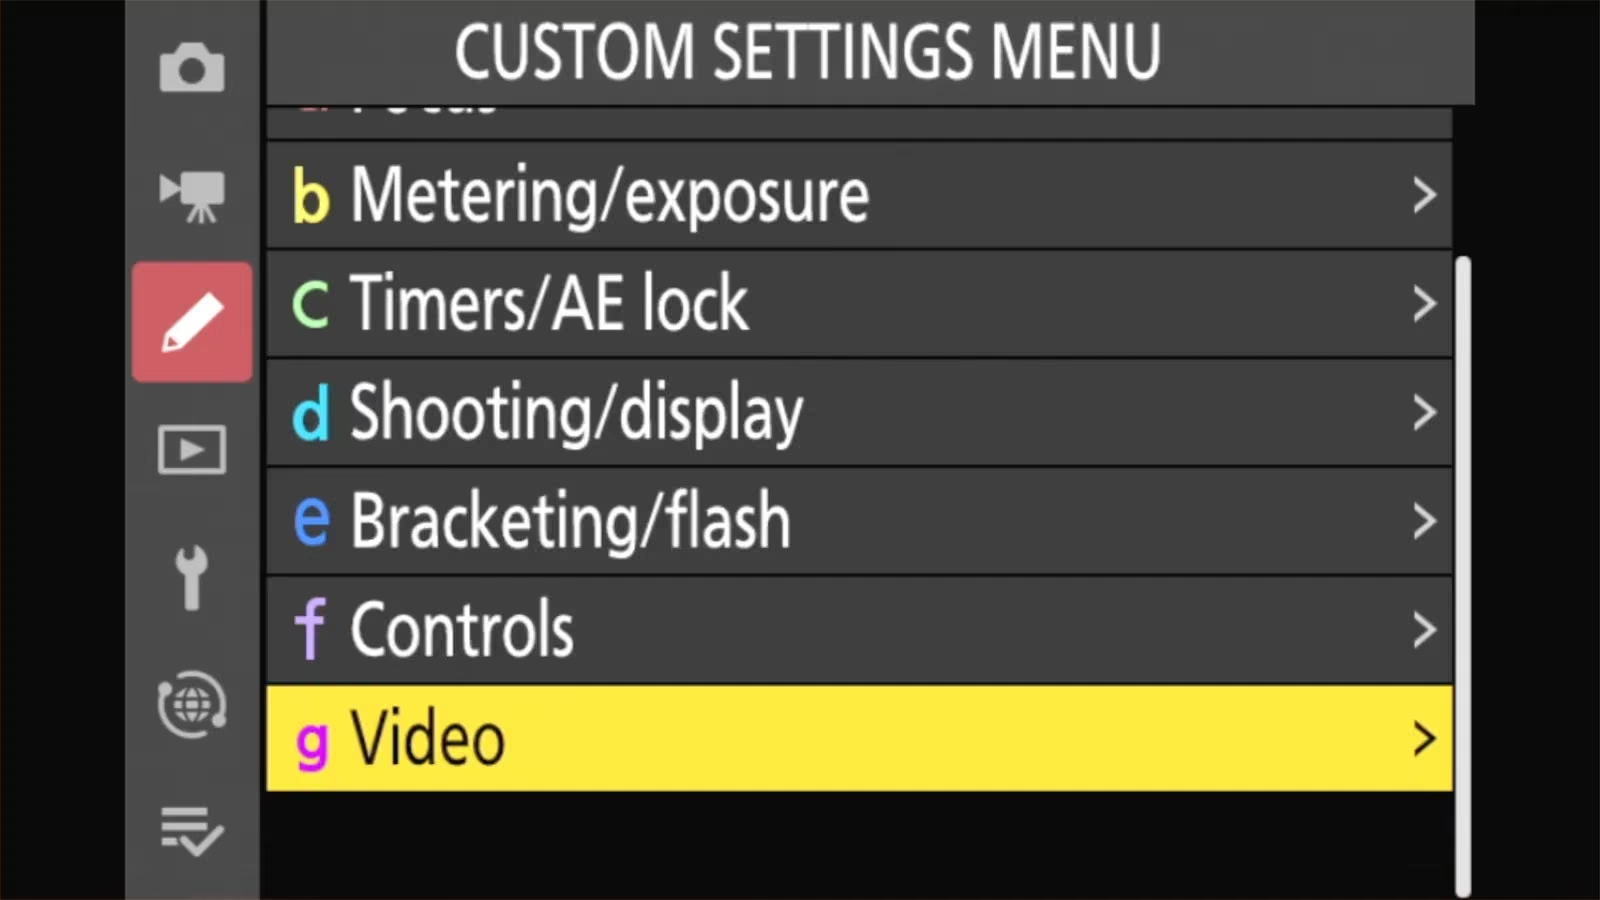
Video mode has its own separate settings, so a grid you set up for photos won’t appear when you switch to video:
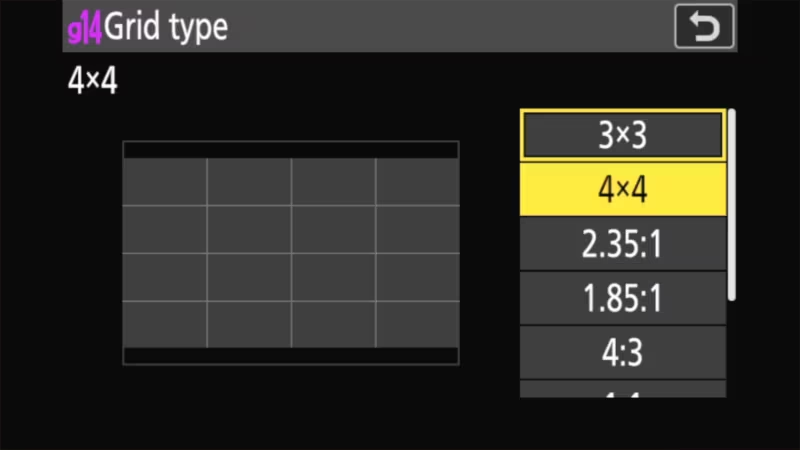
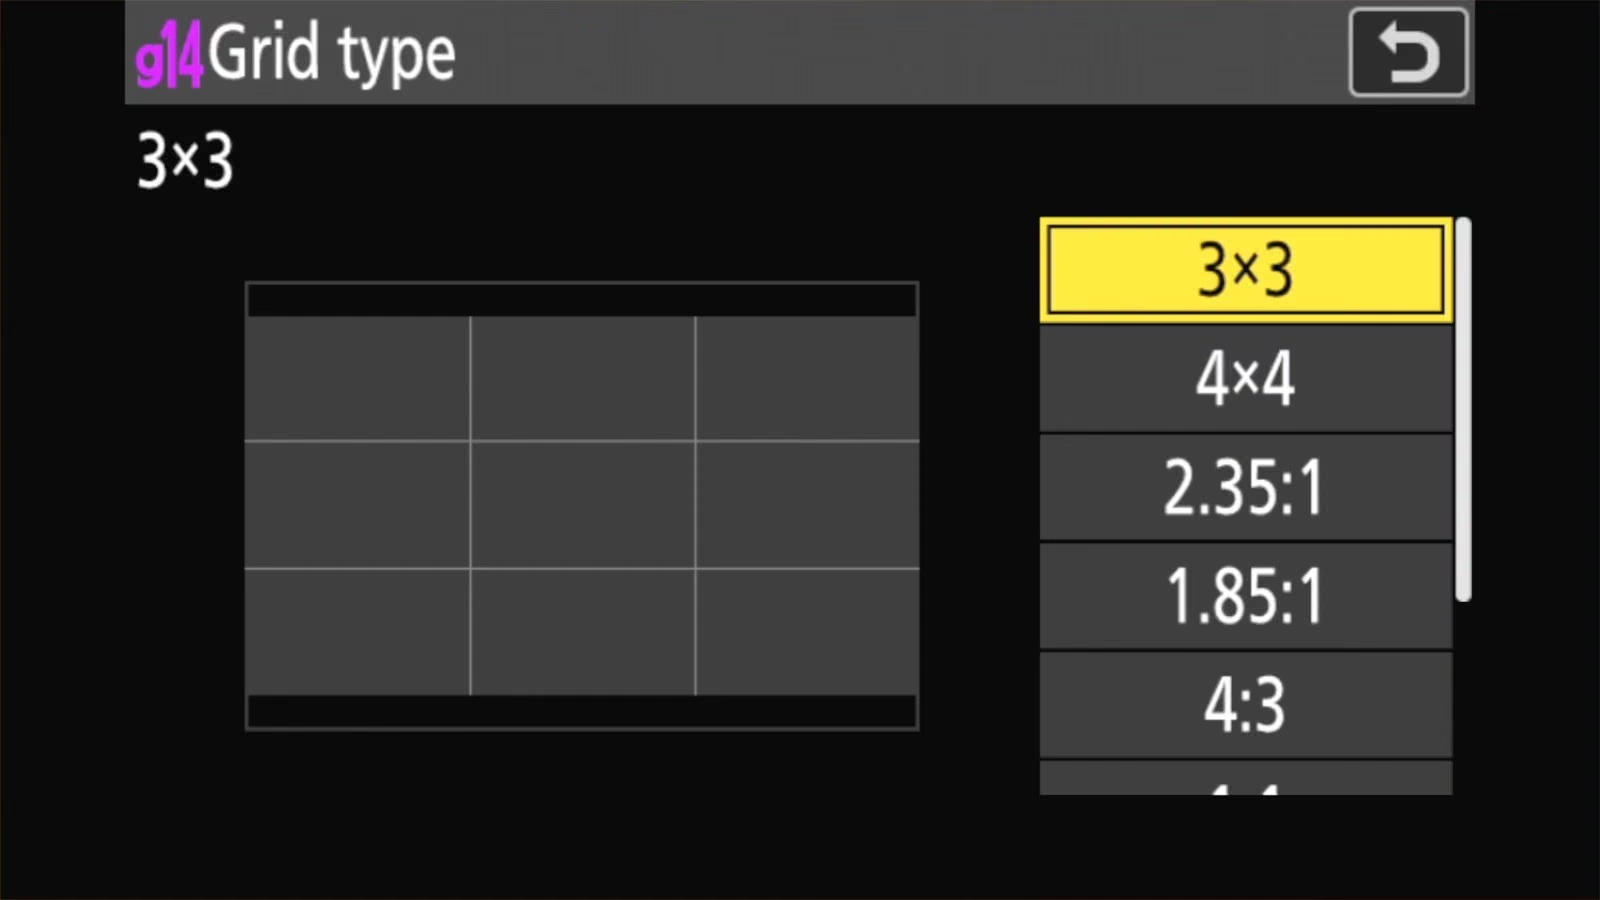
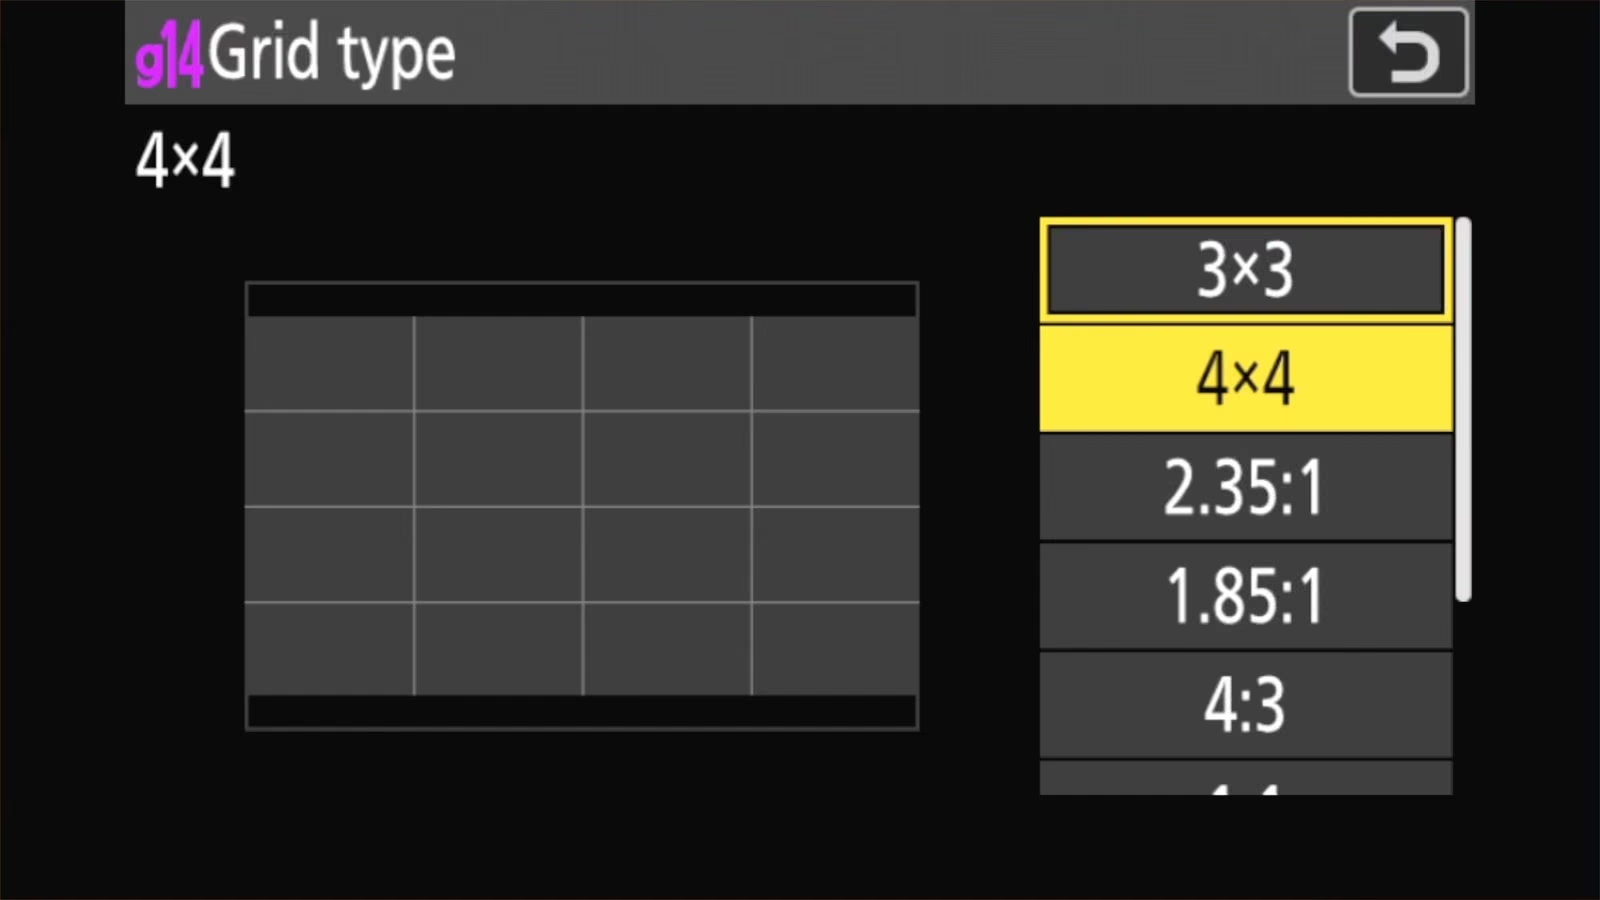
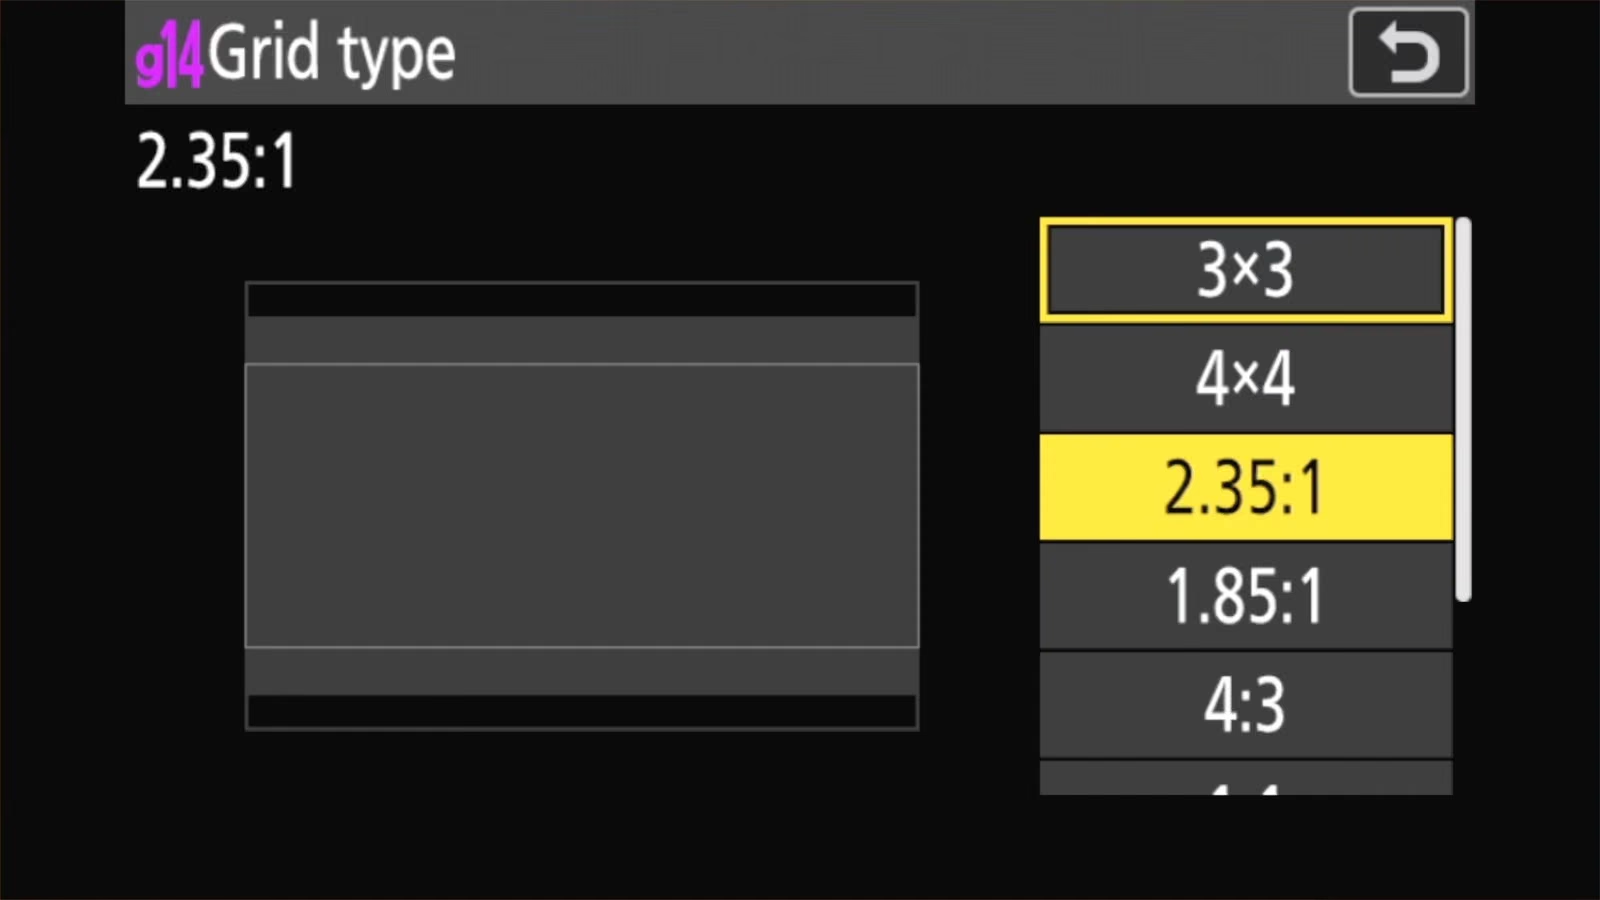
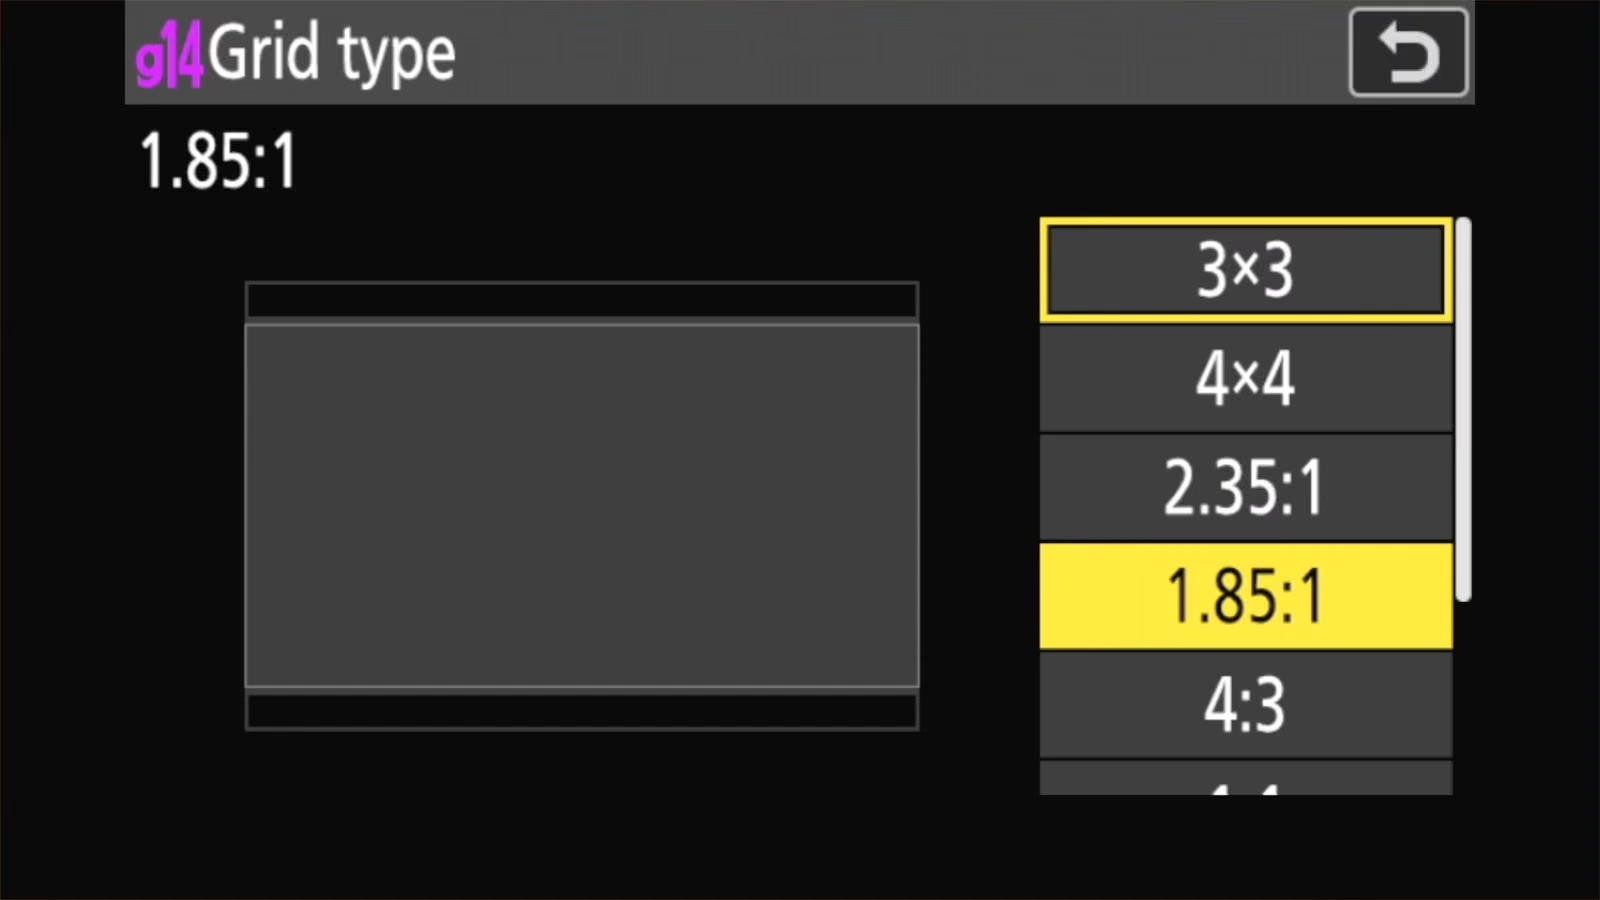
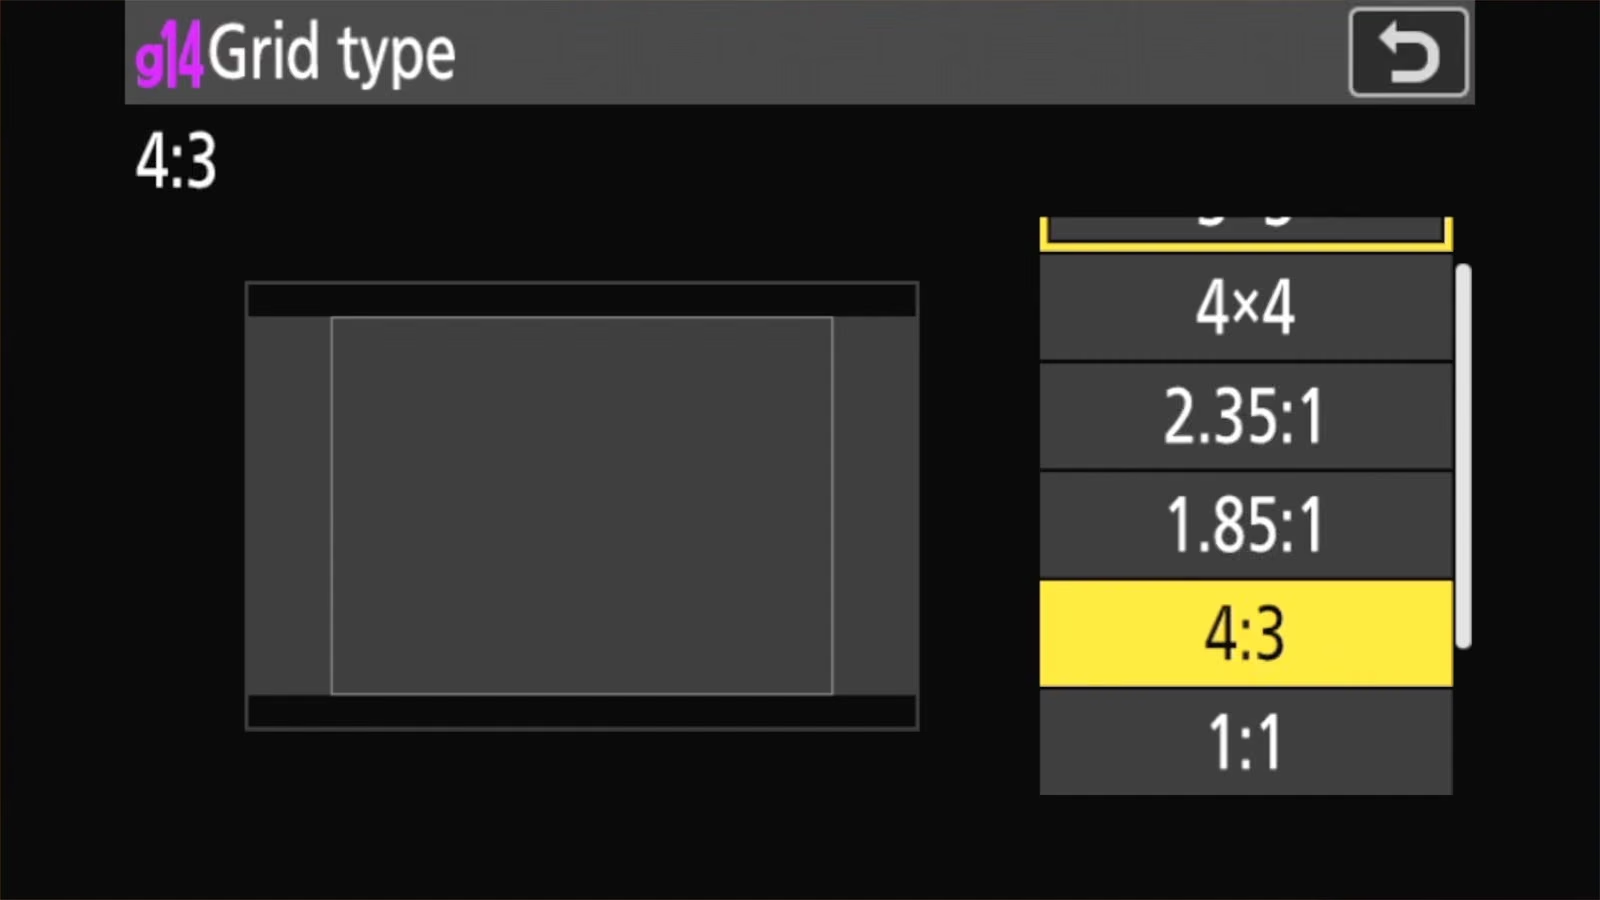
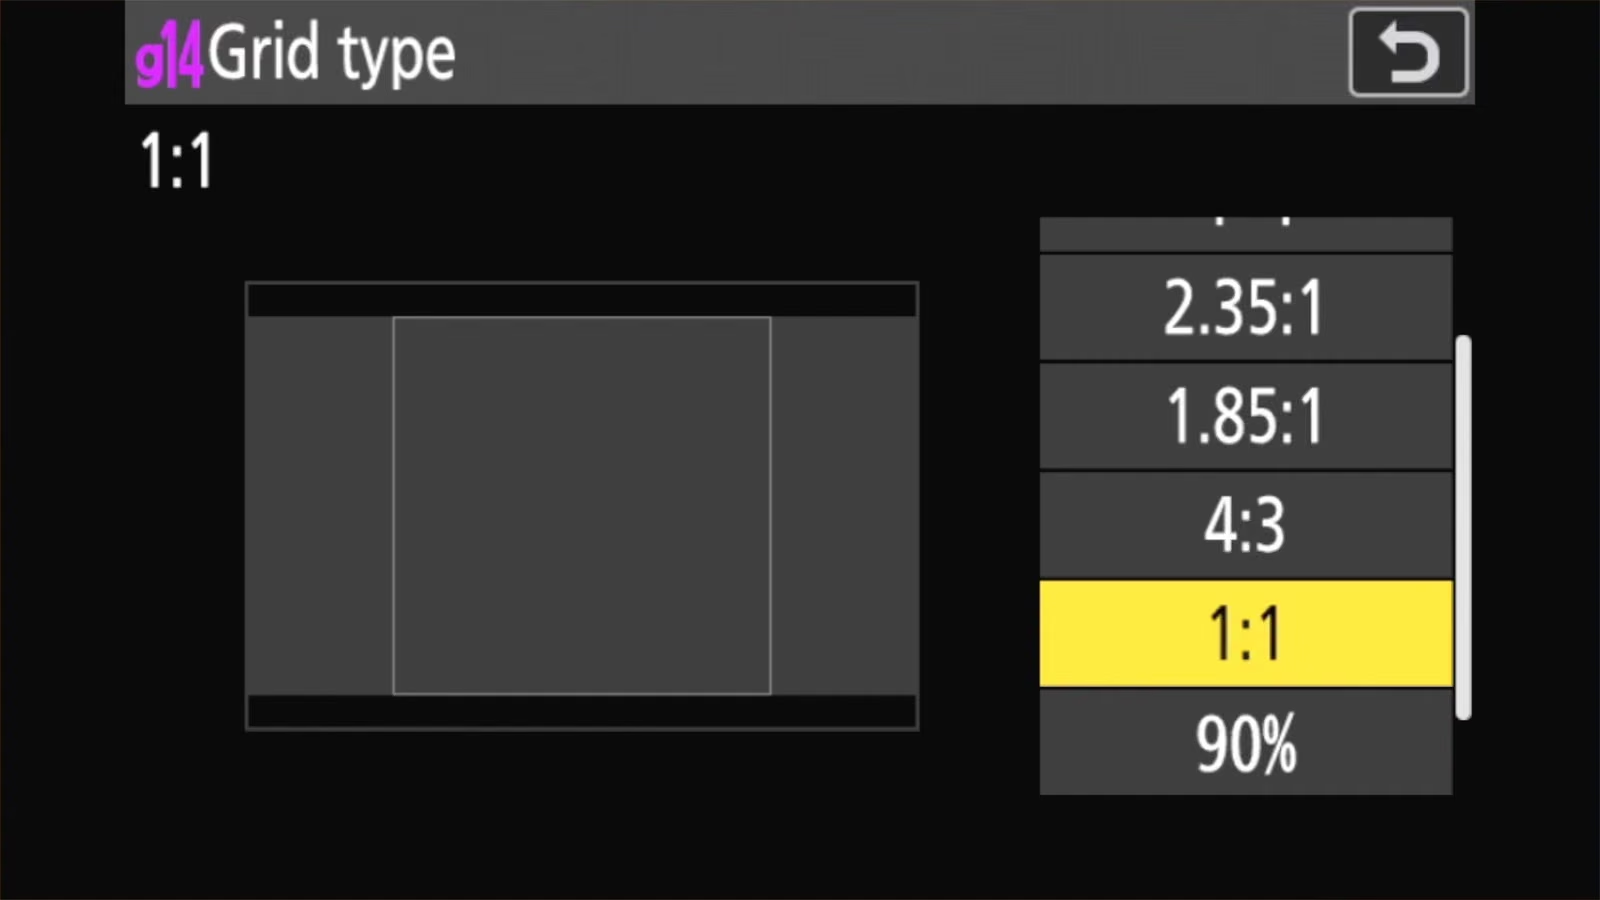
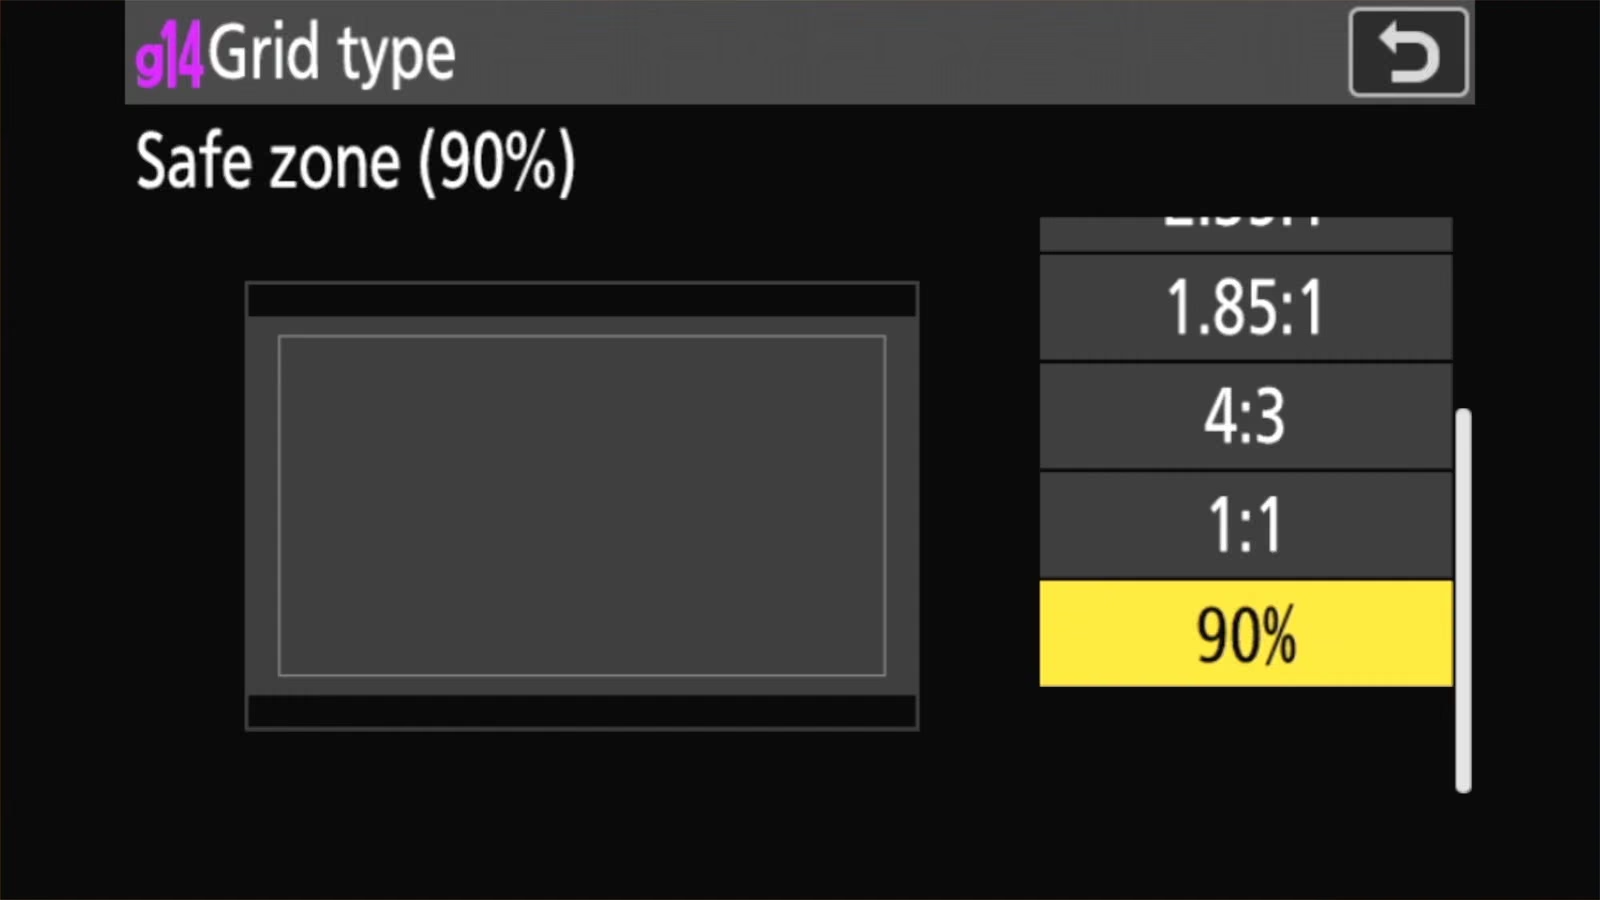
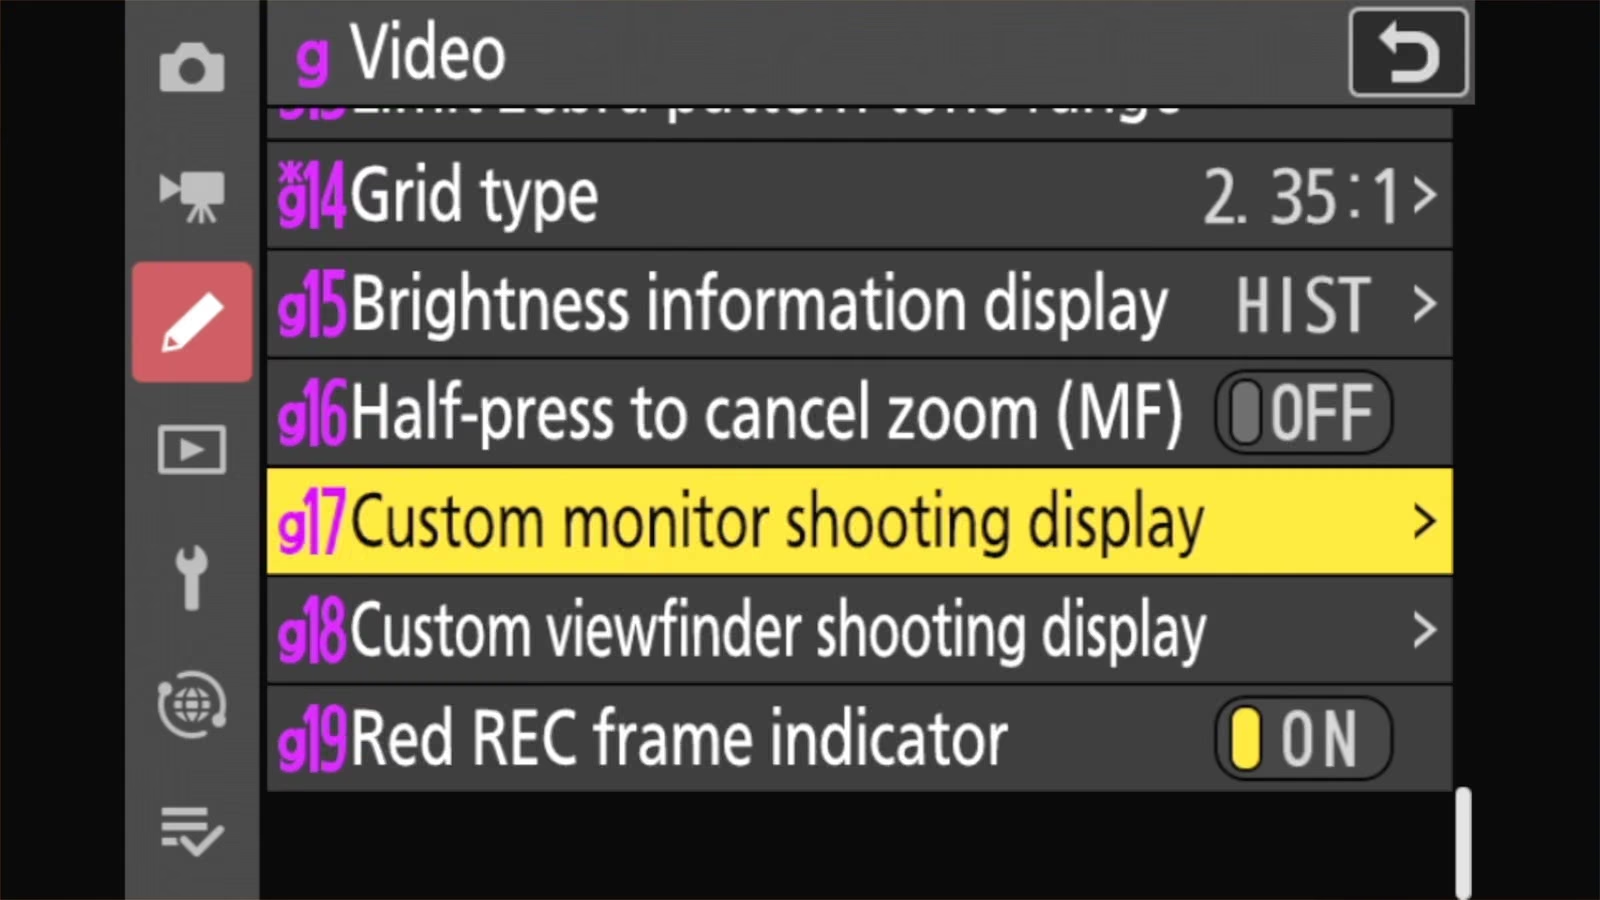
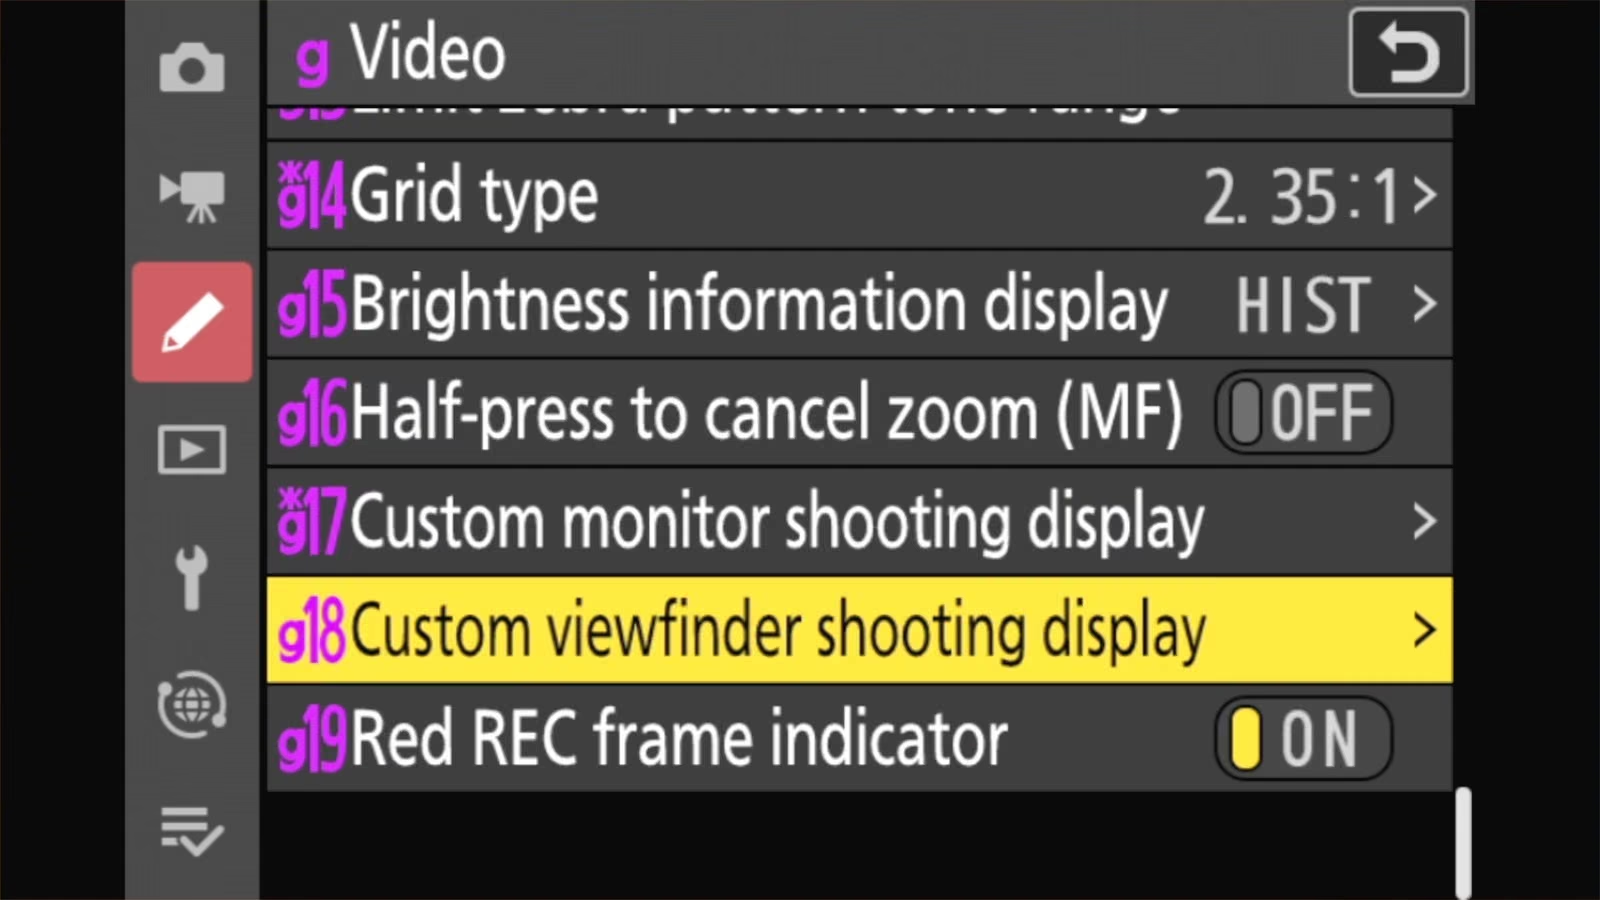
- g14 Grid type: the grid pattern for video.
- g17 Custom monitor shooting display and g18 Custom viewfinder shooting display: tick Framing grid, and Brightness information for the histogram.
- g15 Brightness information display: choose Histogram, Wave-form monitor, or Wave-form monitor (large). A waveform is a different kind of brightness graph, laid out across the frame from left to right. Many video shooters prefer it.
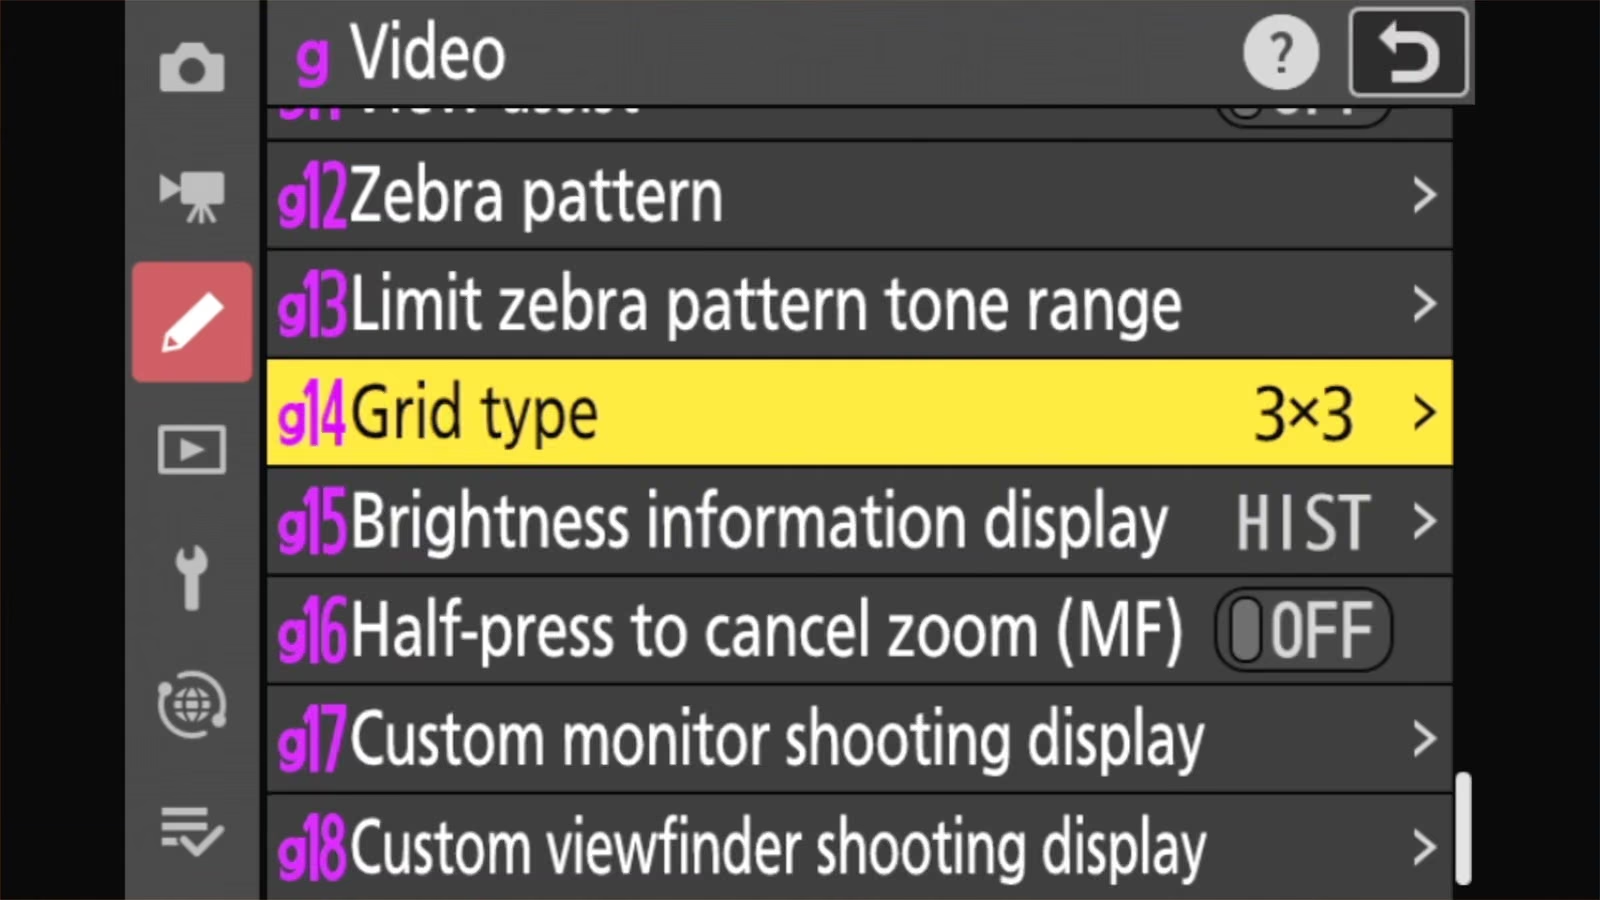
The video list has more options than the photo one, because it adds the aspect ratios and the safe zone that video shooters frame to:
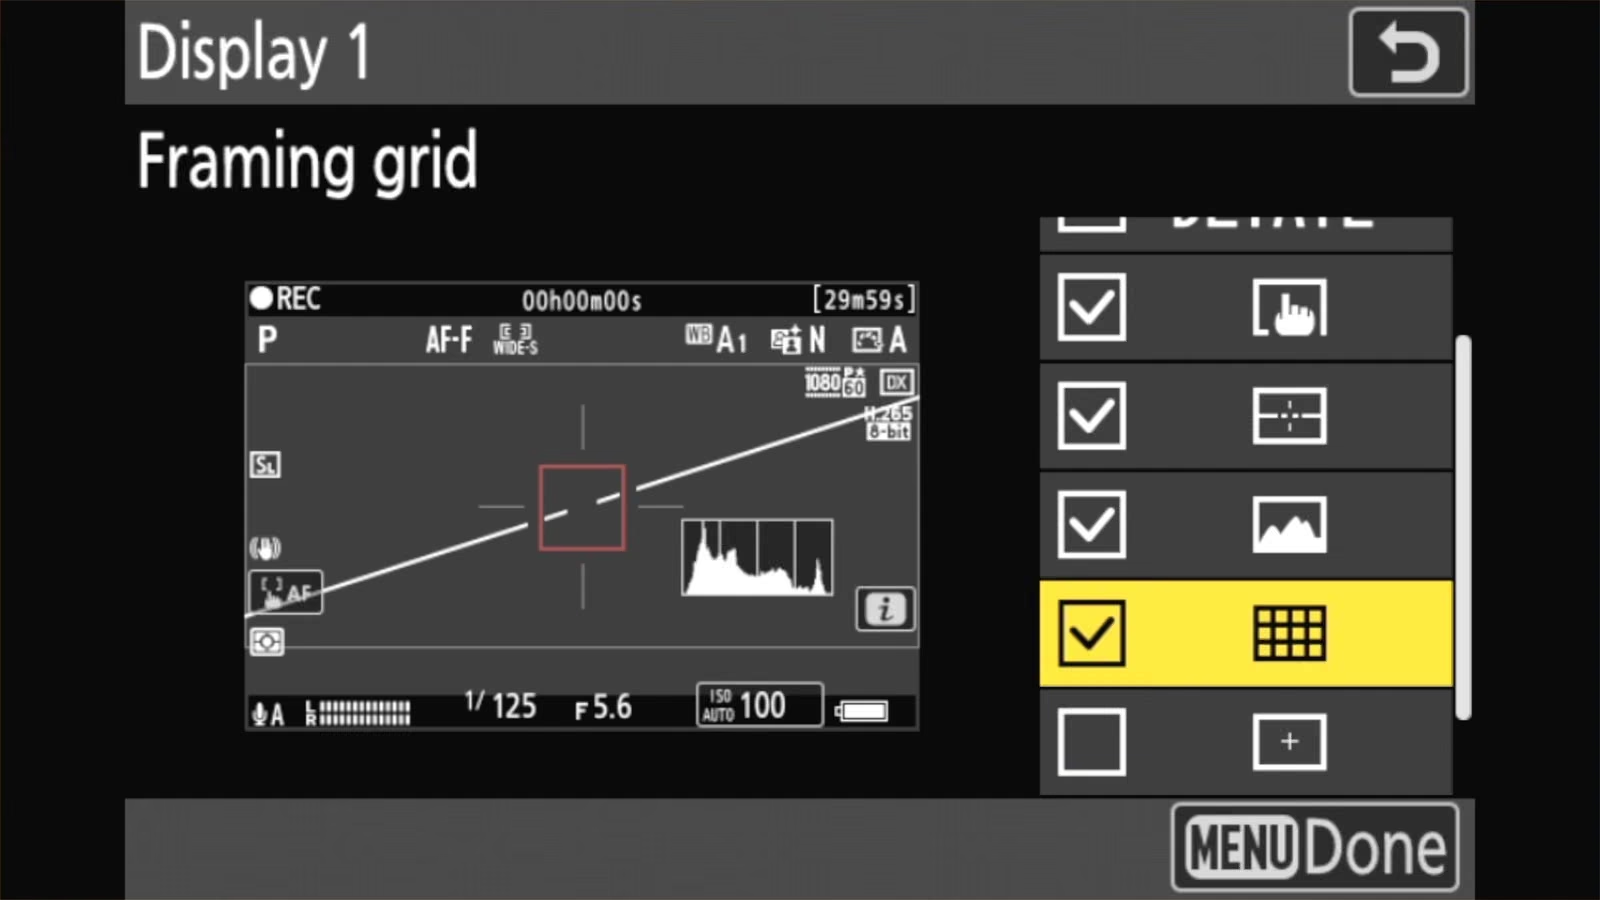
The waveform is worth a look if you shoot much video. I go into what it shows, and how it compares with the histogram, in the Z8 histogram and waveform guide.
A shortcut: toggle the grid by touch
If you shoot through the viewfinder, Custom Setting f4 Touch Fn lets you assign the rear touchscreen to a quick function while your eye is at the viewfinder.
Framing grid is one of the choices, so a tap turns the grid on and off without the menus.
MENU > CUSTOM SETTINGS MENU > f4 Touch FnFrequently asked questions
Why doesn’t my grid show up on the Nikon Z50 II?
This happens because choosing a grid in d16 isn’t enough. You also need to tick Framing grid in one of the displays in d19 or d20, then press DISP to get to that display.
Does the grid appear in my photos?
No. The grid, histogram, and level are only shown on the screen and in the viewfinder. They’re never recorded in the photo.
Can I have the grid on the screen but not the viewfinder?
Yes. d19 controls the screen and d20 controls the viewfinder, separately.
Why won’t the grid I set for photos show up in video?
Video has its own settings. Choose the pattern in g14 and tick Framing grid in g17 (screen) or g18 (viewfinder).


