
Quick Summary
- Hidden by Default: Framing grids are disabled by default on the Nikon Zf.
- Two-Step Process: You must first select the grid type (e.g., 3×3) and then explicitly enable it in the display settings.
- Independent Settings: You have to set this up separately for Photo Mode vs. Video Mode, and separately for the Viewfinder (EVF) vs. the Monitor (LCD).
- New in Firmware v3.00: The update added a 4:3 grid for photos and a 9:16 vertical grid for video.
The Nikon Zf has multiple framing grid options — overlays that go over the viewfinder view or the back screen live view. But they’re not enabled by default.
For me, they’re an essential shooting tool, and they’re one of the first things I turn on with any camera that has them.
But on the Zf, it’s not just a matter of choosing which grid you want. There’s an extra step. Enabling framing grids on the Nikon Zf is a two-step process. Or more, if you want them available on both the viewfinder and back screen, as well as available when shooting photos and video.
So here’s how to do it. The displays when shooting in photo mode and video mode are set independently. I’ll start with the photo mode.
Enabling the framing grid in Nikon Zf photo mode
Step 1: Choose grid style
First, choose the type of framing grid you want to use from the available options. You can find these under:
Custom Settings Menu > d Shooting/display > d15 Grid type
You’ll find various options there. The default setting is 3×3.
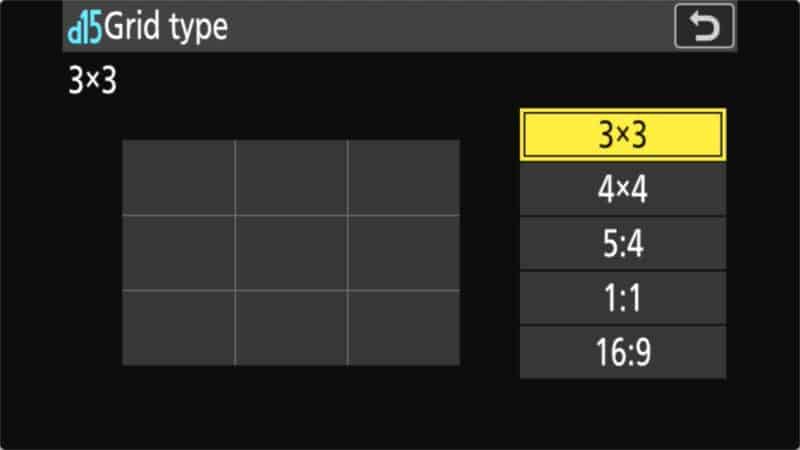
Now, you might be forgiven for thinking that having selected a grid display, it would, well, display. And this is where the non-intuitive aspect comes in. There’s another step to get it to actually show up on screen (or through the viewfinder).
Step 2: Enable grid display
The next step is to enable the grid display on the display preset you’re using. You can do it separately for the viewfinder and the back screen. I’m doing it for the viewfinder here, but the process is the same for the back display (or monitor, as it’s called in the menu system).
You can find this setting under:
Custom Settings Menu > d Shooting/display > d18 Custom viewfinder shooting displayor
Custom Settings Menu > d Shooting/display > d17 Custom monitor shooting display
When you go into that, you’ll see a screen where you can select which display presets are active when you cycle through them using the camera’s DISP button.
Click on the OK button to check or uncheck each preset. Unchecked presets won’t be shown when you cycle through the displays.
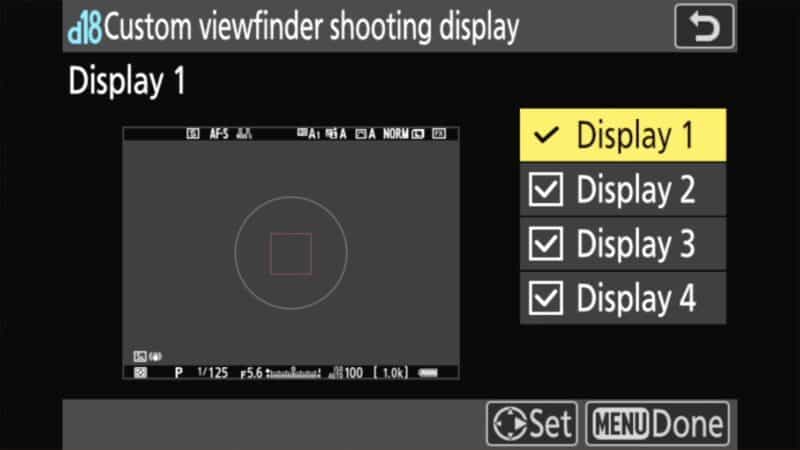
But what’s not immediately apparent is that you can edit each of these. They could do with right arrows next to them to make it clear that you can drill down further.
Press the Right Arrow button (the right side of the main control wheel on the back of the camera). Then you’ll see another panel that shows the individual display items that are active for that display preset.

You’ll notice that the grid is not selected by default. Go down to that item and check the box. That will make it show up in the mockup.

Then hit the menu button to save and back out of that menu item.


You can enable the framing grid for any presets you want it available in. What you can’t do, however, is have a different style of framing grid displaying; the grid type setting in step 1 above applies across all instances while within photo mode.
Nikon Zf grid types in photo mode
The selection of grid types on the Nikon Zf when shooting photos is fairly basic, though firmware 3.00 did add a welcome 4:3 option.
3×3 Grid

4×4 Grid

5:4 Grid

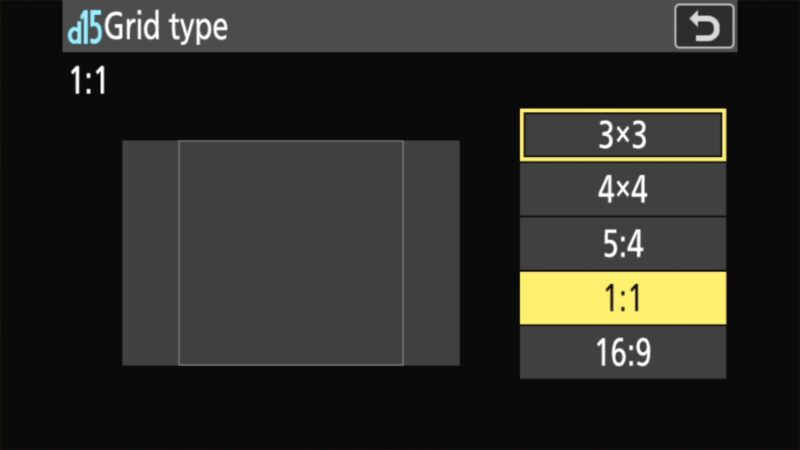
1:1 (Square) grid
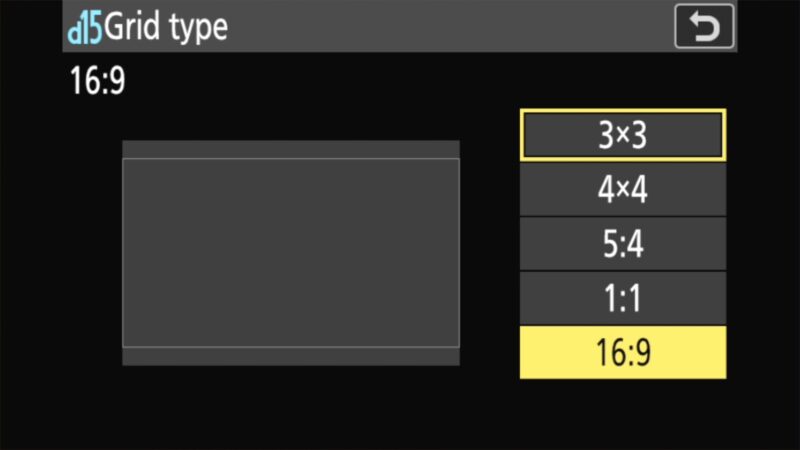
16:9 Grid
4:3 Grid (new in v3.00)
If you have updated your Zf firmware to version 3.00 or later, you will now see an additional 4:3 grid option. This is particularly useful if you are composing for legacy aspect ratios or certain social media formats.
Enabling the framing grid in Nikon Zf video mode
The display when shooting videos is handled separately. It’s basically the same as the photo mode, but the settings are in a different place on the menu, and there are some expanded options for framing grid types that are more relevant to video shooting.
The available grids for video shooting are:
- 3×3 (default)
- 4×4
- 2.35:1 (CinemaScope)
- 1.85:1 (Widescreen)
- 9:16 (Vertical Video – New in Firmware v3.00)
- 1:1 (Square)
- 90% (Safe Area)
To access those options, go to:
Custom Settings Menu > g13 Grid typeand then enable them in the display settings:
Custom Settings Menu > g16 Custom viewfinder shootingor
Custom Settings Menu > g15 Custom monitor shooting displayNikon Zf gear essentials
Batteries (EN-EL15c)
The Zf uses the EN-EL15c. While older versions fit, the “c” version offers the best performance and USB-C charging. Tip: Stick with the original Nikon OEM battery. I’ve run into problems when using third-party batteries in the Zf.Memory cards
The Zf uses a “split” slot system. See full speed tests here.- Slot 1 (SD UHS-II): SanDisk Extreme Pro V90 or Lexar Silver V60.
- Slot 2 (microSD): SanDisk Extreme or Lexar Silver.


