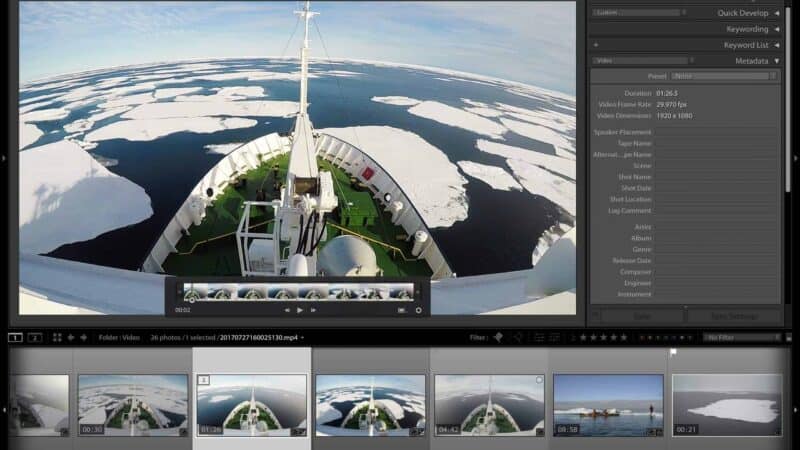
There are any number of reasons you might want to extract a single frame from a video.
You might want to simply grab a still as a simpler format to share online. You might want to use it as a thumbnail when embedding the image. Or you might want to use it as a workaround for correcting color of videos in Lightroom (something I’ll cover in detail separately).
Lightroom Classic’s support for video files is pretty bare-bones, and it doesn’t have much in the way of features for working with video files.
But exporting a single frame is one of the things it can do. Better yet: it’s quick and easy.
It certainly wouldn’t make sense to get Lightroom just for this functionality — there are much cheaper and less complicated apps that can also extra still frames as JPGs.
But if you’re already a Lightroom user, here’s a quick guide on how to do it.
Exporting a single frame from a video in the Library module
First, though, something worth noting that might save some confusion: You’ll be doing this in the Library module. If you try to open a video file in the Develop module, you’ll get the error message that “Video is not supported in Develop.”
In the Library module, select the video you want and double-click on it to make it a single-item view (that is, not in the grid view with the thumbnails).
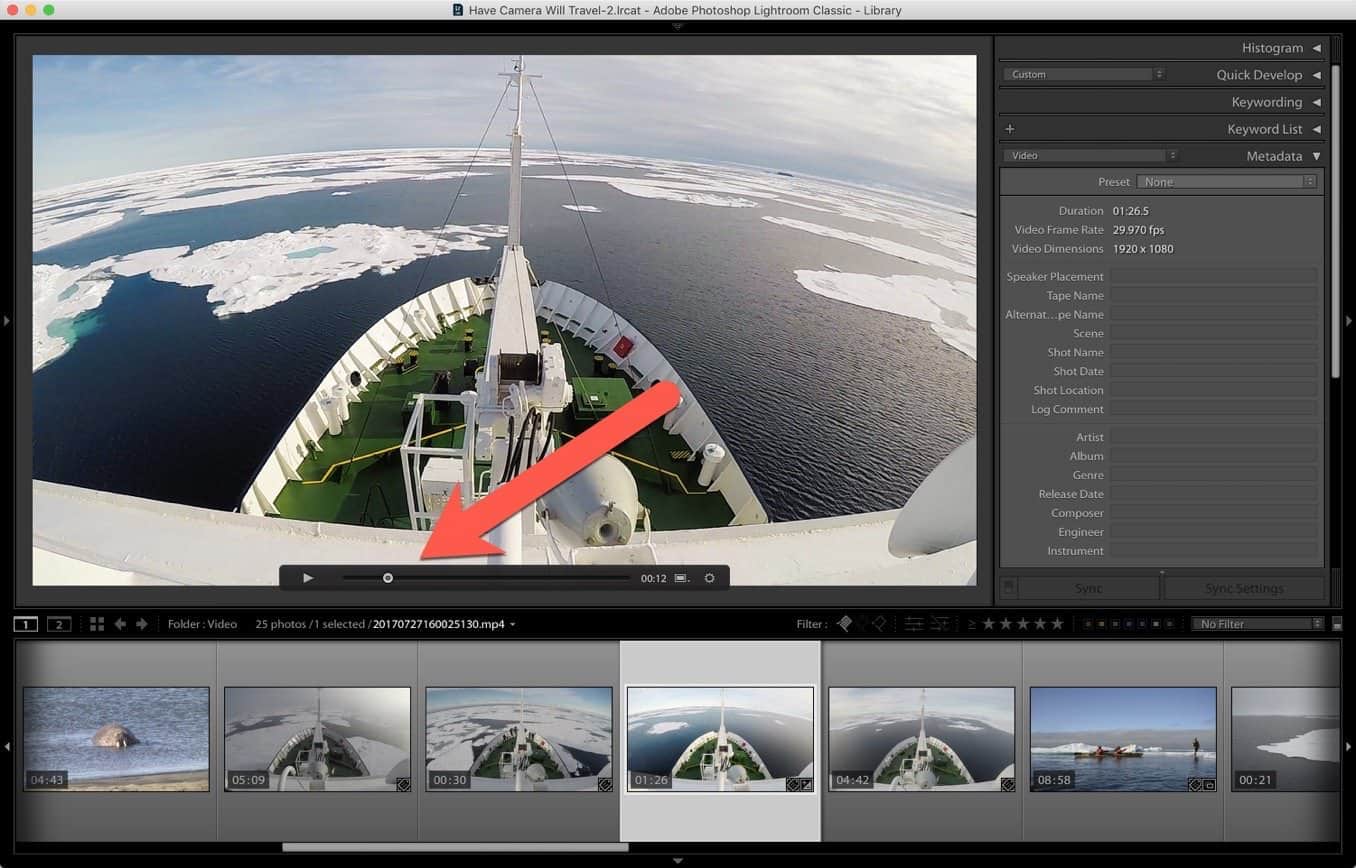
Move the playhead (the progress slider at the bottom of the video) to the exact point that you want to save as a still image.
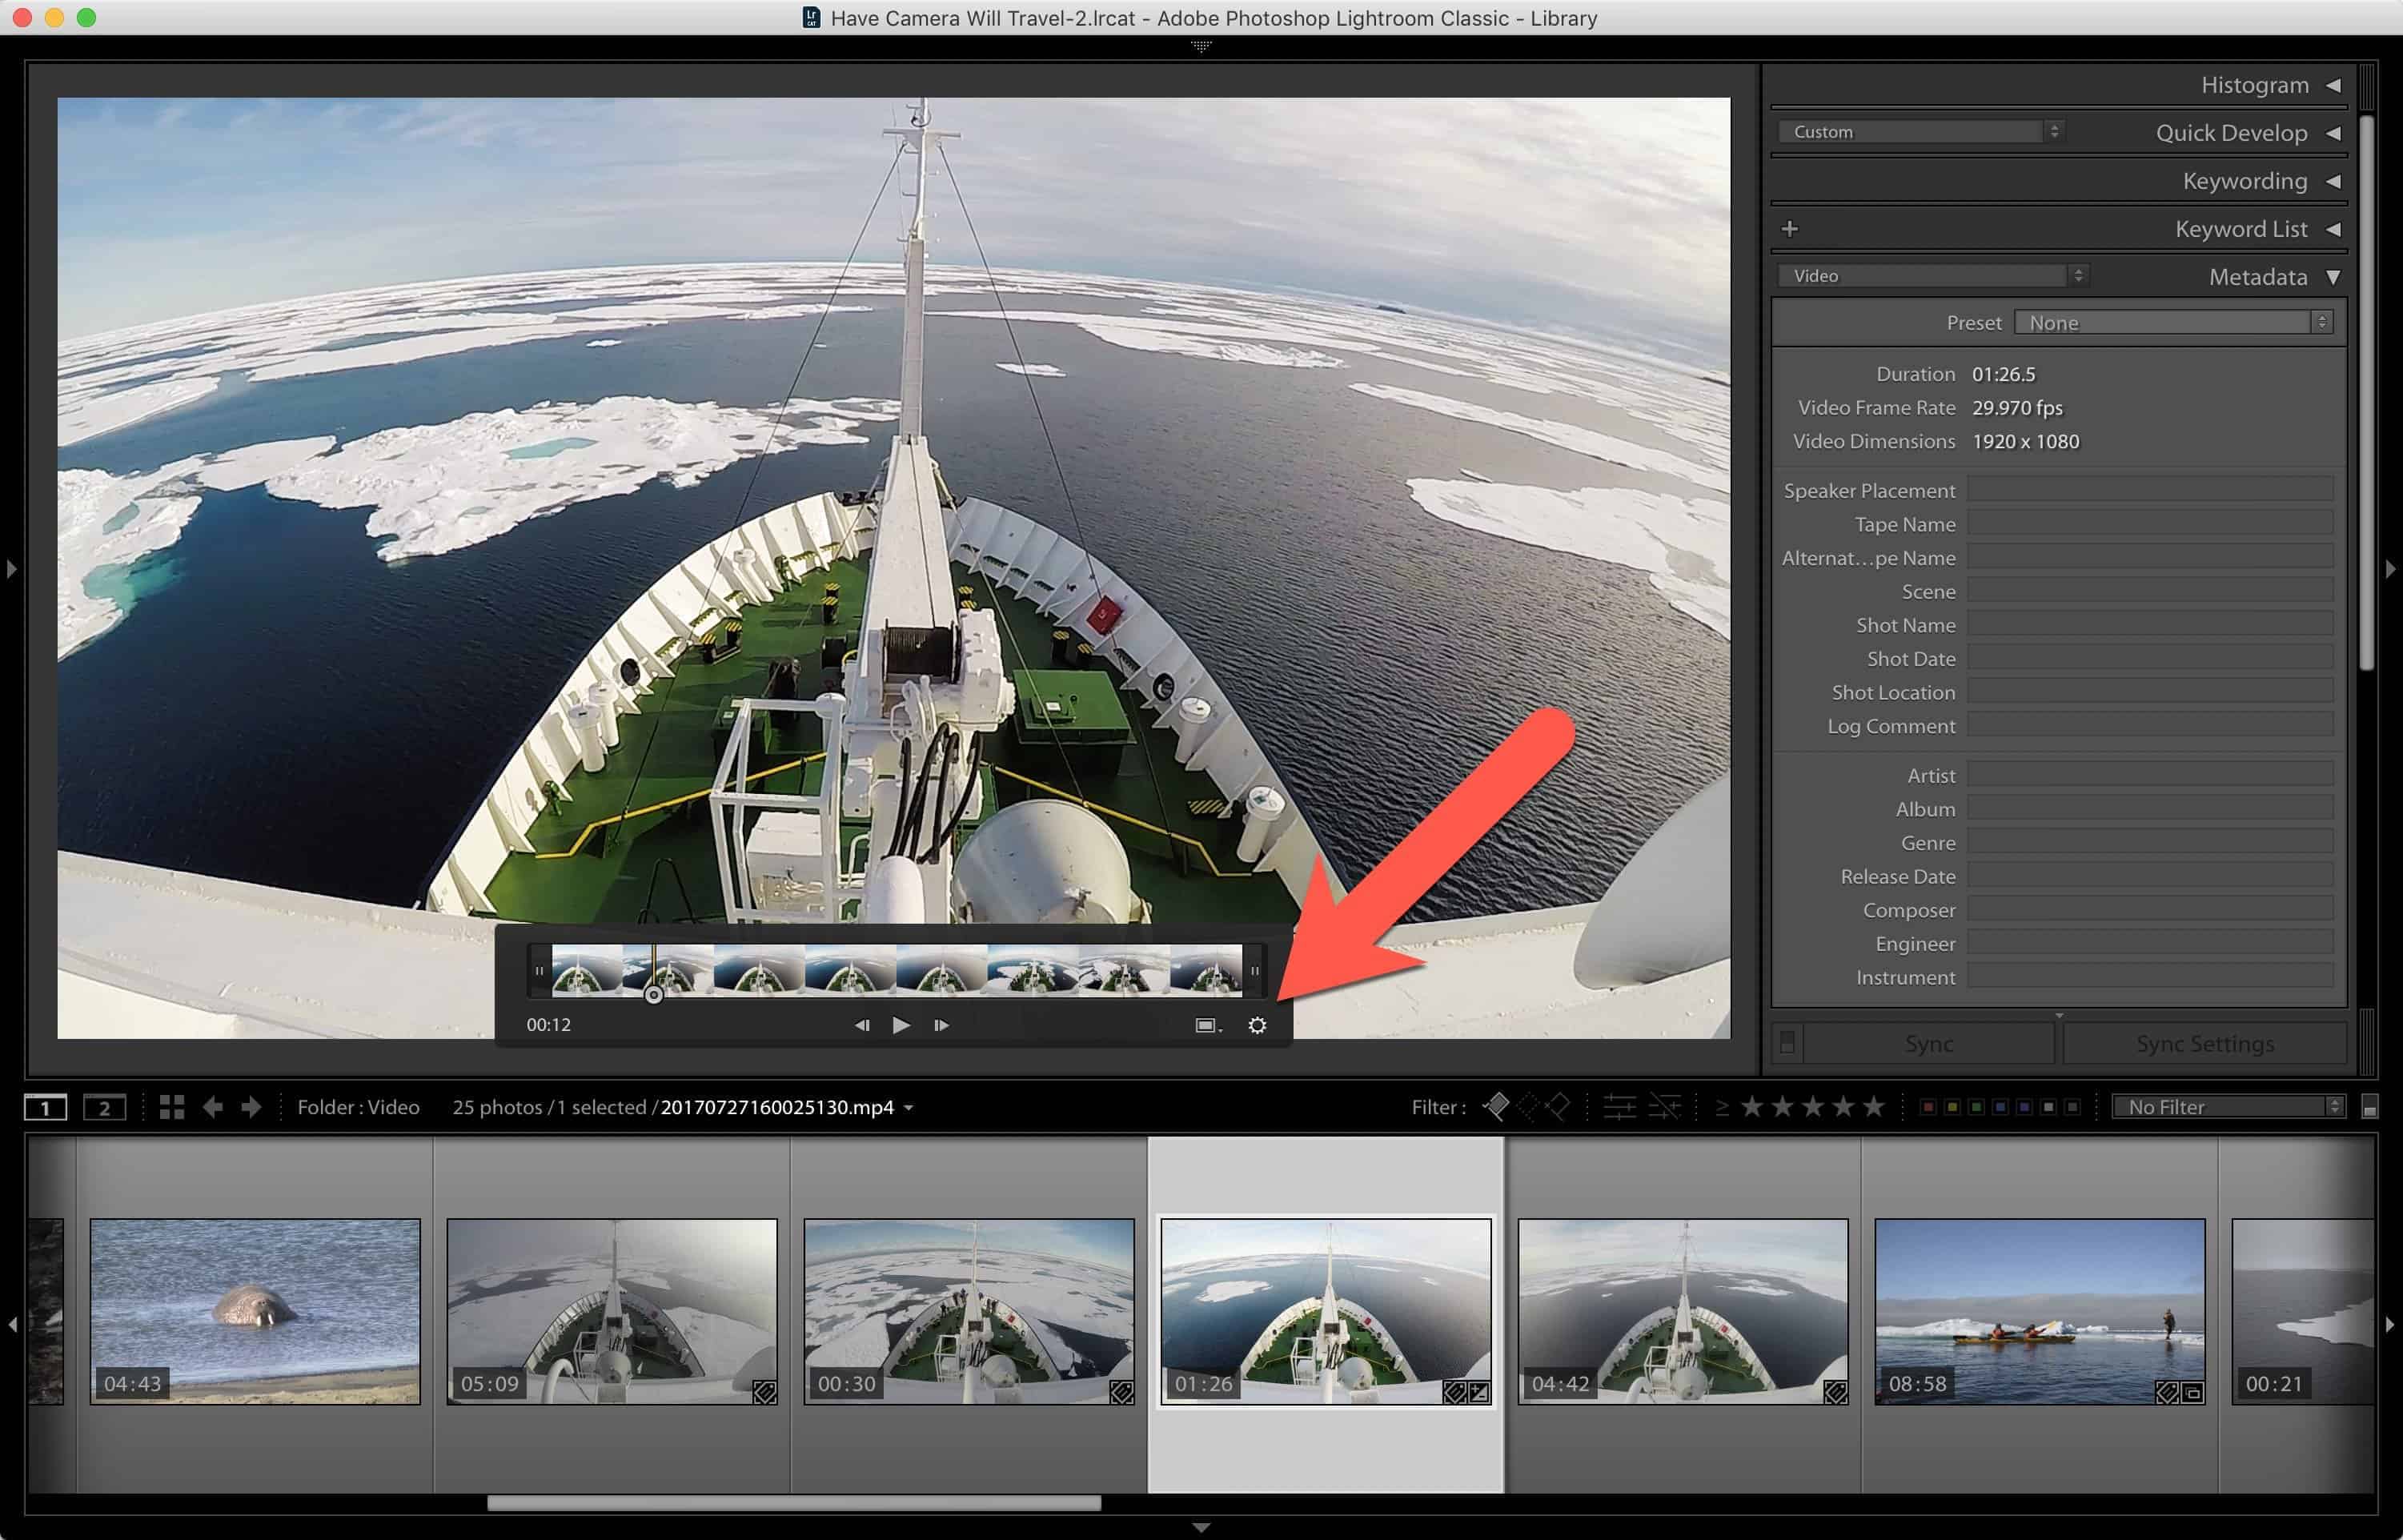
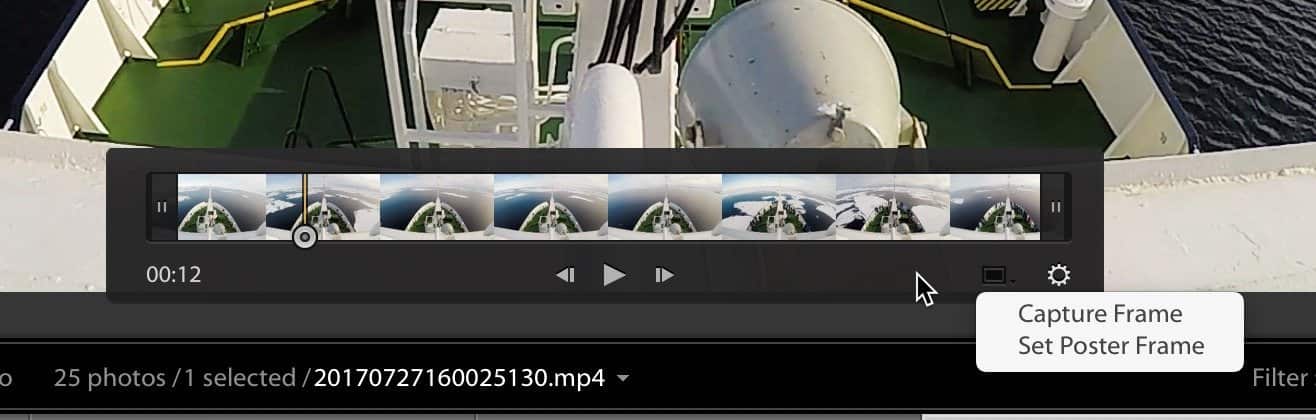
This is optional, but if you want more fine-tuned control, click on the small cogwheel icon to the right of the playhead. That will open a better visual timeline as well as enable controls that allow you to advance or rewind a single frame at a time. So it’s basically a slightly enhanced scrubber.
Once you’ve got the playhead on the precise frame you’d like to grab, click on the small rectangular icon just to the left of the cog wheel.
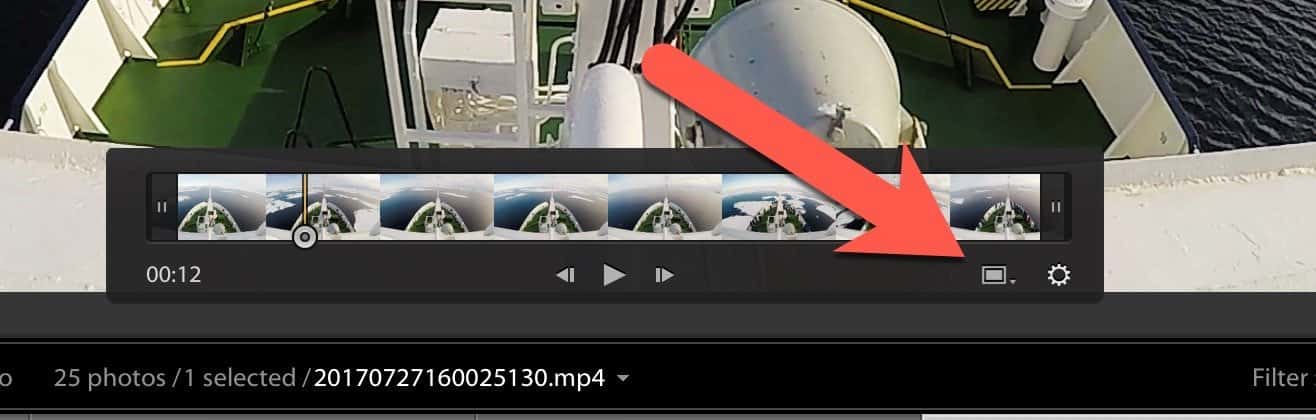
You’ll then get a short popup menu with the options for Capture Frame and Set Poster Frame.


The one you want is Capture Frame.
The new still capture will then be saved, automatically stacked under the video file.
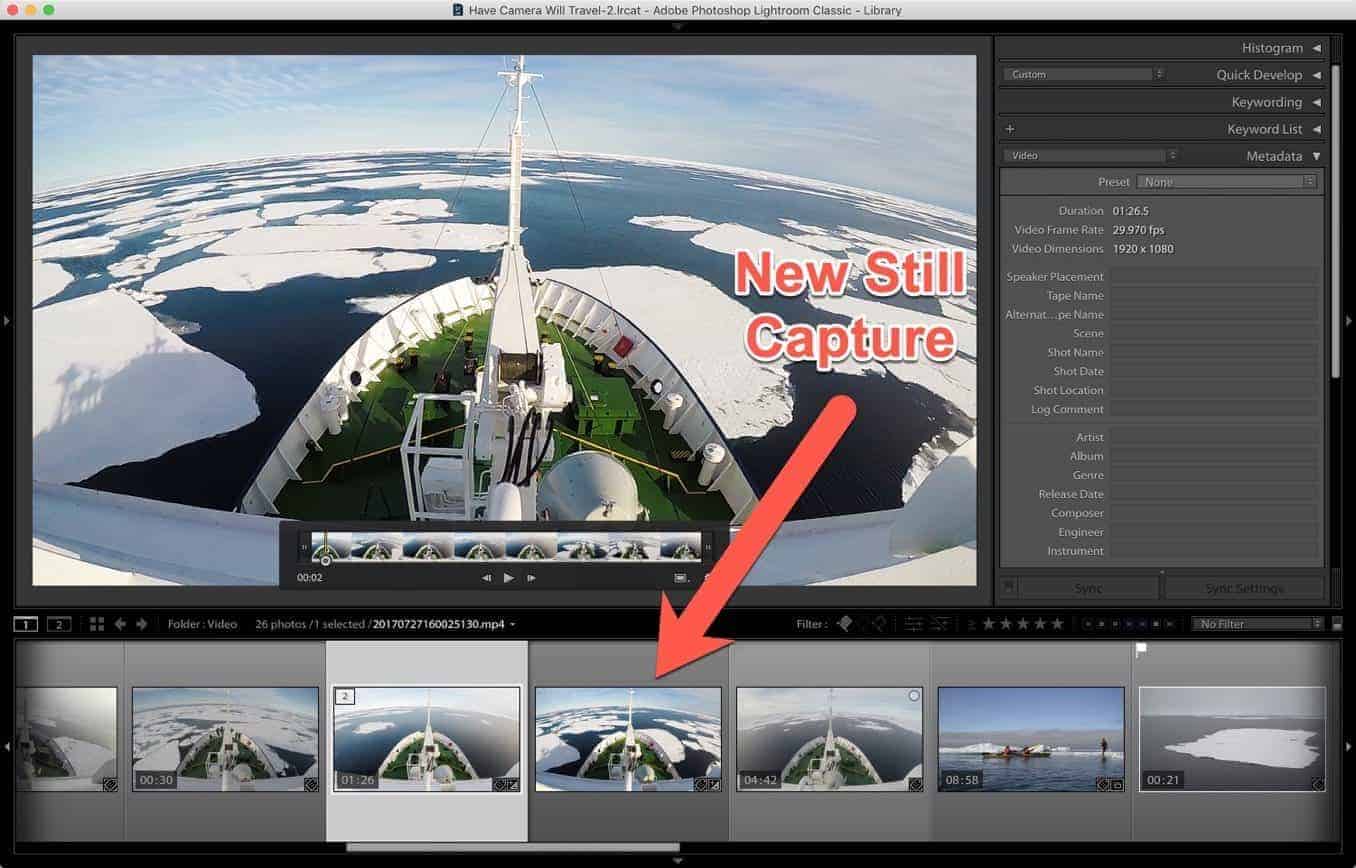
Tip: If you can’t see the new still capture, you might be using a filter or a collection that’s only showing video files. Once you view the original folder in the library without filetype filters you should see the new file.
You can capture as many frames as you like, and they’ll all be placed in that same stack.
Exporting still frames
Once you’ve got these individual frames extracted, they’re treated just like any other still image in Lightroom.
So you can edit them and export them just as normal. If you want it as a JPG, just use the Export function and set the file format to JPG. Or any of the other image formats that Lightroom Classic supports (JPG, PNG, JPEG XL, or AVIF probably make the most sense for this purpose, depending on where you’re using it).
Things worth knowing
- Obviously, the extracted still image will be limited by the resolution of the original video. If your original video is 720p, for instance, the captured still will be 1280 by 720 pixels.
- There are other apps that can extract frames at certain time intervals — say, every 10 seconds — and save them as thumbnails. That can be useful if you’re trying to create a series of thumbnails for something like a contact sheet representation of the video. Or even saving every frame as a sequence of images rather than video file.
Lightroom can’t do those more advanced automated methods of saving video frames as still images, so you’ll need to explore other options if you’re trying to do those things.
Related keyboard shortcuts
There aren’t dedicated keyboard shortcuts for the Capture Frame or Set Poster Frame functions. And the controls for interacting with video are extremely minimal.
| Action | Mac | Windows |
| Play Video | Space Bar | Space Bar |
| Export Frame | Command + Shift + E | Ctrl + Shift + E |


