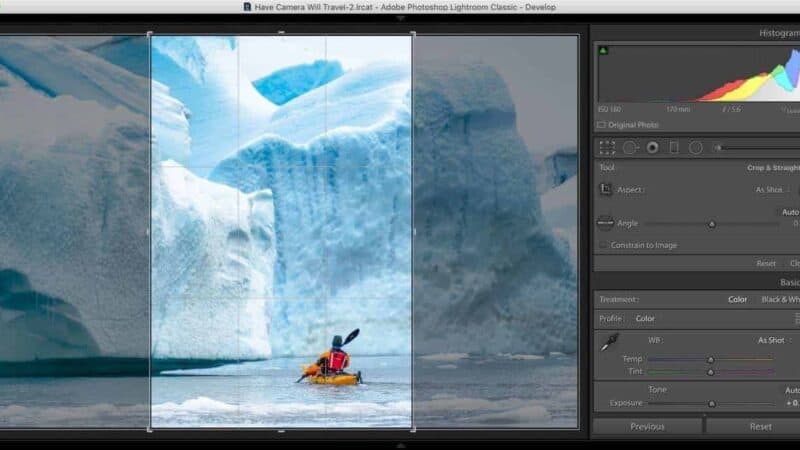
If you’ve decided that the photo you shot in landscape orientation (or horizontal orientation) looks better in portrait (vertical) or vice versa, there are a couple of ways to switch them.
This can be especially useful if you’re trying to use an image for a particular type of output. For example, you might be creating a magazine cover. Or you’ve decided you want to use the full image space on Instagram, which works better in portrait orientation because that’s the natural way to hold their smartphones when using the app.
First, a heads-up: both methods involve cropping the image, so you’re going to be cutting out a good chunk of the image. But many cameras these days have more than enough resolution to do that while still retaining plenty of detail for large prints or high-resolution digital displays. So it’s becoming less of an issue.
You can rotate the crop in Lightroom by dragging the handles of the crop tool in a particular way as you might when you’re rotating images. But there’s an even quicker way.
Lightroom Classic rotate crop in Develop module
In the Develop module, activate the crop tool by either pressing the R keyboard shortcut or clicking on the crop tool icon. The crop tool is now active.
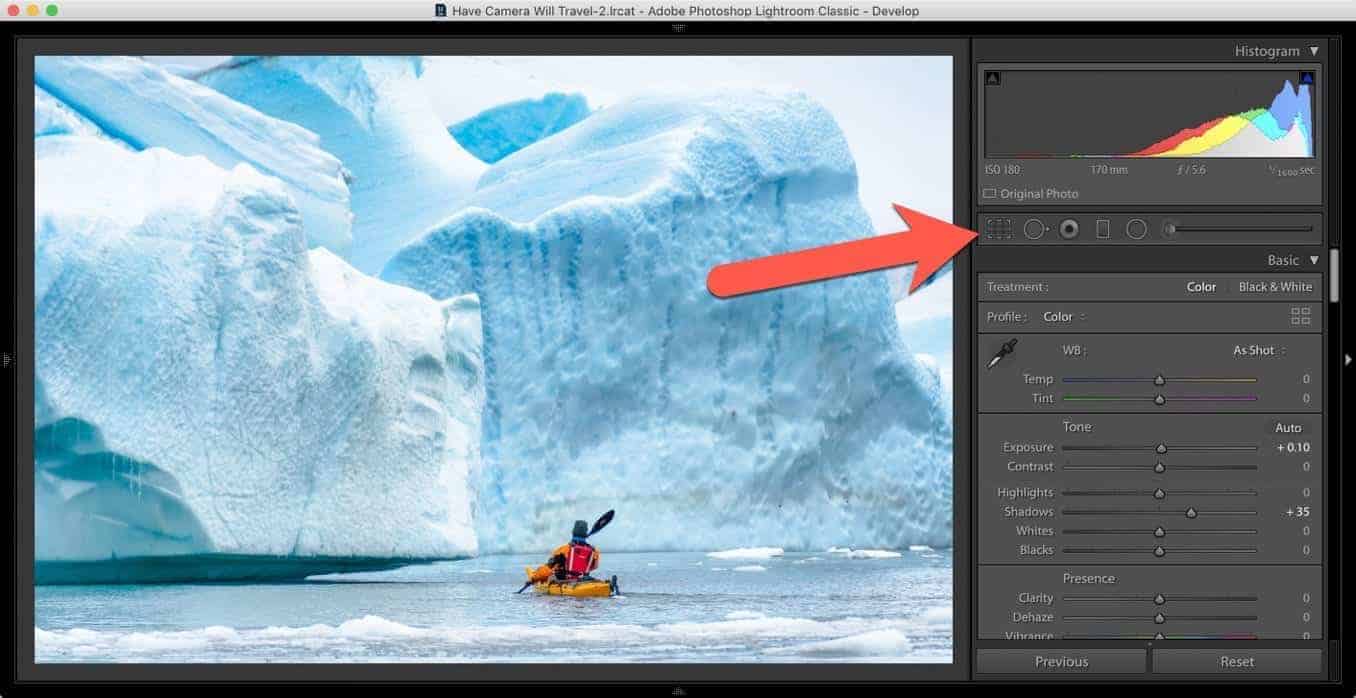
It will then drop down the tool options such as aspect ratio and the angle slider. But you can ignore them for this, because all you need to do is to press the X key to switch between orientations quickly.
This, for example, is how it is by default for this image before I’ve done any cropping.
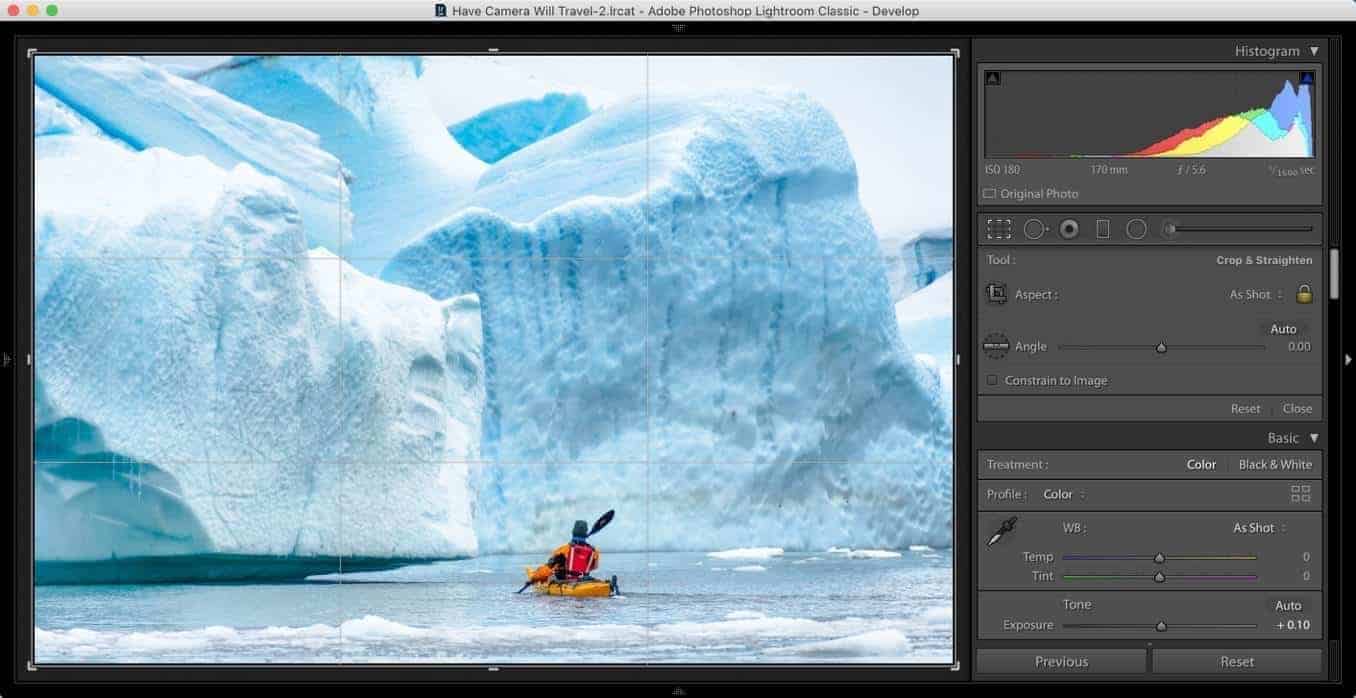
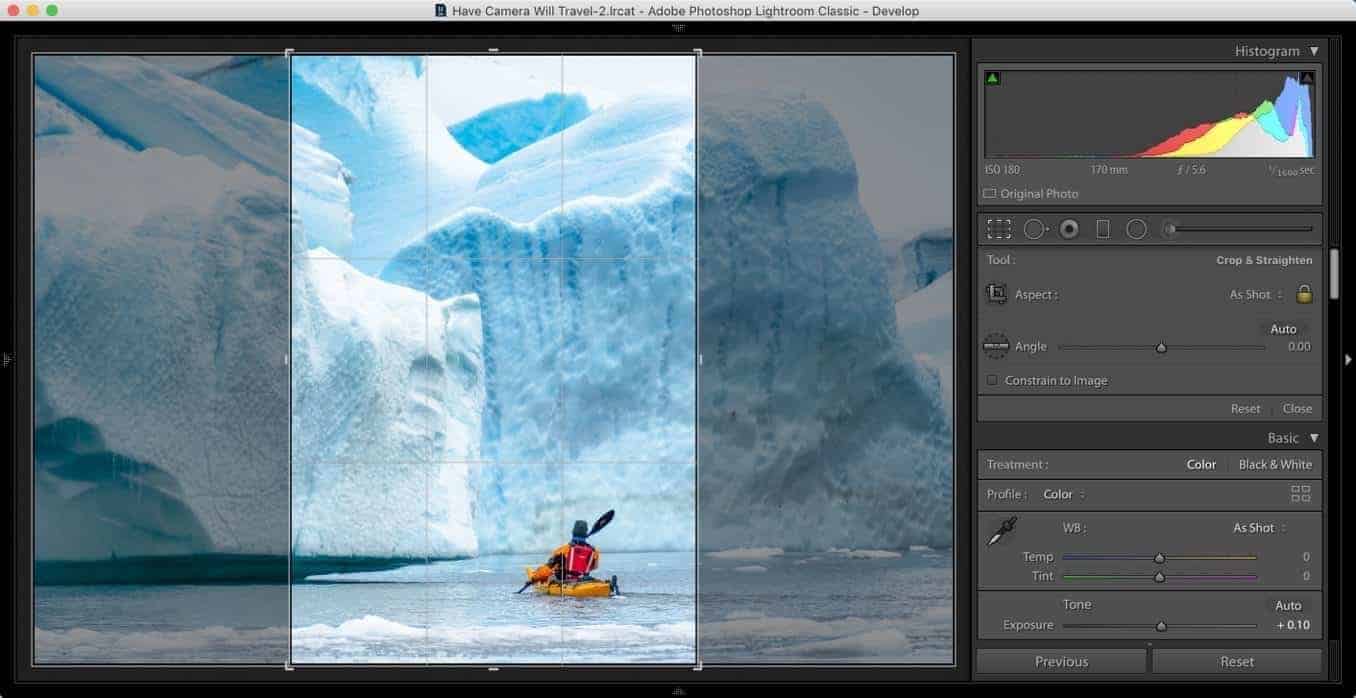
When I press the X key, it switches automatically, filling the maximum height allowed by the frame.
Quirks & things to watch out for when using Lightroom rotate crop tool
You can switch back and forth, but one thing to watch is that it will generally retain the crop size if it can.
So it won’t increase the crop size, but it will decrease it if it needs to. You can see what I mean here when I press X again. It has switched back to the landscape orientation, but because the previous crop was limited in its long side by the height of the image, the result is not using the entire width of the image. Having said that, the behavior is a bit inconsistent, as you can see in the panorama example below.
Obviously, you can move the image around and rotate and adjust the crop just as you normally would. And in this case, you can resize the crop by dragging the corner handles or using the aspect ratio drop-down set to Original.
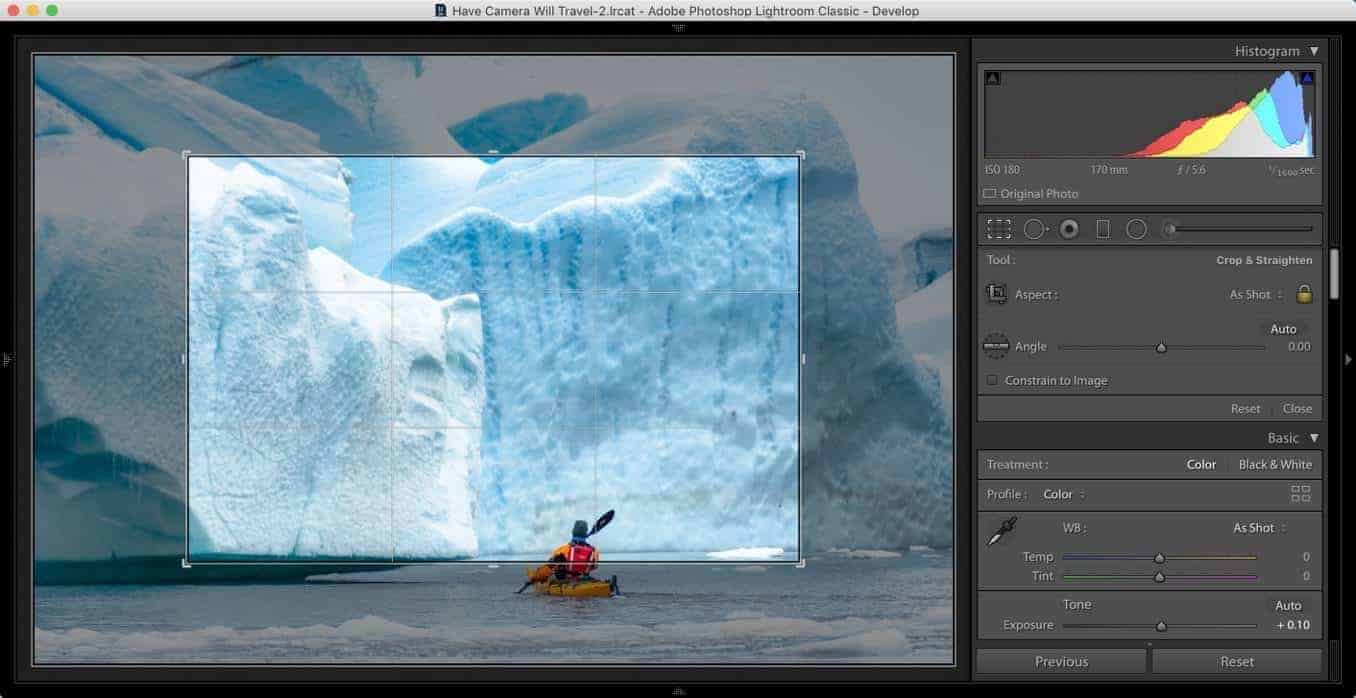
Something else to note is that it retains the aspect ratio each time you switch the orientation. To illustrate that, here’s a crop in a wide panorama aspect ratio:
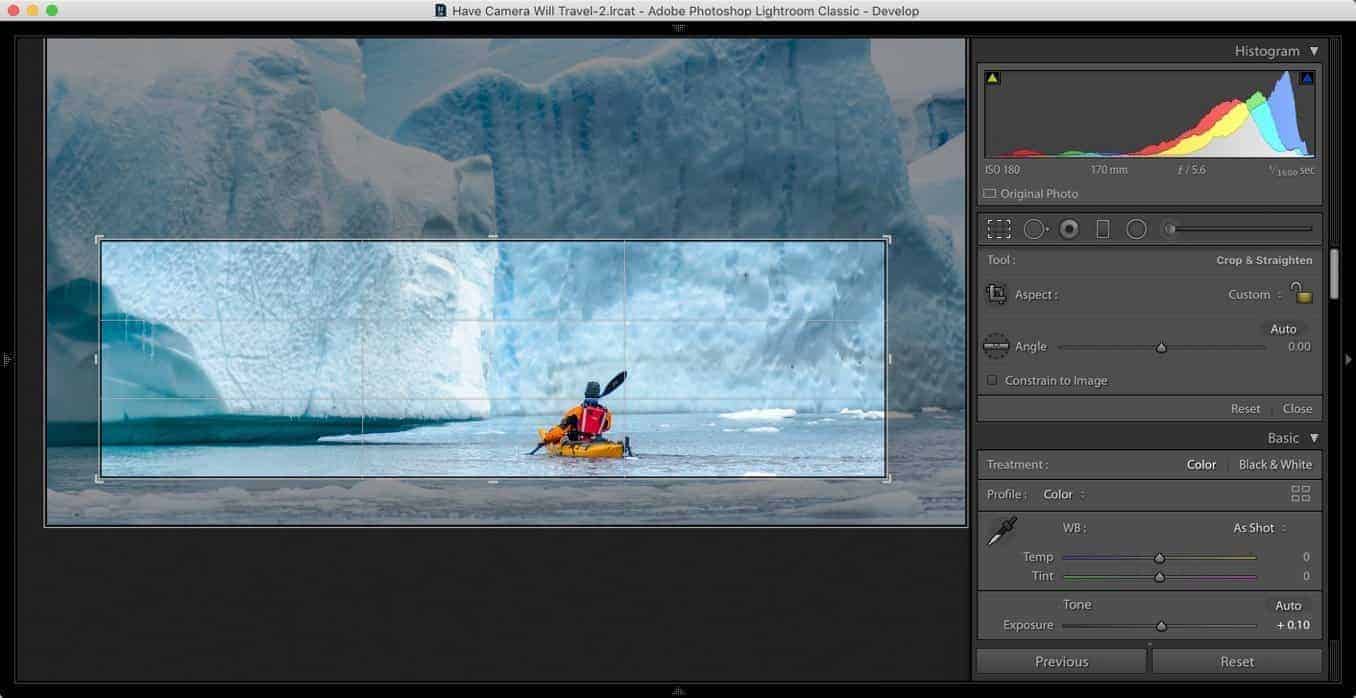
And here’s what it does when I press the X key again:
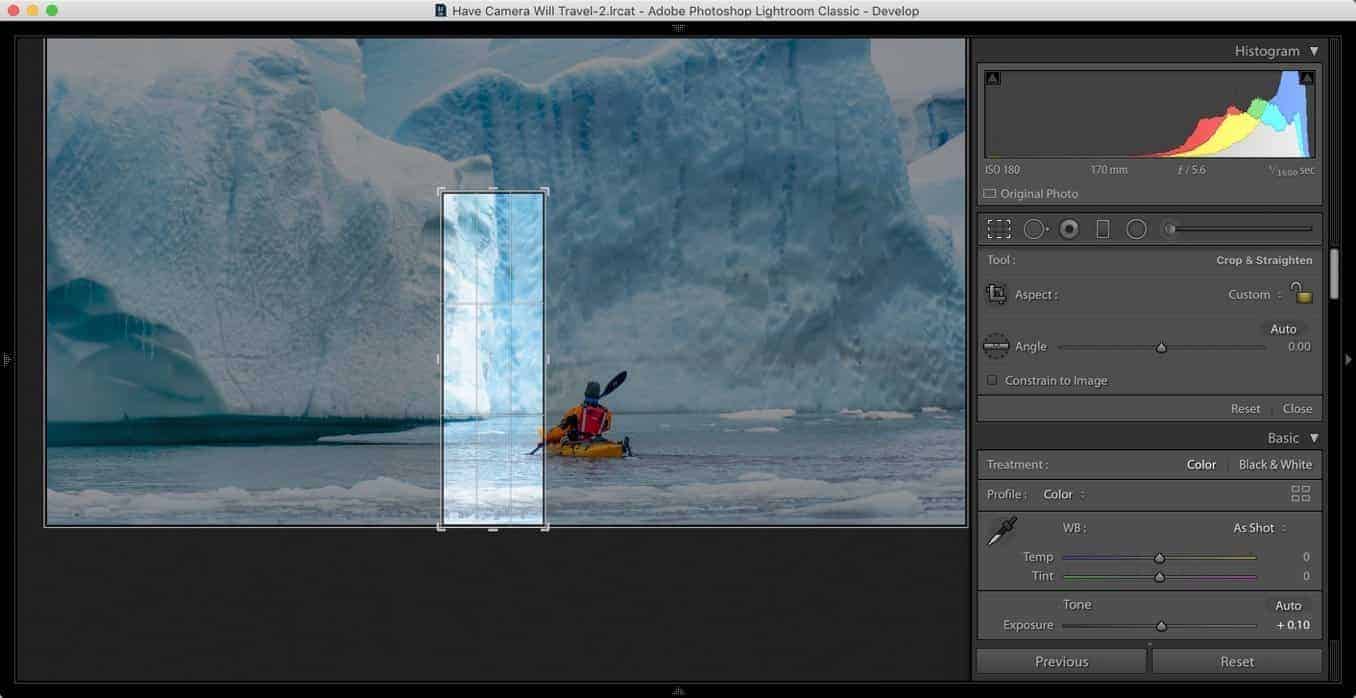
This is an example where the “preserve crop size” treatment is inconsistent.


Finally, there’s one other thing to note:
- The X key does double duty in Lightroom. In the Library module or filmstrip, it works to mark an image as a reject and will gray it out. To use it to flip orientations, you’ll need to be in the Develop module and have the crop tool active.
If you press X without the crop tool being active, you’ll mark the image as a reject. If you do that accidentally, you can press CMD-Z / CTRL-Z to undo (or use theEdit > Undocommand from the top menu) or press U to toggle its pick state.
Related keyboard shortcuts
| Action | Mac | Windows |
| Activate Crop Tool | R (in Develop module) | R (in Develop module) |
| Rotate Crop 90° | X (with Crop tool active) | X (with Crop tool active) |


