There are several different ways to rotate photos in Lightroom.
The options available to you at any given point depend on whether you’re in the Library or Develop modules.
How to Rotate Images in Lightroom’s Library Module
In general, the rotation options available in the Library module are quick and simple. They rotate in 90-degree increments either clockwise or counterclockwise.
If you want more precise control or need more or less than 90-degree increments then you’ll want to switch to the Develop module and use the more fine-grained tools available there.
As with many functions in Lightroom, there are multiple ways to invoke a function. All three of these variations accomplish the same thing. Not every function is available in the Library or Develop module.
In this section, I’m focusing on the functions available in the Library module. See below for the Develop module.
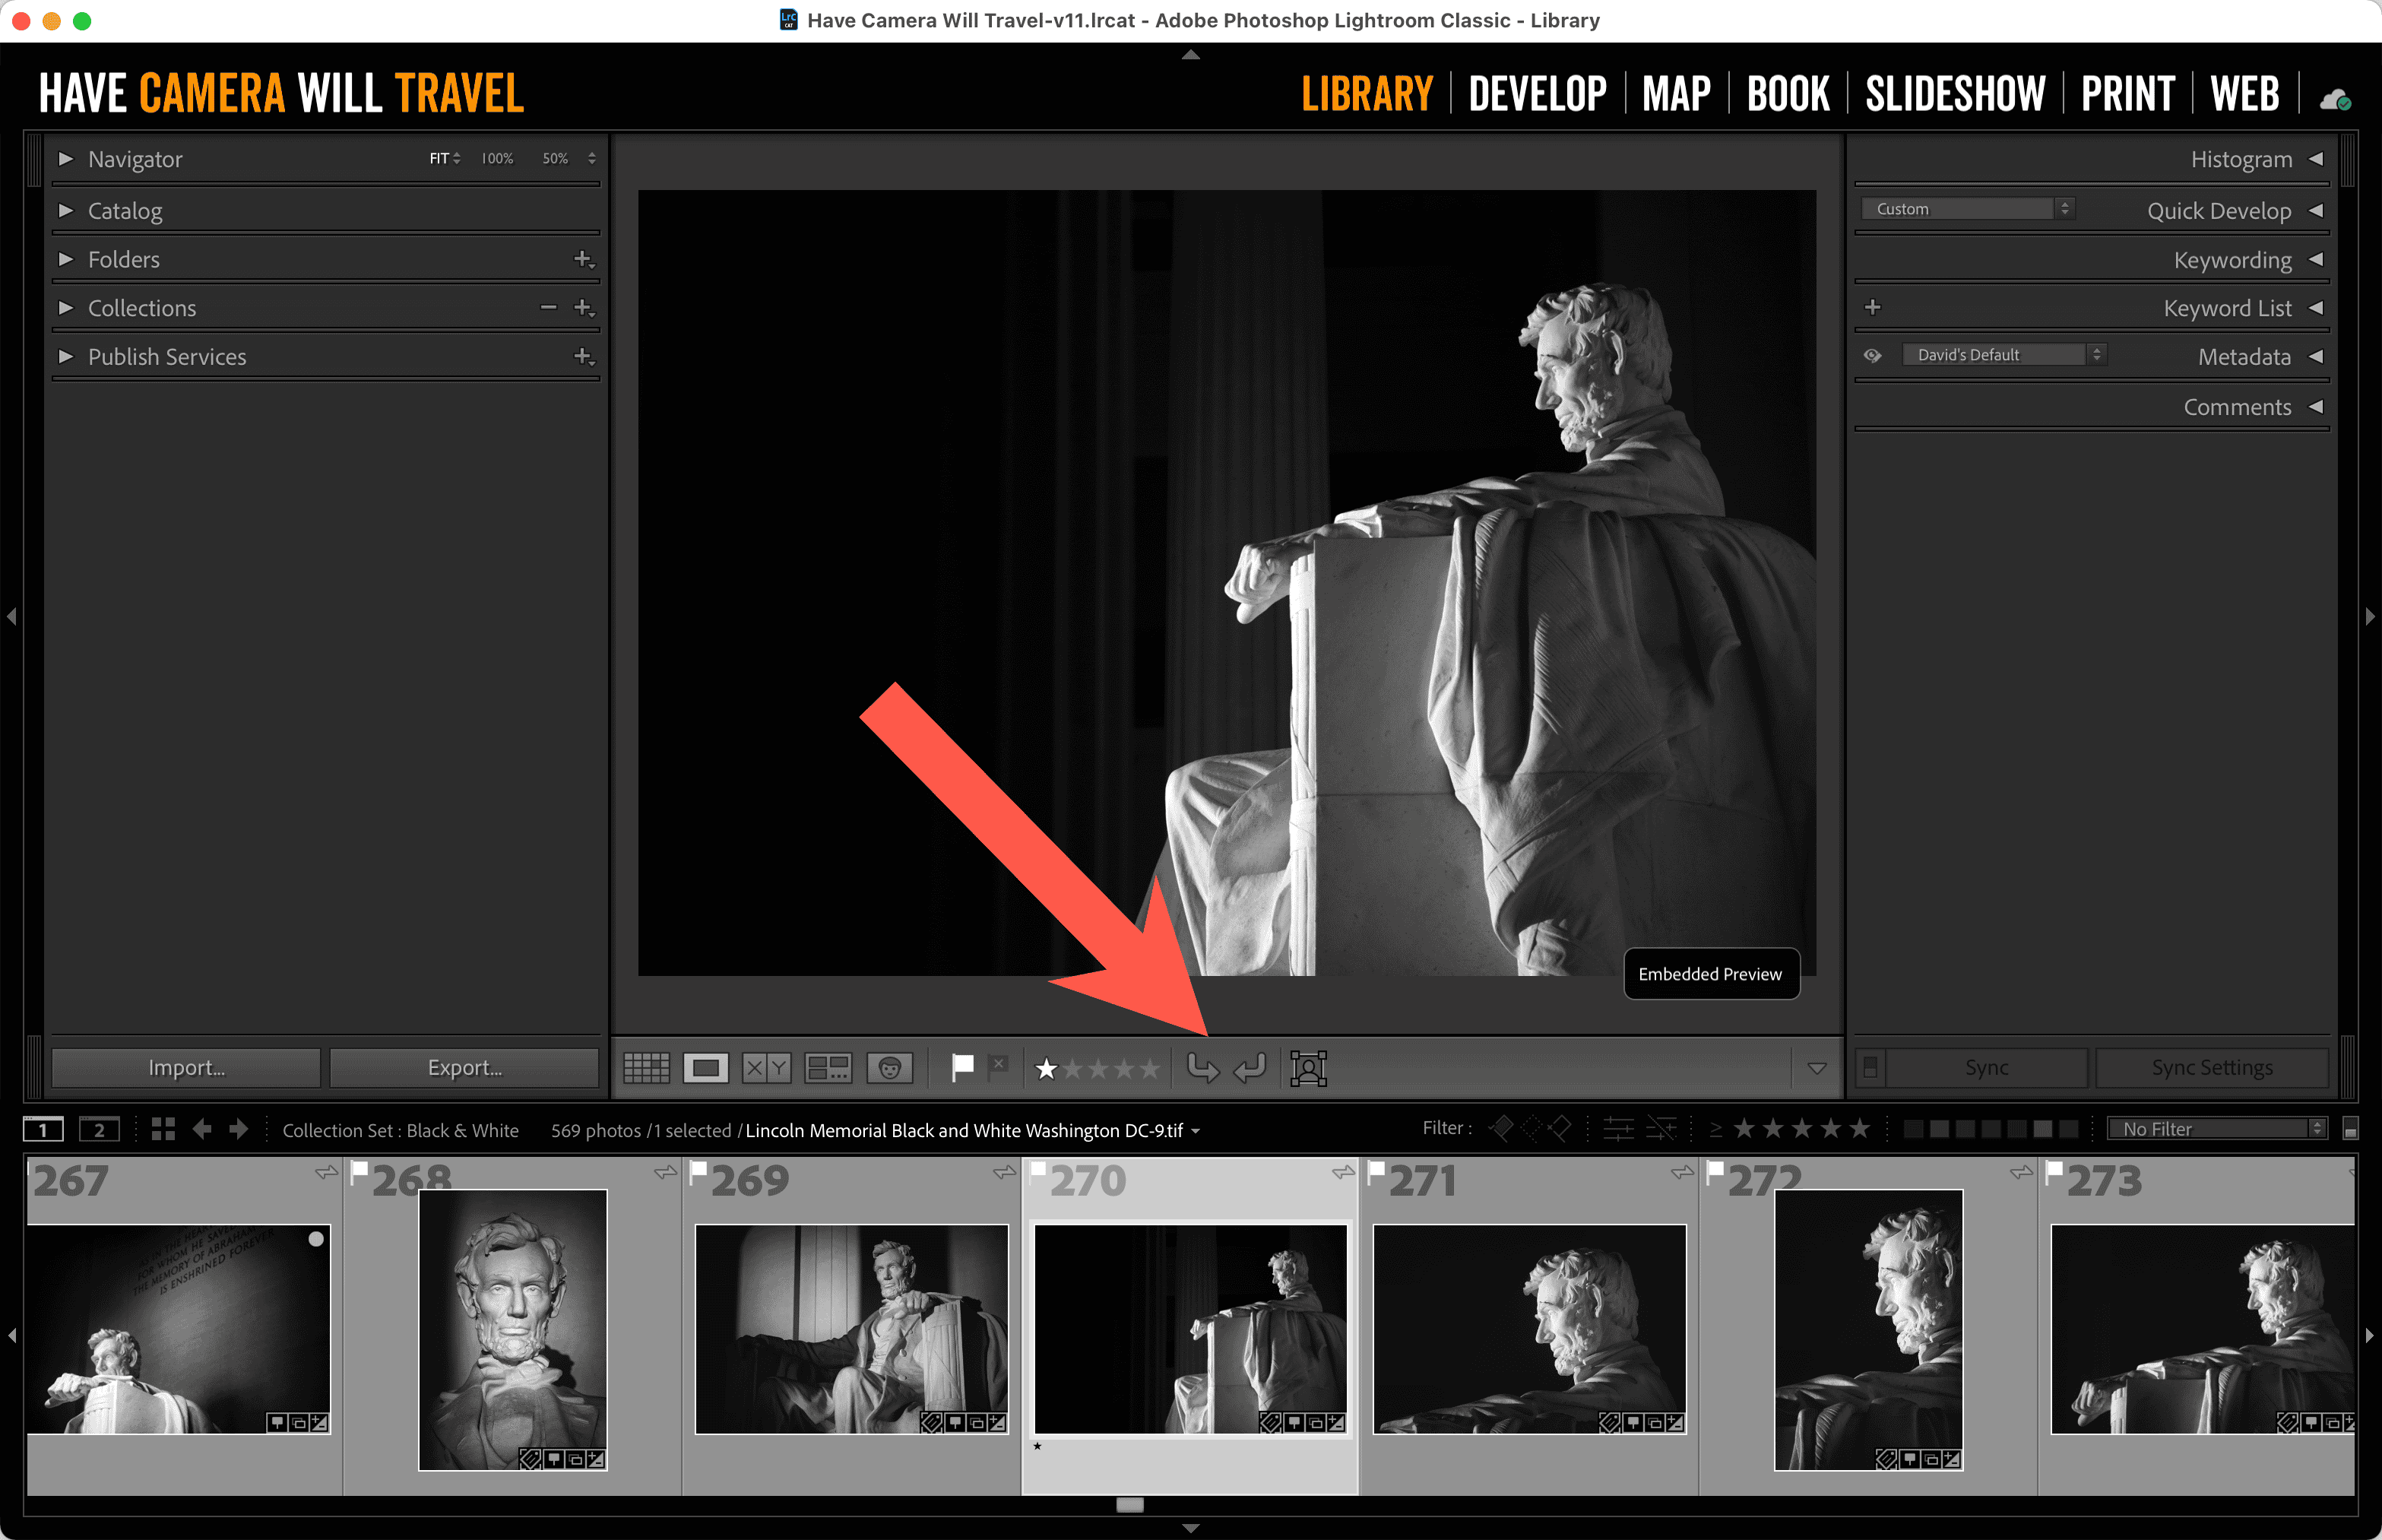
Toolbar. If you’re using the single photo view in the Library view, there are rotate left and rotate right buttons on the toolbar under the image. If you can’t see the toolbar, you toggle it by pressing T or go to View > Show Toolbar. The rotation buttons are only visible in the Library module — you won’t see them if you’re in the Develop module.
Keyboard Shortcut. You can also use a keyboard shortcut. On Mac, it’s ⌘+[ to rotate left or counter-clockwise and ⌘+] to rotate right or clockwise. The Windows equivalents are Ctrl+[ and Ctrl+].
Main Menu. From the main menu, it’s Photo > Rotate Left (CCW) and Photo > Rotate Right (CW).
Right Click. You can also access the menu version by right-clicking (or Ctrl-clicking on Mac if you don’t have right-clicking enabled), where you’ll get the same Rotate Left (CCW) and Rotate Right (CW) options (or Transform > Rotate Left (CCW) or Transform > Rotate Right (CW) if you click on the main image).
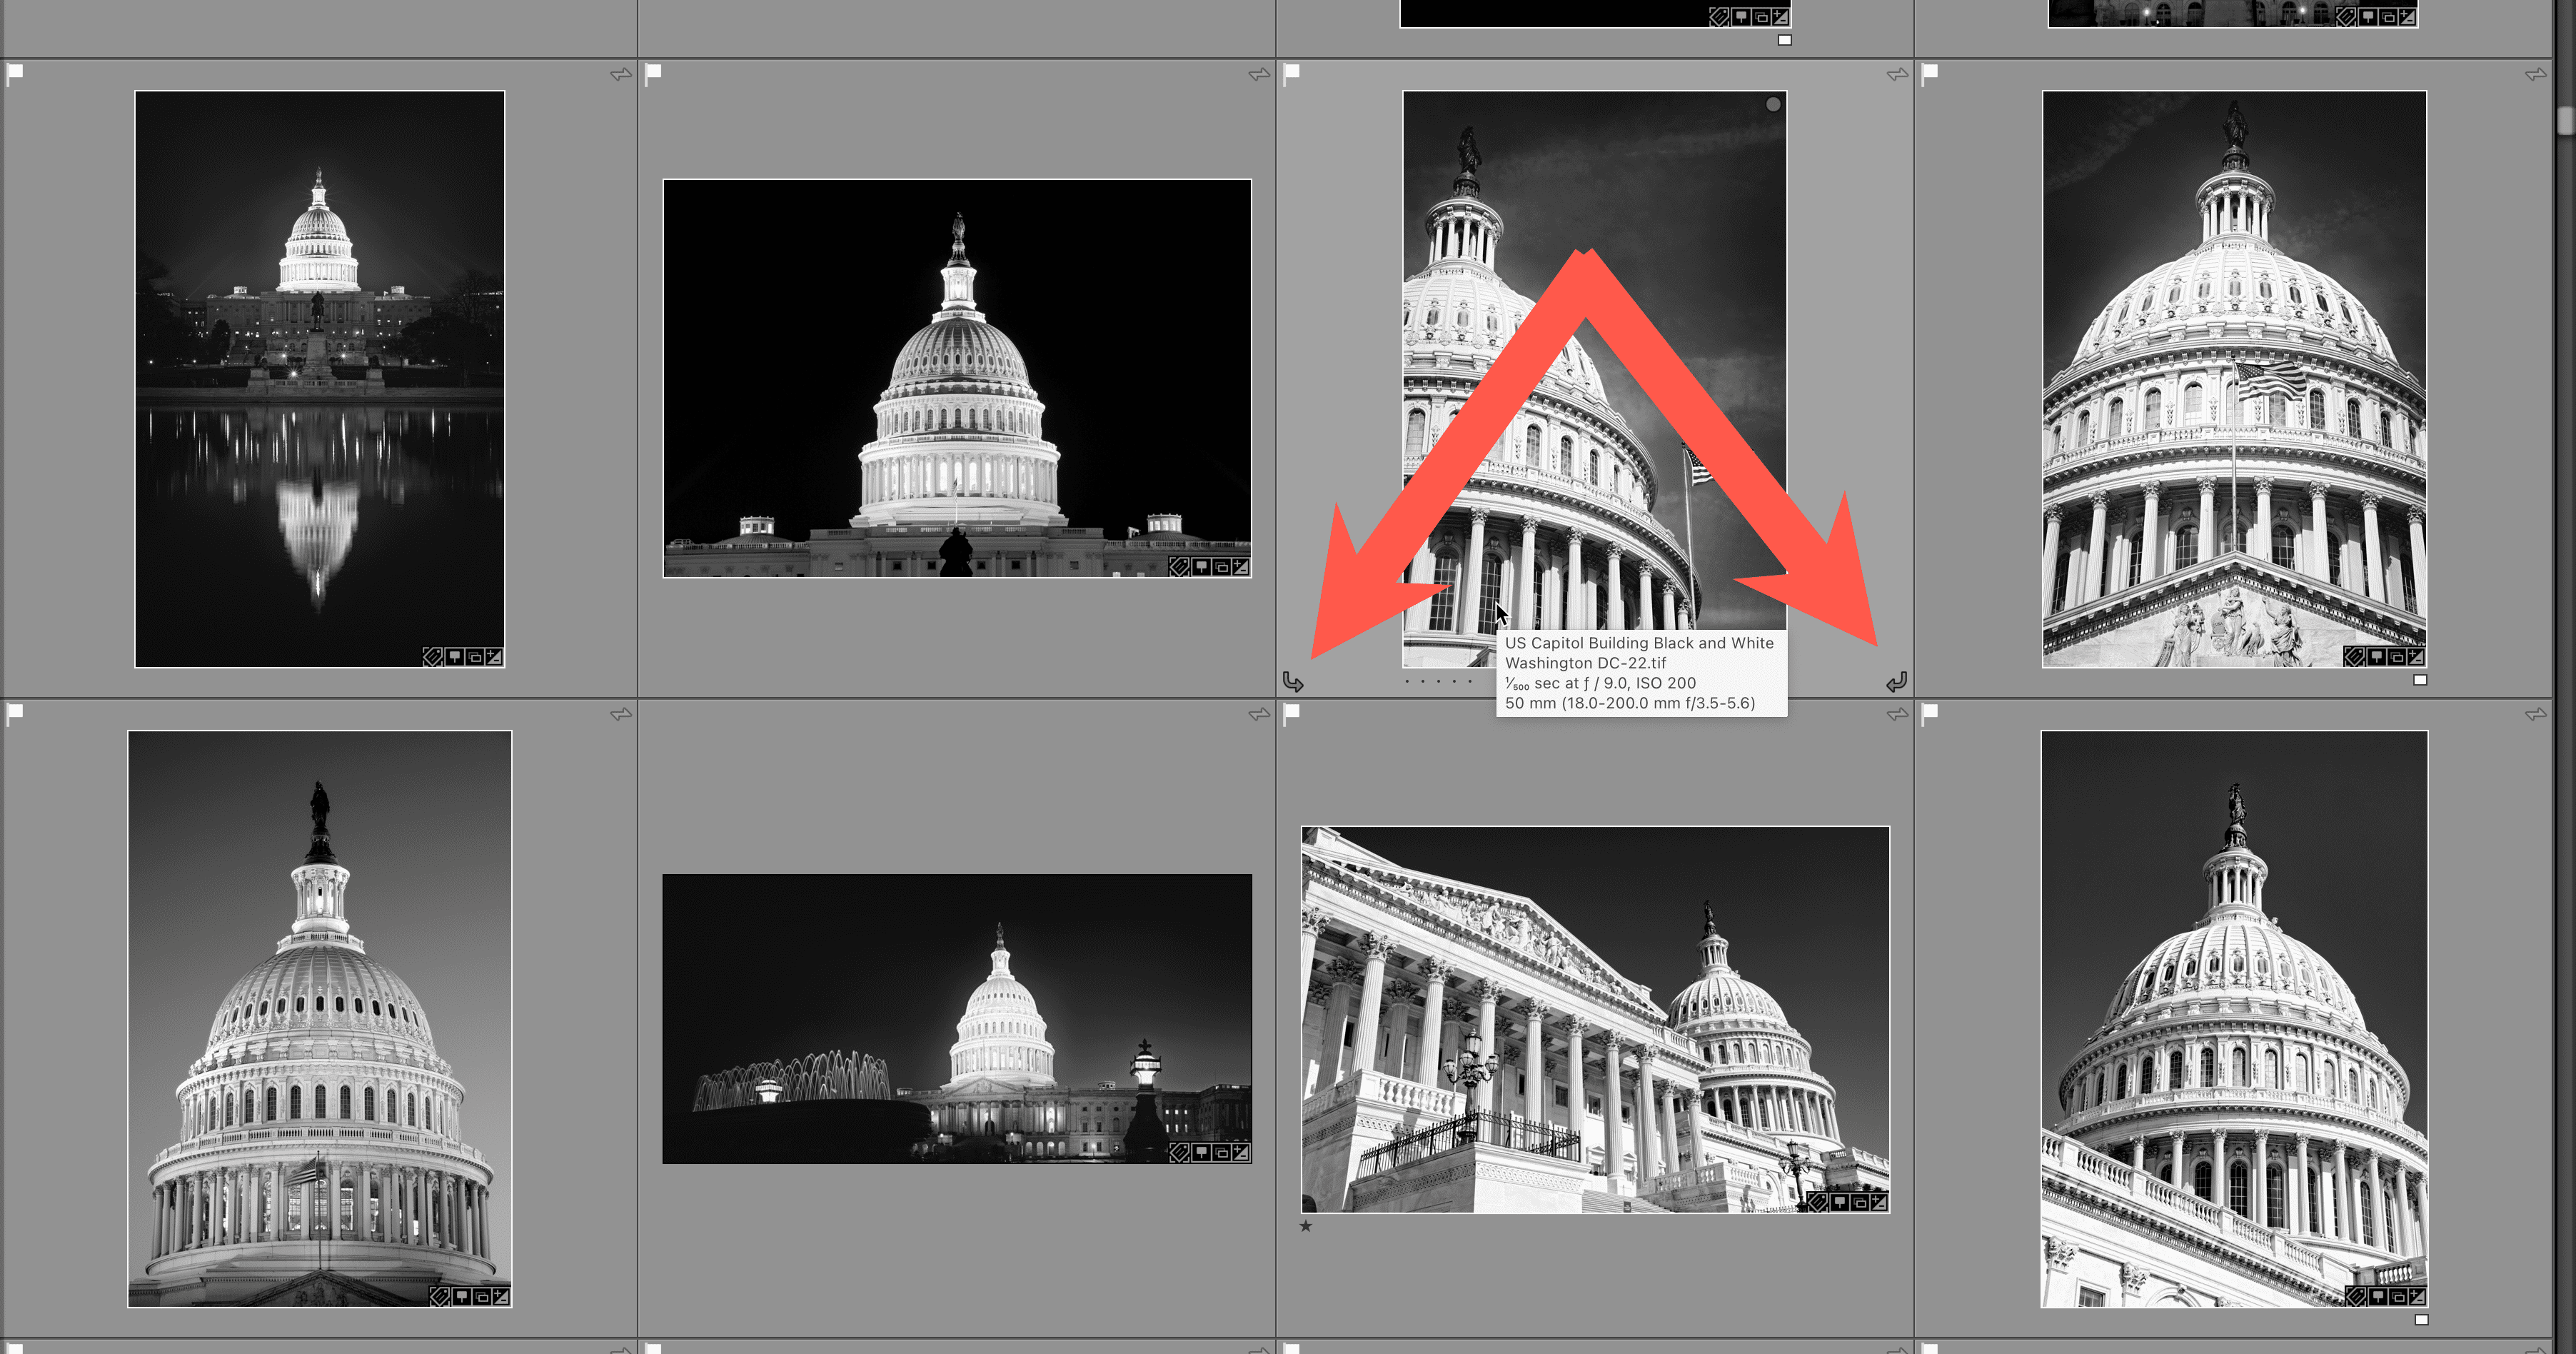
Thumbnail Controls. There’s also another option if you’re in the grid view. When you hover the mouse over a thumbnail, you’ll get two small rotation icons appearing at the bottom left and bottom right of the thumbnail.
How to Rotate an Individual Photo by 90 Degrees in the Library Module
These four ways to access the 90-degree rotation will work in the single-image view in the Lightroom module and apply only to the visible image.
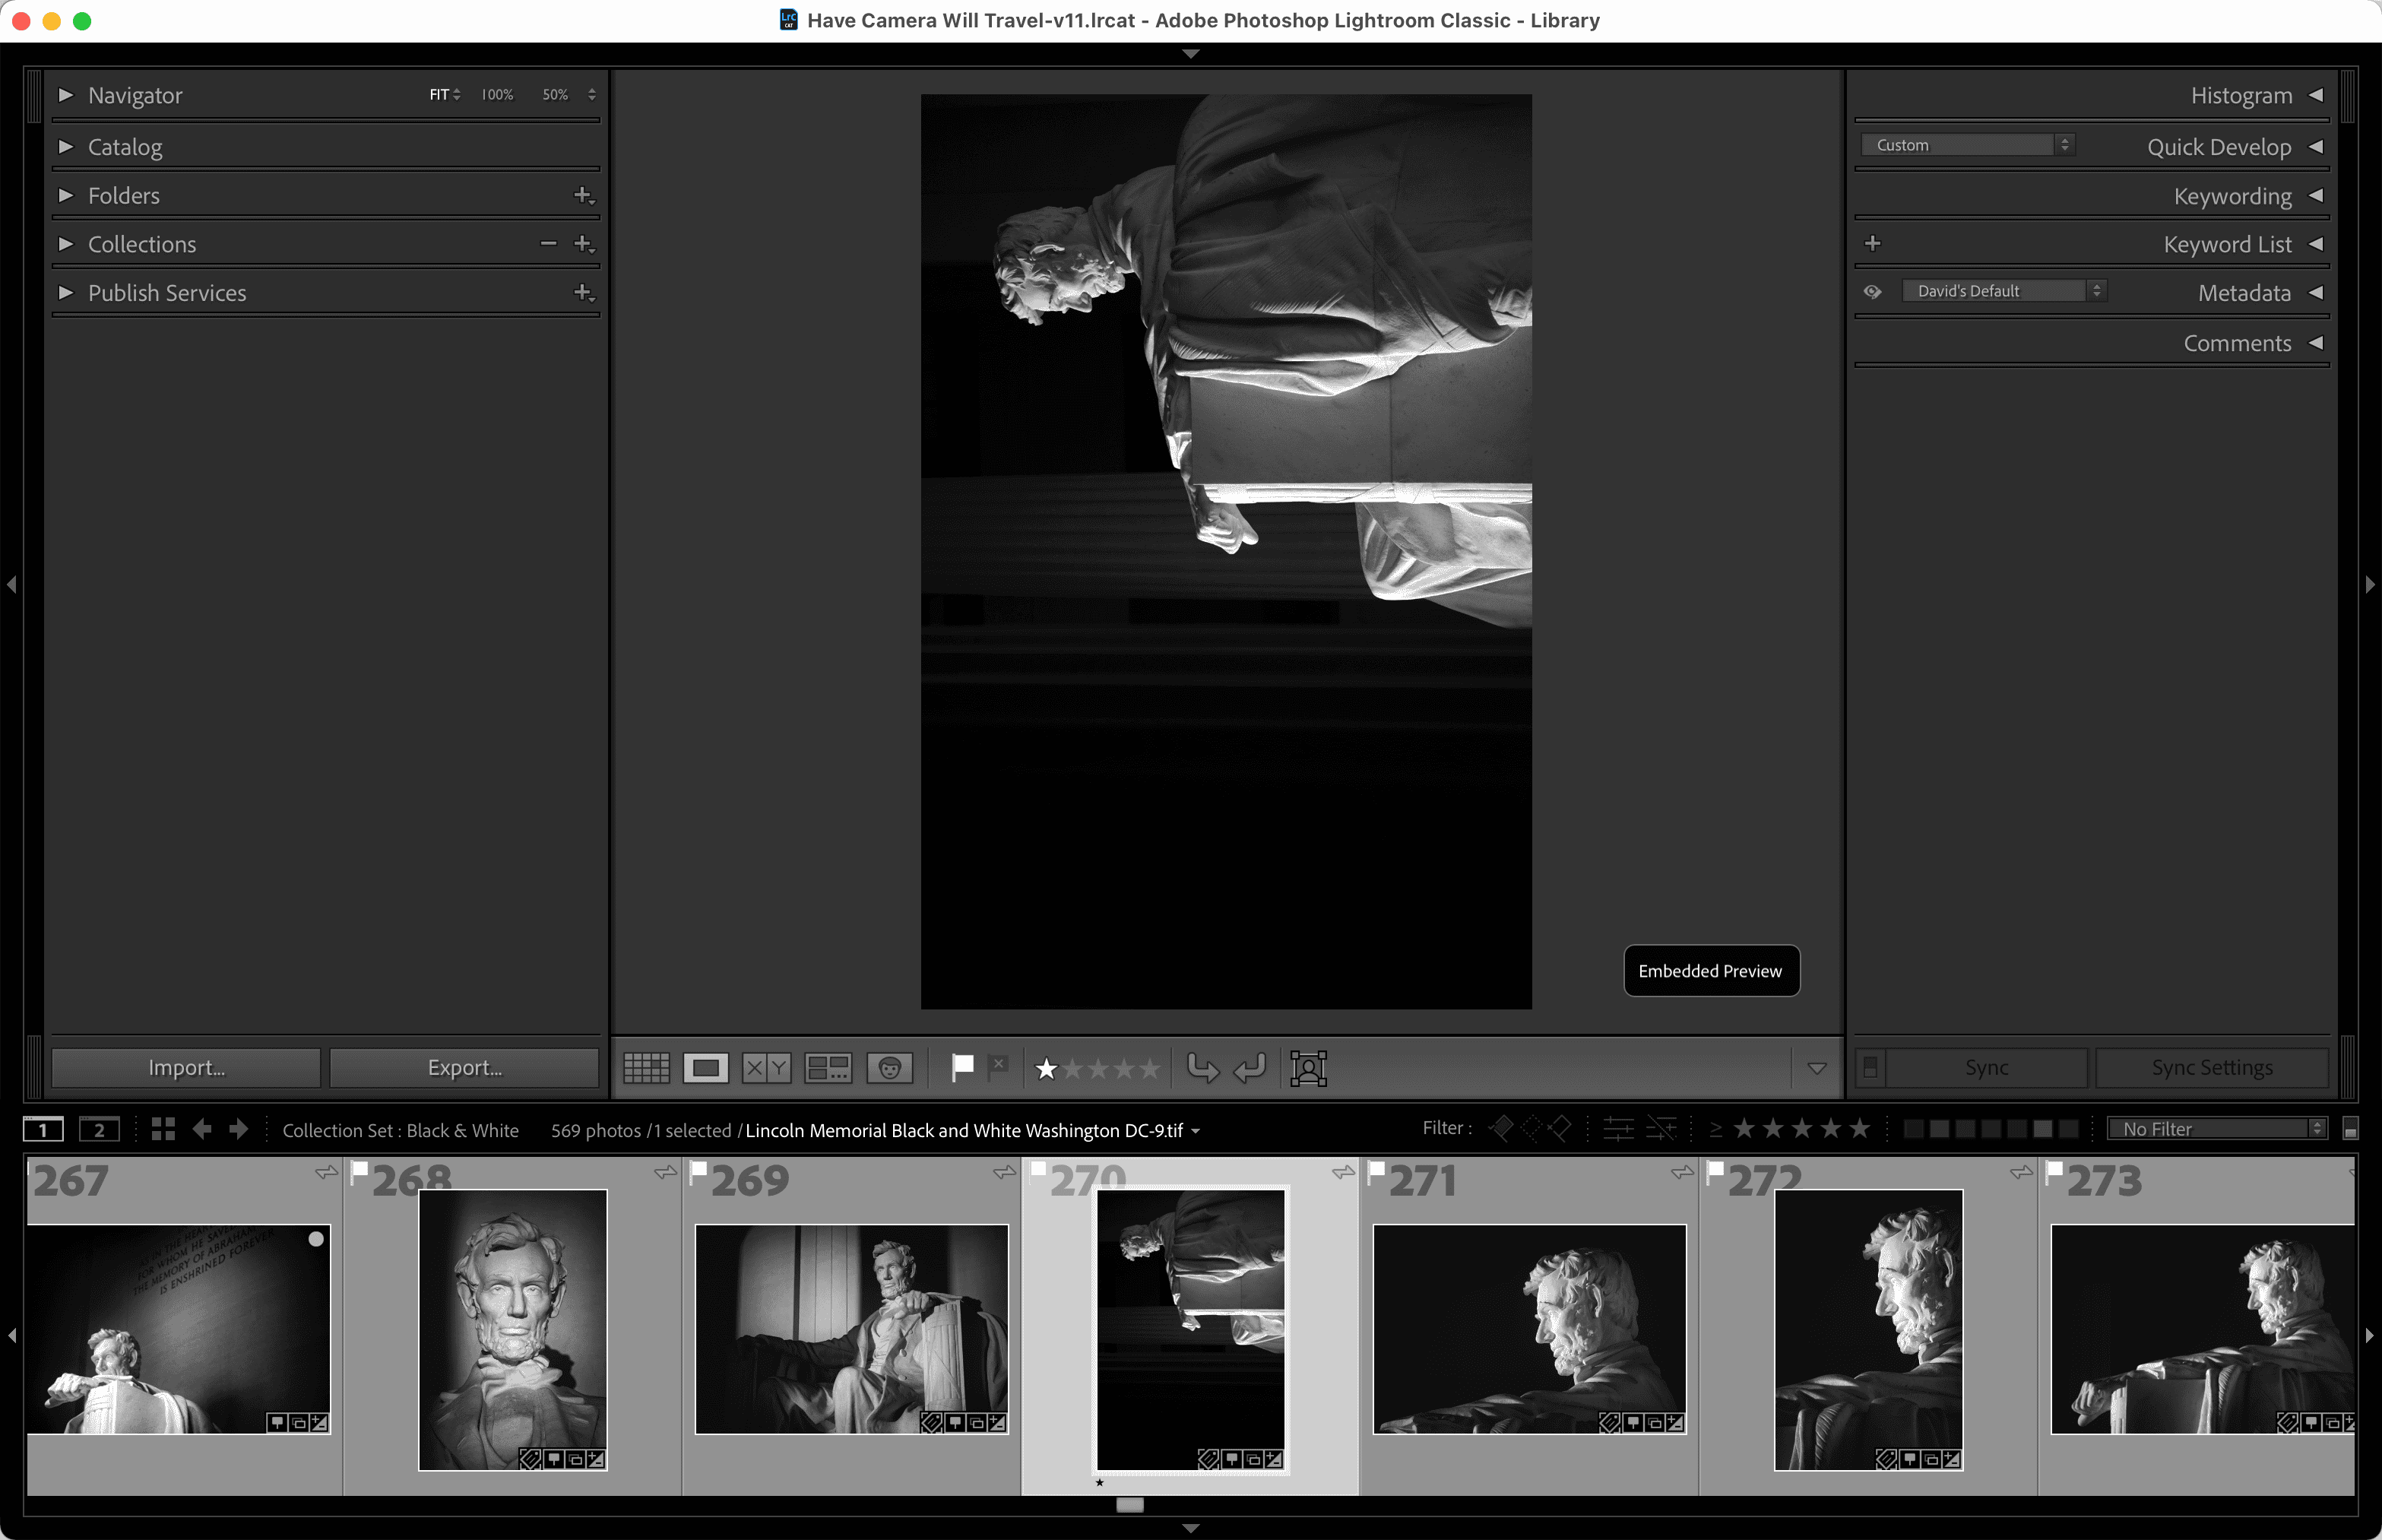
Using the toolbar buttons is pretty self-explanatory. One rotates 90 degrees clockwise; the other rotates 90 degrees counter-clockwise. Pressing it again will take it another 90 degrees. If you need to rotate in something other than 90-degree blocks, you’ll need to switch to the Develop module, where you can have more precise control over the angle (more on that below).
How to Rotate Multiple Photos by 90 Degrees in the Library Module
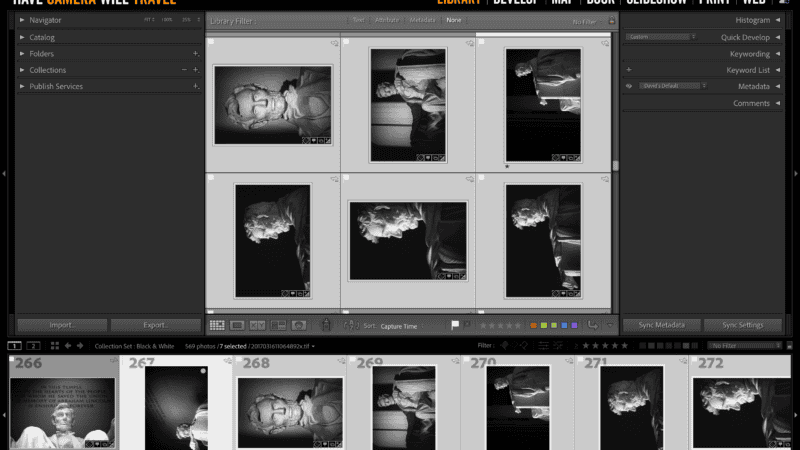
You can also rotate multiple photos in the Library module. But it gets slightly more complicated because of the way in which Lightroom adjusts its behavior based on whether you’re using single-image view or the multi-image grid.
Here’s a practical example to illustrate. Here, I’m in the single-image view (still in the Library module), but I have multiple images selected in the filmstrip at the bottom.
If I use the keyboard shortcut, the menu system, the toolbar, or right-click on the large image, the rotation will apply only to the single selected image.
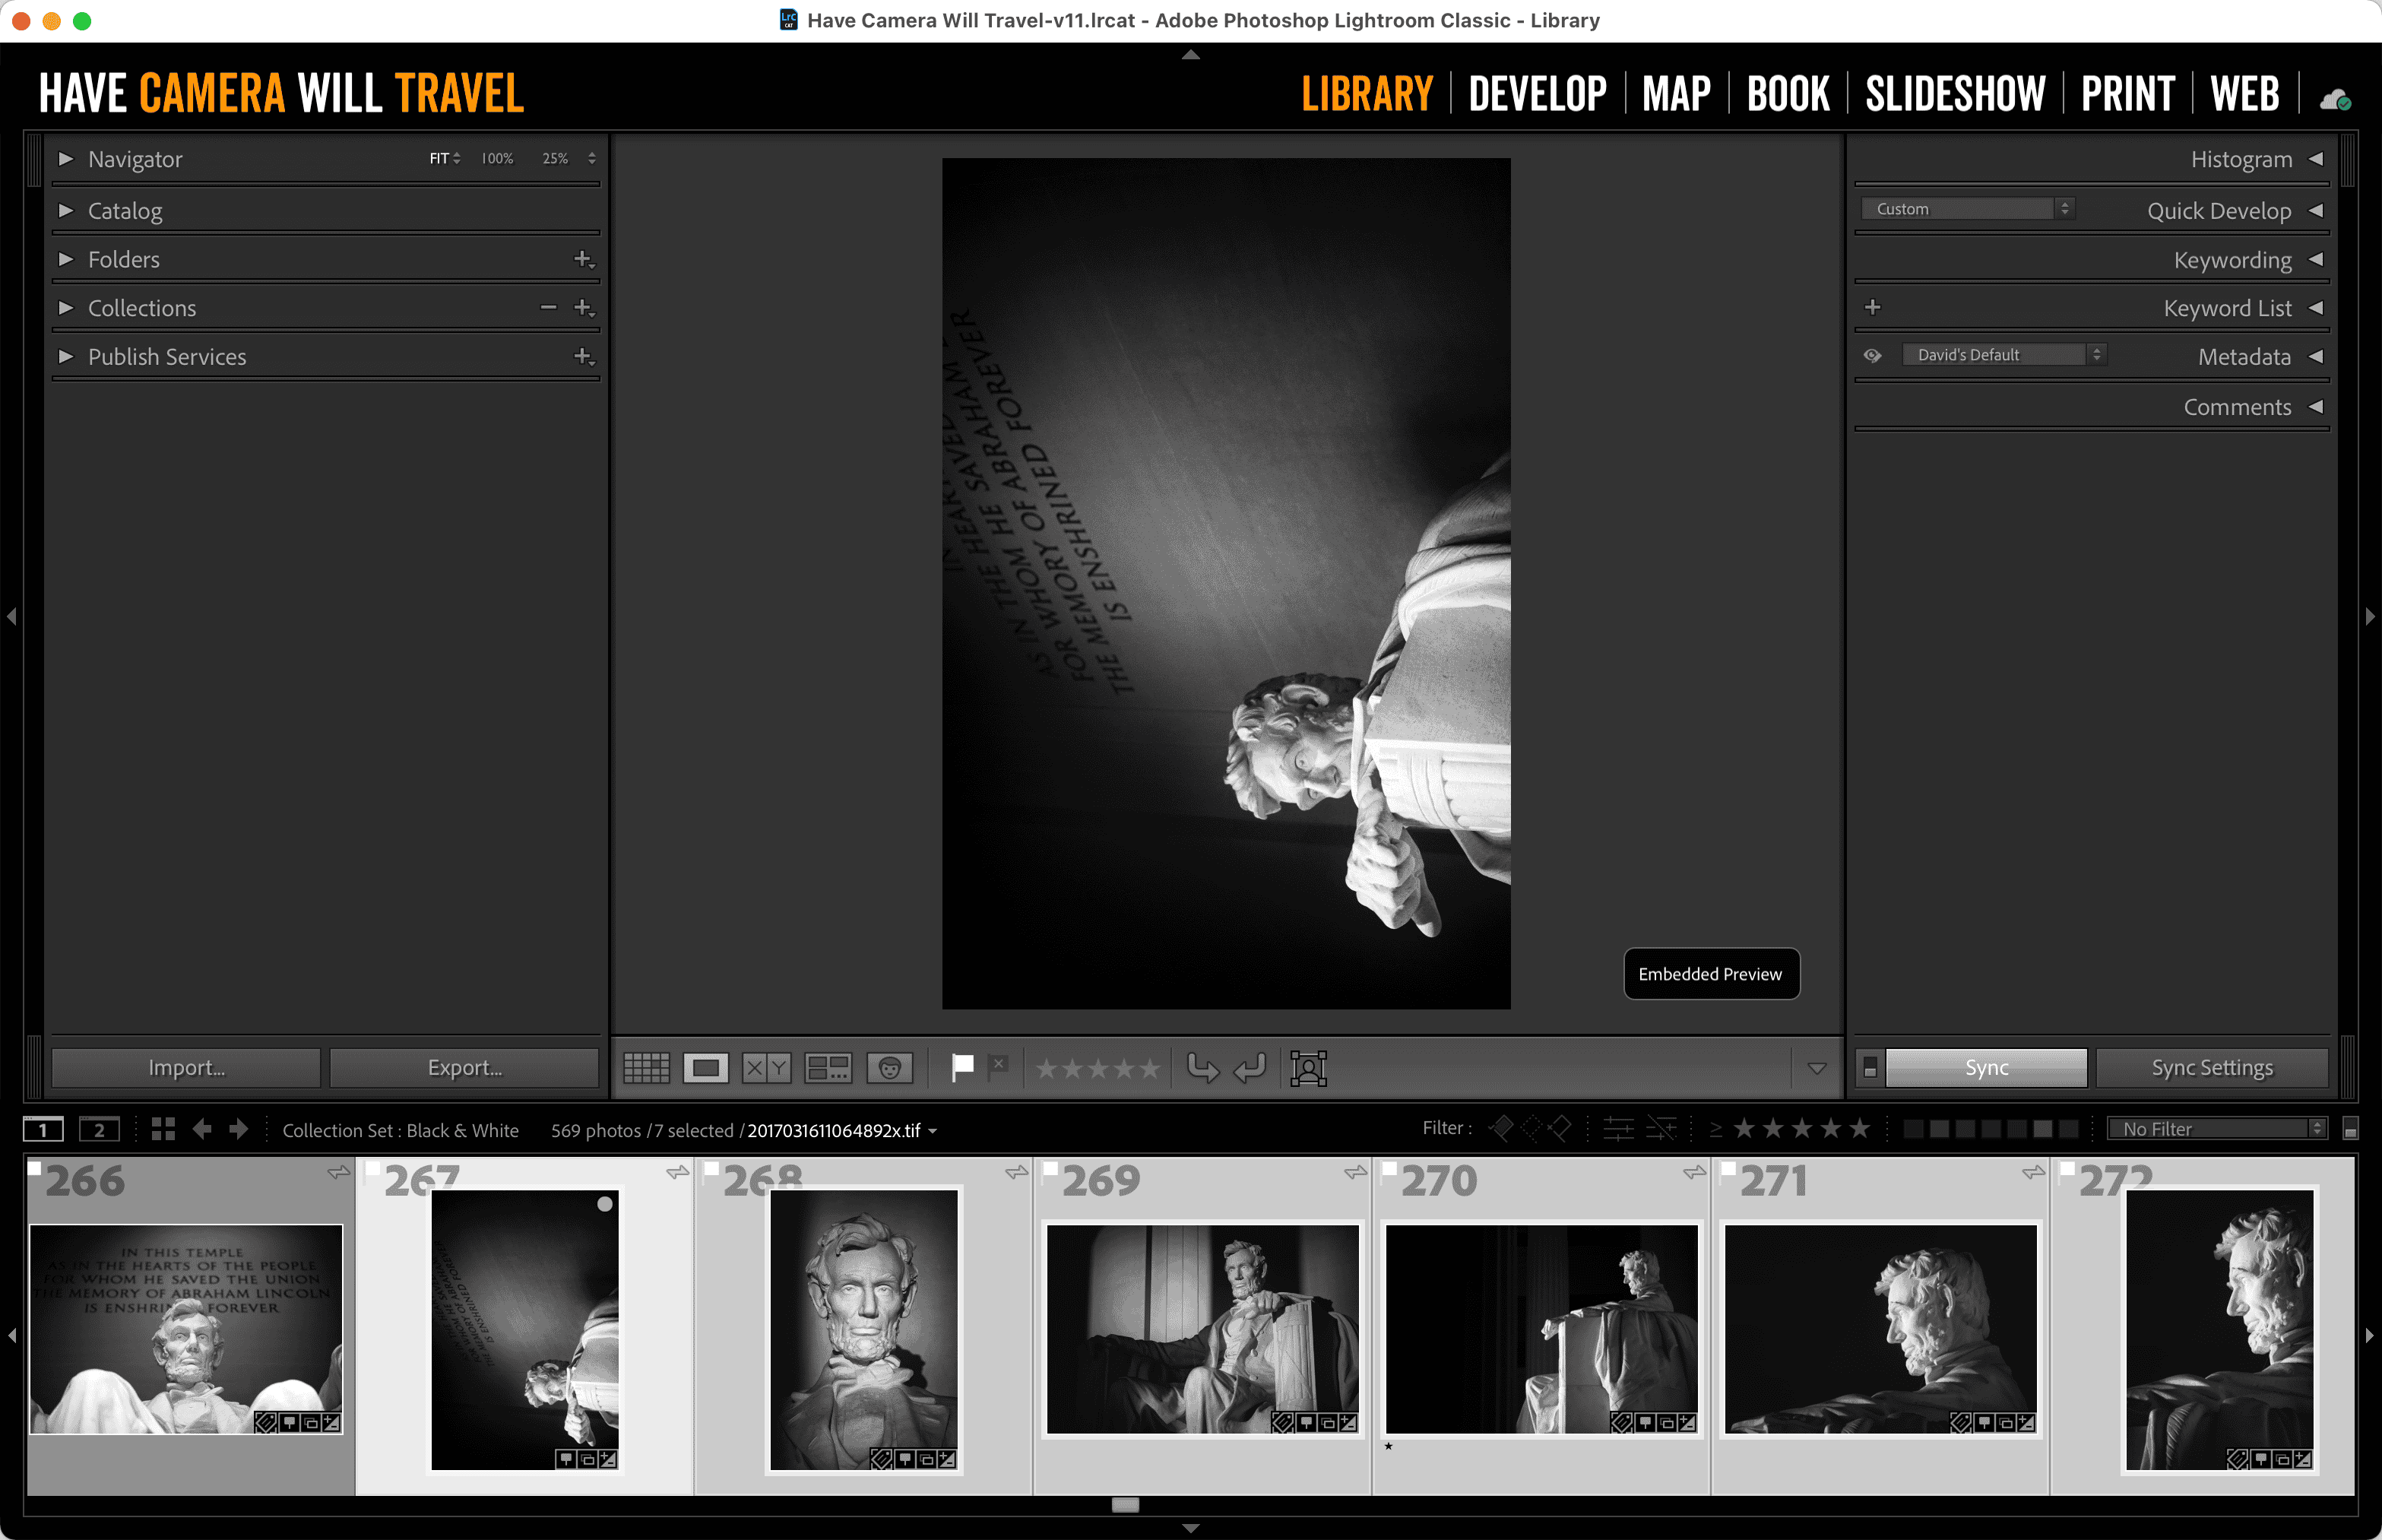
However, if I right-click on the filmstrip instead of the main image, it will rotate all the selected images.
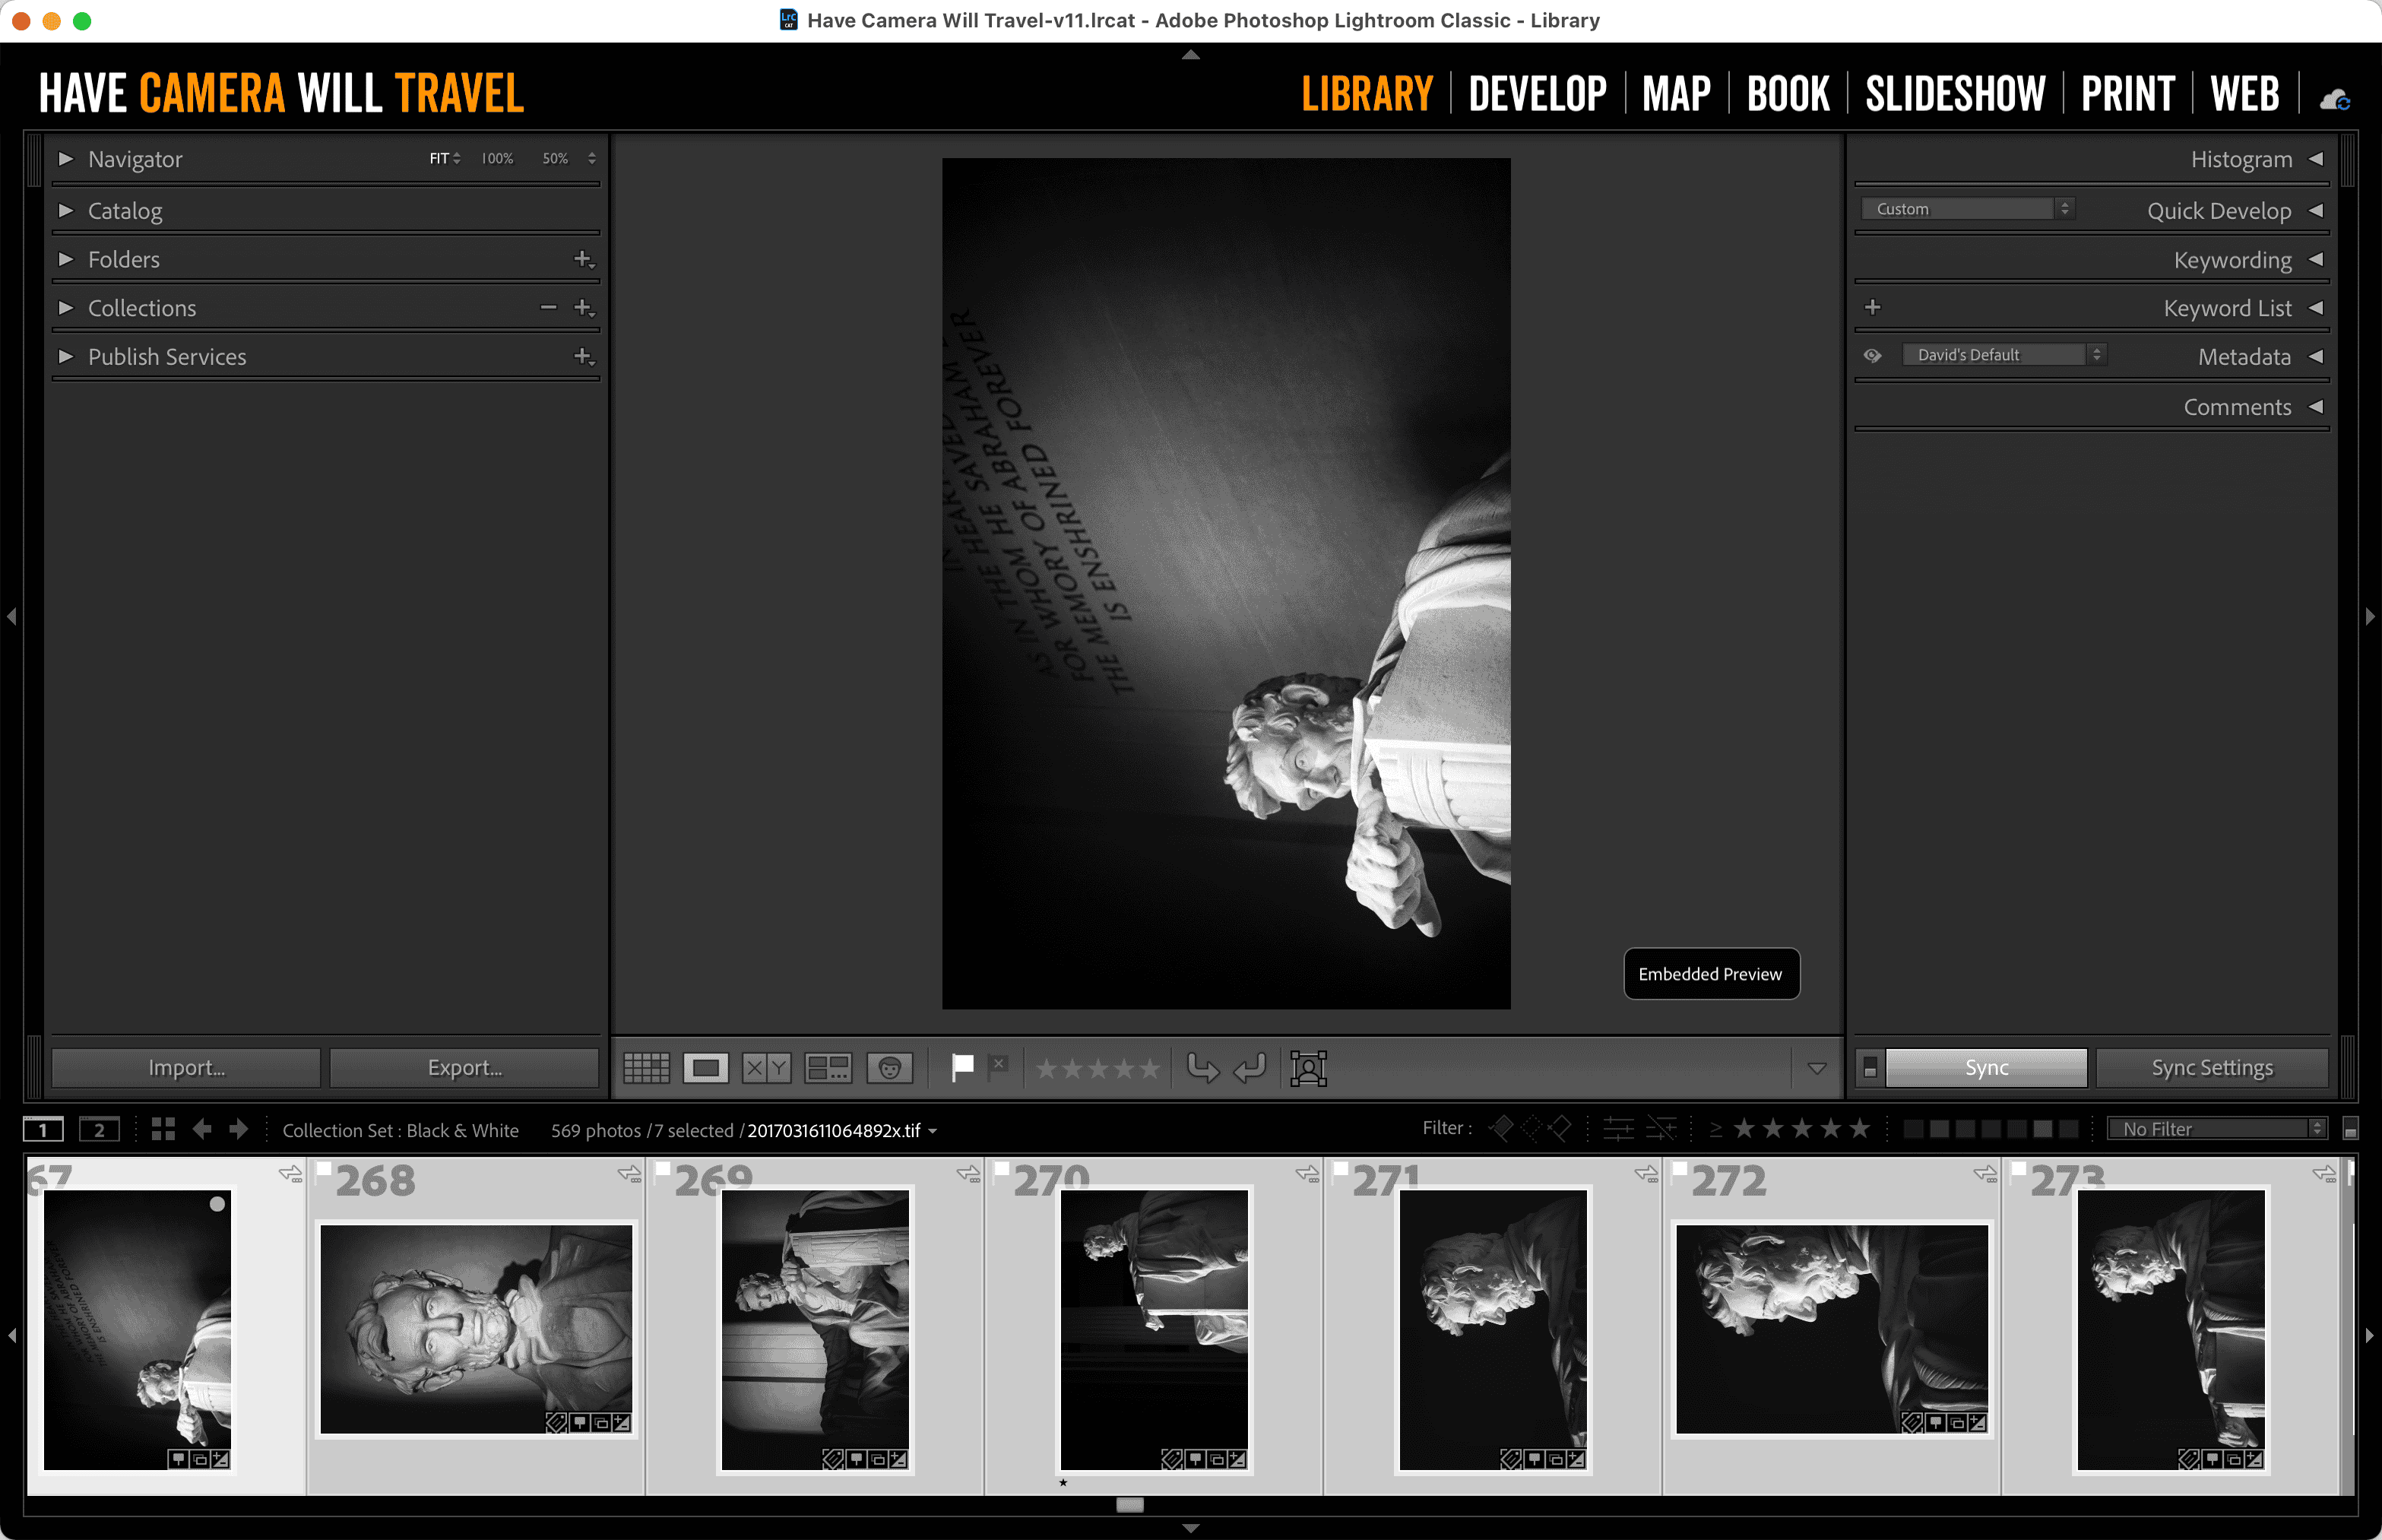
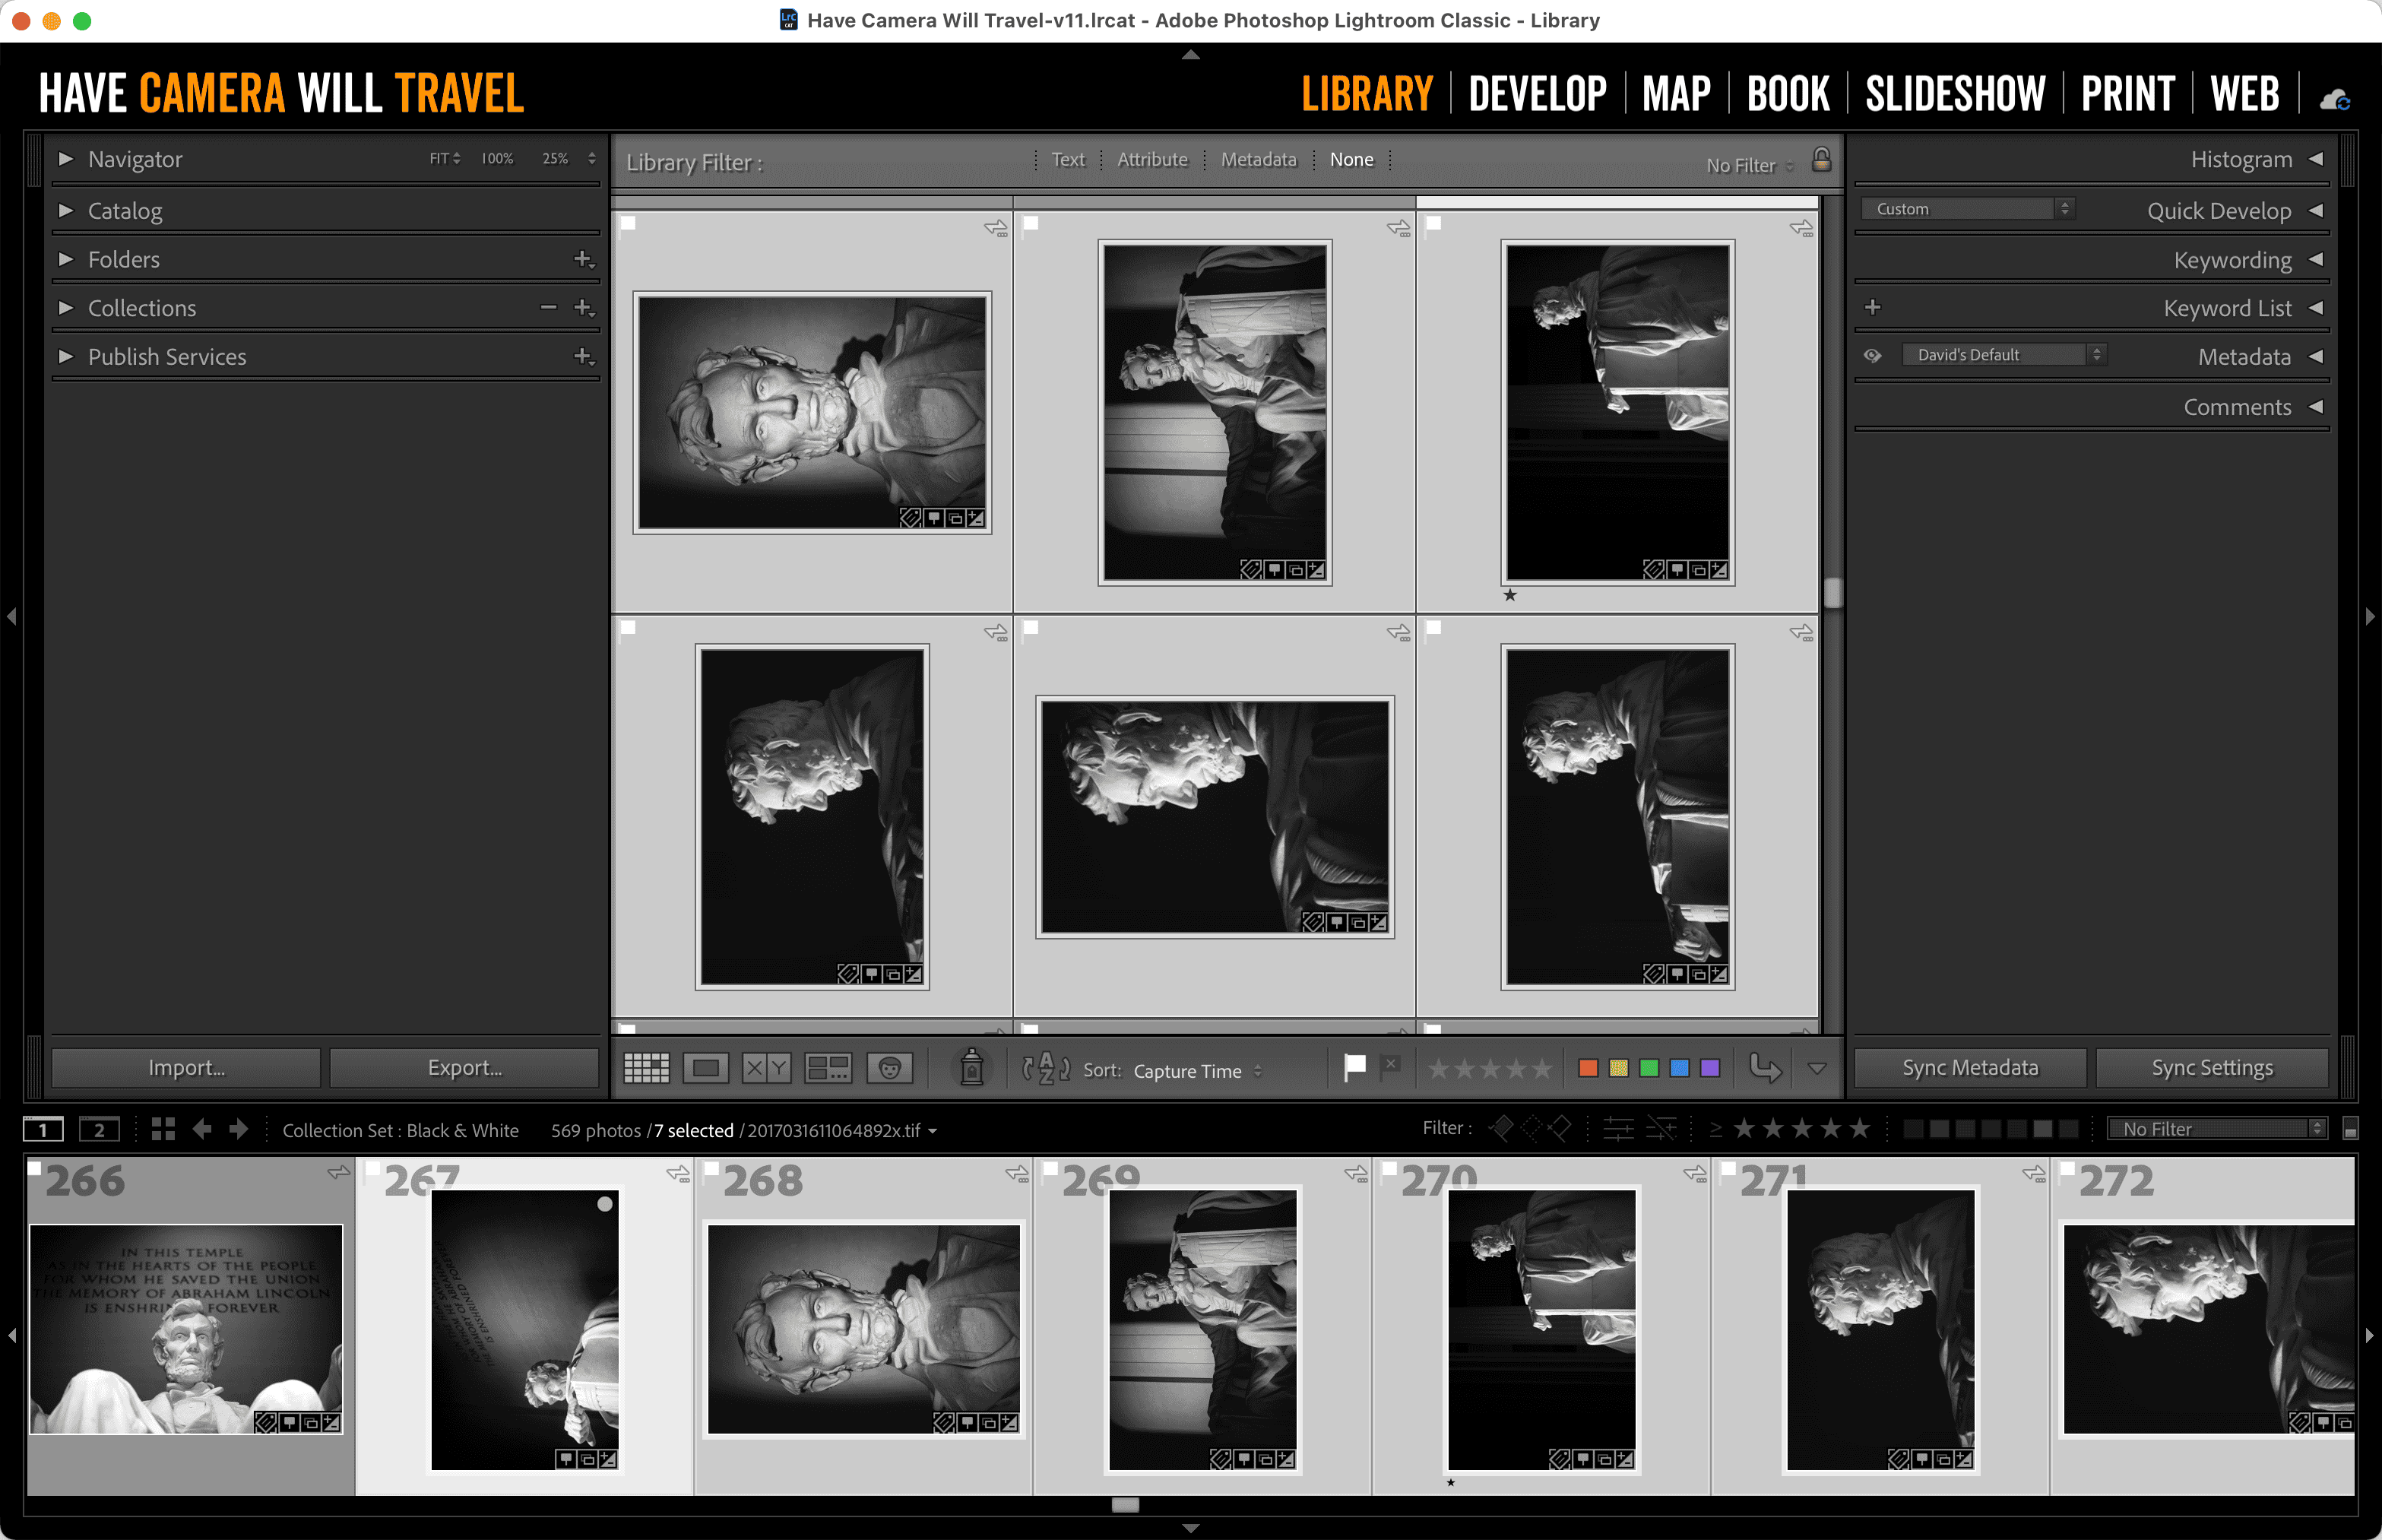
Another way of doing this is to first switch to the grid view (press ESC or the grid icon from the toolbar above the filmstrip. In this case, rotating using any of the methods will rotate all the selected images.
How to Rotate an Image by 90 Degrees in Lightroom’s Develop Module
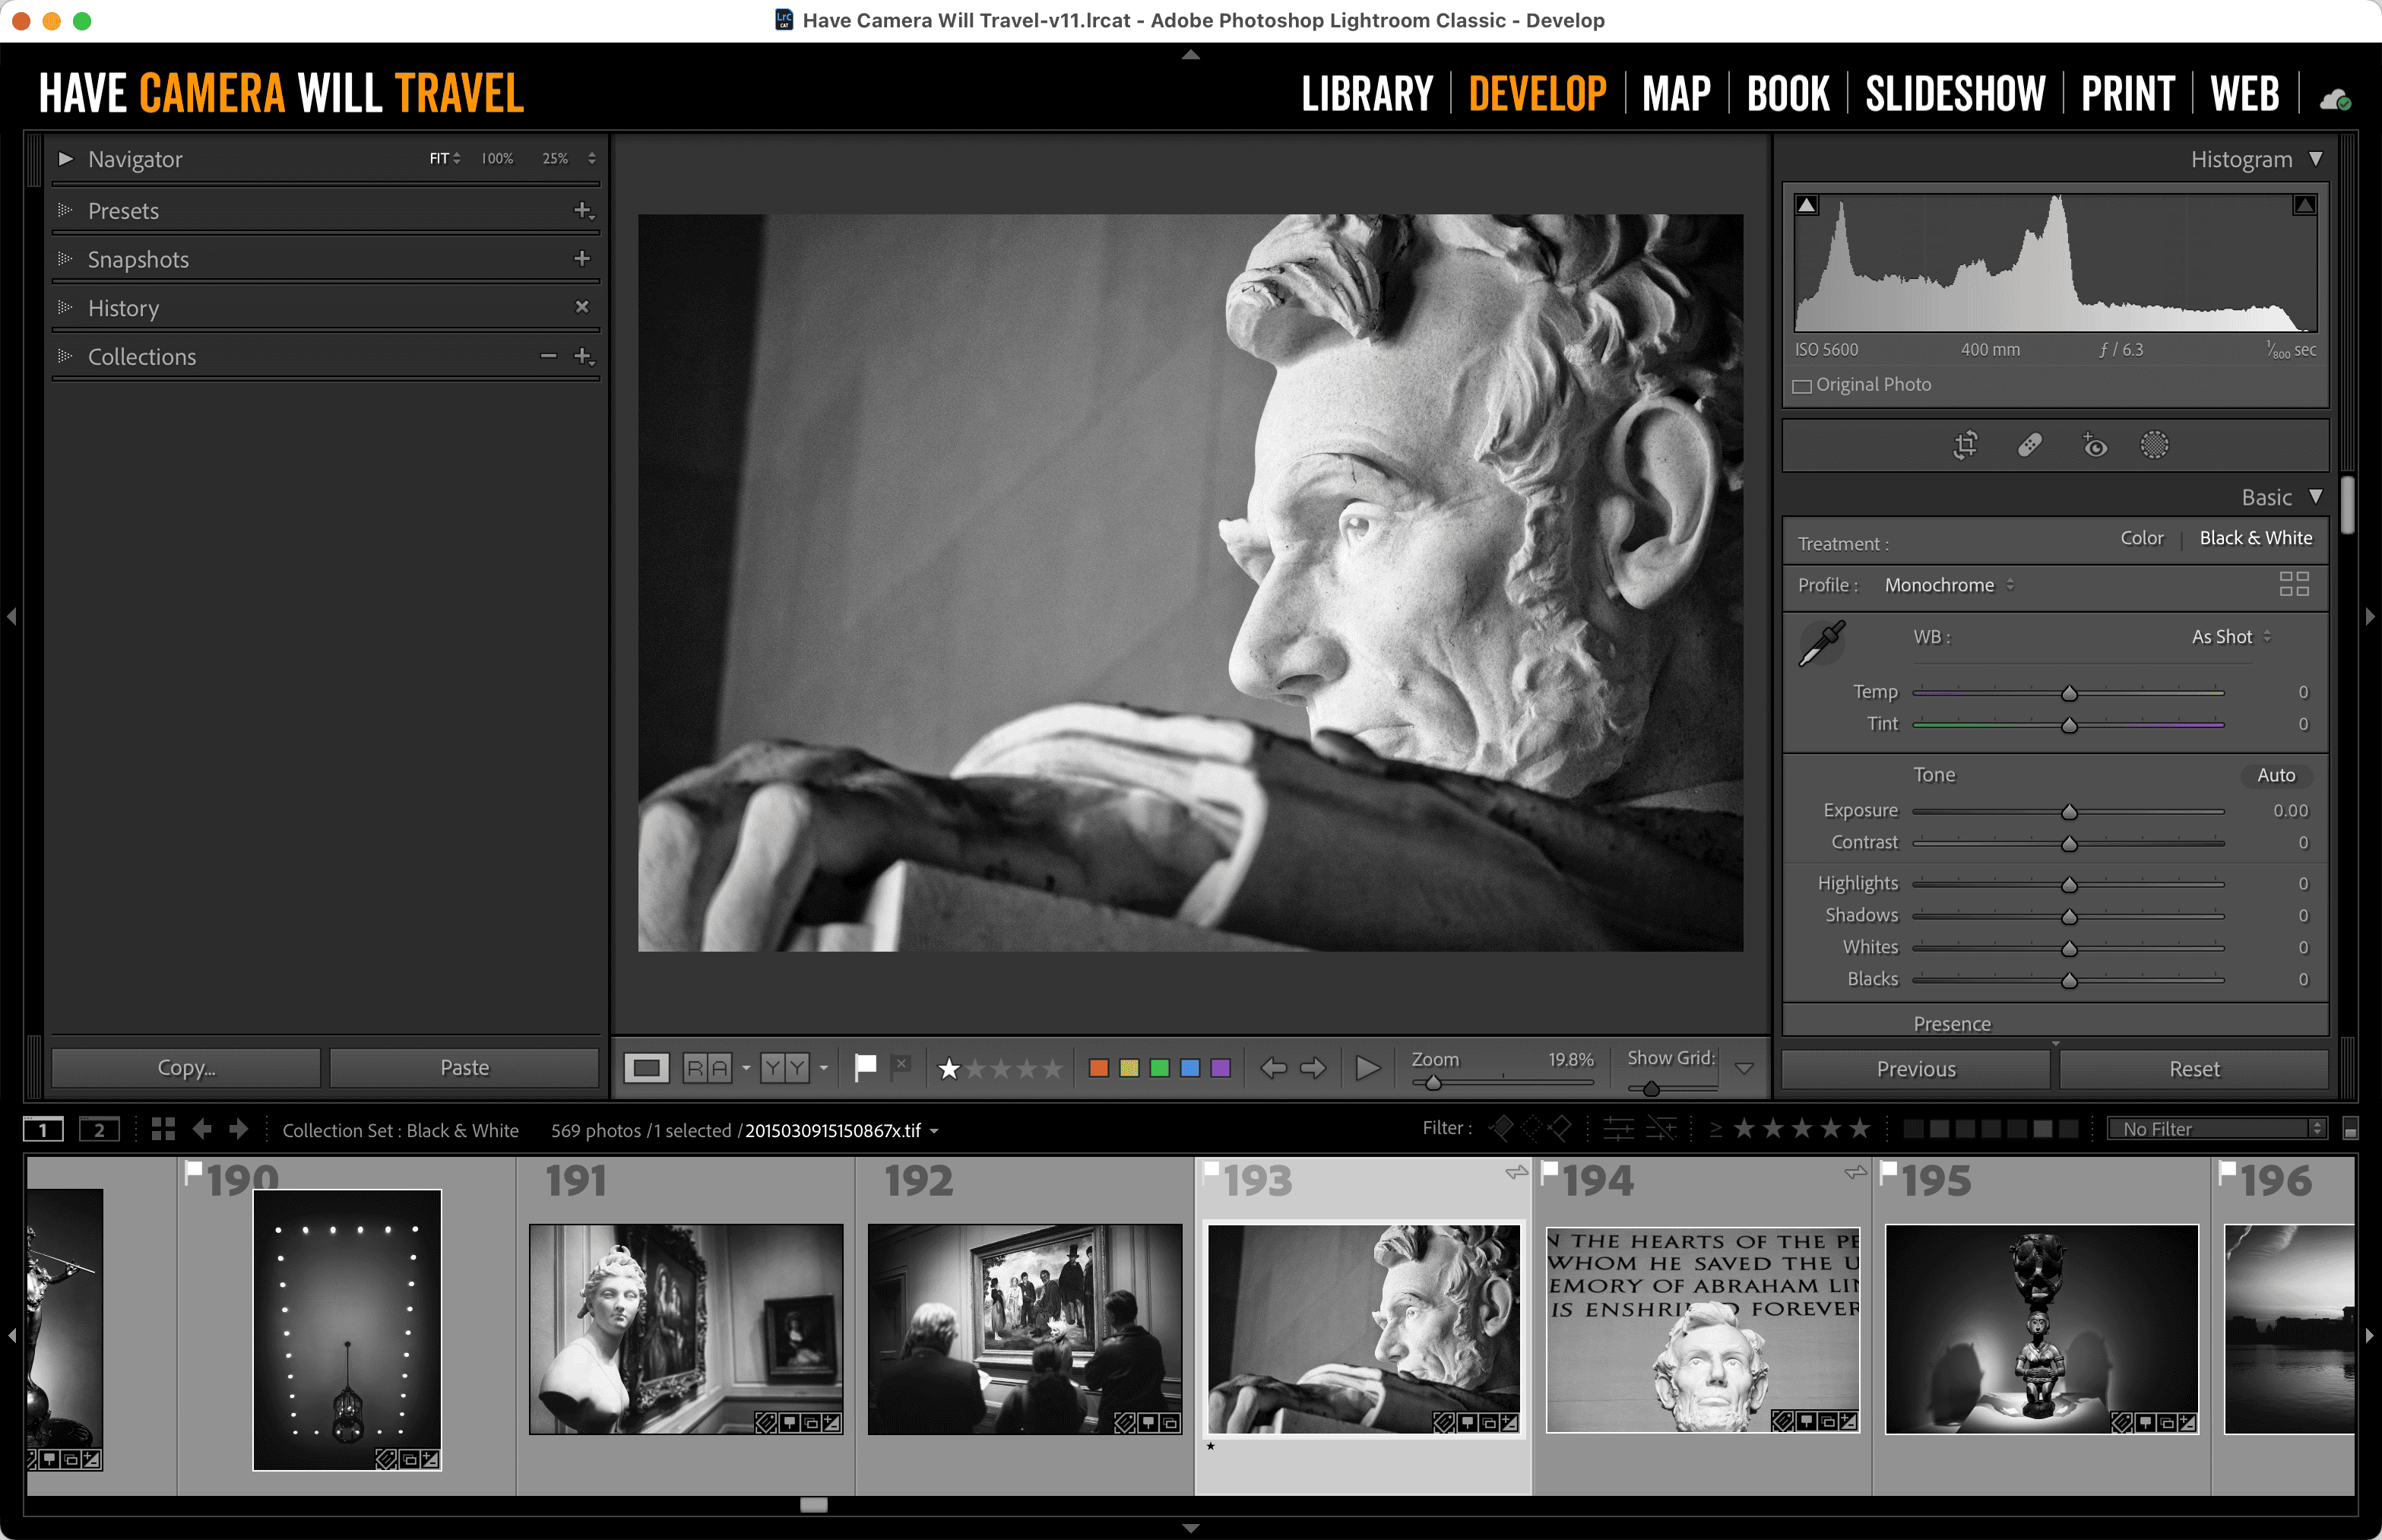
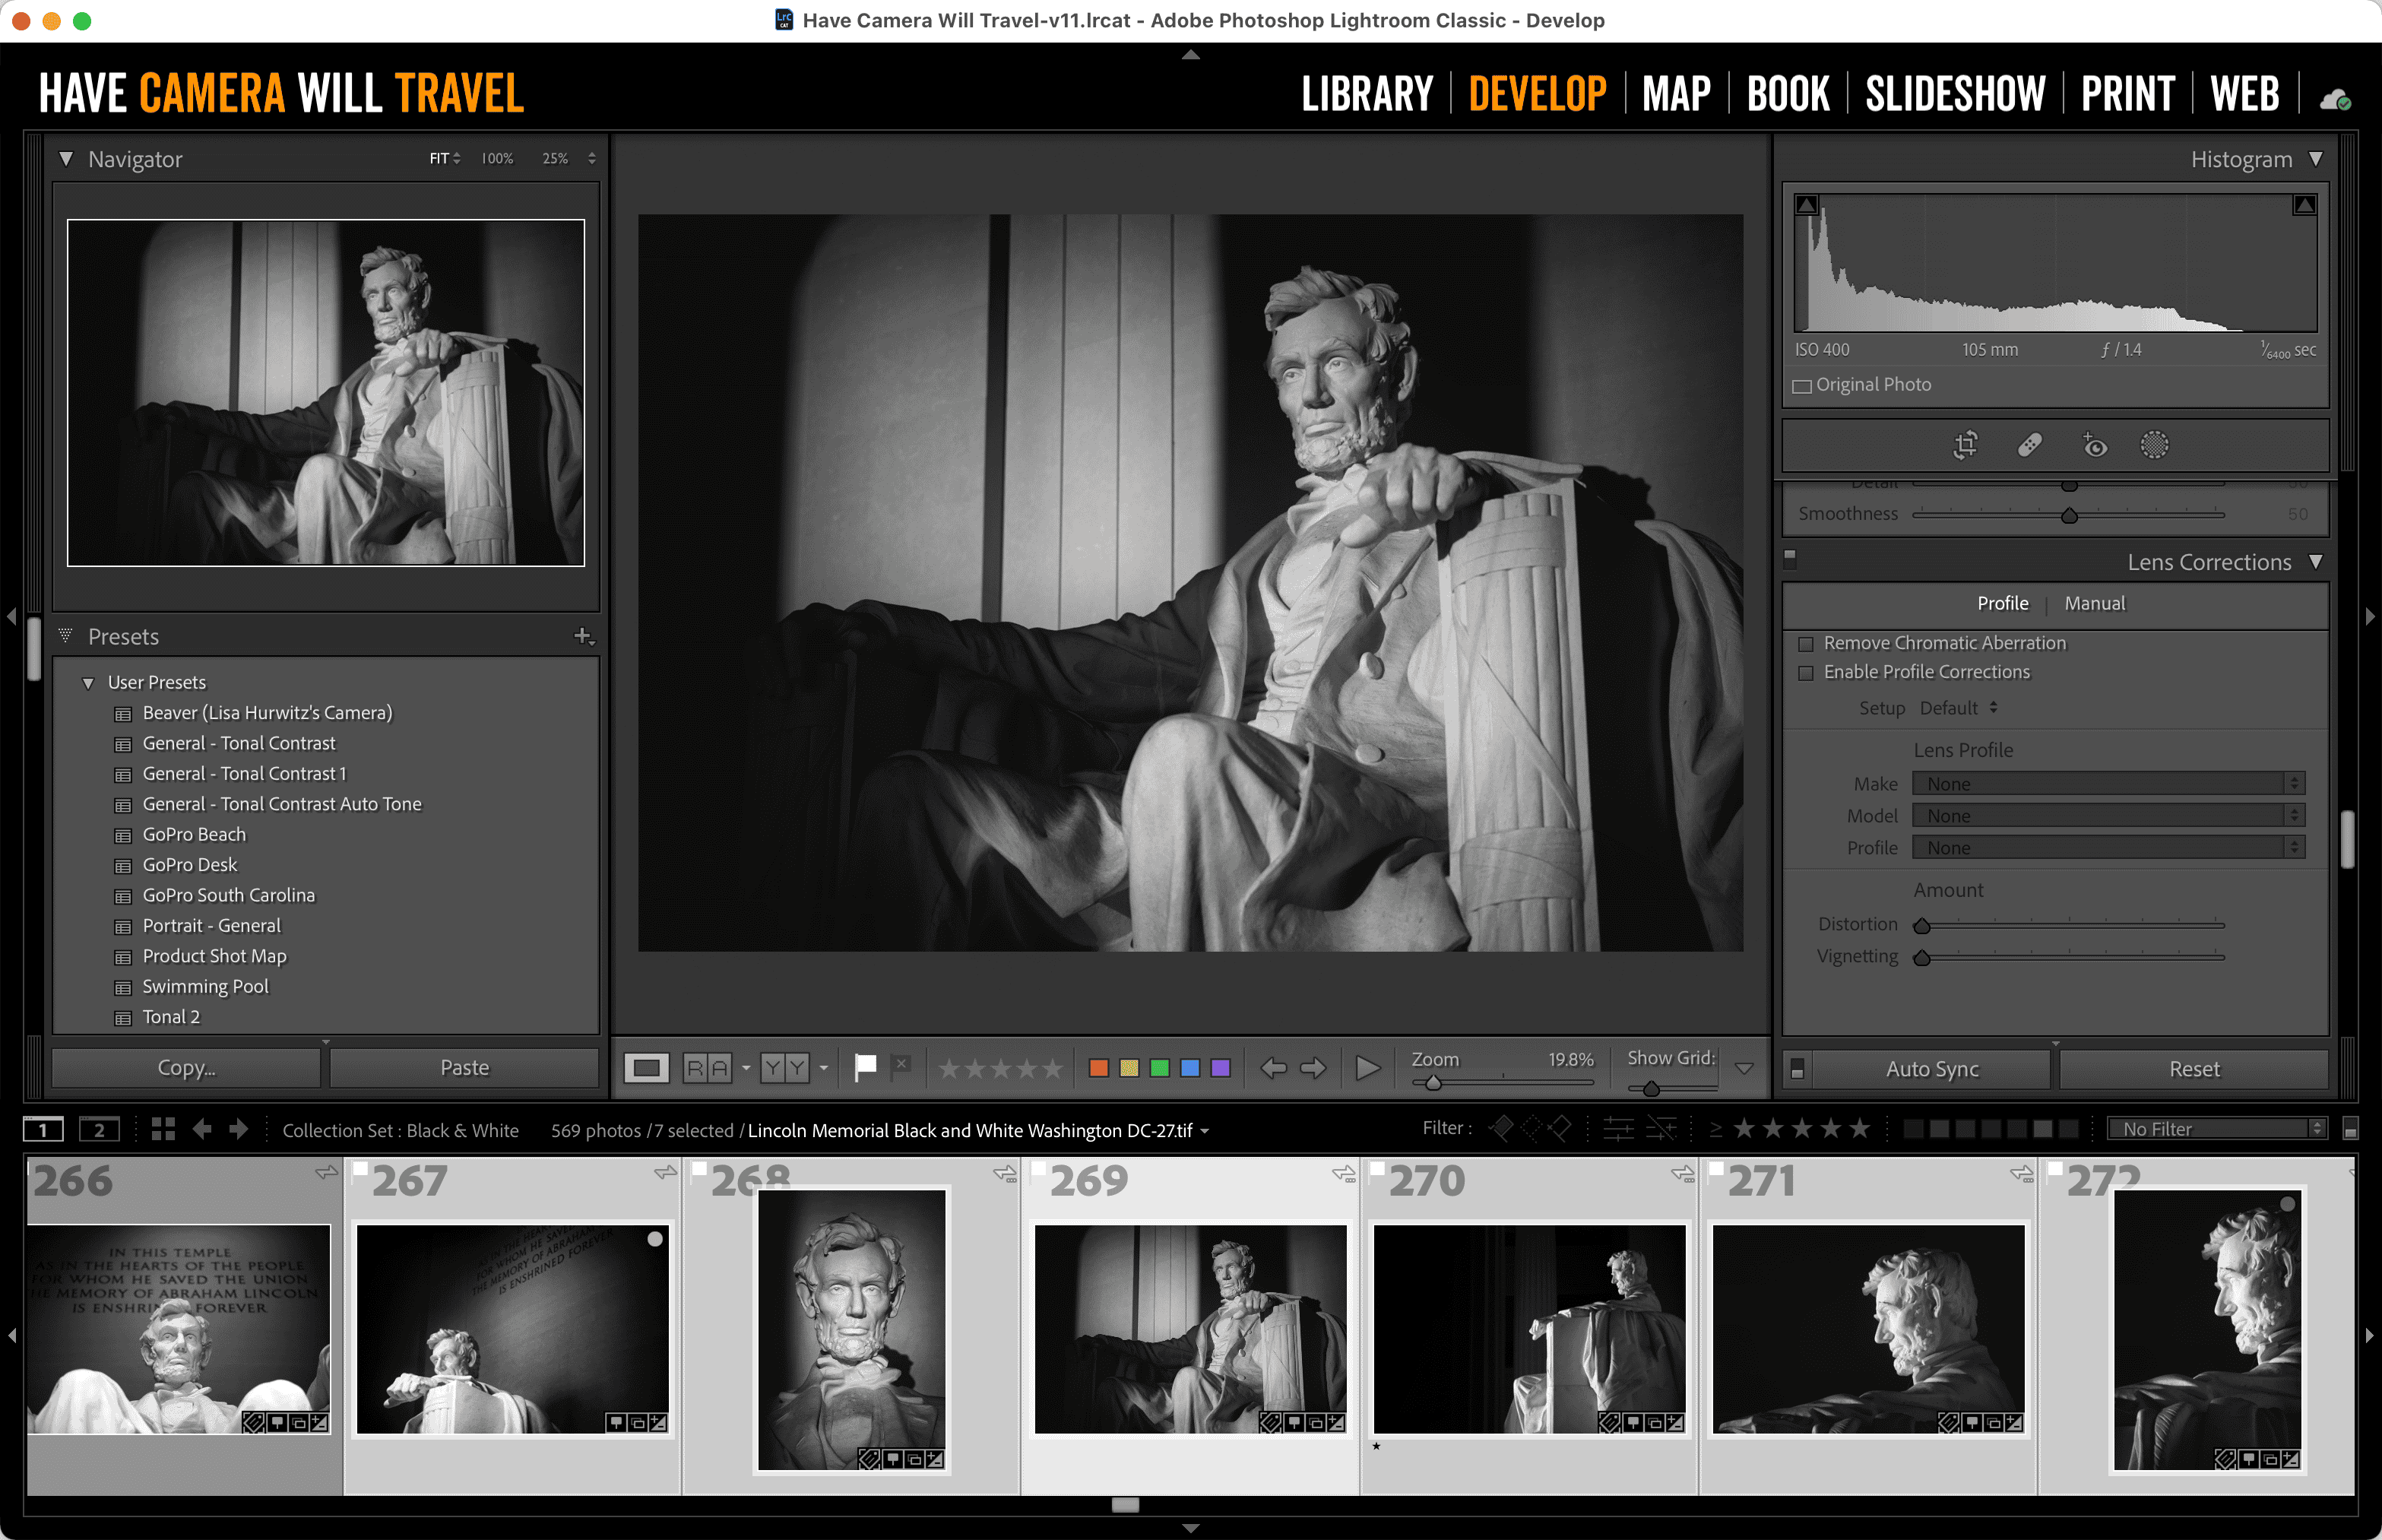
If you’re already in the Develop module and want to switch the orientation of the photo from landscape to portrait (horizontal to vertical) or vice versa, you can, but there are some slight differences in how you do it.
As you can see, the rotation buttons aren’t available in the toolbar anymore. But you can still use the rest of the methods for rotating.
How to Rotate a Photo Less than 90 Degrees
The 90-degree rotation is a simple way to switch photos from portrait to landscape orientation or vice-versa. But if you’re looking for my fine-grained rotation you’ll need to use different tools that are available in the Develop module.
The rotation options are under Crop & Straighten tool (which is also what you can use as part of resizing photos, and I also have more details on straightening here). You can access it by click on the crop tool icon, going to menu item Tools > Crop, or just press R.


(There’s also a rotation slider under Lens Corrections > Manual, but that’s really only useful if you’re complementing the other lens correction transformation sliders.)
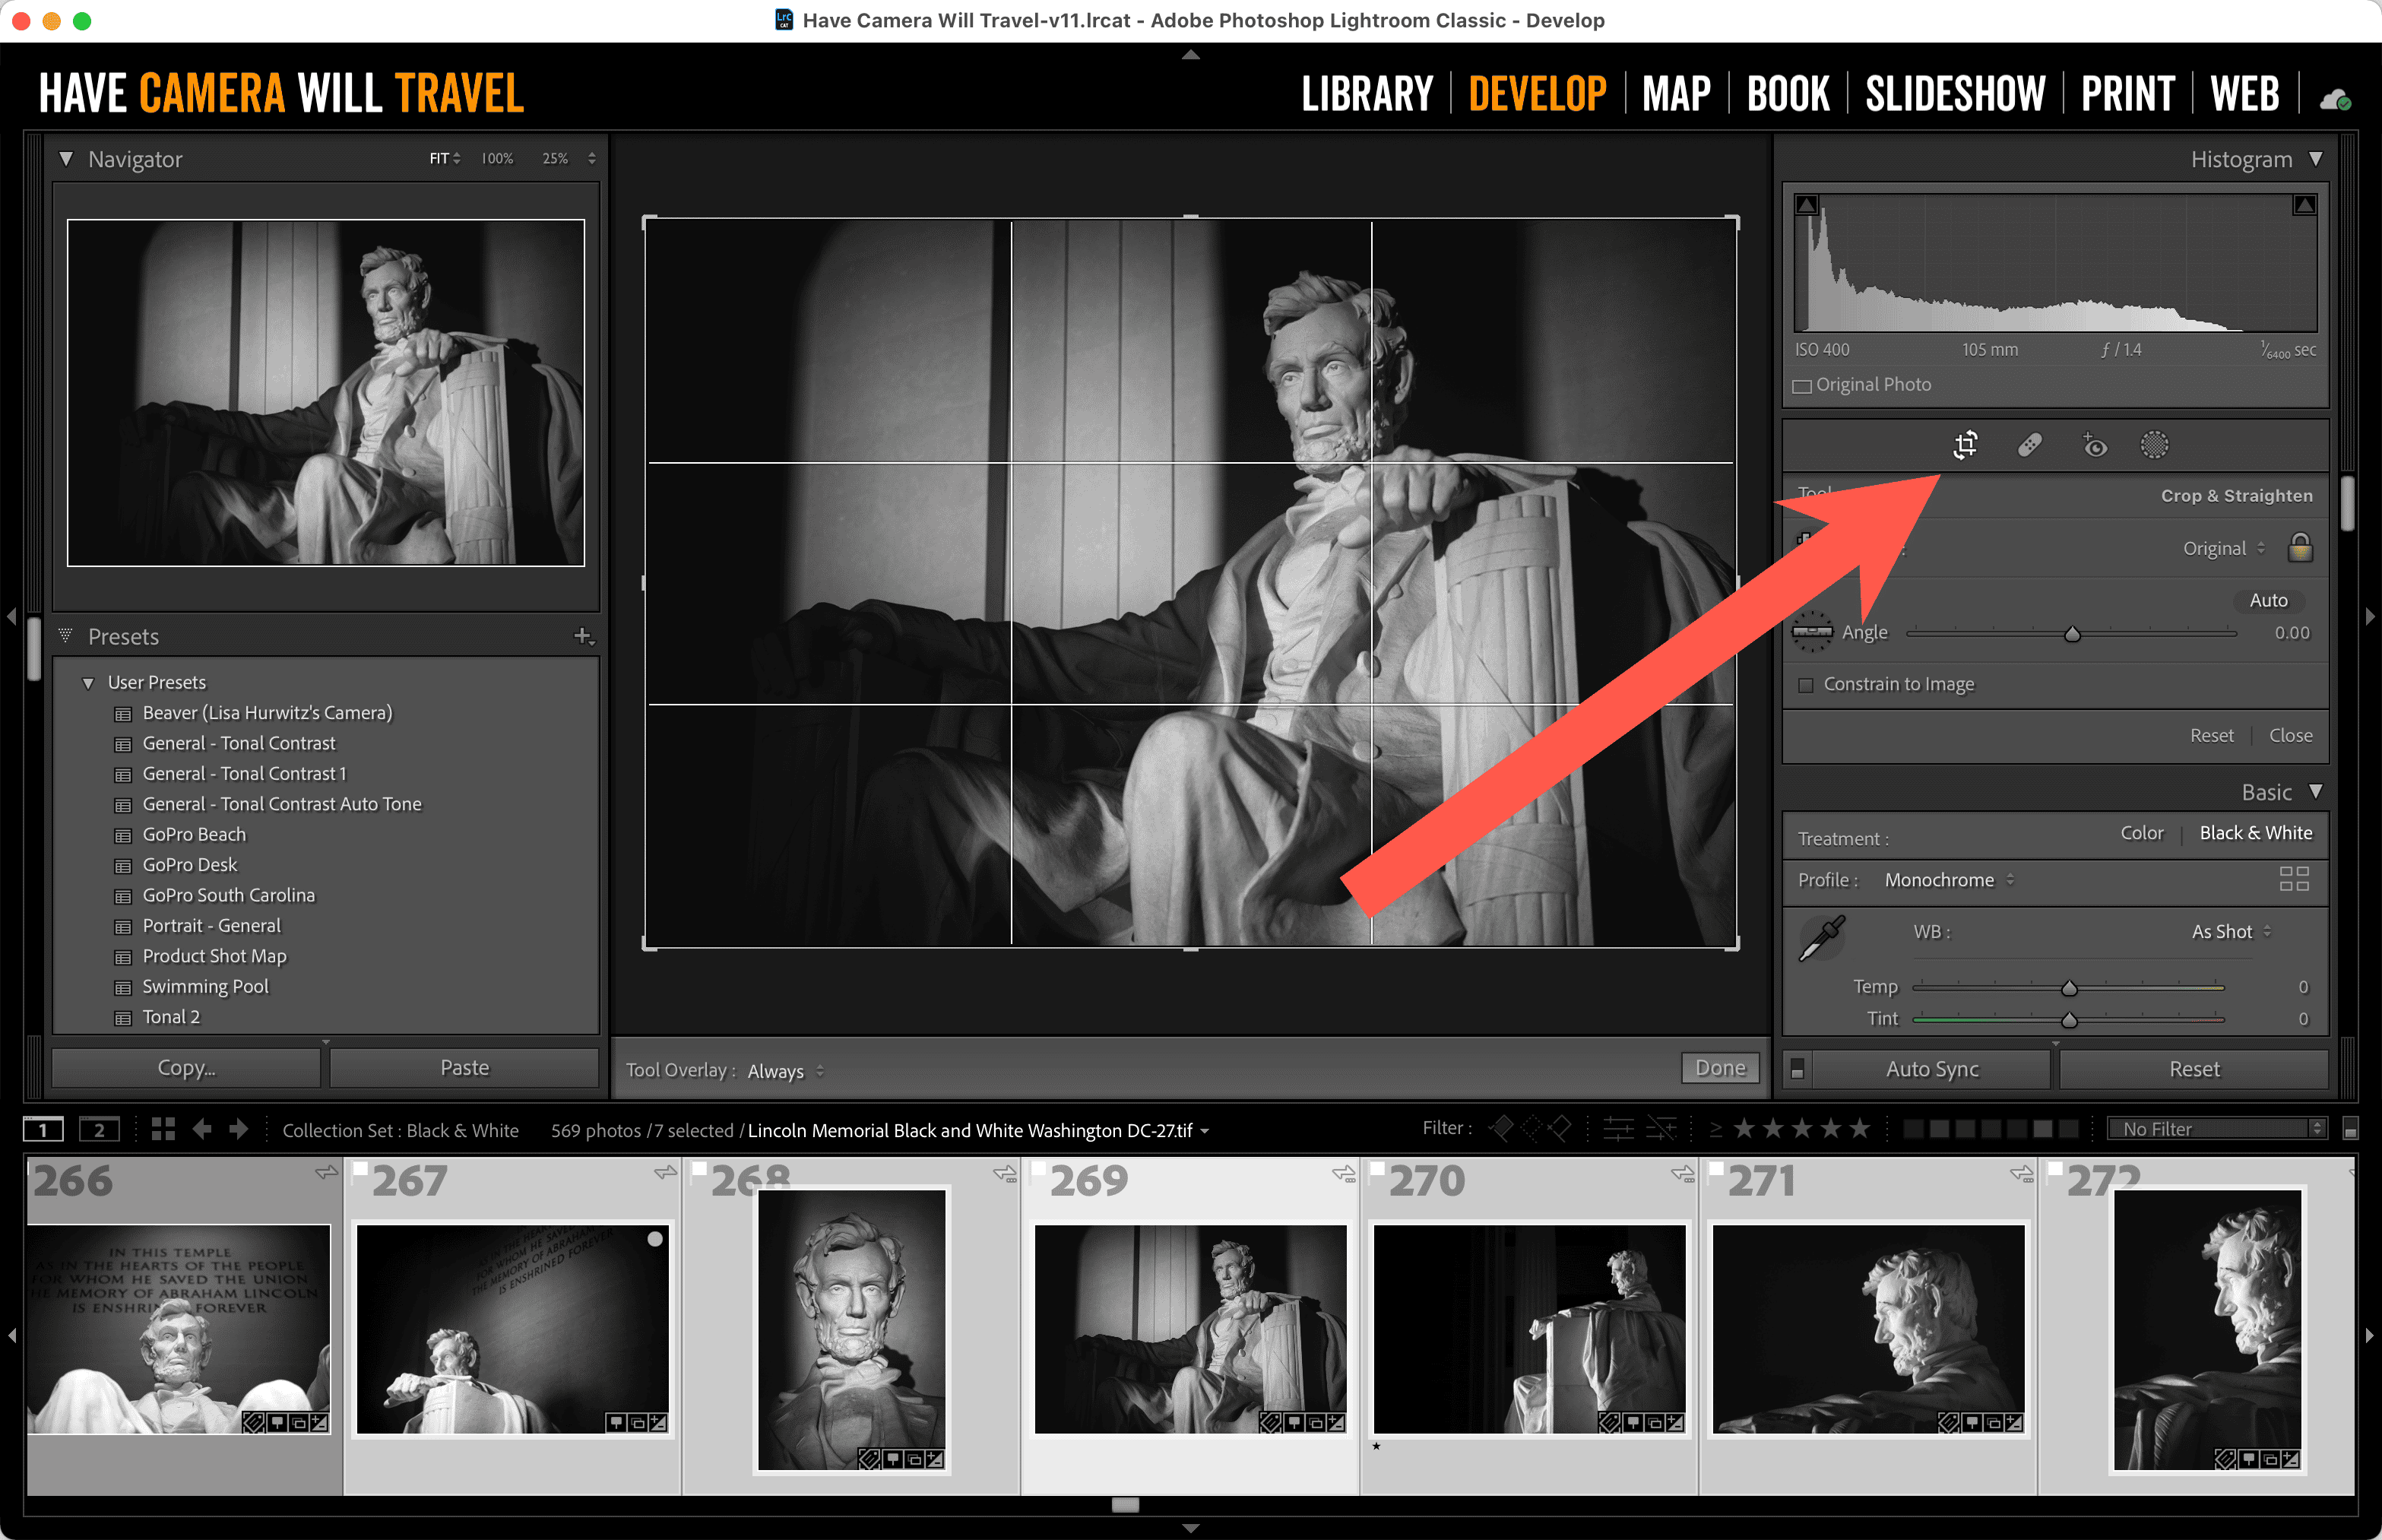
When using the Crop tool there are different ways to control the rotation.
How to Straighten a Photo with the Slider
The slider starts by default in the middle. Drag the marker to the left to rotate counter-clockwise and drag to the right to rotate clockwise. You’ll see the degree reading to the right of the slider reflect the change measured in degrees.
If you want to reset back to zero you can drag the slider back to the middle. But an even quicker way is to double-click on the word Angle to the right of the slider (this reset trick works on other tools in Lightroom as well).
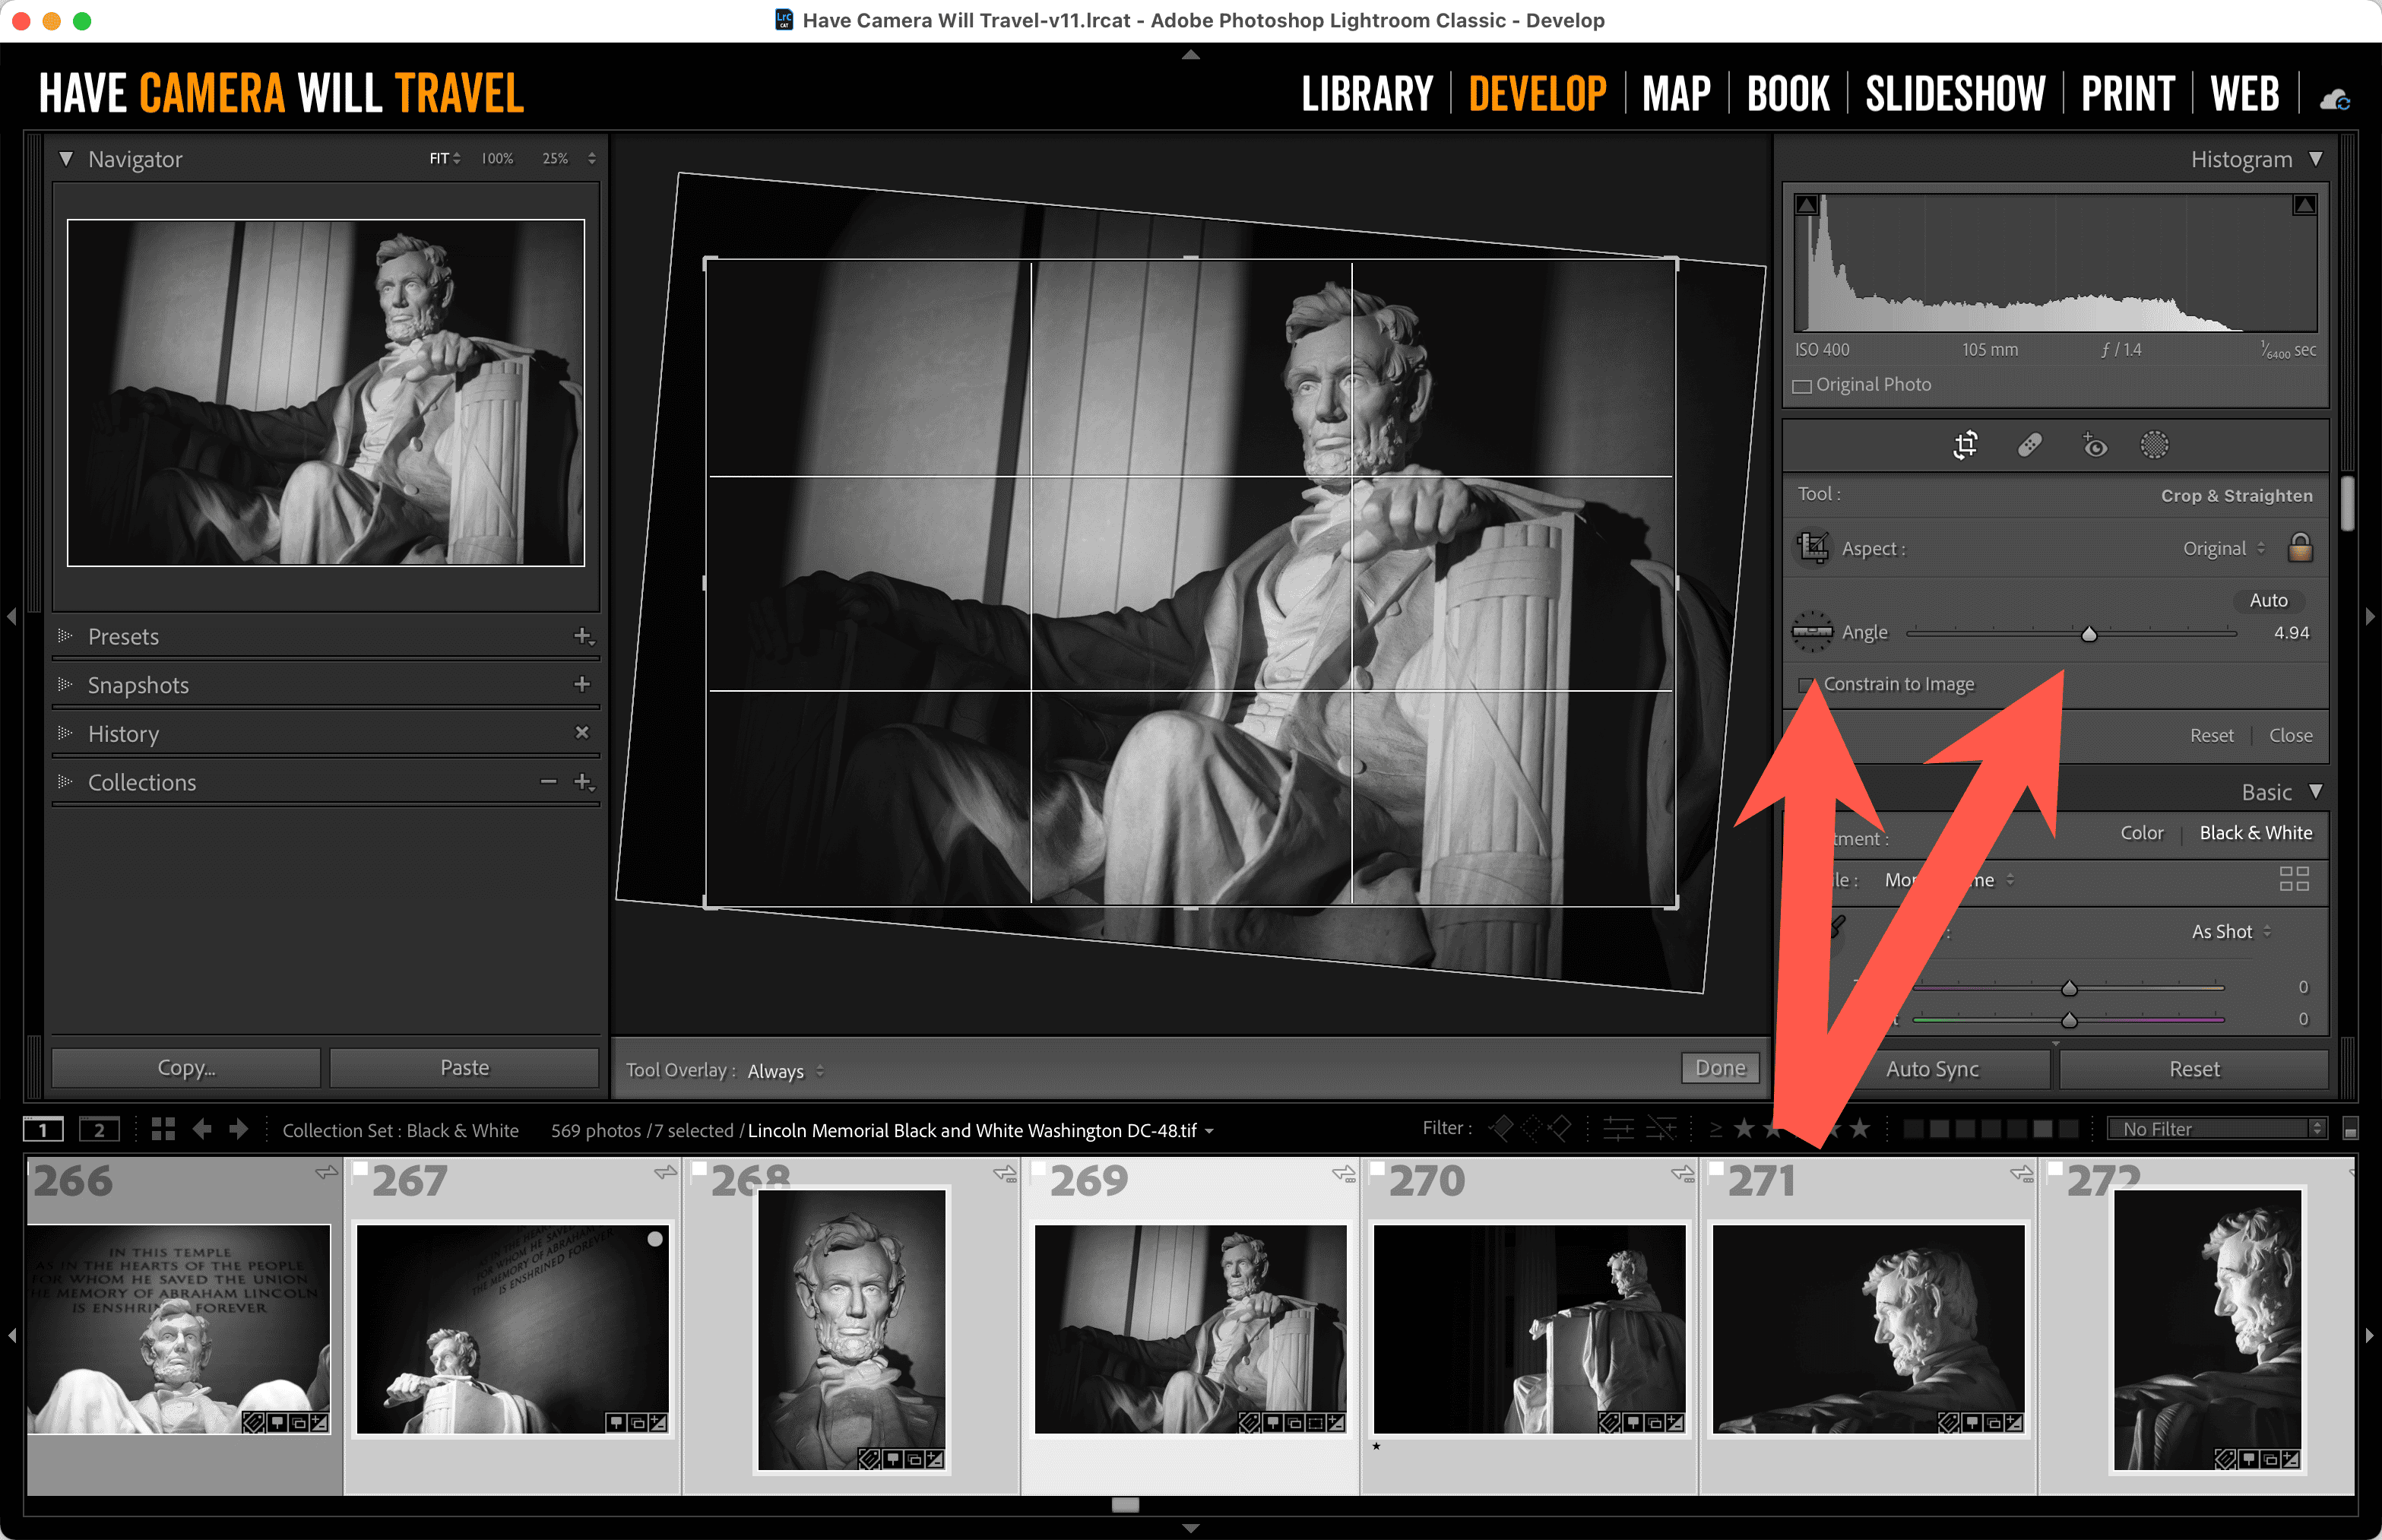
You can also manually input the number of degrees you want to rotate. Click on the degree reading and simply type the rotation. Positive numbers rotate clockwise. To rotate counterclockwise, just add a minus sign in front. As soon as you hit enter or click outside the box you’ll see the rotation reflected on the image.
How to Rotate with the Crop Handles
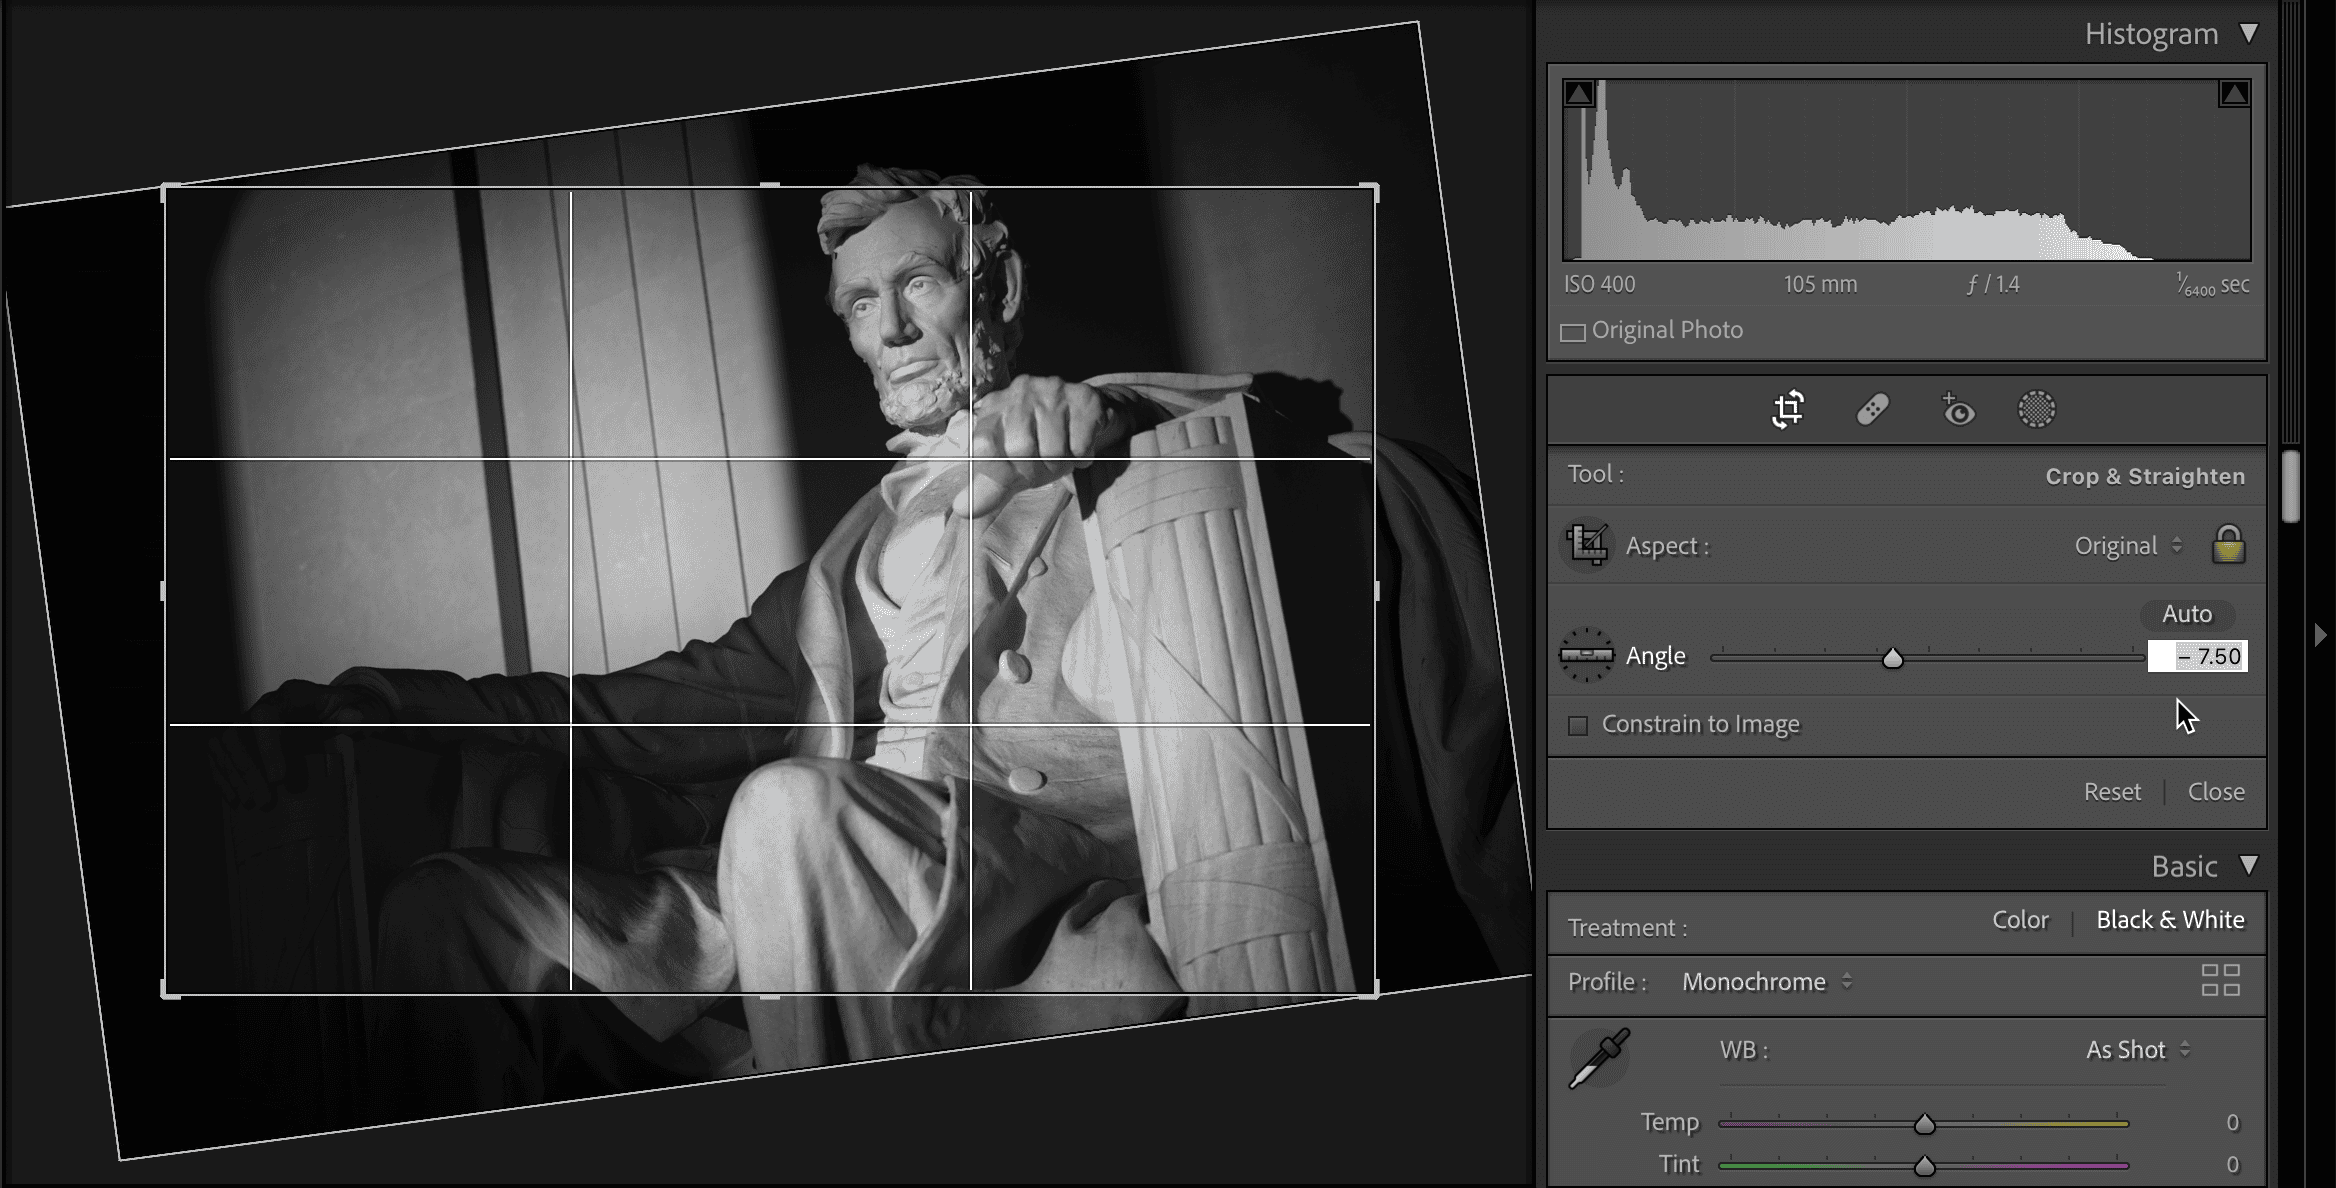
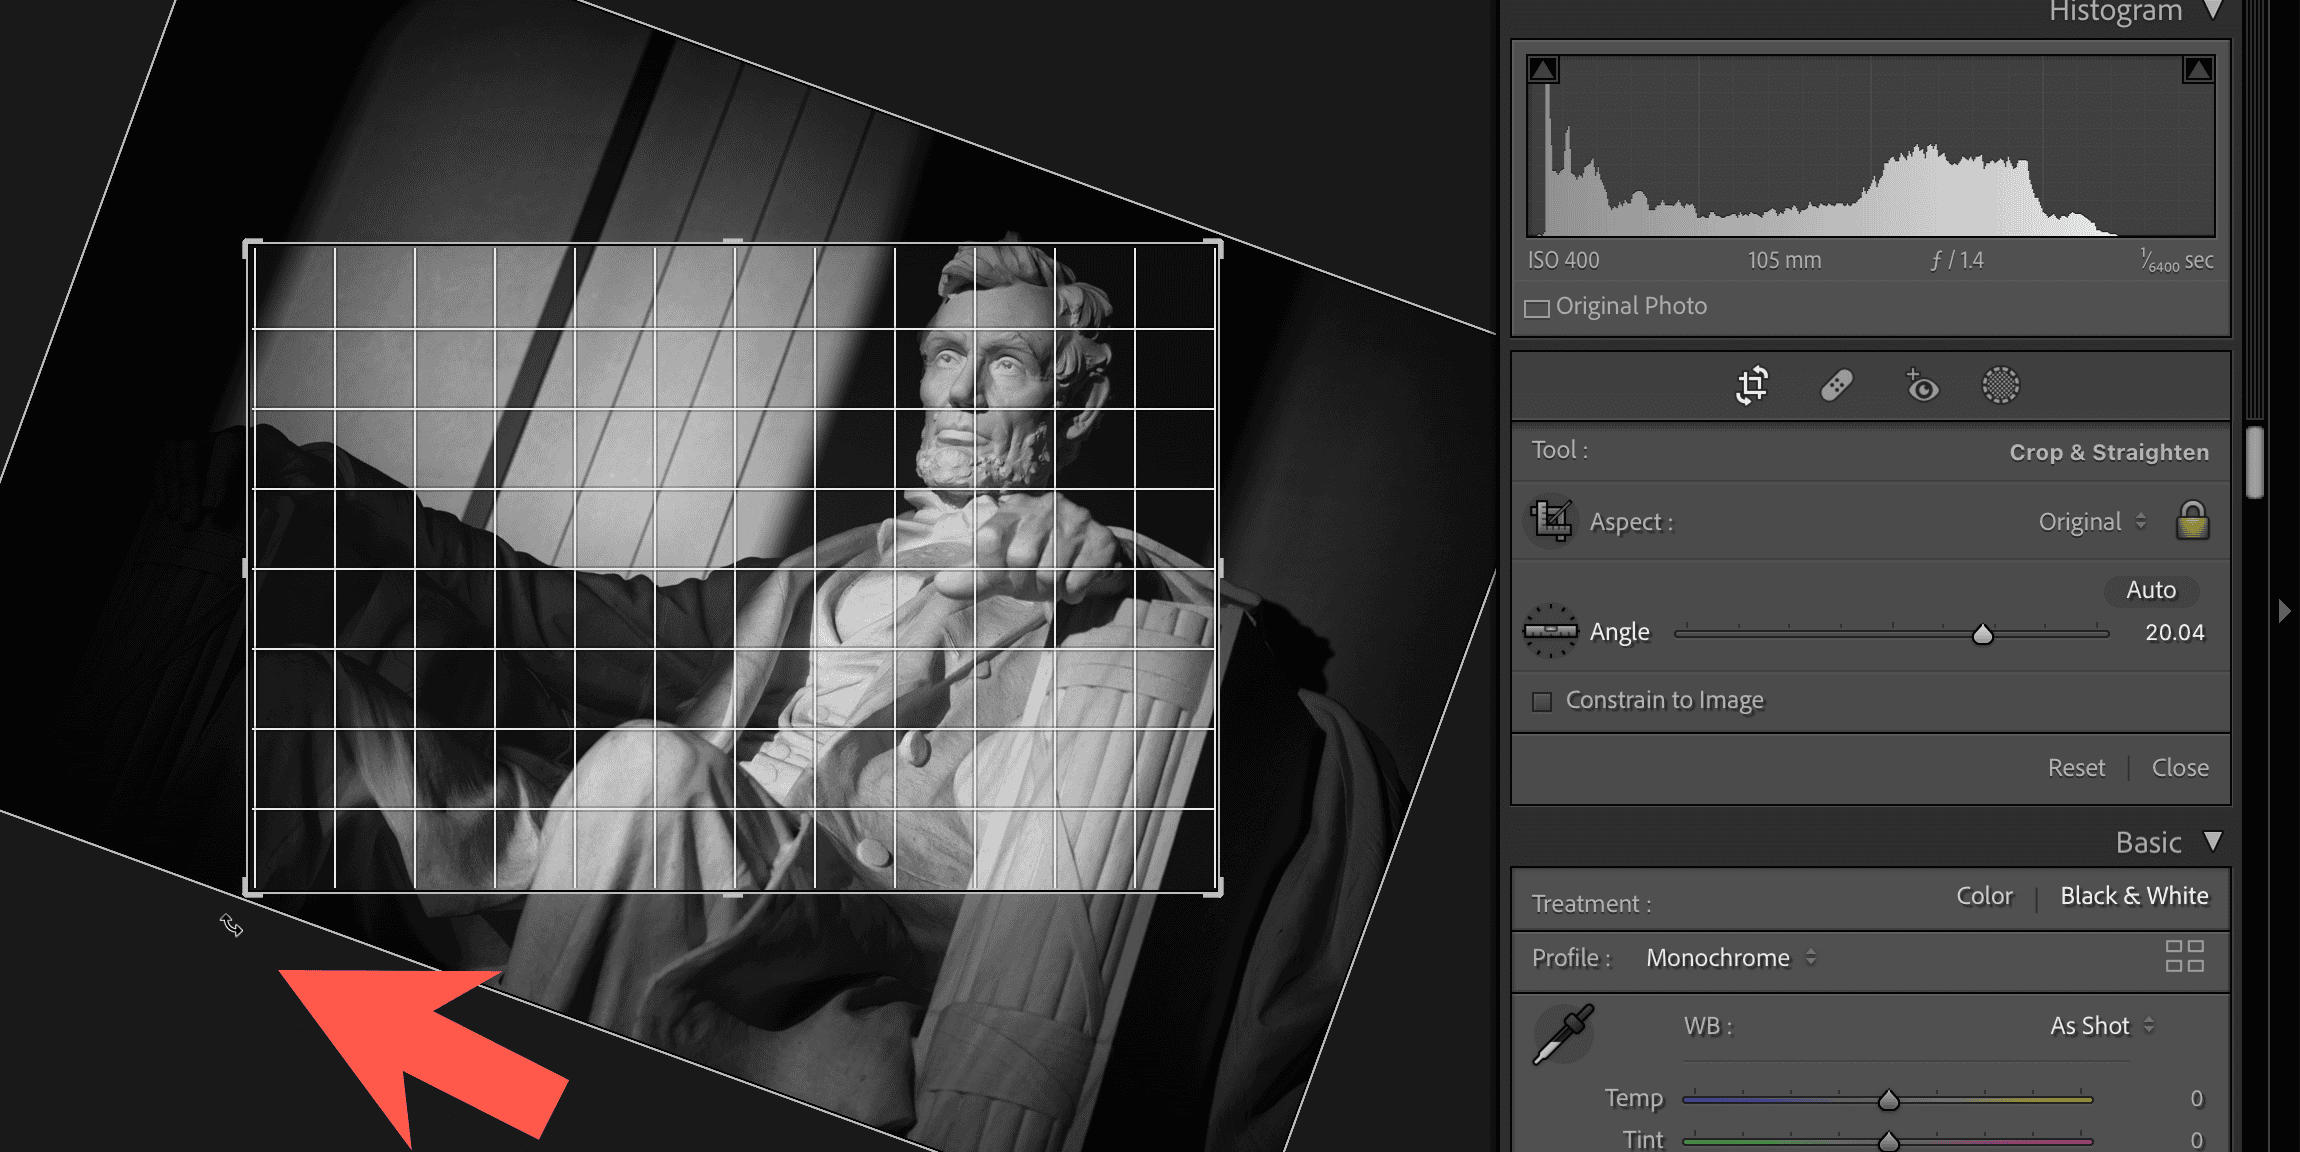
Once you click on the Crop tool the crop overlay will become visible. It has 8 handle spots–one on each corner and one in the middle of each side. If you click and hold on any of those the cursor will change. If you’re right over the crop handle it’ll be a cursor that has a straight double-ended line to indicate you’re cropping. If you move the cursor slightly outside the image it will change to a bent line indication rotation.
If you click and drag you can then rotate the image.
Precise Straighten
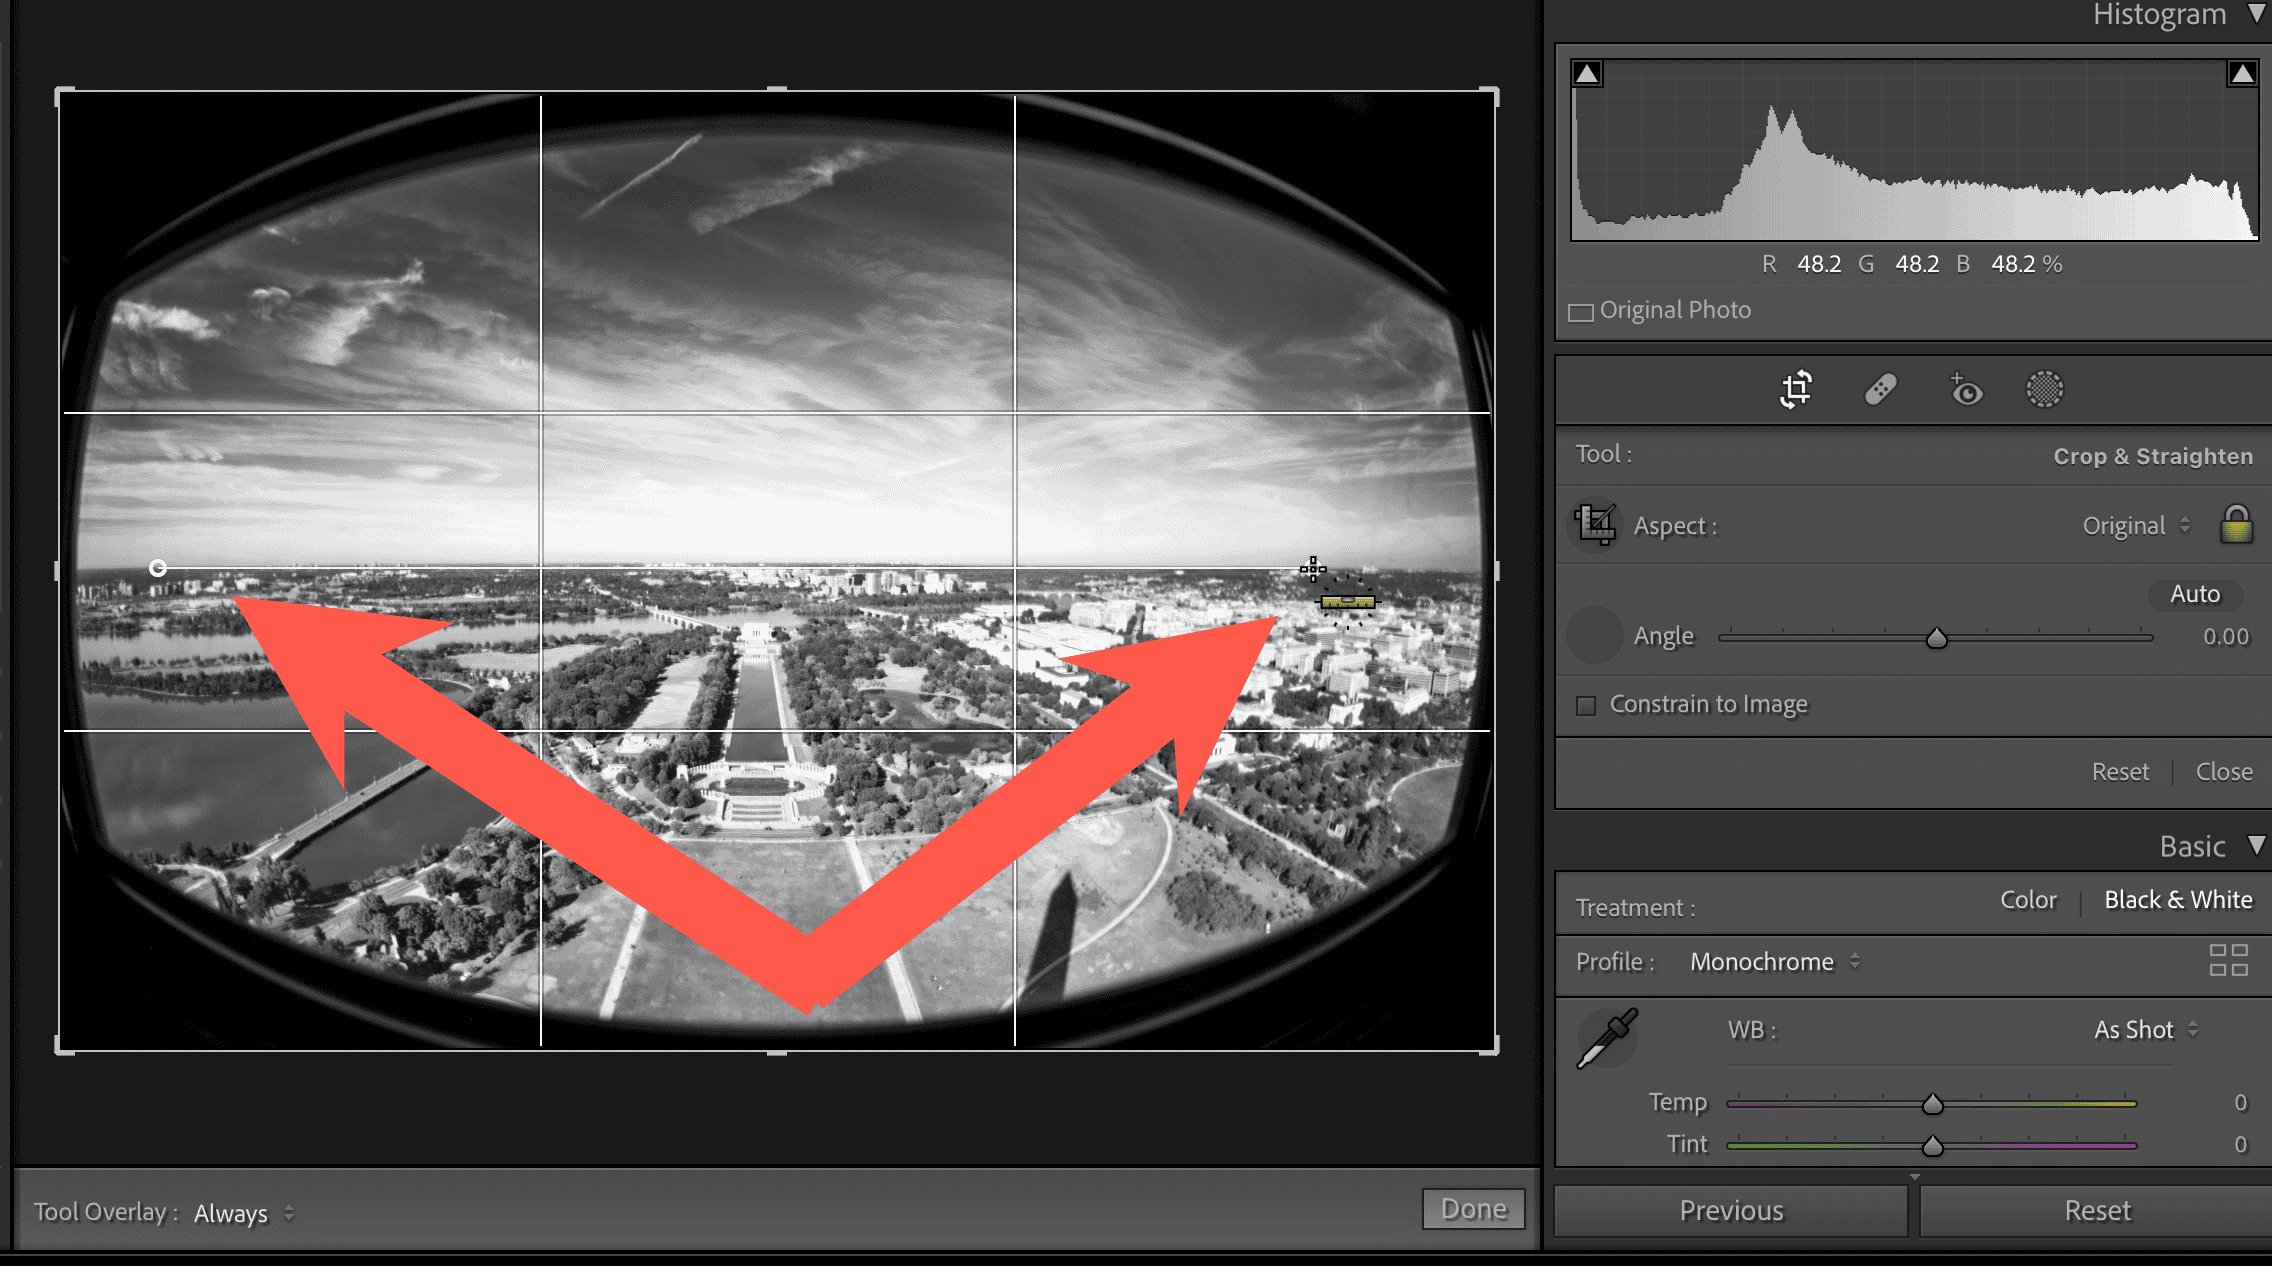
You can, of course, use any of the methods above to try to straighten a horizon or vertical lines. But there’s also a much more precise way to do it.
That is to use the spirit level tool that’s in the Crop & Straighten section. Once you click on that tool it will drag the tool out of its storage area.
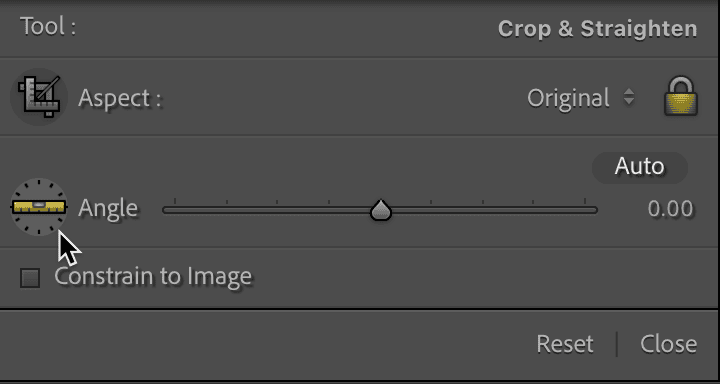
You then click on a section of the photo and hold down, then drag to another section and release. You’ll see a line that you can align with a horizon or even vertical lines or just use to eyeball the rotation. If you need to make further refinements you can still use the slider.
How to Flip a Photo Horizontally or Vertically in Lightroom
If you want do make a mirror image of your photo, rotation isn’t going to get you there. What you need is to flip the photo, either vertically or horizontally.
What you want in that case is the Photo > Flip Horizontal or Photo > Flip Vertical items from the main menu. Or you can right-click and choose Transform > Flip Horizontal or Flip Vertical.
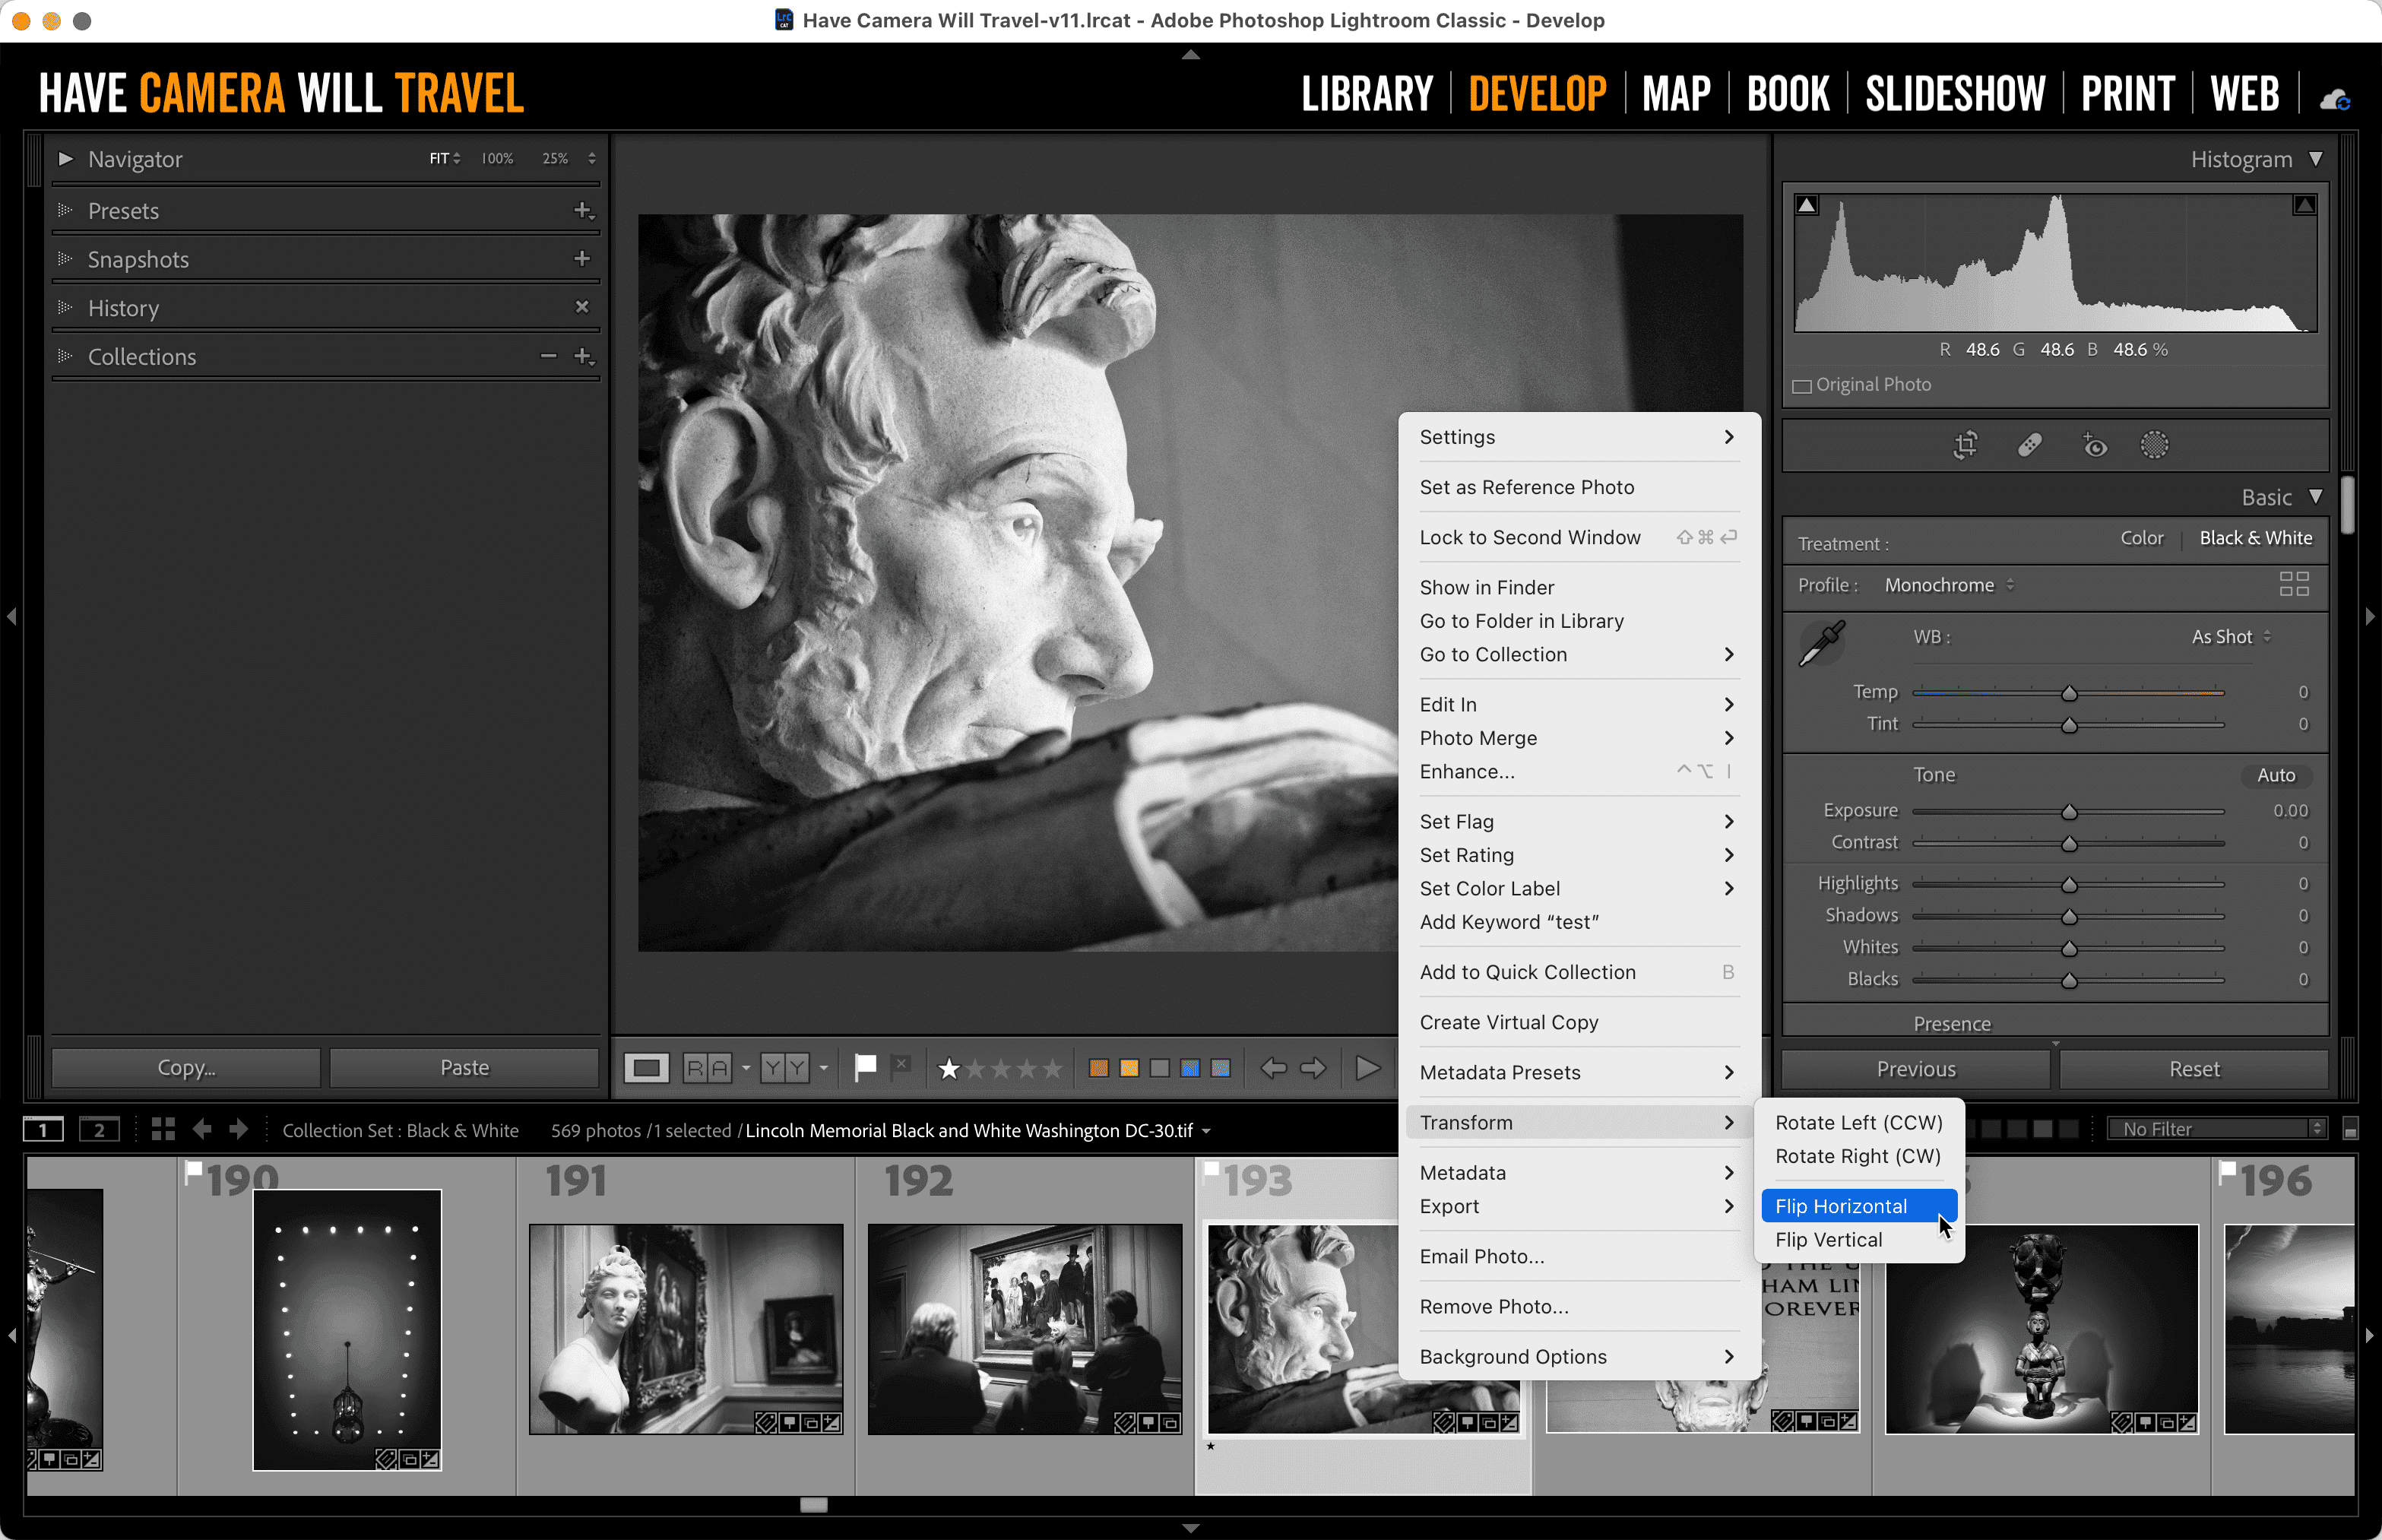
These will make a mirror image on whichever plane you choose.