
GoPro’s Protune photo Sharpness setting has three levels — High, Medium, and Low. High is the default and is what you get with Protune off; use it if you share photos straight from the camera. Use Low if you edit in Lightroom or similar and want to control sharpening yourself. Medium is the hedge.
The setting exists on every Black-series GoPro since the HERO4 (HERO4 Black and Silver, HERO5 through HERO13 Black) under Protune in the photo settings. If you shoot GoPro RAW (.GPR), it only affects the JPG; the RAW file is sharpened by your software, not the camera.
The examples below show exactly what each level does to fine detail — and where the artifacts appear.
One of the things that makes GoPro shots so good is that they’re sharp. They’re always in focus, and they bring out the small details that helps give it that immersive look. A major reason for that crisp detail is that sharpening is applied automatically to the photos.
Sharpening is different to the optical sharpness that you get from a good quality lens or large sensor. It’s something done after the shot is taken, with software algorithms going to work on the digital image to make edges more defined. It’s also known, counter-intuitively, as an unsharp mask in some software. The result is an image that looks crisper overall.

Have Camera Will Travel Newsletter
Practical field notes, hands-on gear tests, and the fun of exploring the world with a camera in hand.

But it also has a side-effect of creating artifacts around the edge details in the image, especially if applied too aggressively. If it’s used carefully, those artifacts should be minimal, and it shouldn’t detract from the image. But those artifacts are nevertheless present, and they can become more obvious if you do further post-processing on the images. That’s why sharpening is usually recommended as being the last step in your photo processing workflow.1
Related: for what every Protune setting does and which cameras have which options, see my GoPro Protune explainer.
Related: GoPro RAW (.GPR) files explained — why the Sharpness setting doesn’t touch the RAW.
GoPro’s photo sharpening options
By default, GoPros apply reasonably heavy sharpening in the camera before you even see the image. But in some models, you have the option to choose from among three levels of sharpening: high, medium, and low.
Note: The example photos were shot on the HERO4 Black and Silver, where the option first appeared. The same three levels are in the Protune photo settings of every Black model since — HERO5 Black through HERO13 Black. The HERO4 Session’s Protune settings apply only to video, not still photos.
Protune is GoPro’s name for a group of settings that provides more fine-tuned control over several aspects of the shooting such as sharpening, color, ISO, etc. With some exceptions, as a general rule of thumb, you probably only want to turn Protune on if you plan to do further processing in post-production. With some of the settings, if you just share the footage or photos without doing any post production they can actually end looking worse than if you’d left Protune off.
There are separate Protune settings for video and photo modes, so be sure you’re looking in the photo mode Protune settings in this case.

If you don’t see a sharpness option under the photo mode settings, make sure you have Protune turned on–the Protune settings are hidden if Protune is off.
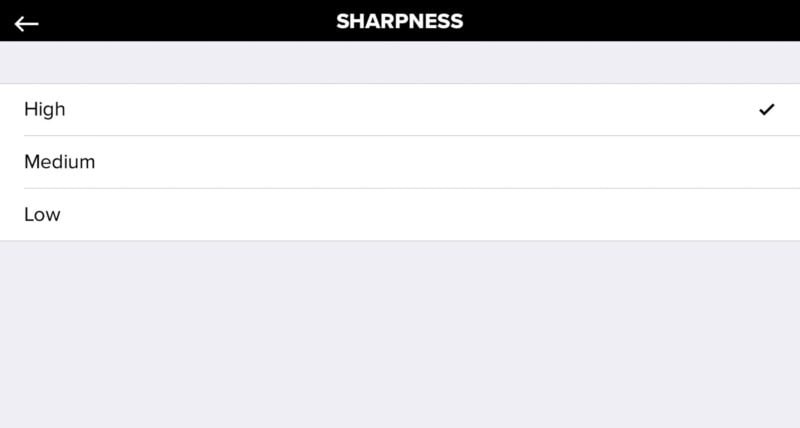
Or you can set it in the camera. It’s not under the general Settings part–it’s under the settings specifically for the photo mode:

Photo mode > Protune: ON > Sharpness. The menu icon you’re after looks like this:
High vs Medium vs Low sharpening examples
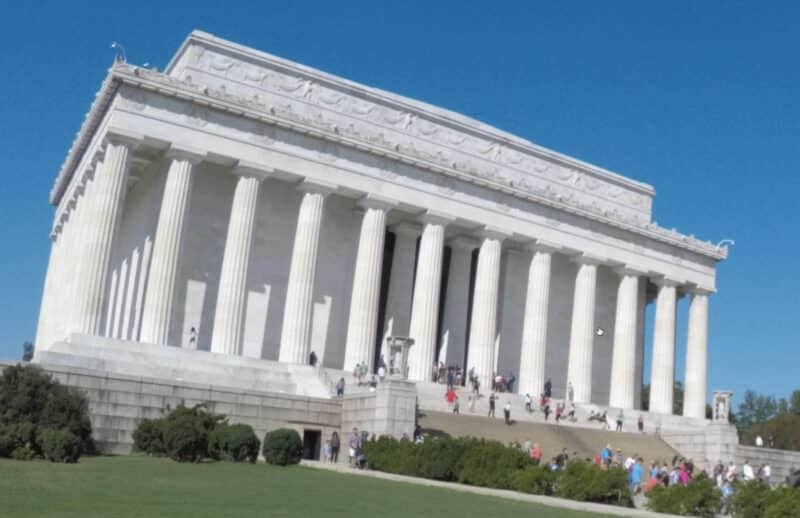
When you look at the images in small sizes, you really can’t see any difference. This is a comparison of the full frame, shot at 12MP on a HERO4 Silver. One is using the High setting, with the other the Low setting. If you look very closely, you can see some sharpness difference in the green leaves in the bush at the far left of the frame, but there’s not much in it when viewed at this size.
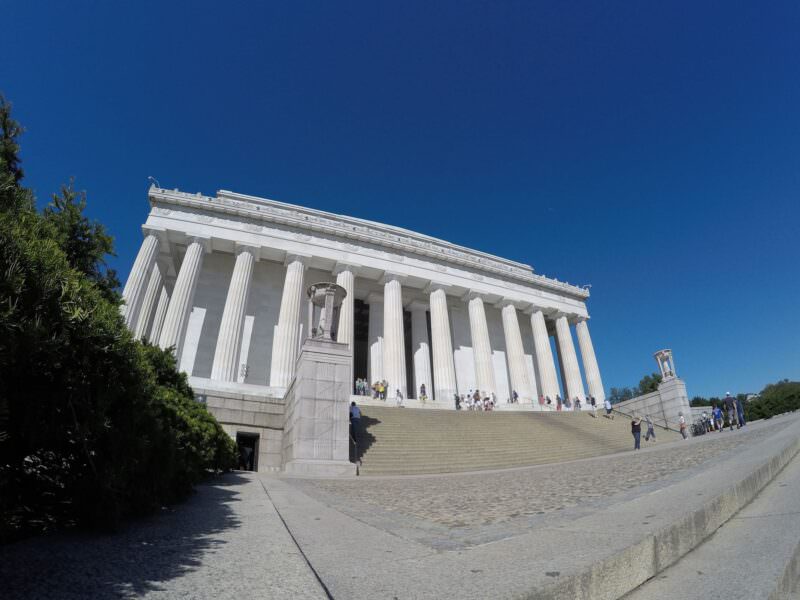
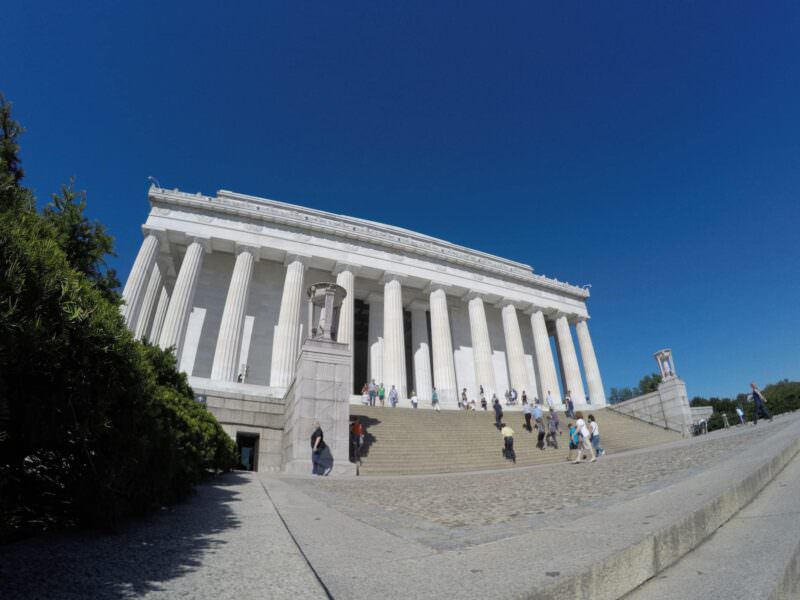
But it’s when you zoom in and look at it larger you can see definite differences in the details.
In this zoomed-in crop of the same image, for example, you can see the differences in the names of the states etched into the top of the memorial. This is a comparison between the high and low settings.
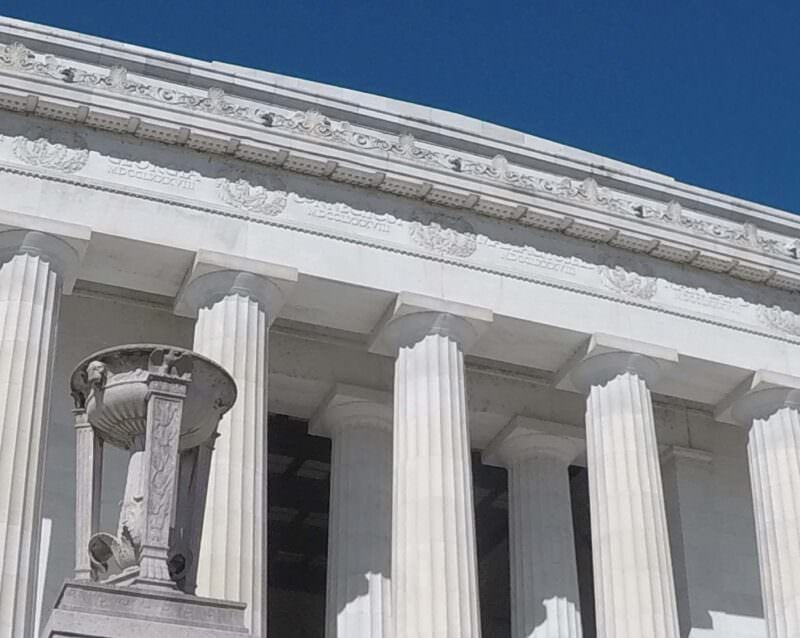
The low setting is actually closer to what the lens and sensor combination naturally resolves before any in-camera processing.
As you’d expect, the medium settings falls somewhere in between. But it’s closer to high than low. This is low vs medium:
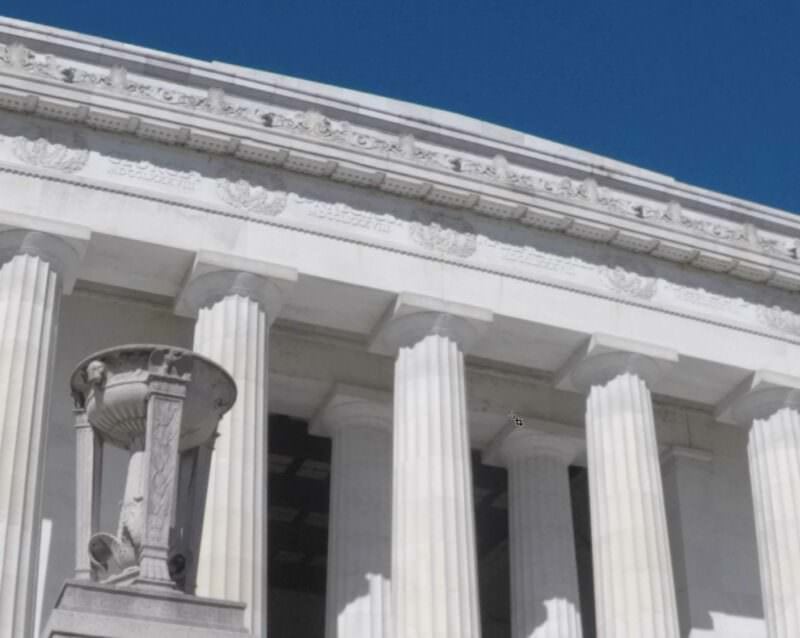
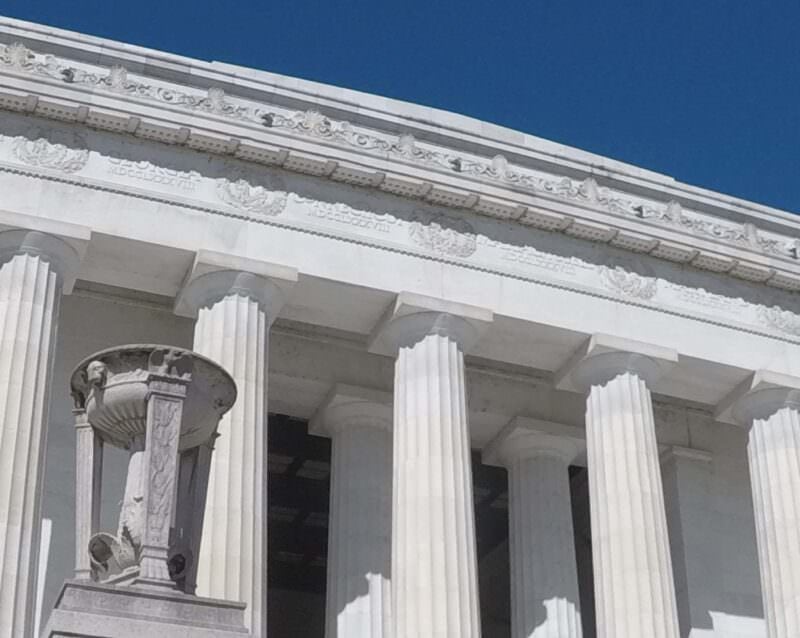
And this is high vs medium:
Here’s an alternative way of looking at it. You can click on the image to open a larger version.

You can also see the differences rather dramatically in the leaves of the bush at the left, along with the vertical columns.
Again, this is high vs low:
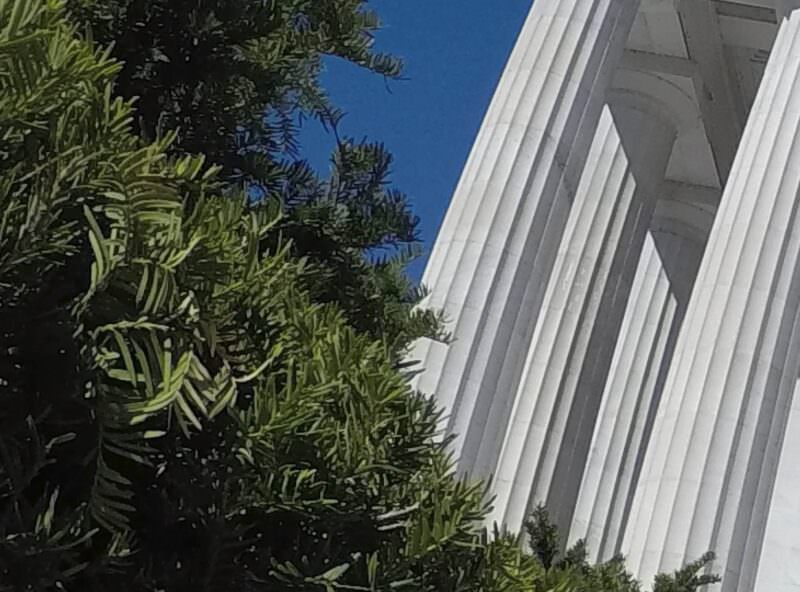
And high vs medium:
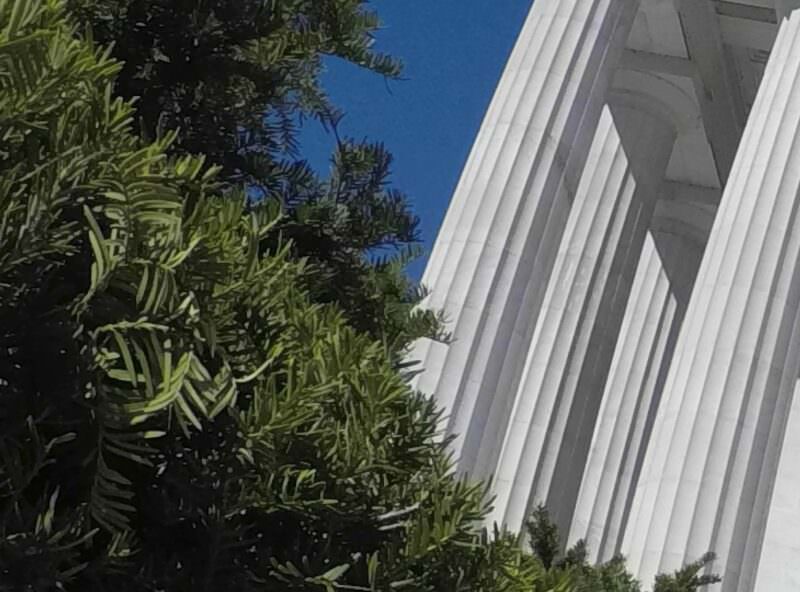
And low vs medium:
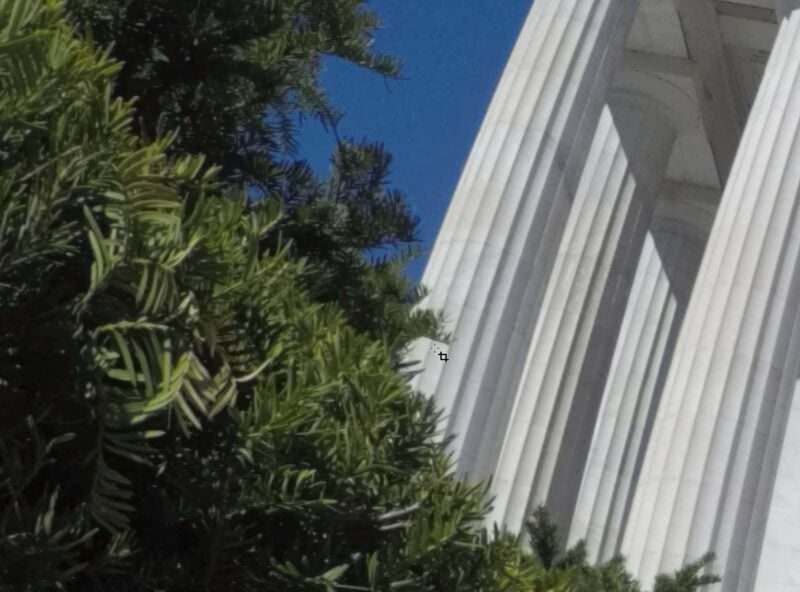
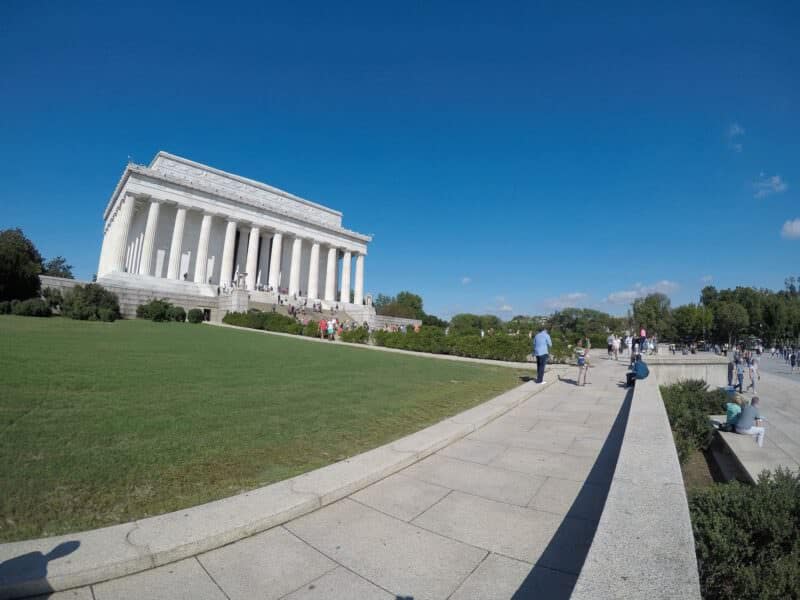
The effect is the same on the HERO 5 models. Here’s an example shot with a HERO5 Black.
First, the original image:
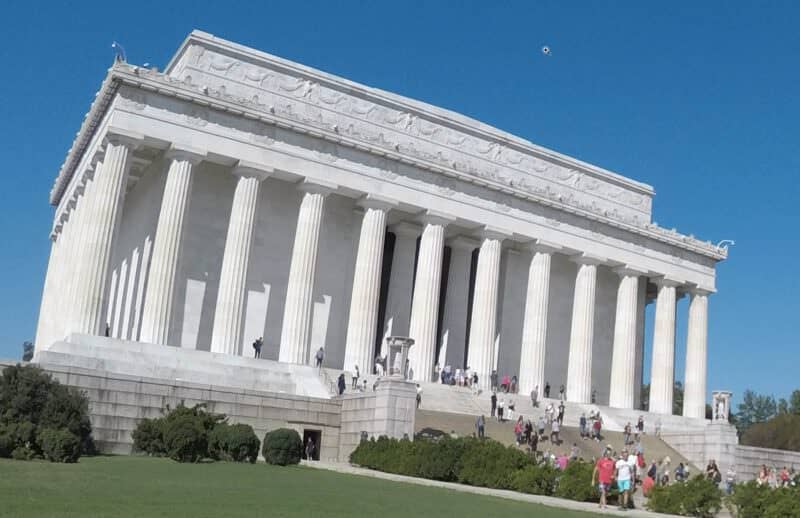
And then with High vs Low of a zoomed-in portion:
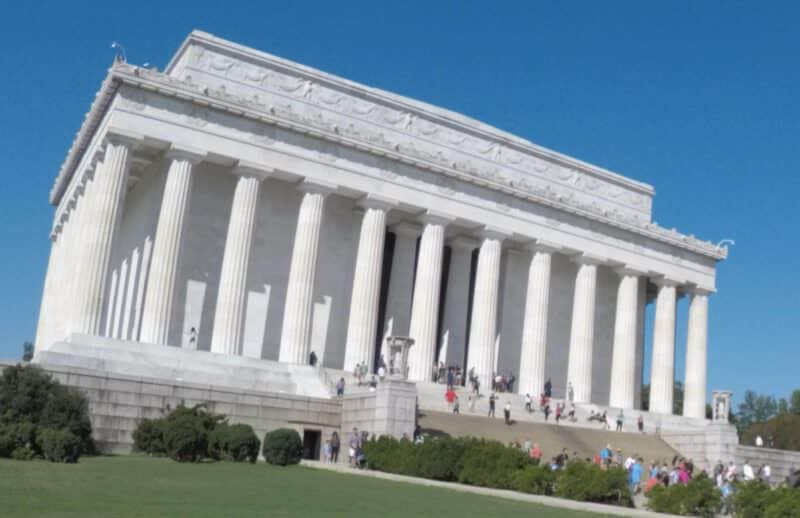
And Low vs Medium:
Here’s a different shot with a lot of detail in it:
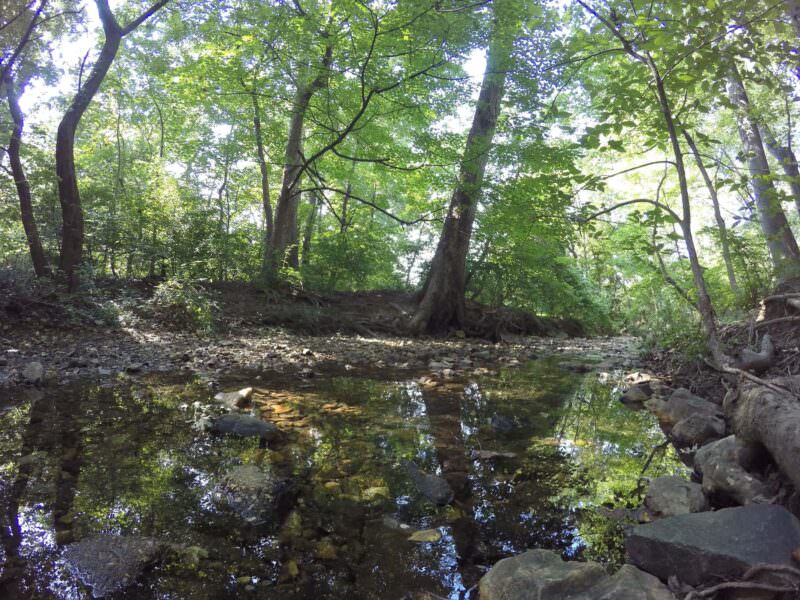
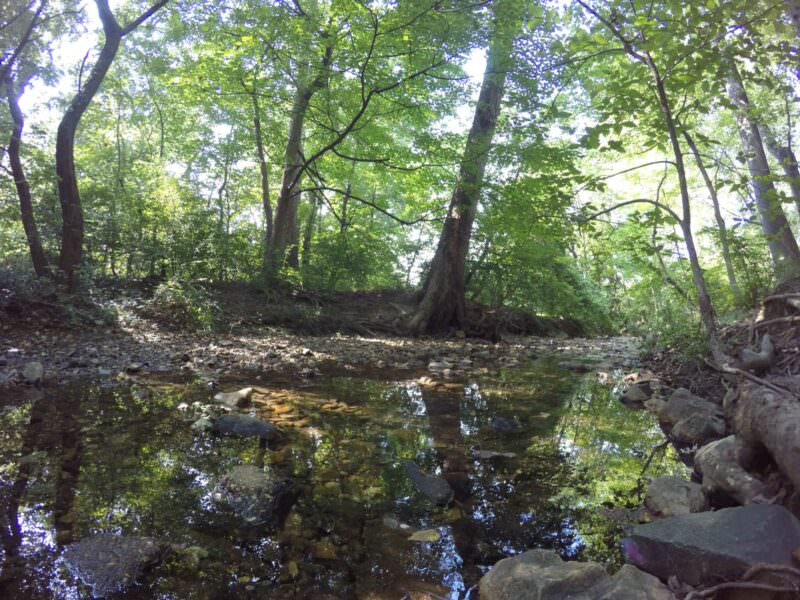
The same shot, zoomed in, with high vs low sharpening:
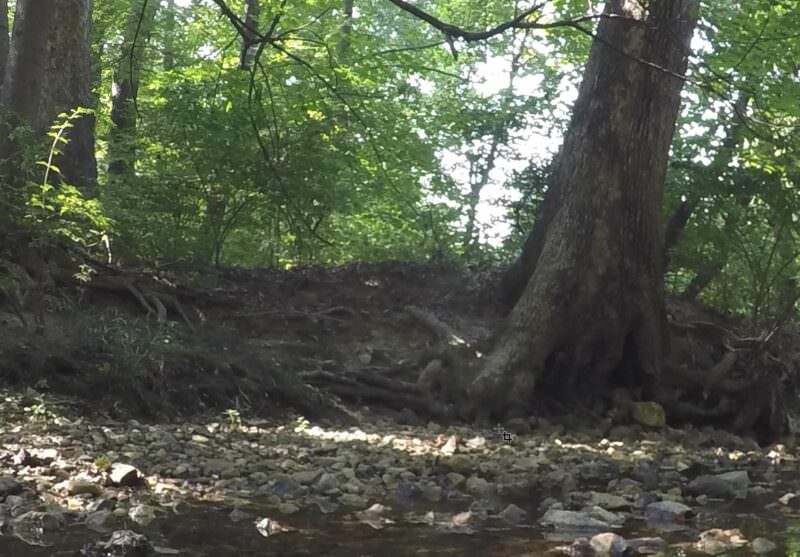
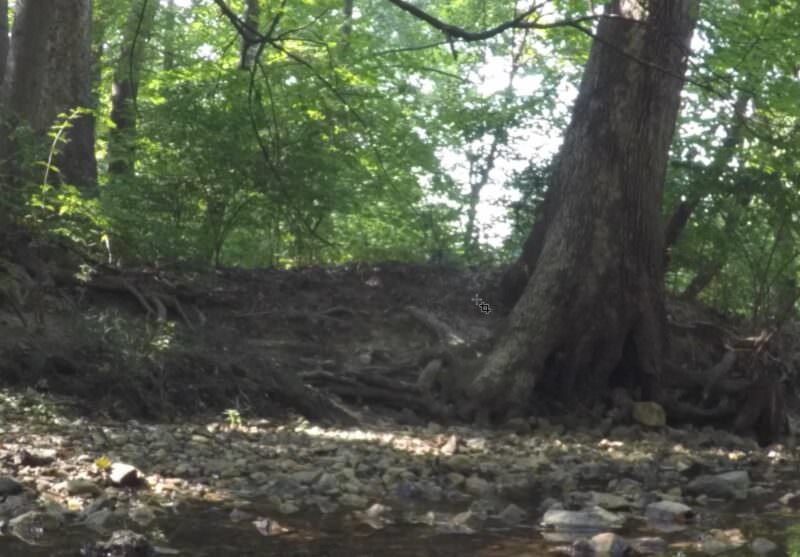
Medium vs low:
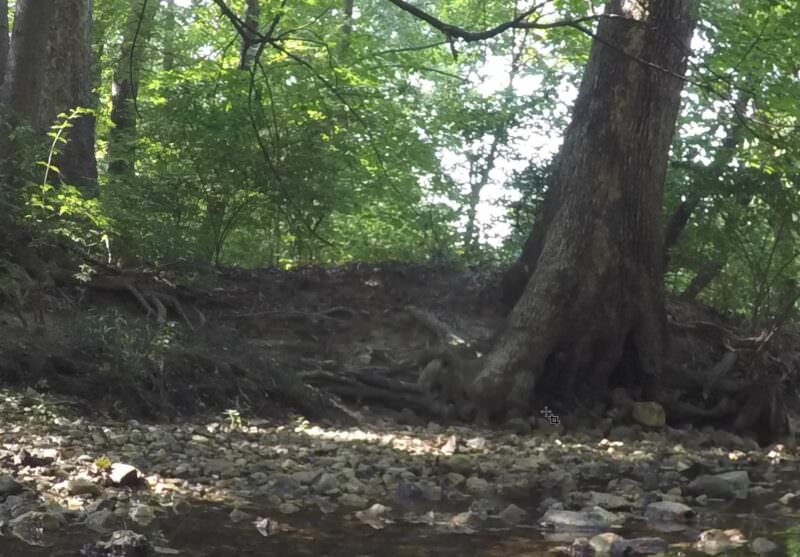
And medium vs high:
Which sharpness setting to use?
If you shoot JPG — which is still how most GoPro photos are taken — it’s worth getting the sharpening right in the camera, because edits to JPGs are cumulative and don’t offer the flexibility of RAW. If your camera shoots GoPro RAW (.GPR) (HERO5 Black onward), the Sharpness setting is baked into the JPG only; the RAW file is sharpened later in your software, so the setting matters less.
So here are some scenarios where one Protune sharpening setting might be a better choice than another when taking photos with your GoPro. The gist is that if you’re not planning to apply sharpening in post-processing, you’ll probably be better off using the high or medium levels.
High sharpening
This is the default setting, and it’s what you’ll get if you have Protune off. For many uses, it’s a perfectly good setting. It’s especially good if you’re going to share your photos as-is with little or no post-processing. You’ll get sharp details and an image that looks crisp overall.
Medium sharpening
This is a compromise level that’s much closer to High than Low. The reason you’d choose this is just as a compromise. You’ll still get good detail and a pretty crisp image.
Low sharpening
With minimal sharpening applied, the images are a bit soft, especially when you zoom in. But this is a good option if you plan on post-processing the images in something like Lightroom or Photoshop and want maximum control. There’s less risk of sharpening artifacts becoming a problem in your edits, and you can finetune the sharpening settings in your image processing software. That lets you apply specific sharpening according to your taste and whether you’re making a print or displaying on-screen at various sizes.
It can also be a good option for high-resolution timelapse captures because it can make the transitions ever-so-slightly smoother between frames. And, again, you can apply sharpening later with your image editing software like GoPro Quik, Final Cut Pro X, or Adobe Premiere.
Common questions
Which GoPro sharpness setting is best?
High if you share straight from the camera; Low if you edit and sharpen in software; Medium if you’re not sure. There’s no wrong answer for casual use — the differences only show at 100% or in heavy edits.
Does the sharpness setting affect GoPro RAW files?
No. It’s applied to the JPG. A .GPR file is demosaiced and sharpened by Lightroom or whatever you open it in, so the in-camera level is irrelevant to the RAW.
Does it affect video too?
There’s a separate Sharpness setting in the video Protune settings with the same three levels; this post is about photos. The same logic applies: Low if you grade, High if you don’t.
Notes & References:
- There can be exceptions. Lightroom, for instance, applies light sharpening by default when you import photos into the catalog. [↩︎]


