Burst mode is one of those things that can be more useful than it at first appears. The most obvious use for it is in shooting action shots. So, sports and wildlife. With those, it lets you vastly increase the odds that you’ll freeze the frame at exactly the right moment.
But it can also be very useful in other places. With portraits, for example, a short burst of just a few shots can maximize the chances of getting a shot without the subject blinking. And if you’re merging photos for high-dynamic range blending, a rapid burst of bracketed shots can reduce any movement in the frame and reduce the hassles that come with deghosting.
The Z50 II has burst mode shooting, where it takes a rapid series of photos while you hold the shutter button down. So you can pick the best moment afterward.
There are several burst speeds available. There’s also Pre-Release Capture, which is similar but a separate feature. It saves photos from just before you pressed the shutter.
Here’s which feature and setting to use for general action-type shots, along with the practical limitations worth knowing.
Which Burst Mode to Use
| You’re photographing… | Use | Why |
|---|---|---|
| Kids playing, pets moving around | Continuous H | Fast enough, and you can still follow the action on screen between frames |
| Sports, running animals, anything fast and unpredictable | Continuous H (extended) | Faster; the viewfinder image lags a little |
| One split-second moment: a jump, a splash, a ball being caught | C30 or C15 with Pre-Release Capture | Catches the moment even if you react late; JPEG only |
| People posing, where you want a few chances at open eyes | Continuous L | A slower, steadier burst |
Of course, none of these is any good if the subject is out of focus. So it’s best to switch to AF-C focus and subject detection, so the camera keeps focusing on the person or animal as they move. I have a separate post on Nikon Z50 II focus modes, but you can set the AF-C tracking settings under CUSTOM SETTINGS MENU > a Focus.
One catch: subject detection only works in Wide-area AF (S, L, C1, C2), 3D-tracking, and Auto-area AF. If you’ve set Single-point, Pinpoint, or Dynamic-area AF, the camera won’t look for eyes or faces at all.
How to Change the Release Mode
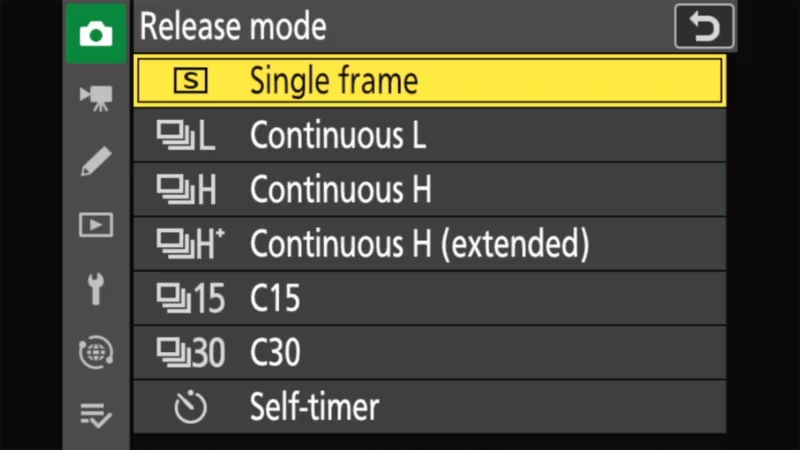
Hold the release mode button (marked with stacked rectangles) on the back of the camera and turn the main command dial. Or use:
MENU > PHOTO SHOOTING MENU > Release mode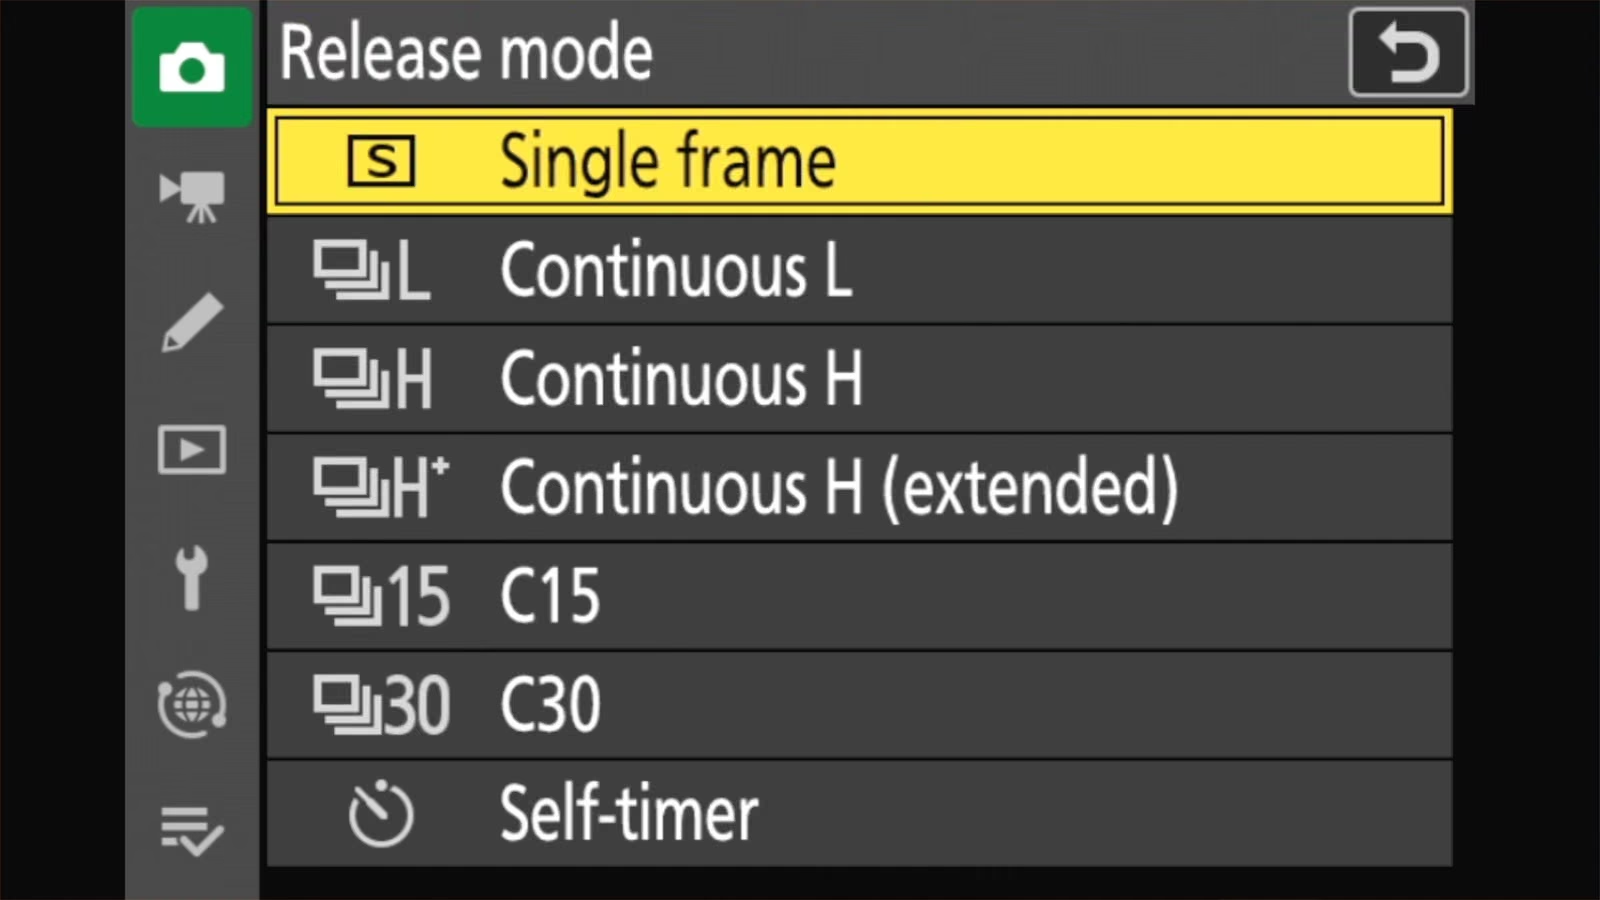
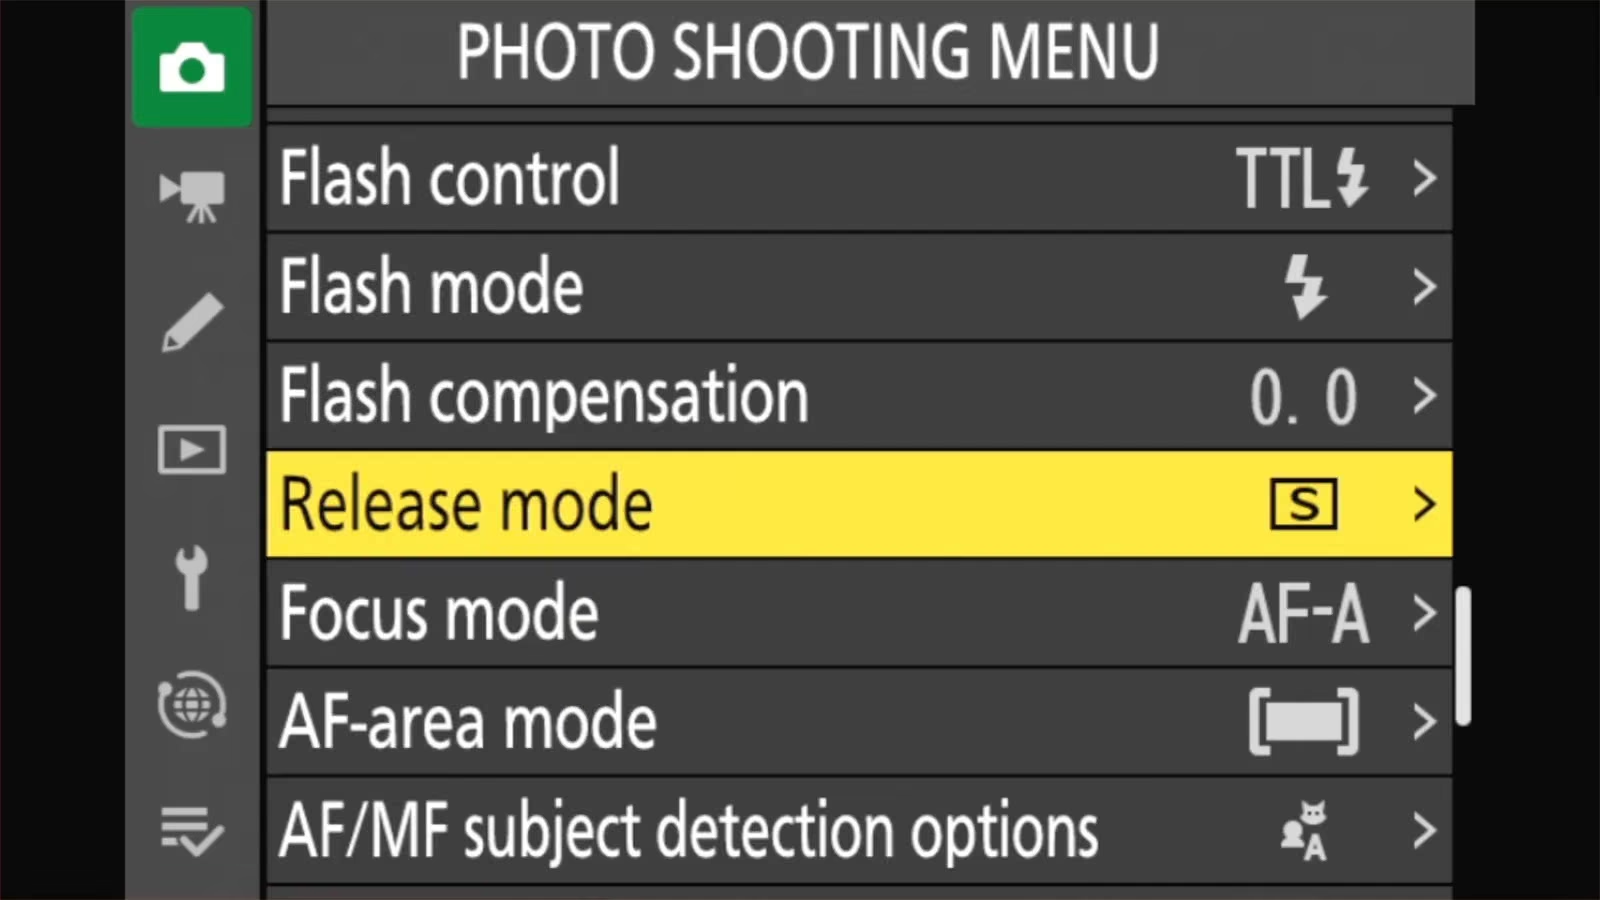
The Burst Modes, Explained
These are Nikon’s figures, which basically serve as the baselines. That’s because, in real-world shooting, the actual speed can be lower as you reduce the shutter speed in dim light, because it has to allow time for the shutter to do its thing.
| Release mode | Approximate speed (Nikon) | Notes |
|---|---|---|
| Continuous L | 1–5 fps (set in Custom Setting d1) | Adjustable slow burst |
| Continuous H | about 5.6 fps | Live view between frames |
| Continuous H (extended) | up to about 11 fps with the mechanical shutter | Fastest with RAW; viewfinder lags |
| C15 | 15 fps | JPEG only; Pre-Release Capture available |
| C30 | 30 fps | JPEG only; Pre-Release Capture available |
NB: “fps” stands for frames per second. It’s how many photos the camera takes each second while you hold the button. A higher number is a faster burst.
About the viewfinder in fast bursts: Something to be aware of when shooting in Continuous H (extended), as well as in the electronic-shutter modes, is that the image in the viewfinder and on the screen can lag and jump. It’s not a lack of processing power. The Z50 II uses the same EXPEED 7 processor as Nikon’s Z8 and Z9. The difference is the sensor. The Z8 and Z9 sensors send two separate data streams, one to the viewfinder and one to the autofocus system. The Z50 II’s sensor sends a single stream that has to serve both. The upshot is that if you’re tracking something moving erratically, it can be worth switching instead to Continuous H with the mechanical shutter. You get a brief blackout between frames, but the view doesn’t lag, which can make it easier to keep the subject framed where you want it.
Pre-Release Capture: Catching the Moment Before You Press
This is a very handy mode when you have to react to an event to fire the shutter. Think of a player hitting a baseball. By the time you react, it’ll be a split-second late and you’ll have missed the shot.
Pre-Release Capture gets around that by shooting before you press the shutter. While you hold the shutter button halfway down, the camera continuously records photos and keeps the last second or so in memory. When you press the button all the way, it saves those buffered photos plus the ones taken after you pressed.


It does, however, come at a cost. Two of them.
Firstly, because it’s preemptively shooting, it chews through battery life much more quickly. And if you do it for a while, the camera can heat up quite a lot.
Secondly, Pre-Release Capture doesn’t work with RAW. It only works with JPEG.
How to set it up
- Choose C15 or C30 as the release mode. Pre-Release Capture only works in these two.
- Set how much to save before and after the press:
Picking C15 or C30 on its own isn’t enough. Out of the box, Pre-release burst is turned off in Custom Setting d3, so until you set it the camera only records the frames taken after you press the button.
MENU > CUSTOM SETTINGS MENU > d3 Pre-Release Capture options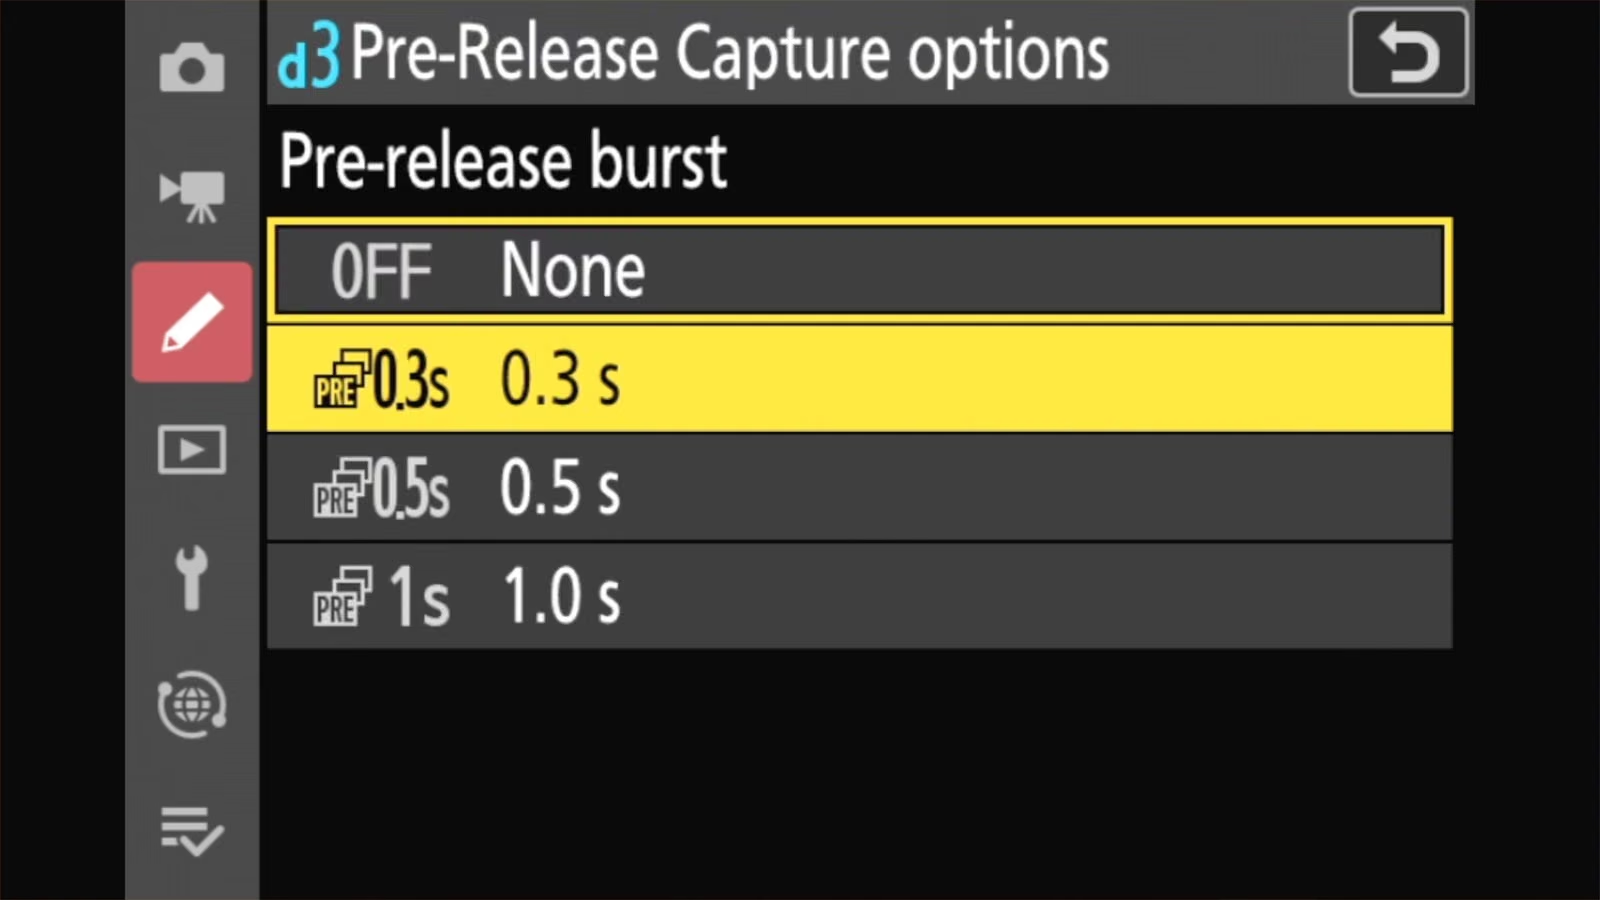
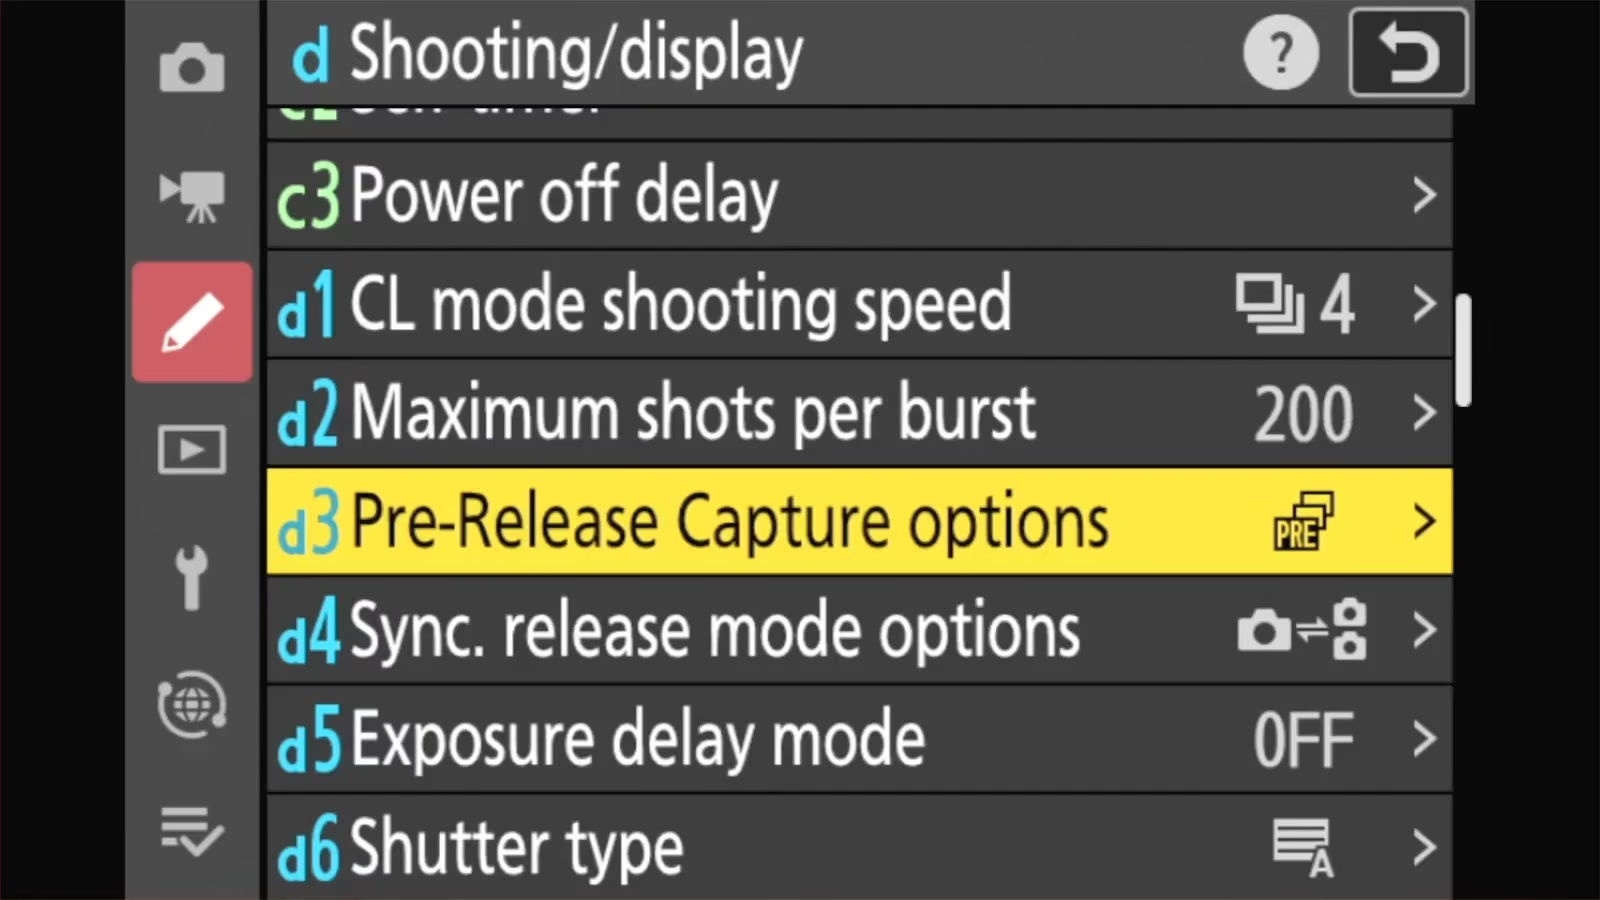
- Pre-release burst: how long before the press to save. The shortest, 0.3s, basically covers an average reaction time and the one I find most useful. 0.5s will give you a little more wiggle room. For most shooting situations, I find 1.0s to be too long.
- Post-release burst: how long after the press to keep shooting: 1 s, 2 s, 3 s, or Max.
- Half-press the shutter button as the moment approaches. The camera starts buffering, and an icon in the display shows it’s working.
- Press the button fully when the moment happens.
Pre-Release Capture Limits
- JPEG only. C15 and C30 save JPEGs at Large size, normal quality. No RAW.
- The half-press buffer times out after about 90 seconds. The icon flashes during the last 30 seconds. Lift your finger and half-press again to restart it.
- Shutter speeds are limited to 1/4000 to 1/60 second.
- No flash.
- Not available with HLG tone mode, bracketing, multiple exposure, HDR overlay, interval timer, time-lapse, focus shift, or photo flicker reduction.
- The touchscreen shutter takes only one frame in these modes. Use the shutter button.
Tip: This is optional but useful. Because C15 and C30 shoot without a blackout between each frame, it can be hard to tell when the camera is firing. Custom Setting d14 Release timing indicator adds a visual cue (Type A, B, or C) so you can see each shot being taken.
C15 and C30 also have a less obvious benefit. They read the sensor in a video mode, so they show less rolling-shutter distortion than the regular electronic shutter. They also aren’t bound by the 200-shot burst cap.
Why Your Burst Stops at 200 Shots
The camera caps how many shots it will take in a single burst at 200. That isn’t the size of its buffer (the working memory it uses before data is saved to the SD card). Nikon rates the buffer at over 200 frames for every file type, and the cap looks more like a way to protect the mechanical shutter.
So when a burst in Continuous L, H, or H (extended) stops at 200 photos, it isn’t your memory card — it’s a camera setting:
MENU > CUSTOM SETTINGS MENU > d2 Maximum shots per burst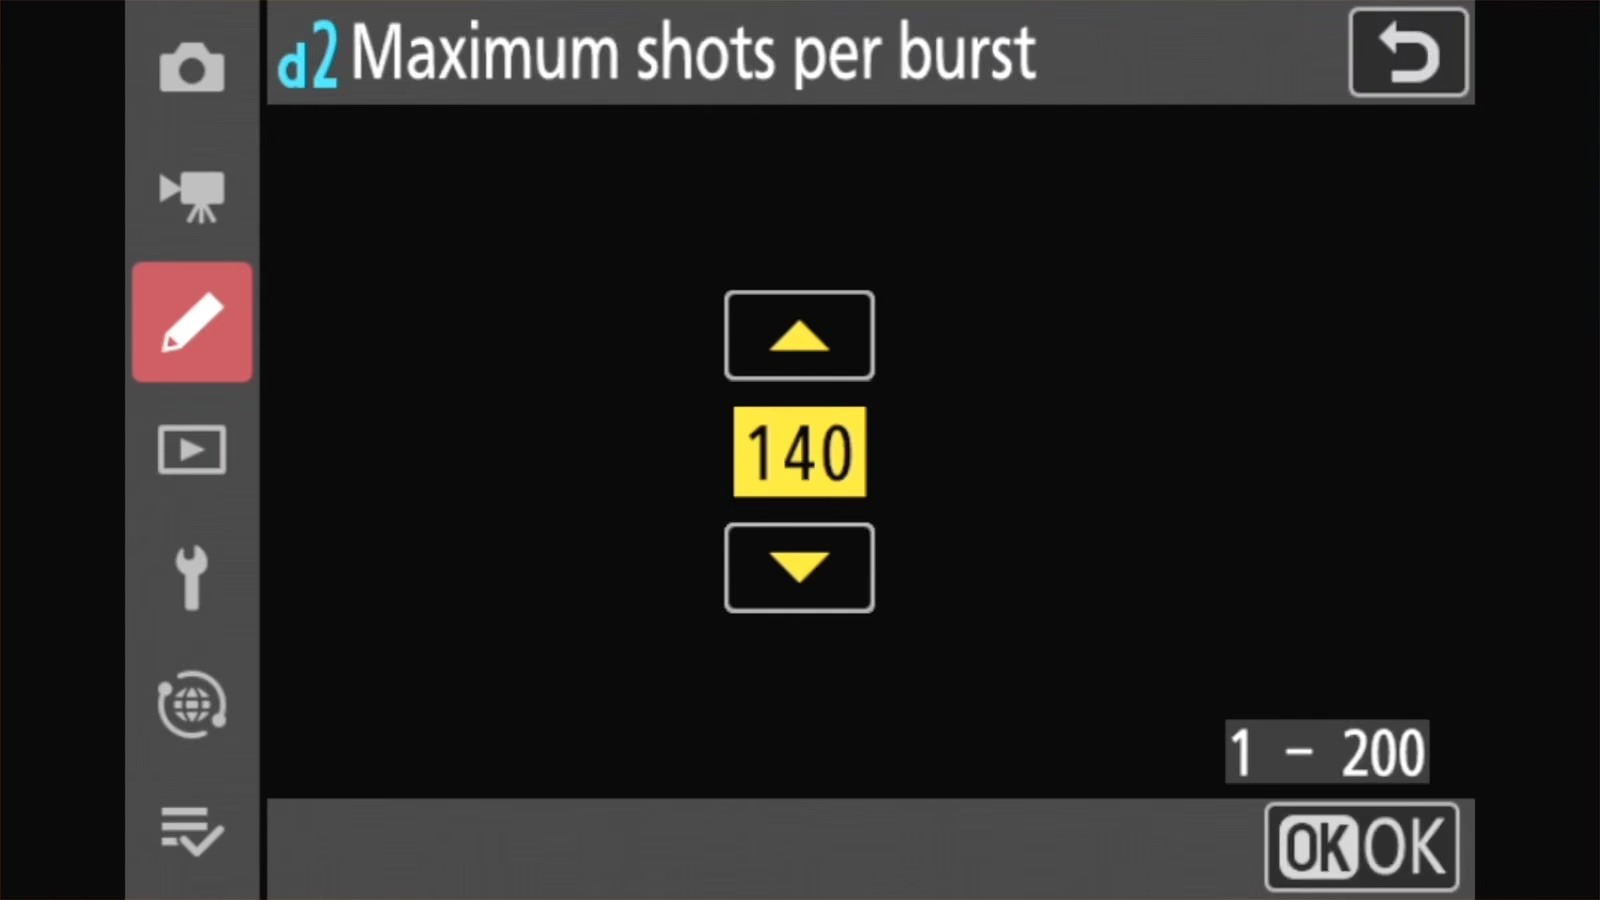
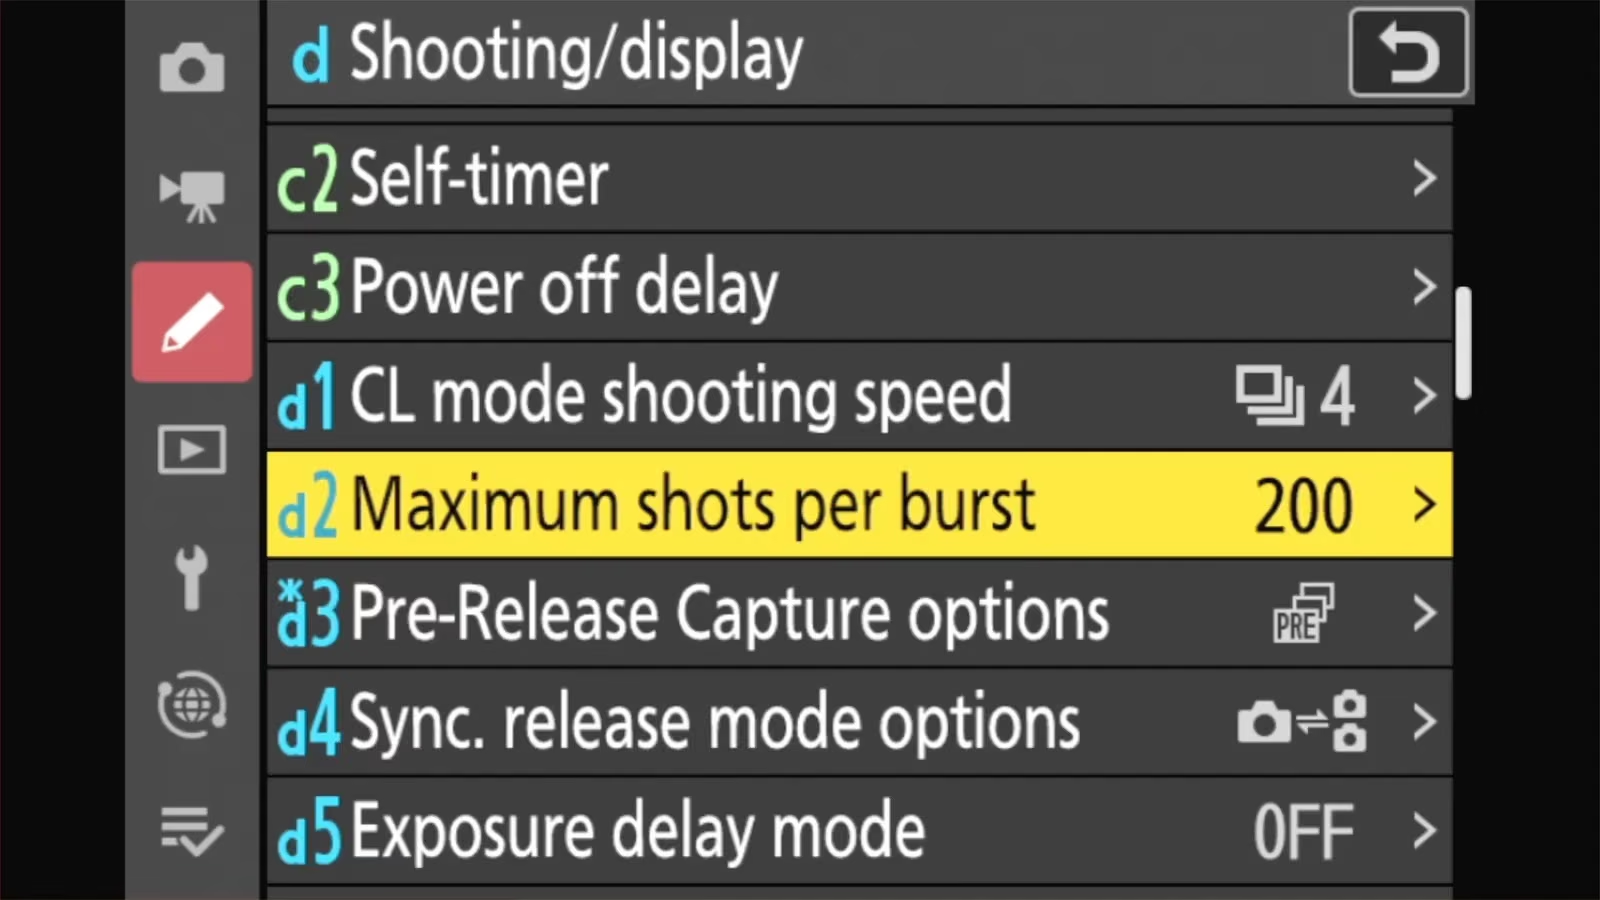
You can lower it if you like, which is useful for saving memory card space, saving battery life, and reducing the editing burden when you get back home, but you can’t do more than 200 per burst. The limit doesn’t apply in C15 and C30, in silent mode, or at shutter speeds of 1 second or slower in modes S and M.
Your memory card matters here
This is one of the key areas that factor in when choosing which SD card to get for the Z50 II.
Fast bursts produce a lot of data. The camera stores photos in a temporary memory buffer and writes them to the card as fast as the card will take it. If you use a slow card, the buffer fills and the camera slows down until it catches up, and you end up missing shots.
For C15 and C30, Nikon recommends a UHS Speed Class 3 card with a maximum transfer rate of at least 250 MB/s. A UHS-II V60 or V90 card also clears the buffer much faster after long RAW bursts. To make sense of what all that means and for practical guidance, see my Nikon Z50 II memory card recommendations.
Tip: Wait for the memory card access lamp to go out before opening the battery and card door after a long burst.
Frequently asked questions
How many frames per second does the Nikon Z50 II shoot?
Up to about 11 fps with the mechanical shutter in Continuous H (extended), or about 15 fps for JPEGs in that mode with silent mode on. The C15 and C30 modes shoot 15 or 30 fps (JPEG only). Plain Continuous H is about 5.6 fps. It slows with longer shutter speeds.
Does Pre-Release Capture work with RAW?
No. It only works in C15 and C30, which record JPEGs.
Why does my Z50 II stop shooting after 200 photos?
Custom Setting d2 Maximum shots per burst caps bursts at 200. It isn’t a memory card limit.


