Here’s how to do it.
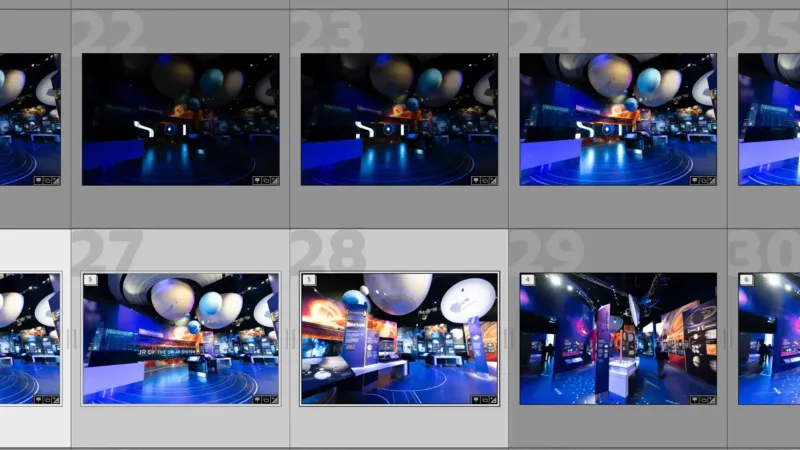
- Auto-stock or manual stack your bracketed images.
- Select the stacks. Note that it’s perfectly fine for the stacks to be collapse, which is how I prefer to use it. They do not need to be expanded.
- Start the Photo Merge process. You can do this by using the regular menu system
Right-click > Photo Merge > HDRor use the keyboard shortcutCTRL + H.
It will then batch the photo merges and process each individual stack separately. You should see a brief message at the bottom of the window that X tasks have been added, and then you should see the individual progress bars in the task panel at top left.

As each operation is completed, the newly merged output image will be stacked on top of its corresponding source image stacks.
Things worth knowing
- This performs what is known technically as a headless merge. That just means that it doesn’t give you any interface screens to alter the settings–it just does the processing without any further input. So it only works if you’re using standard and default ghosting settings. Which I usually do, anyway.
- While you won’t get to adjust the deghosting amount for each stack in this process, there is at least a little control across all of them. This headless processing will apply the most recently used settings. So if you want to apply all “medium” deghosting to the whole set, for instance, first open an individual set with the regular interface and process it there. Subsequent headless processing will inherit that most recent setting.
HDR keyboard shortcuts
| HDR merge |
Ctrl + H | Control + H |
| Headless HDR merge |
Ctrl + Shift + H | Control + Shift + H |
Other alternatives
This method, of course, is using Lightroom’s built-in HDR Photo Merge function. It often works quite well in standard use, but it doesn’t give you much control.
If you want more granular control over the blending, there are some tools worth exploring, but of course you’ll lose some of the semi-automatic convenience that’s the point of this post. They also output the files as rendered TIF files (whereas Lightroom’s built-in Photo Merge outputs them as DNG RAW files).
- Merge to HDR Pro in Photoshop. You can send the files directly from Lightroom to Photoshop and use Photoshop’s much more powerful HDR Pro function. From Lightroom Classic, select the source images then right-click, then Export. You should see the option toward the bottom of the list (NB: this is the shortcut menu, not the full export panel).
- LR/Enfuse. This is a donation-ware plugin that works really well.
- Skylum NEO. The tools and functionality of what was once known as Aurora HDR has been integrated into Skylum’s core NEO editing suite.
- Photomatix. Very powerful and gives you a lot of ocntrol. There’s also an optional-extra HDR batching plugin that runs with it (for extra cost).
How I use it
Lightroom’s built-in Photo Merge isn’t always the best way to merge bracketed photos. The results are often pretty good, but for tricky instances, you just don’t get a lot of control over settings.
But its convenience can’t be beaten. And I love that the files come out as DNG files, retaining all the white balance and exposure flexibility you get with RAW files. And the auto-alignment works surprisingly well, even for handheld shots (which is, frankly, really where you need it).
Particularly for indoor scenes, especially when there’s highly variable lighting, I’ve come to the habit of often shooting short exposure bracketing sequences. Often of 5 shots, but I’ve been trying to trim that down to 3 lately, and so far it’s serving my purposes quite well. For my purposes, I definitely want the output to retain a natural look. I’m not at all interested in pushing things too far in the HDR direction.
I generally prefer to manually stack the images. Yes, it takes a bit longer, but I don’t find the auto stacking feature to be accurate enough for how I shoot, especially when I’m shooting handheld with rapid burst mode and often have sequences close in time to each other.
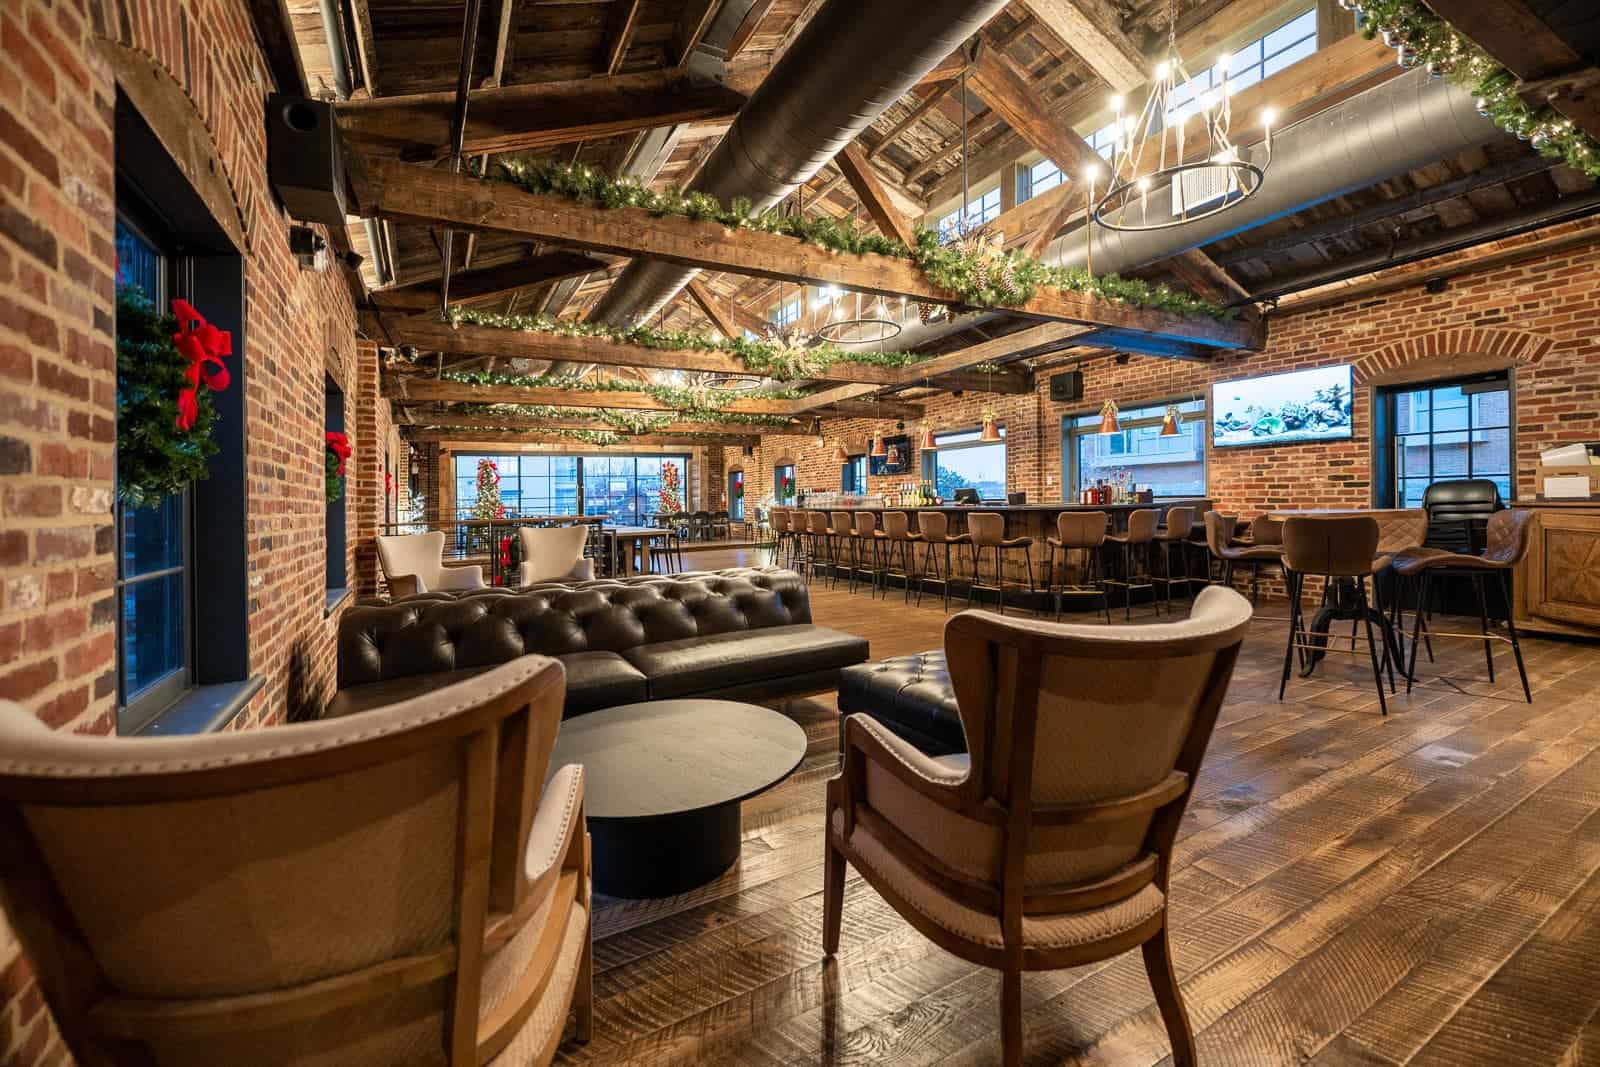
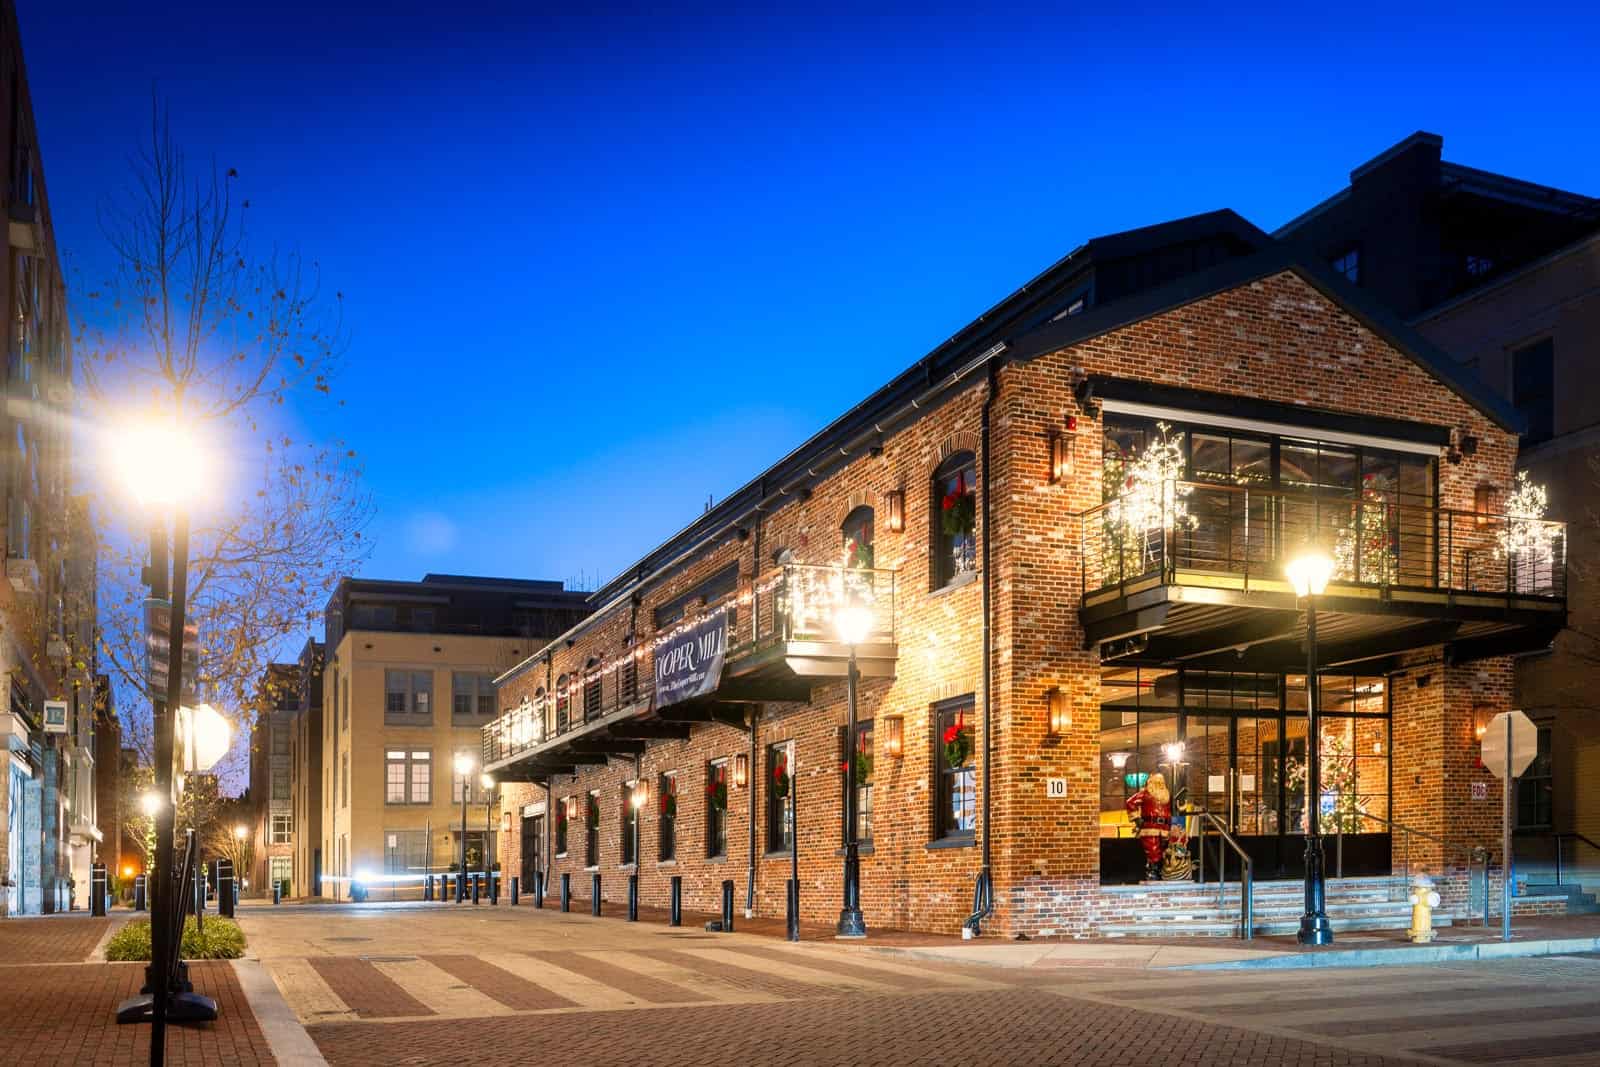
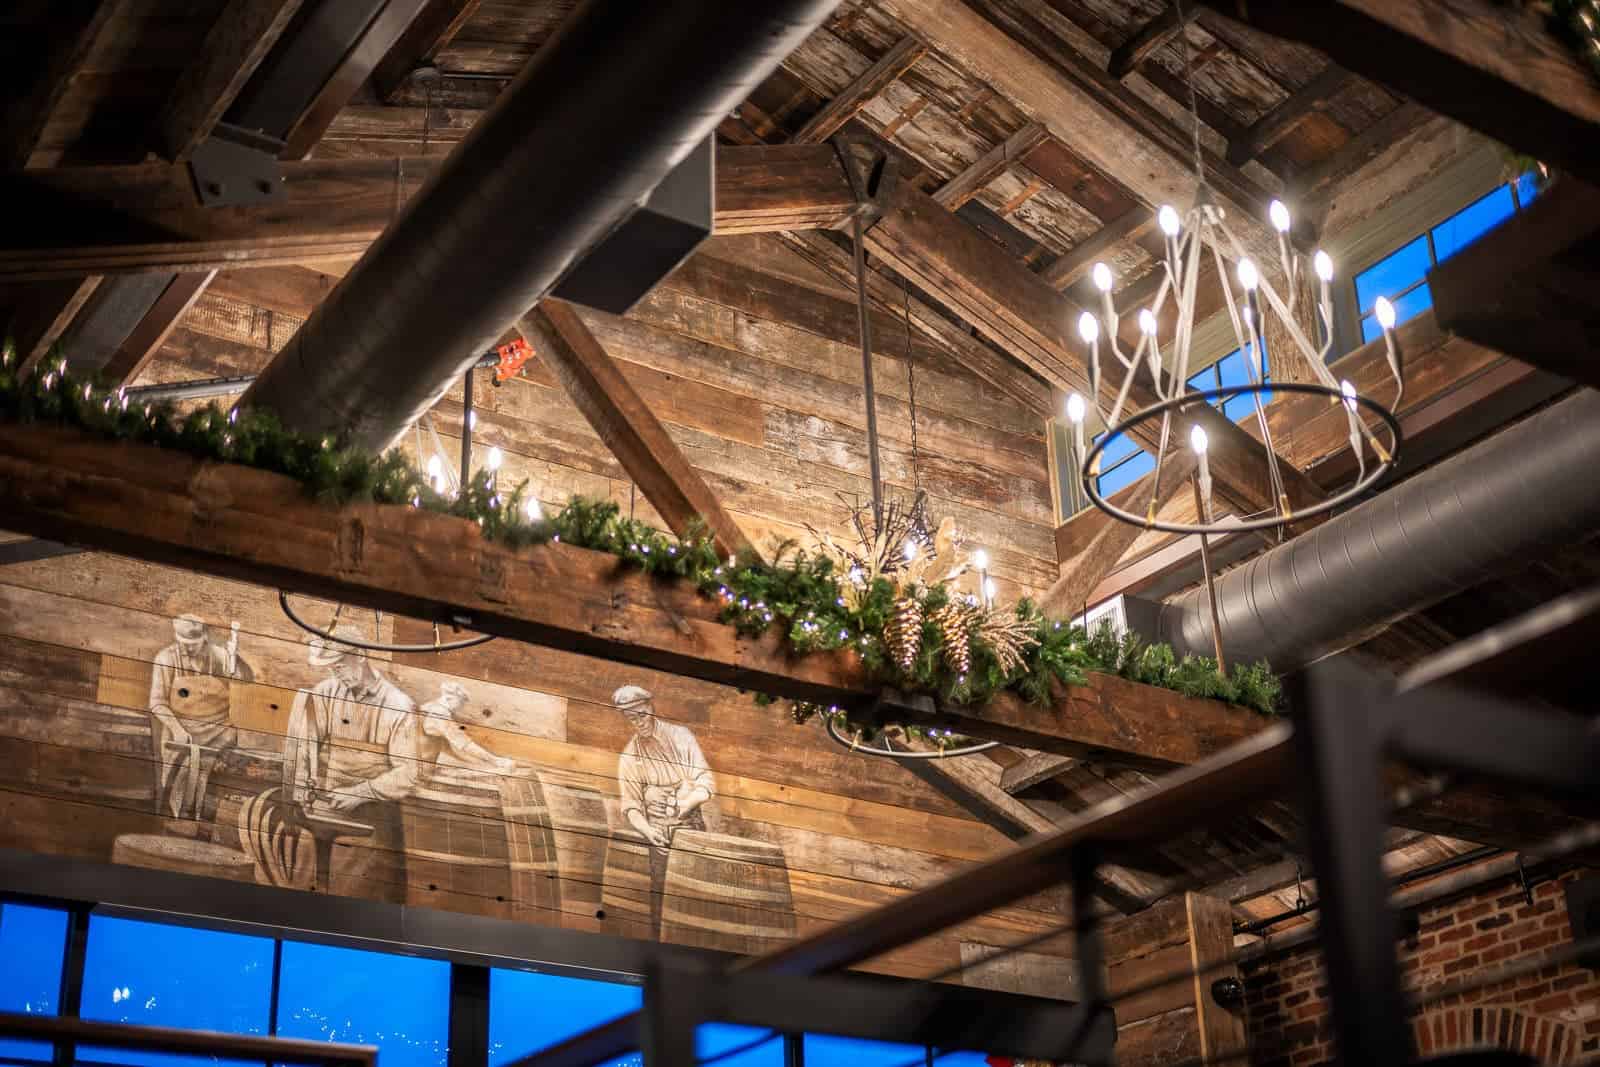
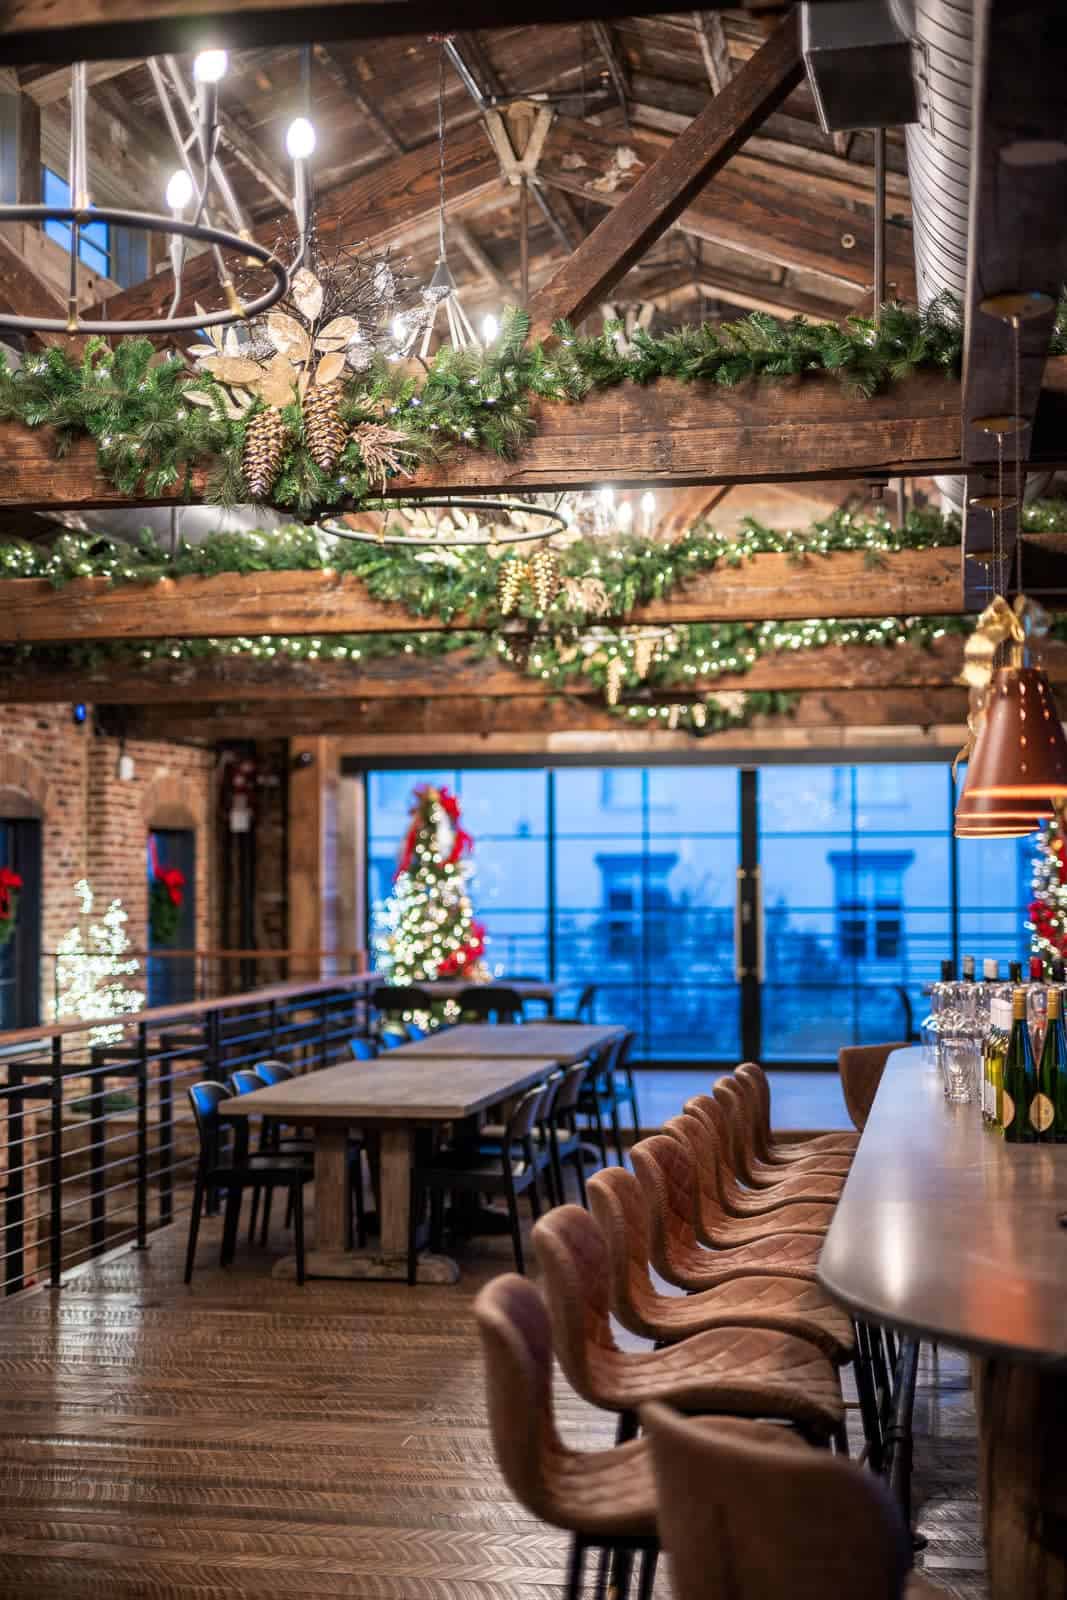
Here are a few examples I shot recently for a client. For logistical reasons that weren’t under my control, this particular shoot wasn’t a “proper” shoot where I would normally use a tripod and BYO lighting accents. And the building’s lighting system wasn’t even fully operational yet. So these were all shot hand-held in sequences of seven images that were merged using Lightroom’s built-in Photo Merge.
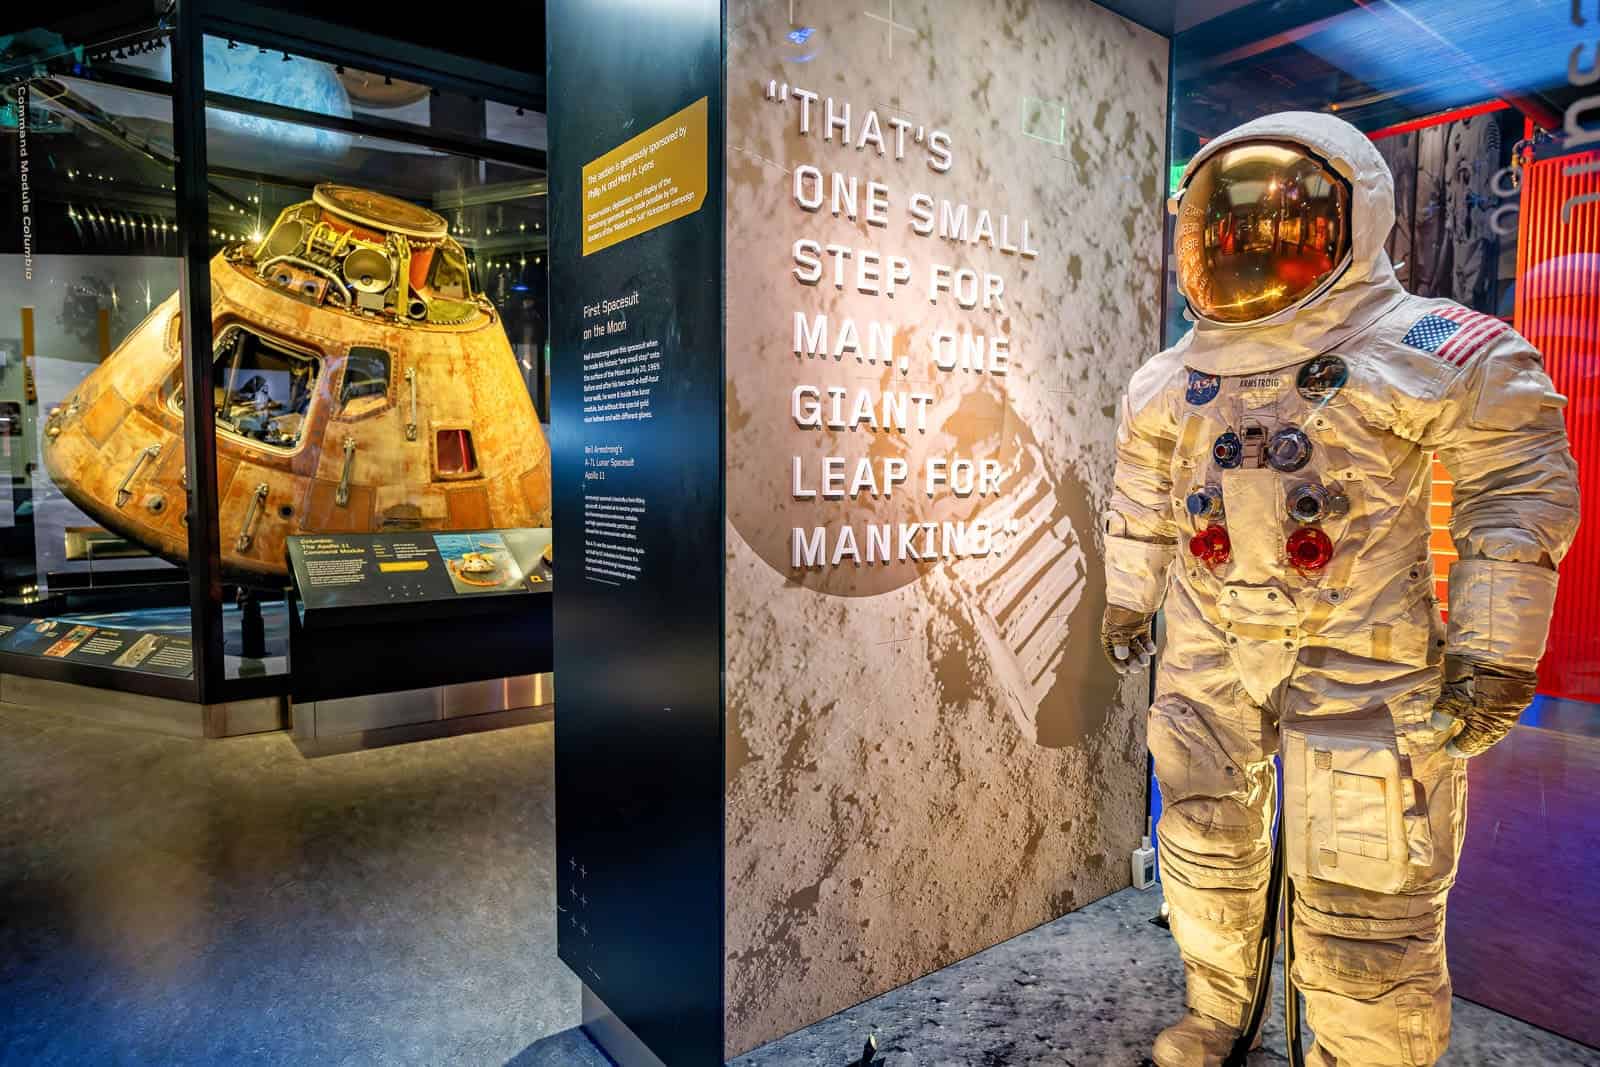
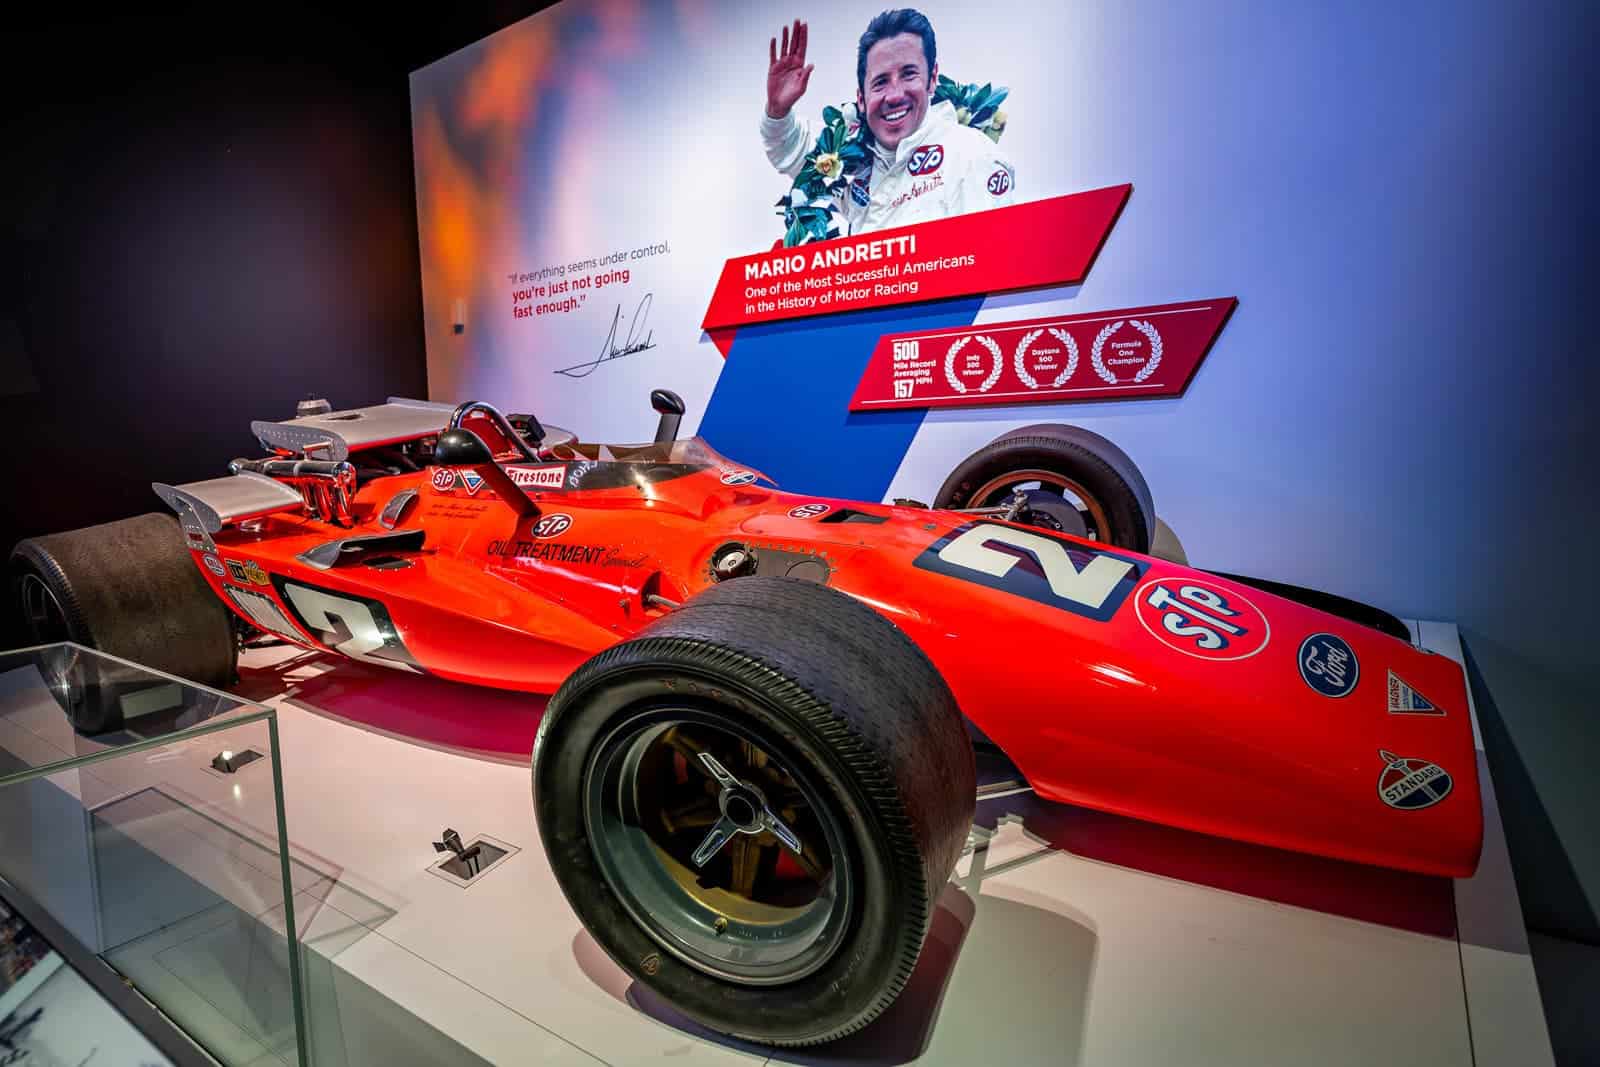
And here’s a couple of others taken at the Smithsonian National Air and Space Museum in Washington DC recently. These were 5-shot sequences, again using the same method as above.