
On the camera: swipe down from the top of the rear screen, tap the settings icon at the top right (the hex-nut one), scroll down to Format, then drag the card icon across to the right. It takes a few seconds. Formatting wipes the card, so copy anything you want off it first. You can also do it from the DJI Mimo app, and both methods are below.
The first time you put a new SD card in your DJI Osmo Action 4, you should format the card to prepare it for use. Even if the card has been used before in a different camera or comes preformatted from the store, it’s still good practice to format it in the camera itself.

Have Camera Will Travel Newsletter
Practical field notes, hands-on gear tests, and the fun of exploring the world with a camera in hand.

That’s because formatting the SD card doesn’t just create space for the next shoot. It also keeps the memory card’s storage space healthy, checks that the file system is in good order and of the right type for the camera, and creates the files and folders that the camera needs to save data.
Formatting an SD card in the Action 4 isn’t hard, but some of the icons and menu options aren’t necessarily as clear as they could be.
And there are two methods you can use: on the camera’s menu system directly or through the DJI Mimo mobile app. They both accomplish the same thing, so you can just choose whichever method works best for you.
So here are quick rundowns on both methods.
Format the SD card using the DJI Osmo Action 4 menu
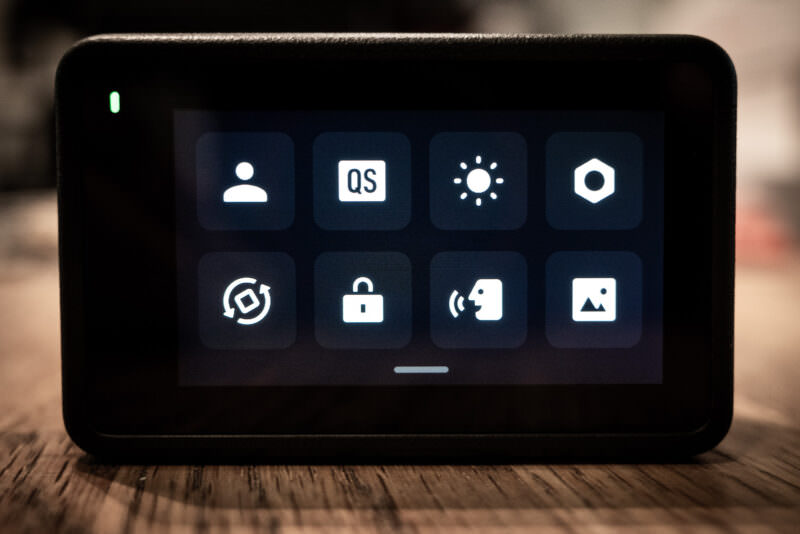
Swipe down from the top edge of the rear screen. That opens what DJI calls the control menu — eight icons in two rows.
You want the settings icon, which for some reason on this camera is different to the typical cog icon. It’s the one at the top right that looks like a metal nut to attach to a bolt.
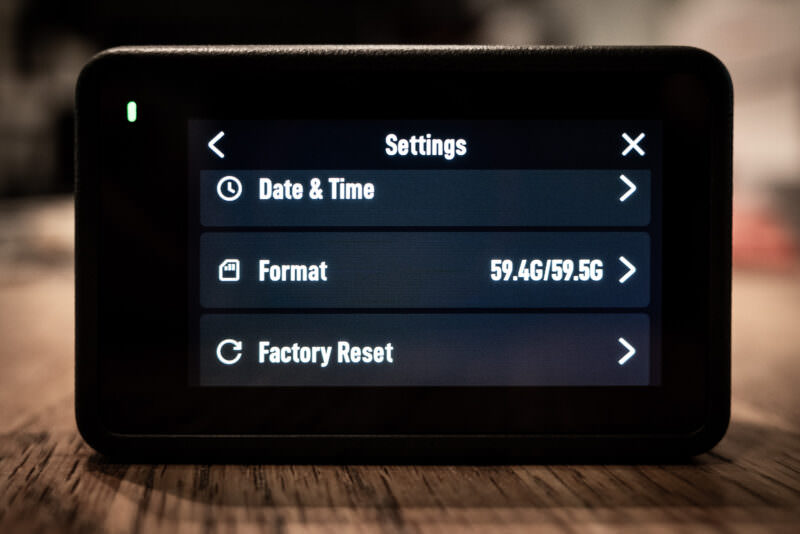
Once you’re in the settings, scroll down until you see Format. The numbers on the right are telling you how much space you have available from the total space on the card.
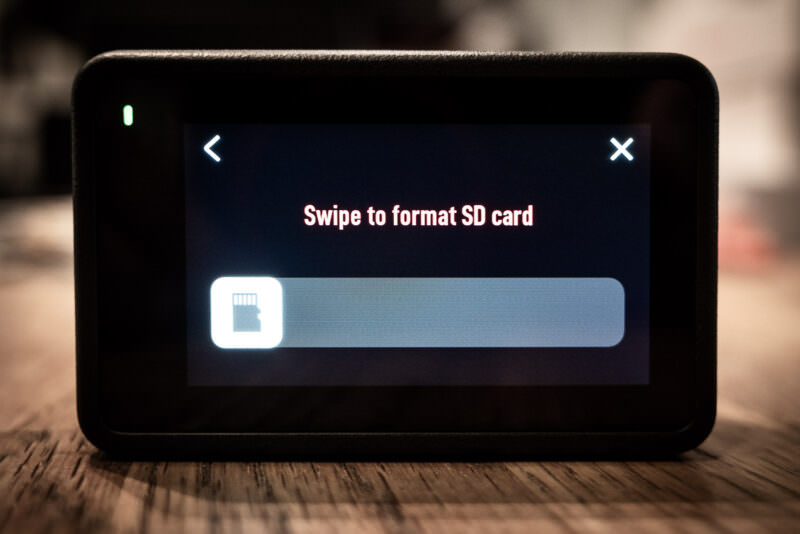
As a way of confirming that you want to proceed and haven’t accidentally clicked on the option, you’ll need to drag that microSD icon from left to right.
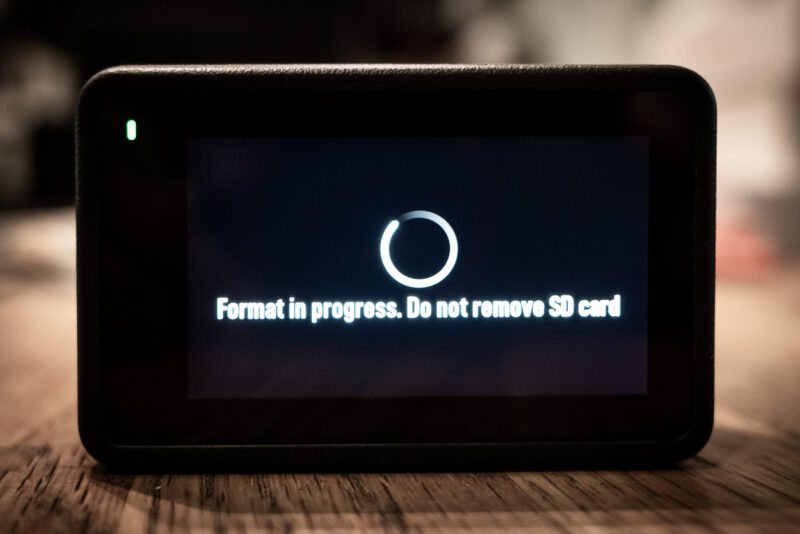
With the formatting in progress, you need to make sure not to remove the memory card or power off the camera. Doing so risks corrupting the card and, potentially, making it unusable.
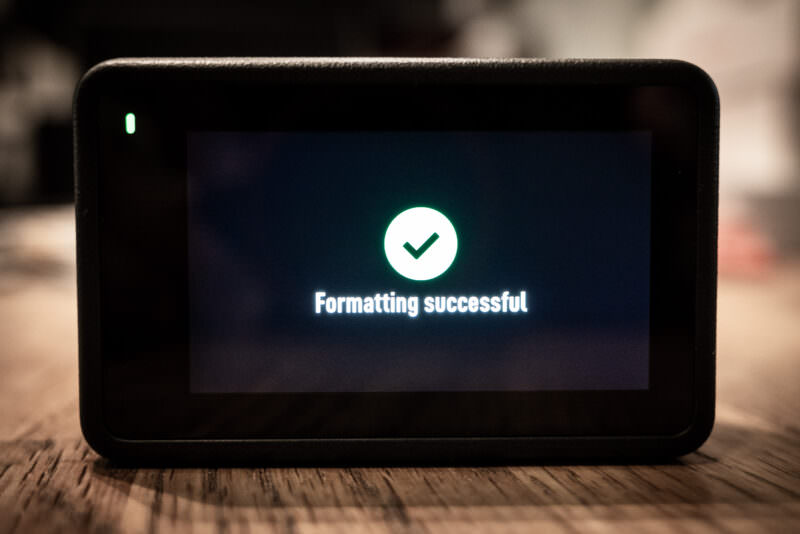
And that’s it!
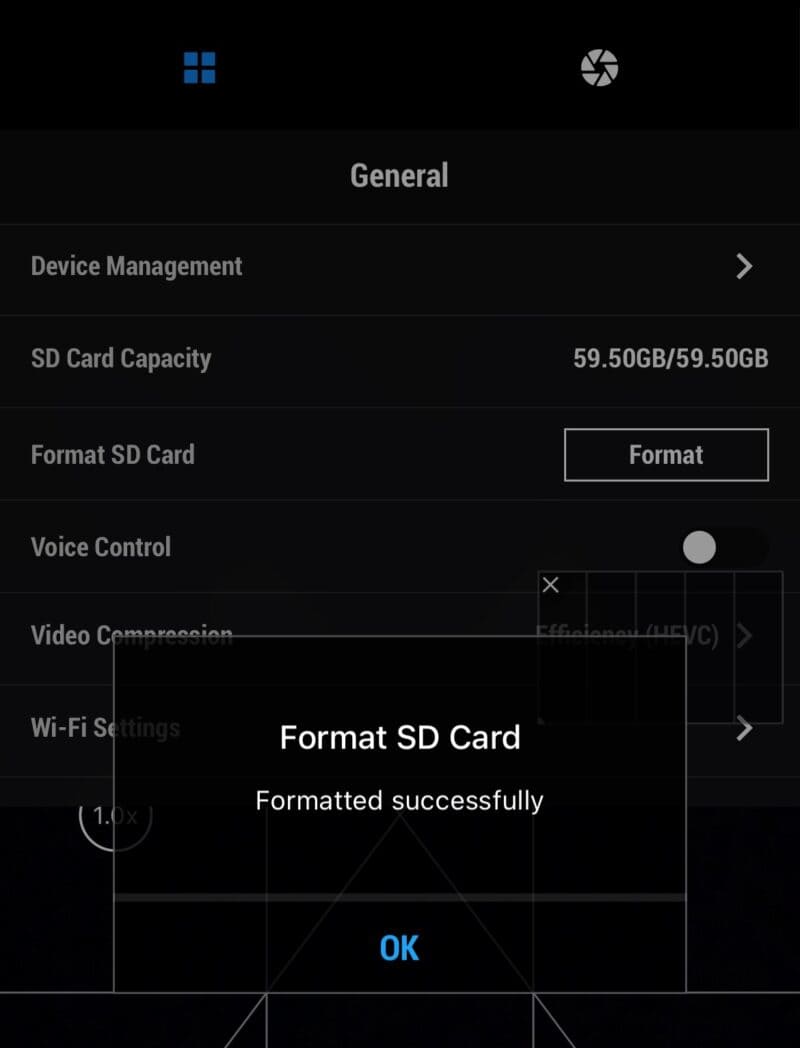
Format the SD card using the DJI Mimo mobile app
You can also use the DJI Mimo mobile app to format the SD card in a DJI Osmo Action 4.
You’ll need to connect the app wirelessly to the Action 4 first, of course.
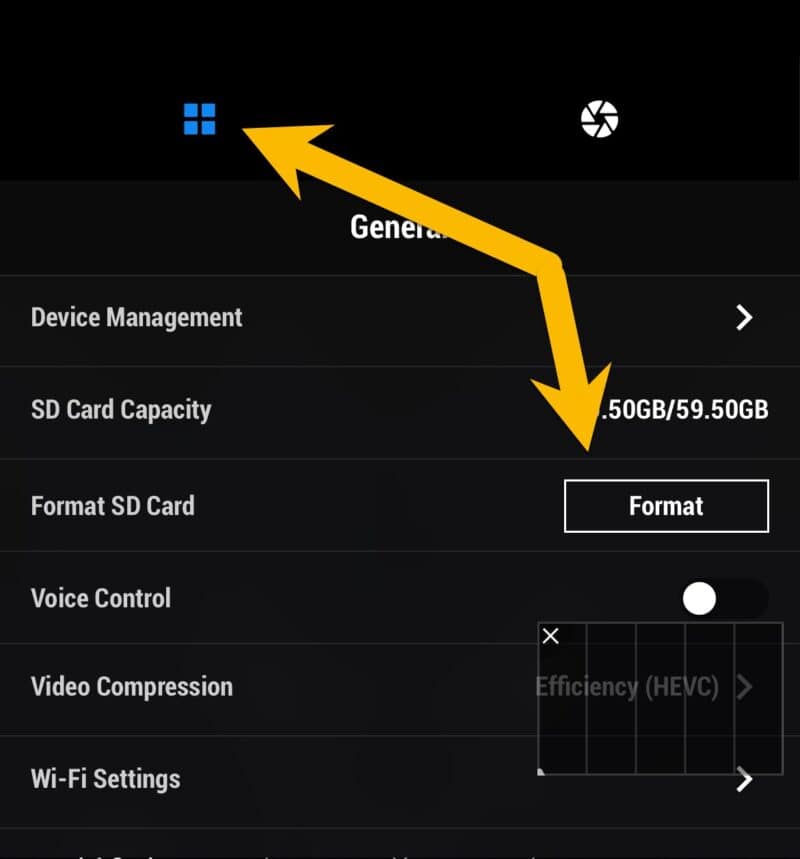
Then click on the settings icon at the top left of the screen. It’s a different icon than the one used on the camera itself; it’s a grid of four boxes.
Then, choose the Format option.
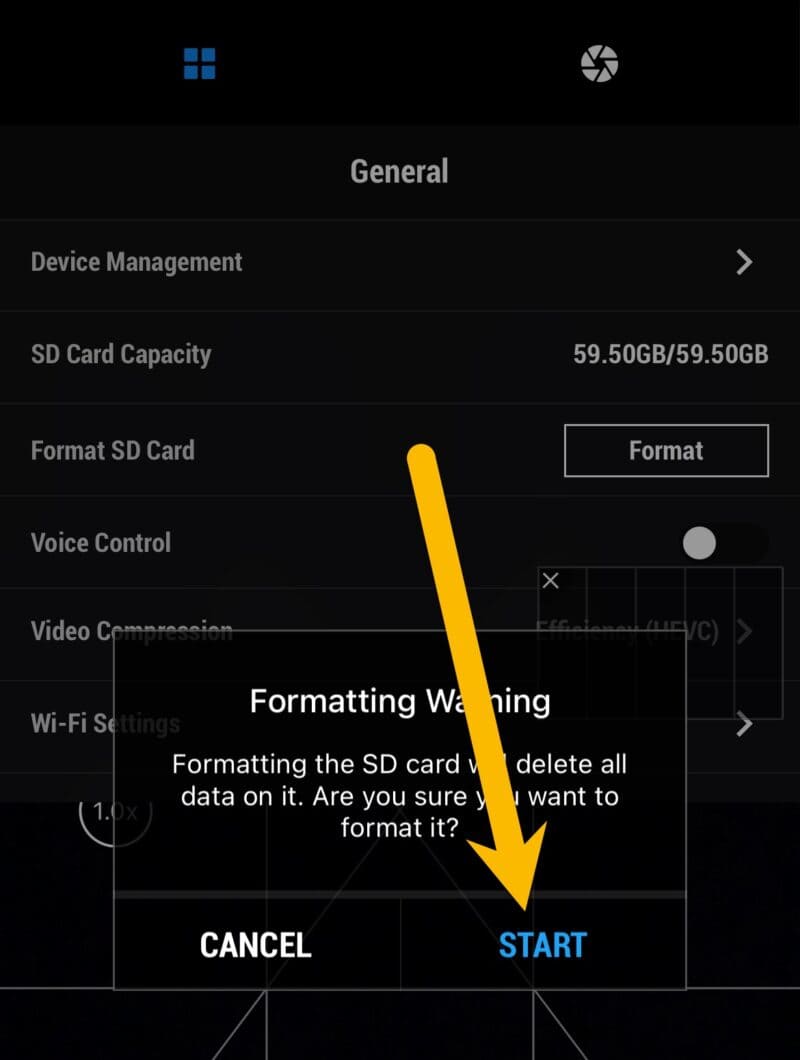
You’ll then get a Formatting Warning: formatting deletes everything on the card. The button you want is START, not an OK button — tap CANCEL if you’ve changed your mind.
While it’s formatting, you’ll be warned not to remove the SD card from the camera or power the camera off. Doing so can lead to the card becoming corrupted and potentially unusable.
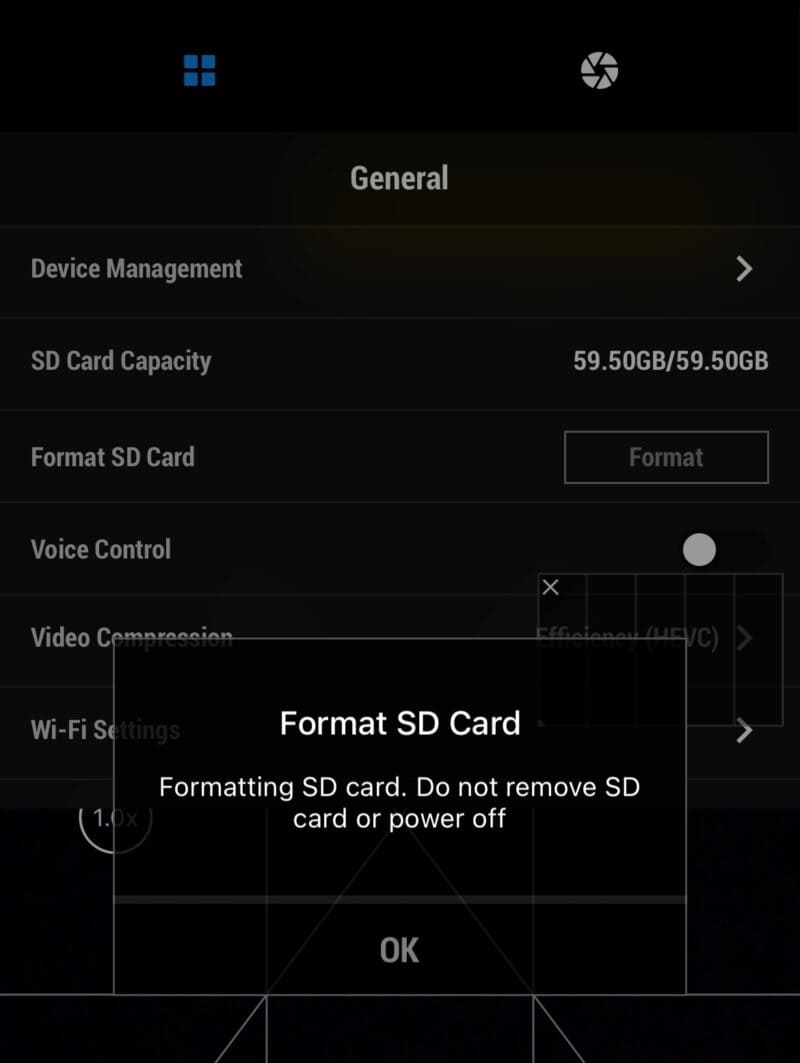
And once it’s done, it’ll just give you the blue OK button.
If the card won’t format, or the camera says the format isn’t supported
The Action 4 is fussy about three things, all straight from DJI’s spec sheet. The card has to be microSD, up to 512GB. It has to be rated UHS-I Speed Grade 3 (the same thing as the U3 and V30 marks on the card). And the camera works in exFAT.
That last one is usually what’s behind a card the camera won’t take. A card formatted somewhere else as FAT32 or NTFS isn’t the file system the camera expects. Formatting in the camera is the first thing to try, because the camera writes its own file system.
If the camera refuses to format it at all, put the card in a reader, format it as exFAT on your computer, then format it once more in the camera.
Things worth knowing
Like most cameras, the Osmo Action 4 performs what’s known as a high-level format or, alternatively, a quick format. What that basically does is wipe the main index on the card to make it look like there’s nothing on the card, but it doesn’t actually go through and thoroughly delete the data on the card (that would require what’s known as a low-level format). In other words, the data for any photos or videos are still on the card–the operating system just can’t see it.
A quick format is, well, quick. So it’s convenient. But an implication of it is that the underlying data remains on the card and might well be recoverable. That’s good if you’ve accidentally deleted something and need to recover it.
It’s less good if you have sensitive data on there that you don’t want anyone to be able to recover. Overwriting the card on a computer helps, but it isn’t a guarantee. Memory cards use wear leveling and keep spare cells in reserve, so a computer has no way to reach every block that ever held your data. If the footage is genuinely sensitive, the only sure way to make it unrecoverable is to physically destroy the card when you’re done with it, so keep a dedicated card for that kind of work.


