
Quick Summary
- Ricoh GR III features a built-in macro mode.
- Macro mode allows close-up shots between 6cm to 12cm.
- Enables capturing of intricate details, textures, and small subjects.
- Activating macro mode: Press the rotary dial with a flower icon.
- Macro mode overrides Snap or Infinity focus settings.
- Useful for travel and street photography, adding versatility to the camera.
- Turn off macro mode when not in use to avoid focus issues.
The Ricoh GR III is a pretty remarkable little camera. The GR series goes back a long way — back to film days — and it has a cult following, particularly for street photography. I’ve had the past few editions and really like it as a pocketable take-anywhere shooter.
One of its less-heralded features is that it has a built-in macro mode. Macro isn’t something you naturally think of when considering a camera built for the street, but I’ve found that it comes in surprisingly handy.
The GR III’s macro mode allows you to take photos that are much closer up than the camera typically focuses — it works in the range from 6cm to 12cm (2.36 to 4.72 inches). Which is a little closer focus than some of the GR III’s main competitors.1
And even if it might not appear to be an essential feature, I’ve found it surprising how useful it can be. I have high-end macro lenses for DSLRs and mirrorless cameras on hand. So it’s not like I don’t have other options. But sometimes you just want the convenience of quick and simple, and especially on a camera that you can take with you all the time. And that’s what the macro mode of the Ricoh GR III offers, meaning that I find myself using this feature surprisingly often. My iPhone also meets those criteria, but I like the quality results out of the GR III better.
If you’re using the GR III as a travel camera or shooting street photography, having a macro feature can open up all sorts of extra photographic opportunities. It might be the textures of an ancient door, the tiny artistic details of a doodling graffiti artist, a bug on a flower, shells on a beach, some of the local cuisine, or any number of other tiny subjects that can only be captured up close.
In other words, macro is another feature that adds to the GR III’s impressive versatility.
How to turn on Macro Mode on the Ricoh GR III
Macro mode on the GR III is easy to use. There are no lenses or adapters to attach or dials to rotate. You simply press the top of the rotary dial on the back of the camera. It has a flower icon on it.

Once you turn it on, you’ll see a flower icon on the left-hand side of the back screen (if you’re using the on-screen display, obviously).2
Alternatively, you can enable Macro mode through the menu system. You can find it under:
Setup Menu > [4] Macro ModeHow to turn OFF Macro Mode on the Ricoh GR III
Turning off Macro mode is as simple as pressing the same button. But you do have to turn it off — otherwise, it stays on.
So if you’re shooting macro, then go to shoot a subject further away and can’t get it to focus, it’s usually because the macro mode is still on.
You can also cancel the Macro mode through the menu system. It’s under:


Setup Menu > [4] Macro ModeA few examples of macro photos taken with the Ricoh GR III
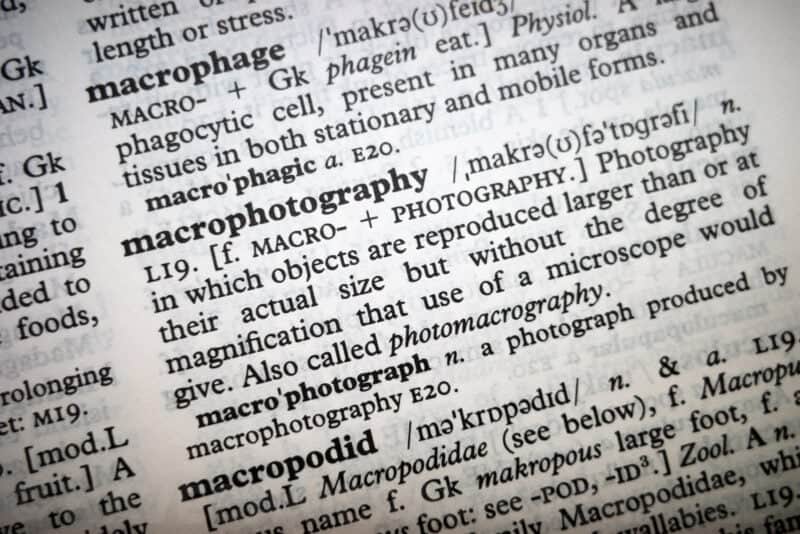
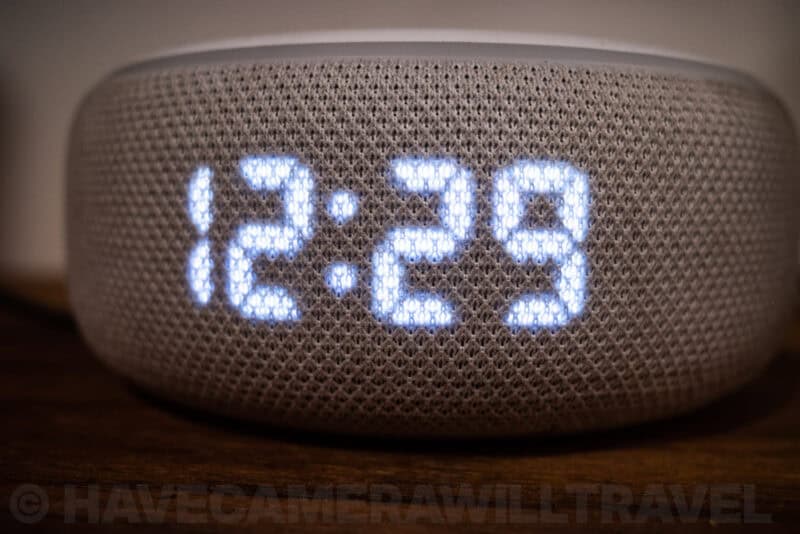
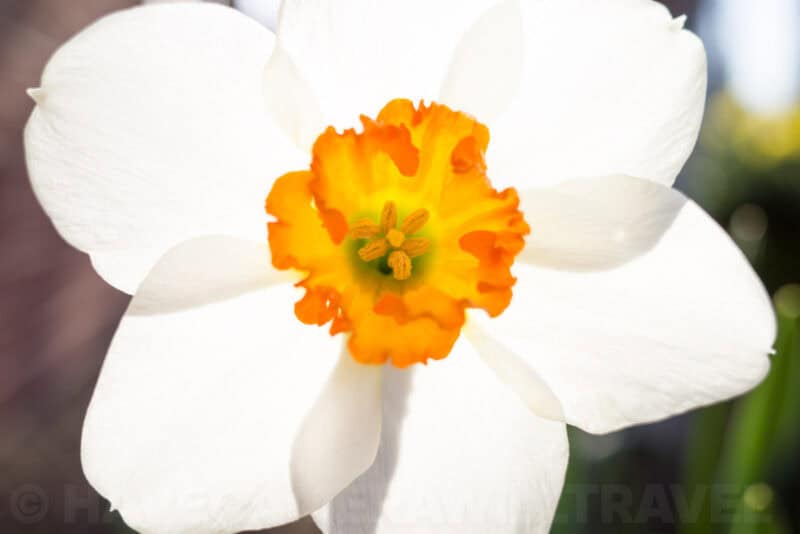
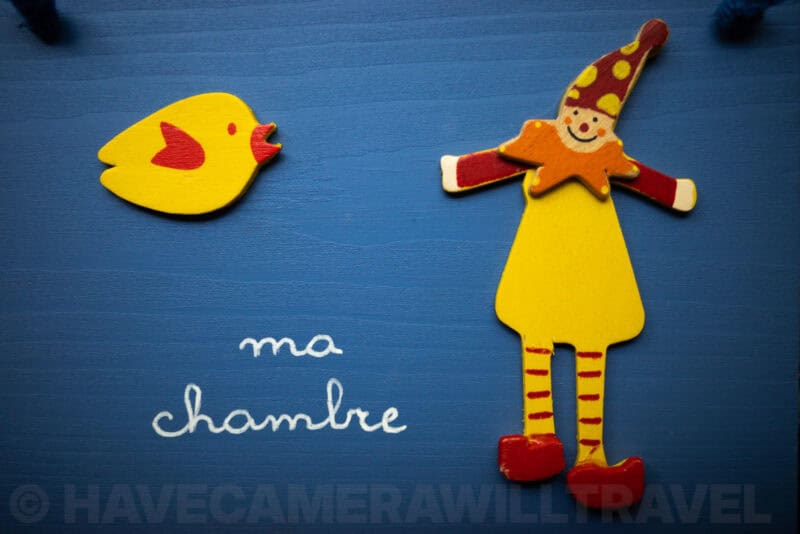
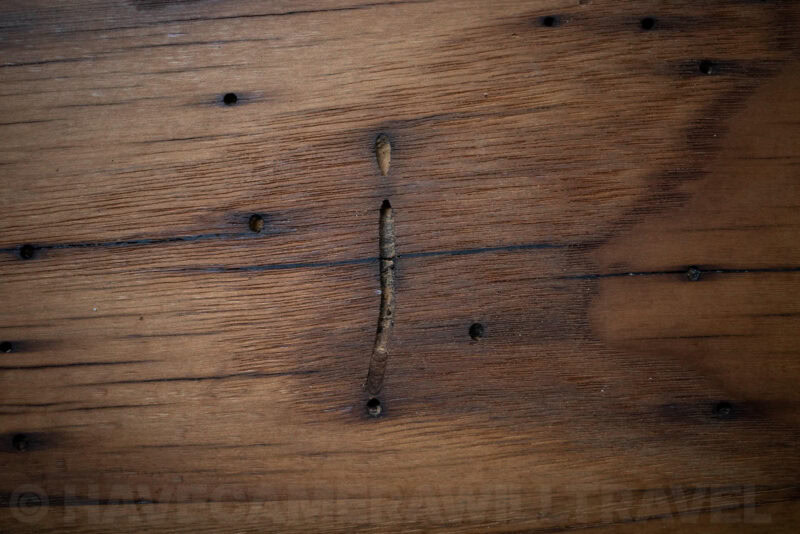
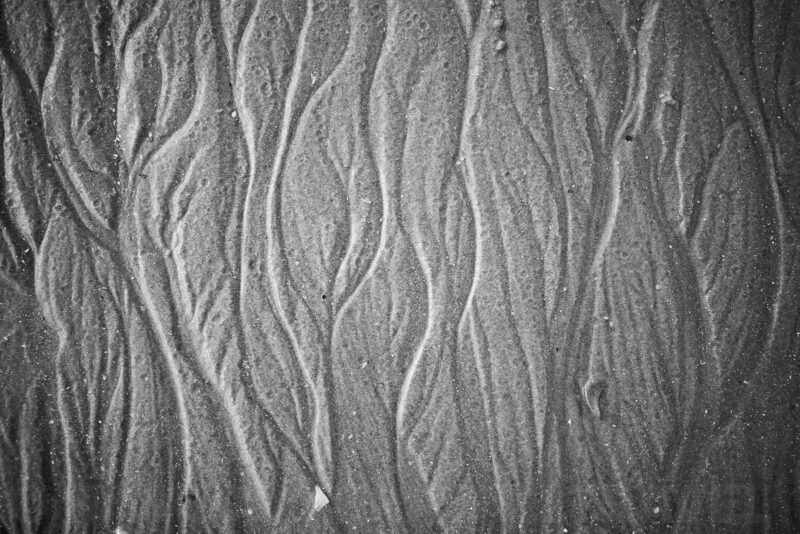
Here are some examples of macro close-up photos I’ve taken with the Ricoh GR III recently. I’ve tried to include a sampling of different sizes and subjects to give a bit of a sense of what it can do under varying shooting conditions.














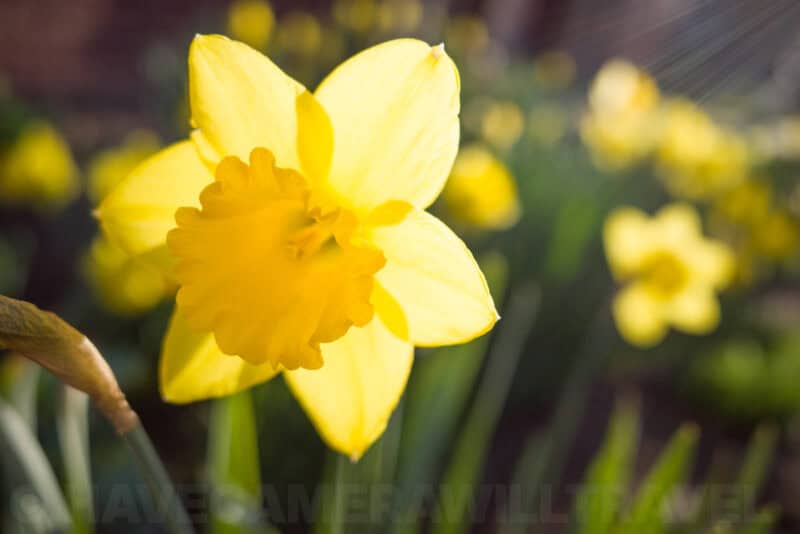
Things worth knowing
There are distinctive challenges with all macro photography, from camera shadows to trying to establish critical focus (especially when shooting handheld or the subject is moving). While there’s no particular solution to these with the GR III, I do find the tracking focus feature to be useful when shooting close-ups handheld.
If you have the focus set to Snap or Infinity, the Macro mode will override that by activating the Select AF focus mode.
Price & availability of the Ricoh GR III
The GR III has been out for a while, but it only seems to be growing in popularity, and it’s often on backorder. So you might need to hunt around for one.
Check the current price and availability of the Ricoh GR III at:
Ricoh GR III accessories & replacement parts
Here are the model numbers of some of the core accessories and replacement parts for the Ricoh GR III.
Lens ring cap
- Ring Cap: GN-1
The lens ring cap is the small plastic ring that attaches around the lens port. To the extent it’s a functional part of the camera, it’s mostly there to protect against grit getting into the attachment thread around the lens port. But it’s also largely decorative. Chances are, it’s fallen off. While you do have to remove it to attach the lens adapter for using filters or the wide-angle conversion lens, it’s a poor design that tends to fall off and get lost far too often. I’ve lost a couple of them now.
The camera will work just fine without it. But that will leave some contacts exposed around the lens barrel, which isn’t ideal.
The official replacement part is overpriced, but if you want to get the genuine replacement part, it’s model GN-1. But you can also pick up much less expensive aftermarket versions. They’re also available in different colors, so you can bling up your camera with a personal touch — or make it look like the Street Edition.
USB cable
The GR III has a USB Type-C connector port. When you get a cable, you can get them with another USB Type-C connector on the other end or a more traditional USB Type-A connector. Which you choose depends entirely on what you’re plugging into. For example, some newer laptops only have USB-C, while most other computers have USB-A.
Not all USB-C cables support data transfer, though. That’s often something you’ll run into with USB-C cables designed for fast charging. So it’s worth checking the product description and specs first.
Battery & charger
- Battery: DB-110
The Ricoh GR III takes battery model DB-110. It’s a rechargeable lithium-ion battery rated at 3.6V 1350mAh 4.9Wh.
There are some other cameras that also use the same battery — notably, some Olympus cameras (the Olympus model number for the same battery is LI-90B). So they’re quite widely available. You can get the official Ricoh version. There are also aftermarket versions that can be much better value but work just as well.
- Charger: BJ-11
You can charge the battery in the camera (using a USB-C cable). There are also external battery chargers available. They’re especially useful if you’re using spare batteries, so you can charge and shoot simultaneously.
- AC Adapter: K-AC166
This is used to power the camera for longer shoots, such as time-lapse, or if you happen to be using the camera for live streaming as a webcam. It connects via the camera’s USB-C port.
Wide-angle conversion lens
Ricoh has produced a wide-angle conversion lens that takes the standard 28mm view down to a 21mm (in 35mm equivalent). While it does add some extra bulk to an otherwise small camera, it works well and adds a more dramatic, wider view. I have an in-depth review of it separately.
Something to be aware of, though, is that you will also need to pick up the GA-1 lens adapter separately. For reasons I really don’t understand, the wide-angle conversion lens doesn’t come with the adapter, and both are required to make it work. So make sure you pick up one of those at the same time.
Remote shutter releases
- Wired Shutter Release: CA-3
This is the official Ricoh remote shutter. It connects to the camera via a USB cable, and it’s a simple shutter release (i.e., there’s no timer or intervalometer).
You can also find aftermarket shutter releases for the GR III.
External viewfinders
- Standard External Viewfinder: GV-1
- Mini External Viewfinder: GB-2
The Ricoh GR III doesn’t have a built-in viewfinder. But they make two versions of an external viewfinder that slides into the camera’s hot shoe. It covers both the standard 28mm view as well as the 21mm view if you’re using the wide-angle conversion lens. There’s also a mini viewfinder; that model seems to be hard to find.
Screen protector
The back screen of the GR III is quite exposed, and if you lie the camera on its back, the screen comes in contact with the surface. Even if you’re putting the camera in your pocket, there’s a risk of keys or coins scratching the screen.
There’s no official screen protector, but there are good aftermarket versions. The one I use is this one. It’s essentially a consumable that protects the screen. If you scratch the protector, you can quickly and easily replace it with another from the pack.
Carrying & protection
- Soft Case: GC-11 (replaces the GC-9)
You can, of course, use the GR III with just about any camera case or bag. But Ricoh does make a dedicated soft case that fits snugly around the camera and offers some protection even if you’re toting the camera around in your pocket. I’ve been using one for a couple of years, and it’s held up very well, and it keeps my camera safer from bumps and scratches.
- Neck Strap: GS-3
Again, there’s no particular reason you have to use the official GR neck strap, but there is one. The main part is leather, and it even has a discreet, embossed “GR”.
If you do use a different strap, be aware that the strap loops on the camera are very small and won’t take thicker (i.e., stronger) attachment loops. So you might need to use some D-rings as well.
- Hand Strap: GS-2
There’s even an official “GR” leather hand strap! But, again, aside from the branding, there’s no special reason to use the official strap. If you do use a different one, you might need D-rings if the thread doesn’t go through the camera’s small attachment loops.
External flash
Unlike some of its predecessors, the GR III doesn’t have a built-in flash. It supports the Pentax P-TTL flash protocol.
Pentax External Flashes:
Ricoh GR III manual
You can find it here.
Something to be aware of is that if you do a web search for the manual, you’ll often end up at the manual for the Ricoh Digital III manual, which is a different, and older, camera.



Just discovered that in Macro Mode, one can crop to 35ml/50ml and whilst a smaller file results; wow!