
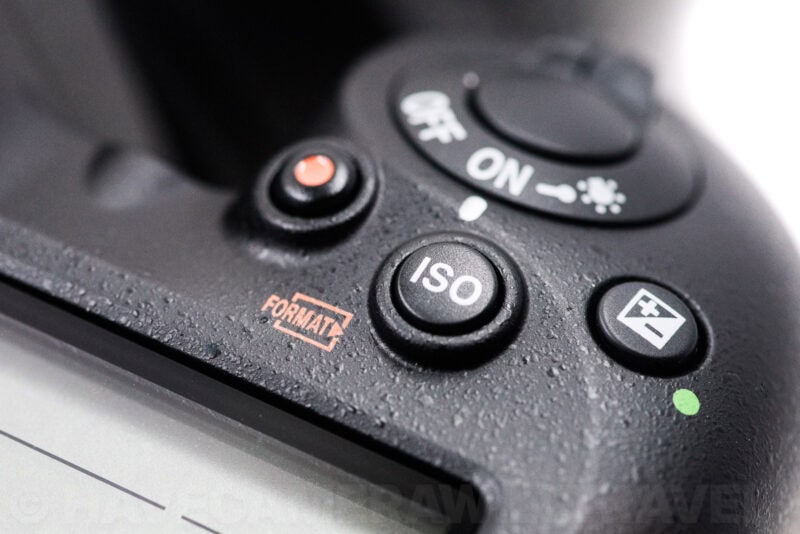
The Nikon D7500 has a very wide ISO range. In its standard range, it goes from 100 to 51,200. There are also extended settings on both ends, from Lo 0.3 to Lo 1 (Lo 1 is equivalent to ISO 32) on the slow end and from Hi 0.3 to Hi 5 (Hi 5 is equivalent to ISO 1,638,400) on the fast end.
The catch with ISO, of course, is that while the higher numbers are better for capturing subjects in very low light, they also bring the risk of degraded image quality.
Firstly, there’s the problem of grainy, noisy images that is the digital equivalent to the old film grain.
Secondly, as you get into the very high ISOs the sensor’s response to color degrades. So you tend to end up with images that have both noise and harsher colors. Whether that’s a problem depends entirely on what you’re shooting and the look you’re aiming for.
This is an area that the leading camera manufacturers have been improving constantly for a long time now, and the latest cameras are very impressive. The D7500 is no exception, and I’ve been very impressed with the results up to at least ISO 6400 from the D7500, and, in practice, even all the way up to an extreme setting like ISO 51,200 can result in surprisingly usable images in the right circumstances. As you can see from the example below, once you get up into the extended range above that, particularly up around the Hi 5 setting, the images start to become much less useful for anything other than quite niche uses.
This post focuses on high-ISO images, but you can see a more general collection of sample images I’ve taken with the D7500 at:
– Nikon D7500 Sample Images
To give a sense of the D7500’s high-ISO performance, I’ve put together the shots below. And related to this, I’ve also put together a quick guide on how to change the ISO on a Nikon D7500.
How these high-ISO examples were shot
There are no fancy setting settings here-deliberately so. To get consistent exposure across the frames, I mounted it on a tripod and put it on the Aperture priority setting. So the aperture remained constant, with the shutter speed adjusting to compensate for the ISO I was setting.
But there is an important aspect to note. By default, the Nikon D7500 applies noise reduction to high-ISO photos in-camera. You can turn that setting off or change its aggressiveness, but by default, it’s turned on. That in-camera noise reduction doesn’t, technically, affect RAW images as such, just JPGs. But it is applied to the JPG preview images that are embedded into the RAW files and that are the versions you see when you view the image on the back of the camera. Those are also the initial versions you see when you import the images into apps like Lightroom or PhotoMechanic. If you open a RAW file and see the obvious effects of in-camera noise reduction, that’s why. To bypass that, I’ve made sure to regenerate the images below directly from the underlying RAW file. That was done in Lightroom, and I disabled Lightroom’s noise reduction and sharpening functions.
ISO 100

ISO 200

ISO 400

ISO 800

ISO 1600

ISO 2500

ISO 3200

ISO 6400

ISO 10000

ISO 16000

ISO 25600

ISO 32000

ISO 40000

ISO 51200

Extended high ISO
Hi 0.3 / ISO 64508

Hi 0.5 / ISO 81275

ISO 102400

ISO 204800

ISO 409600

ISO 819200

Hi 5 / ISO 1638400

Fixing image quality problems in post
The general rule of thumb in photography is that it’s better to get the shot right at the time of capture rather than trying to fix it later.
That’s a great aspiration, but it’s not always possible to do if you’re shooting in especially challenging conditions or bumping up against limitations or flaws in gear, conditions, or technique.
But it’s worth mentioning that there are some excellent tools available to help address common image quality issues with digital images. And they’re getting better and better all the time as the power of AI machine learning ramps up.
They can deal remarkably well with anything from sensor issues like high-ISO image noise to lens issues like distortion, softness, vignetting, and chromatic aberration. (Note: I’m focusing here on corrections related to image quality, not image enhancement tools — that’s a different kettle of fish.)
All-round image processing apps like Lightroom Classic and Capture One have solid tools built in that are very good places to start.
But it’s also possible to take it much further with more specialized tools.
If you shoot in challenging conditions regularly and find room for improvement in the image quality coming out of the camera, these might well be worth a look (and they have free trials). Some are stand-alone apps; some integrate into image editing suites such as Lightroom Classic.
Some of these work only with RAW files, and those are the ones I’ve had the best results with. But there are also good options if you’re working with JPG or TIFF files.


Fixing image noise & high ISO artifacts
The newest generation of tools can do some pretty remarkable improvements to image noise. These are some of the best tools for reducing image noise in photos. Most of them include a free trial to test out the results for yourself.
- Lightroom Classic’s Denoise tool. This was quietly added to recent versions of Lightroom Classic, and you can find it in the Develop module’s Detail panel. It only works on RAW files. It doesn’t have some of the more advanced features and more granular controls of some of the other apps here, but if you’re already using Lightroom, it’s a great option to have available.
- DxO PureRAW 5. Like Lightroom Classic’s Denoise tool, it only works on RAW files. It has become my go-to app for this kind of thing. I’m consistently amazed at how it can rescue photos with otherwise dodgy image quality from noise. It can also help with lens distortion, lens vignetting, and lens softness.
- DxO Nik Dfine. This product originated with the Nik Collection, and it focuses on the more traditional approach to digital image noise reduction. Something that’s especially notable about Dfine is that you can use U-point selections for precise application of different settings to different parts of the image.
- ON1 NoNoise AI. Its “deblurring” features are particularly notable, with an emphasis on restoring sharpness that is often a casualty in denoising operations. It works on JPG and TIFF files, and you can create sophisticated masks to apply corrections to specific parts of an image.
- Topaz Labs Photo AI. Topaz Labs used to offer its NoNoise AI as a standalone product, but it has now been integrated alongside several other image improvement tools in its Photo AI app.
Fixing lens-related optical issues
- DxO PureRAW. Again offers an impressive suite of automatic fixes that are applied before you start editing the images.
- DxO ViewPoint. Correcting for lens distortion and geometry skews. Lightroom Classic and Capture One also have excellent built-in tools for this.
- Topaz Labs Photo AI. Topaz Labs used to offer its sharpening tools as a standalone product, but it has now been integrated alongside several other image improvement tools in its Photo AI app.
Price & availability of the Nikon D7500
It’s sold in a variety of configurations, from the body only to bundles with kit lenses and accessories.
Buy new
Check the current price and availability of the Nikon D7500 DSLR at:





Bought a D7500 because of the decent AF for birds – I had a Fuji XT20 and the files from the D7500 are so much more noisy.. I can’t believe it the Raws are not easy to work with (eg: if I lift the Shadow it creates amazing amount of noise (even under ISO 1600). Maybe my expectation were too high but it looks a lot less manageable than Fuji (with less megapixels…)
Hi there. Thanks for this post! I have a Nikon D7500 and when shooting at ISO L1.0 or even ISO 100, my images are extremely noisy/grainy when I open them as RAW files in Photoshop. I have the Long Exposure NR “on” and ISO sensitivity on.
Reading your article suggestion, how do I “to bypass that, I’ve made sure to regenerate the images below directly from the underlying RAW file” in Photoshop?
Would love your help! Thanks,
darren
When you open the RAW files in Photoshop, it’s bypassing the generated JPG thumbnail images that are embedded with the RAW data and creating new versions directly from the RAW data. Processed tools like noise reduction and sharpening and other effects only apply to the JPGs, not the underlying RAW data. So you’re losing the benefit of that by opening the RAW file.
So there are two options: change the file mode to RAW+JPG or apply the effects in Photoshop or Lightroom afterwards.
Hi David. Thanks SO much. Super appreciate you responding.
I realize that the RAW files don’t get the various pieces applied to them, but why are my RAW files so incredibly grainy with the Nikon D7500 when I’m shooting at ISO L1.0 or even 100? Also, my Nikon D300 used to process Noise Reduction and my RAW files (at similar ISO) were not nearly as grainy.
Either way, I’ve never experienced RAW files so grainy as on the D7500. Wondering what I can do about it – since doing the NR in post (Photoshop) is not helping much at all. I just wonder if I have some setting wrong, because they’re really bad.
Thanks,
darren