
With the OM-1, Olympus is retiring the brand name on a high note (cameras and lenses will now be under the OM System brand). My first SLR was the original film version, so it’s a lineage I have a soft spot for.
There’s a lot to like about this new, digital version of the OM-1, and I’ve really enjoyed shooting with it. It’s small and very portable. It’s weatherproofed. It has an impressive set of features. And it’s fun to shoot with. It’s a great candidate if you’re looking for a high-quality camera to take with you on your travels.
But one of my core requirements for any camera I carry with me is how to performs in challenging lighting conditions. So I’ve been curious to test that out on the OM-1.
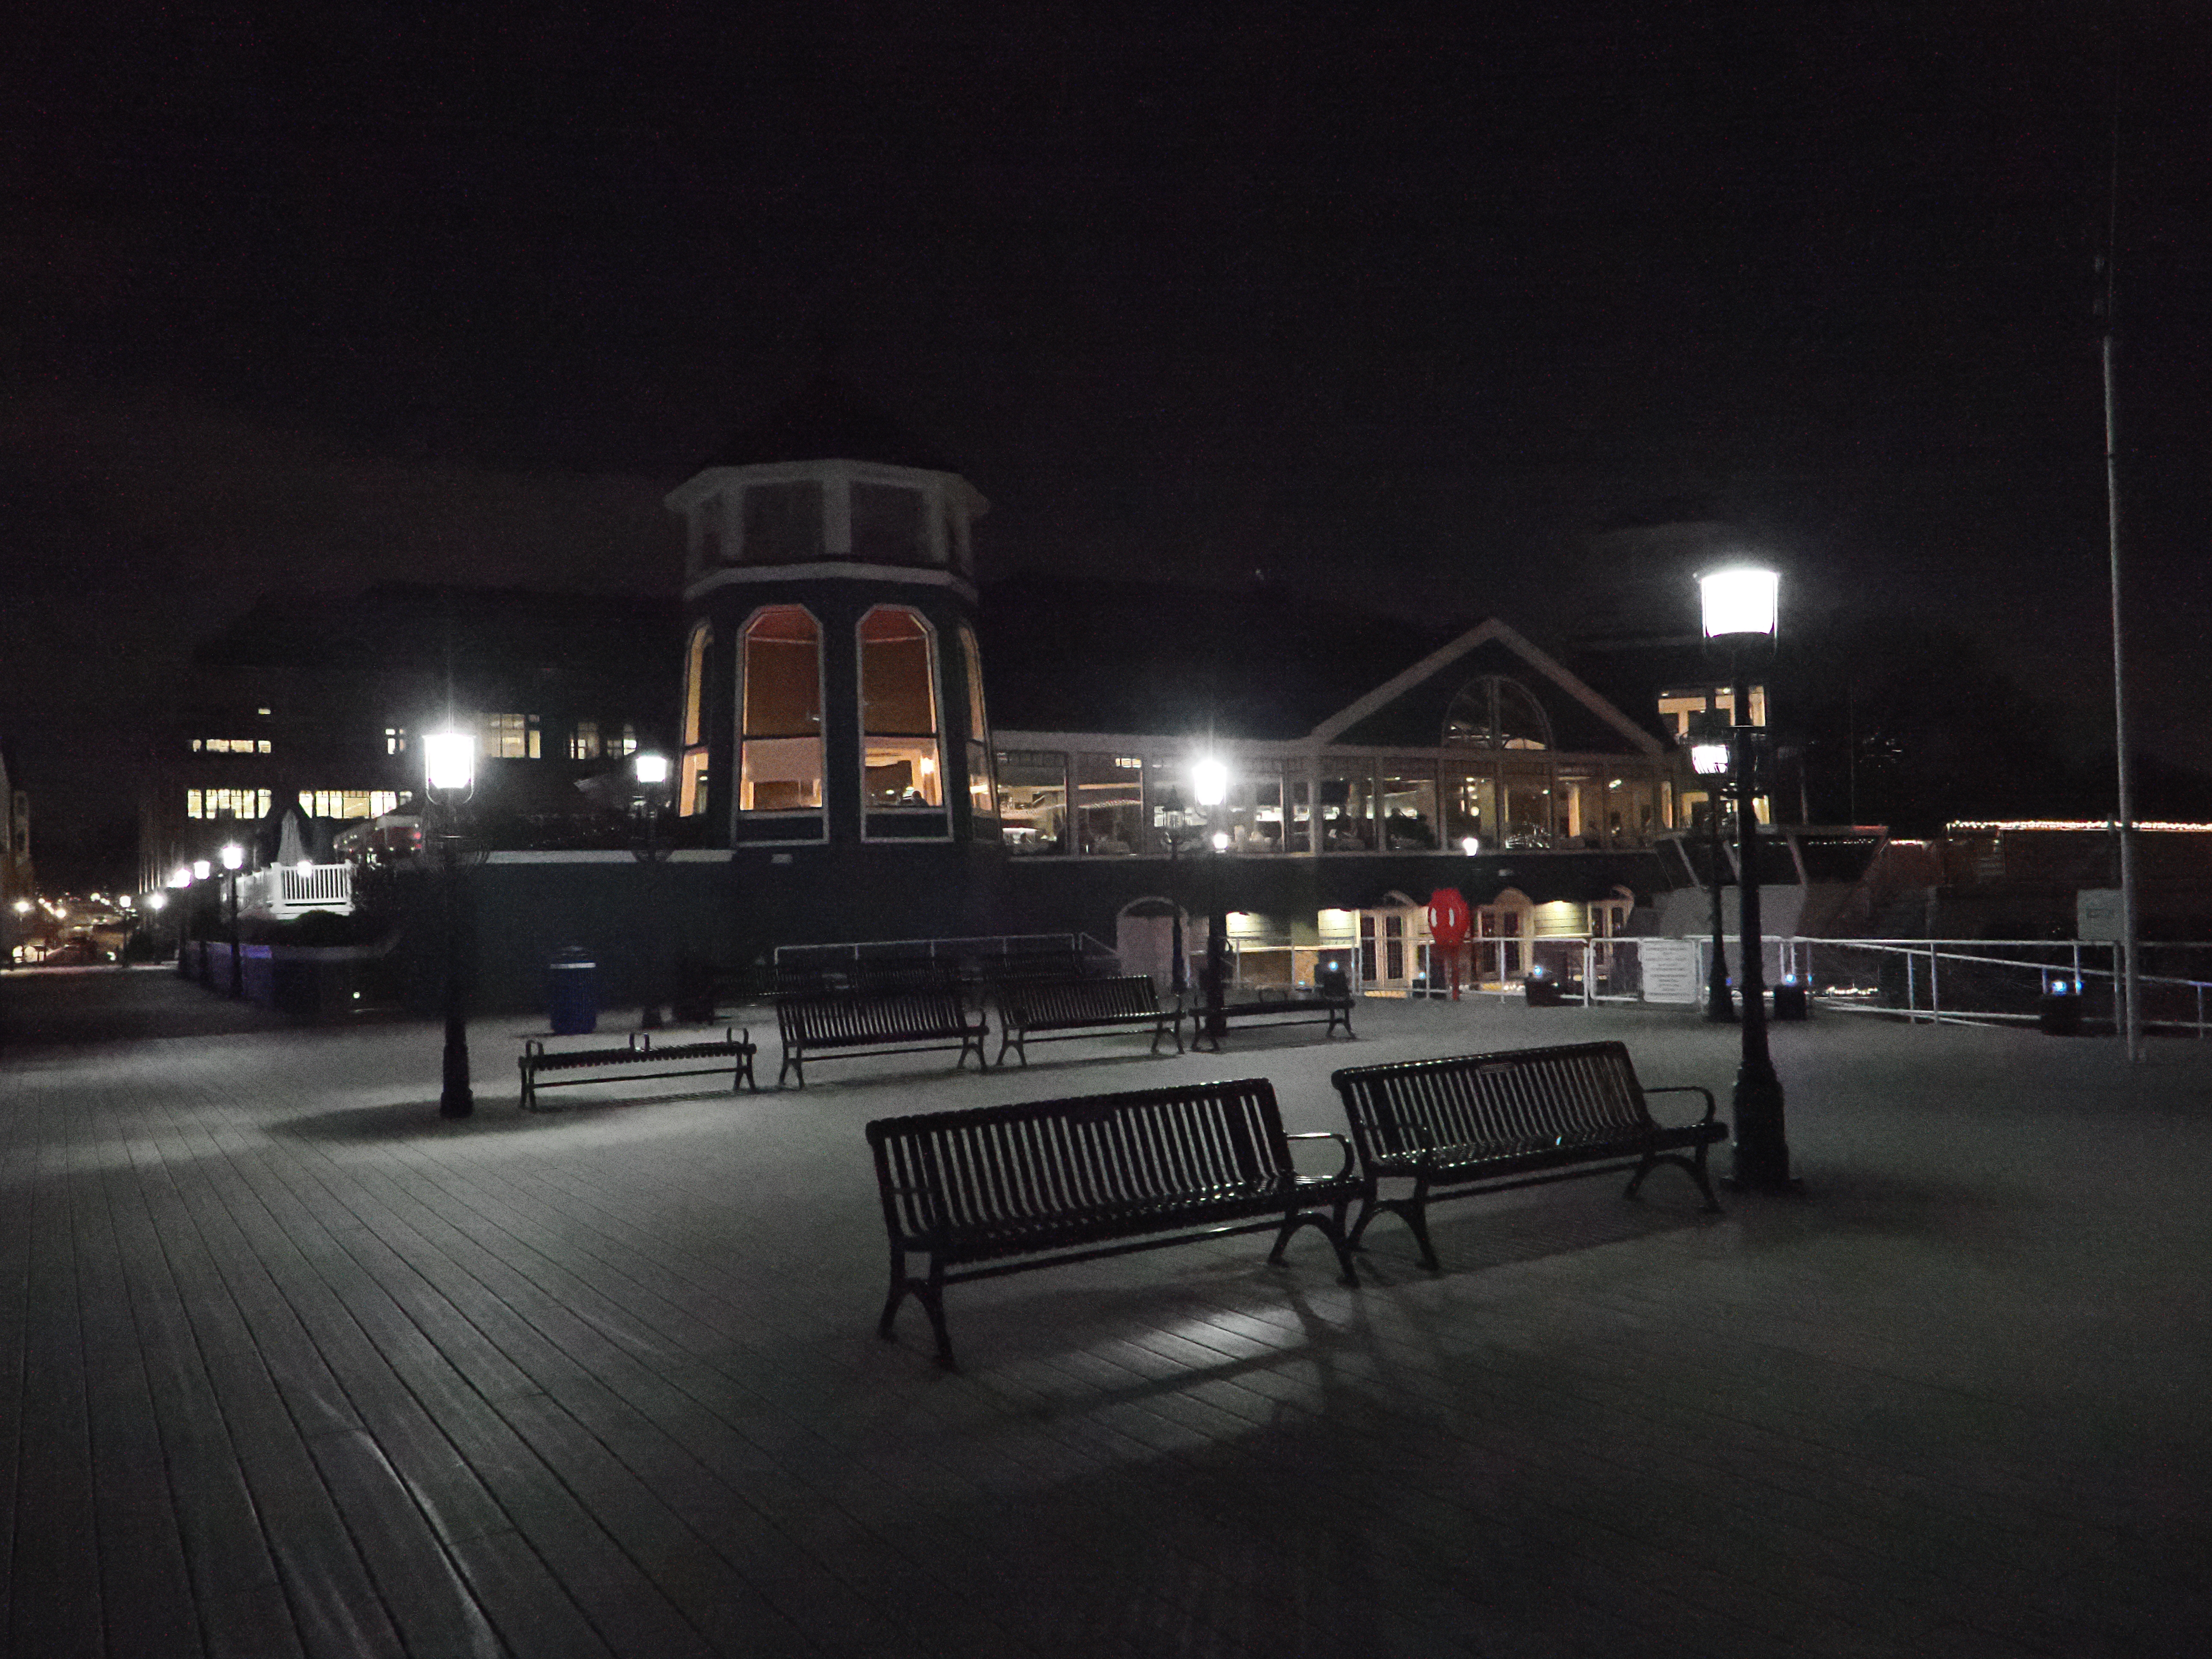
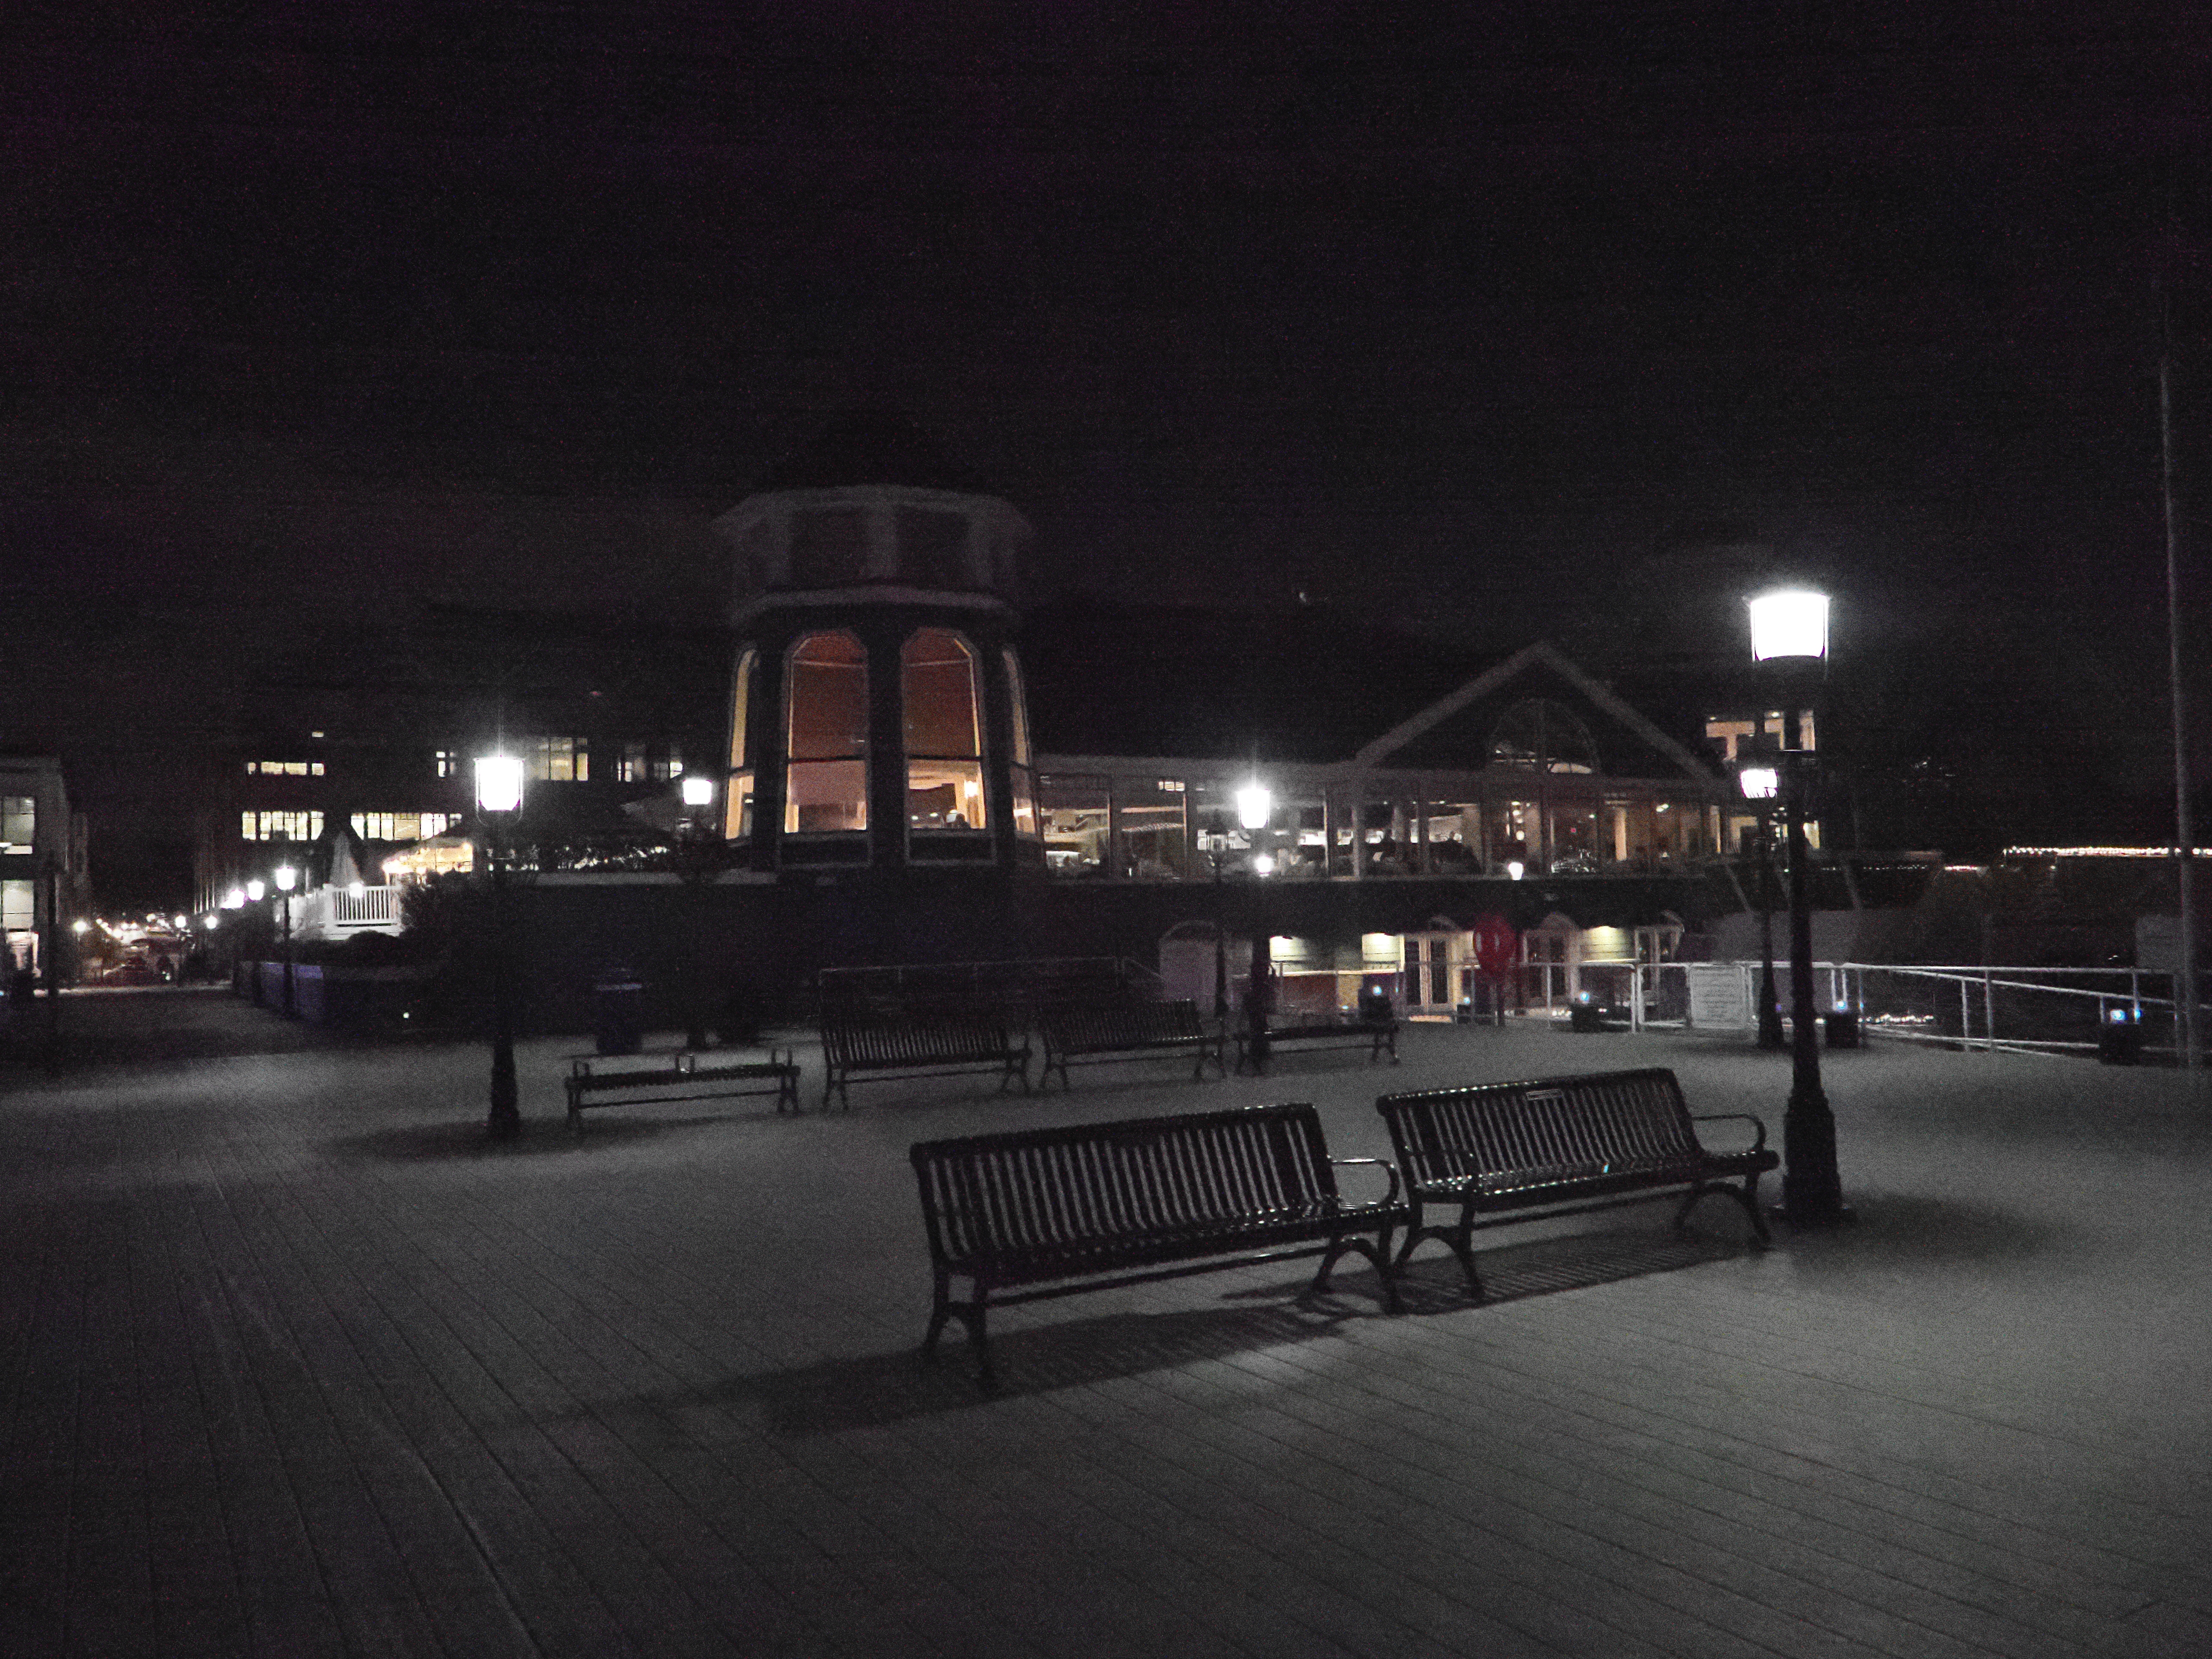
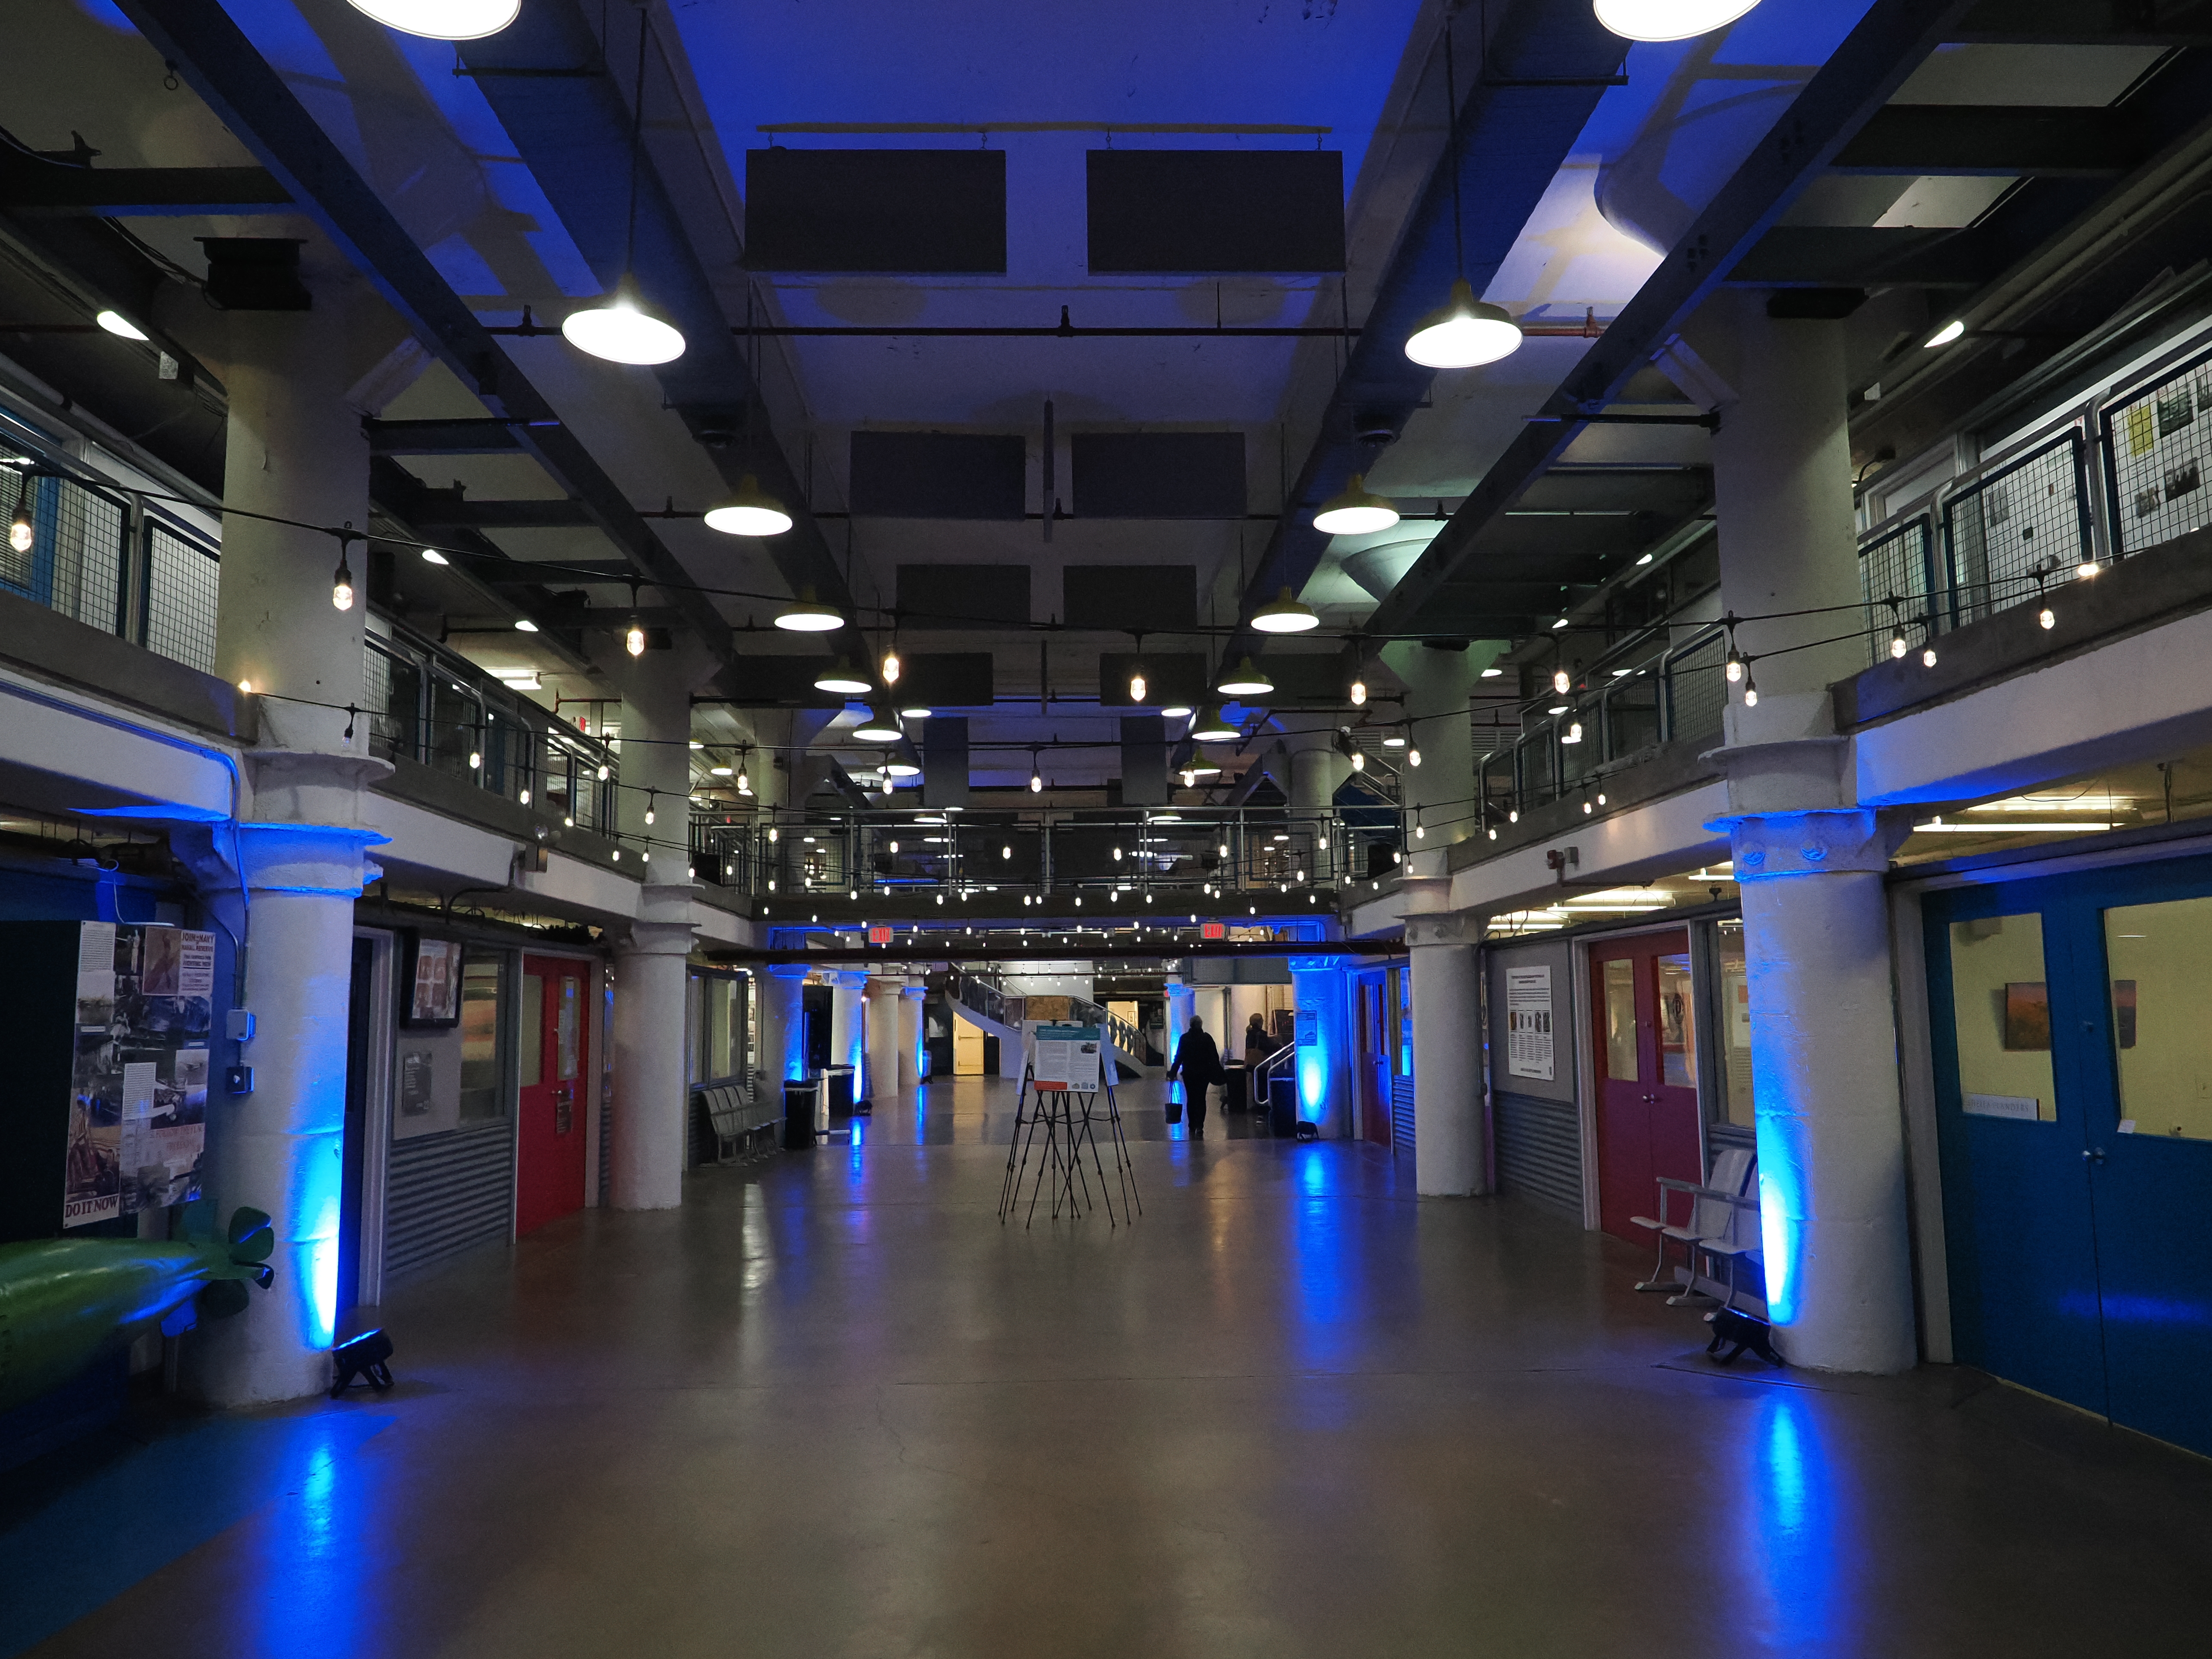
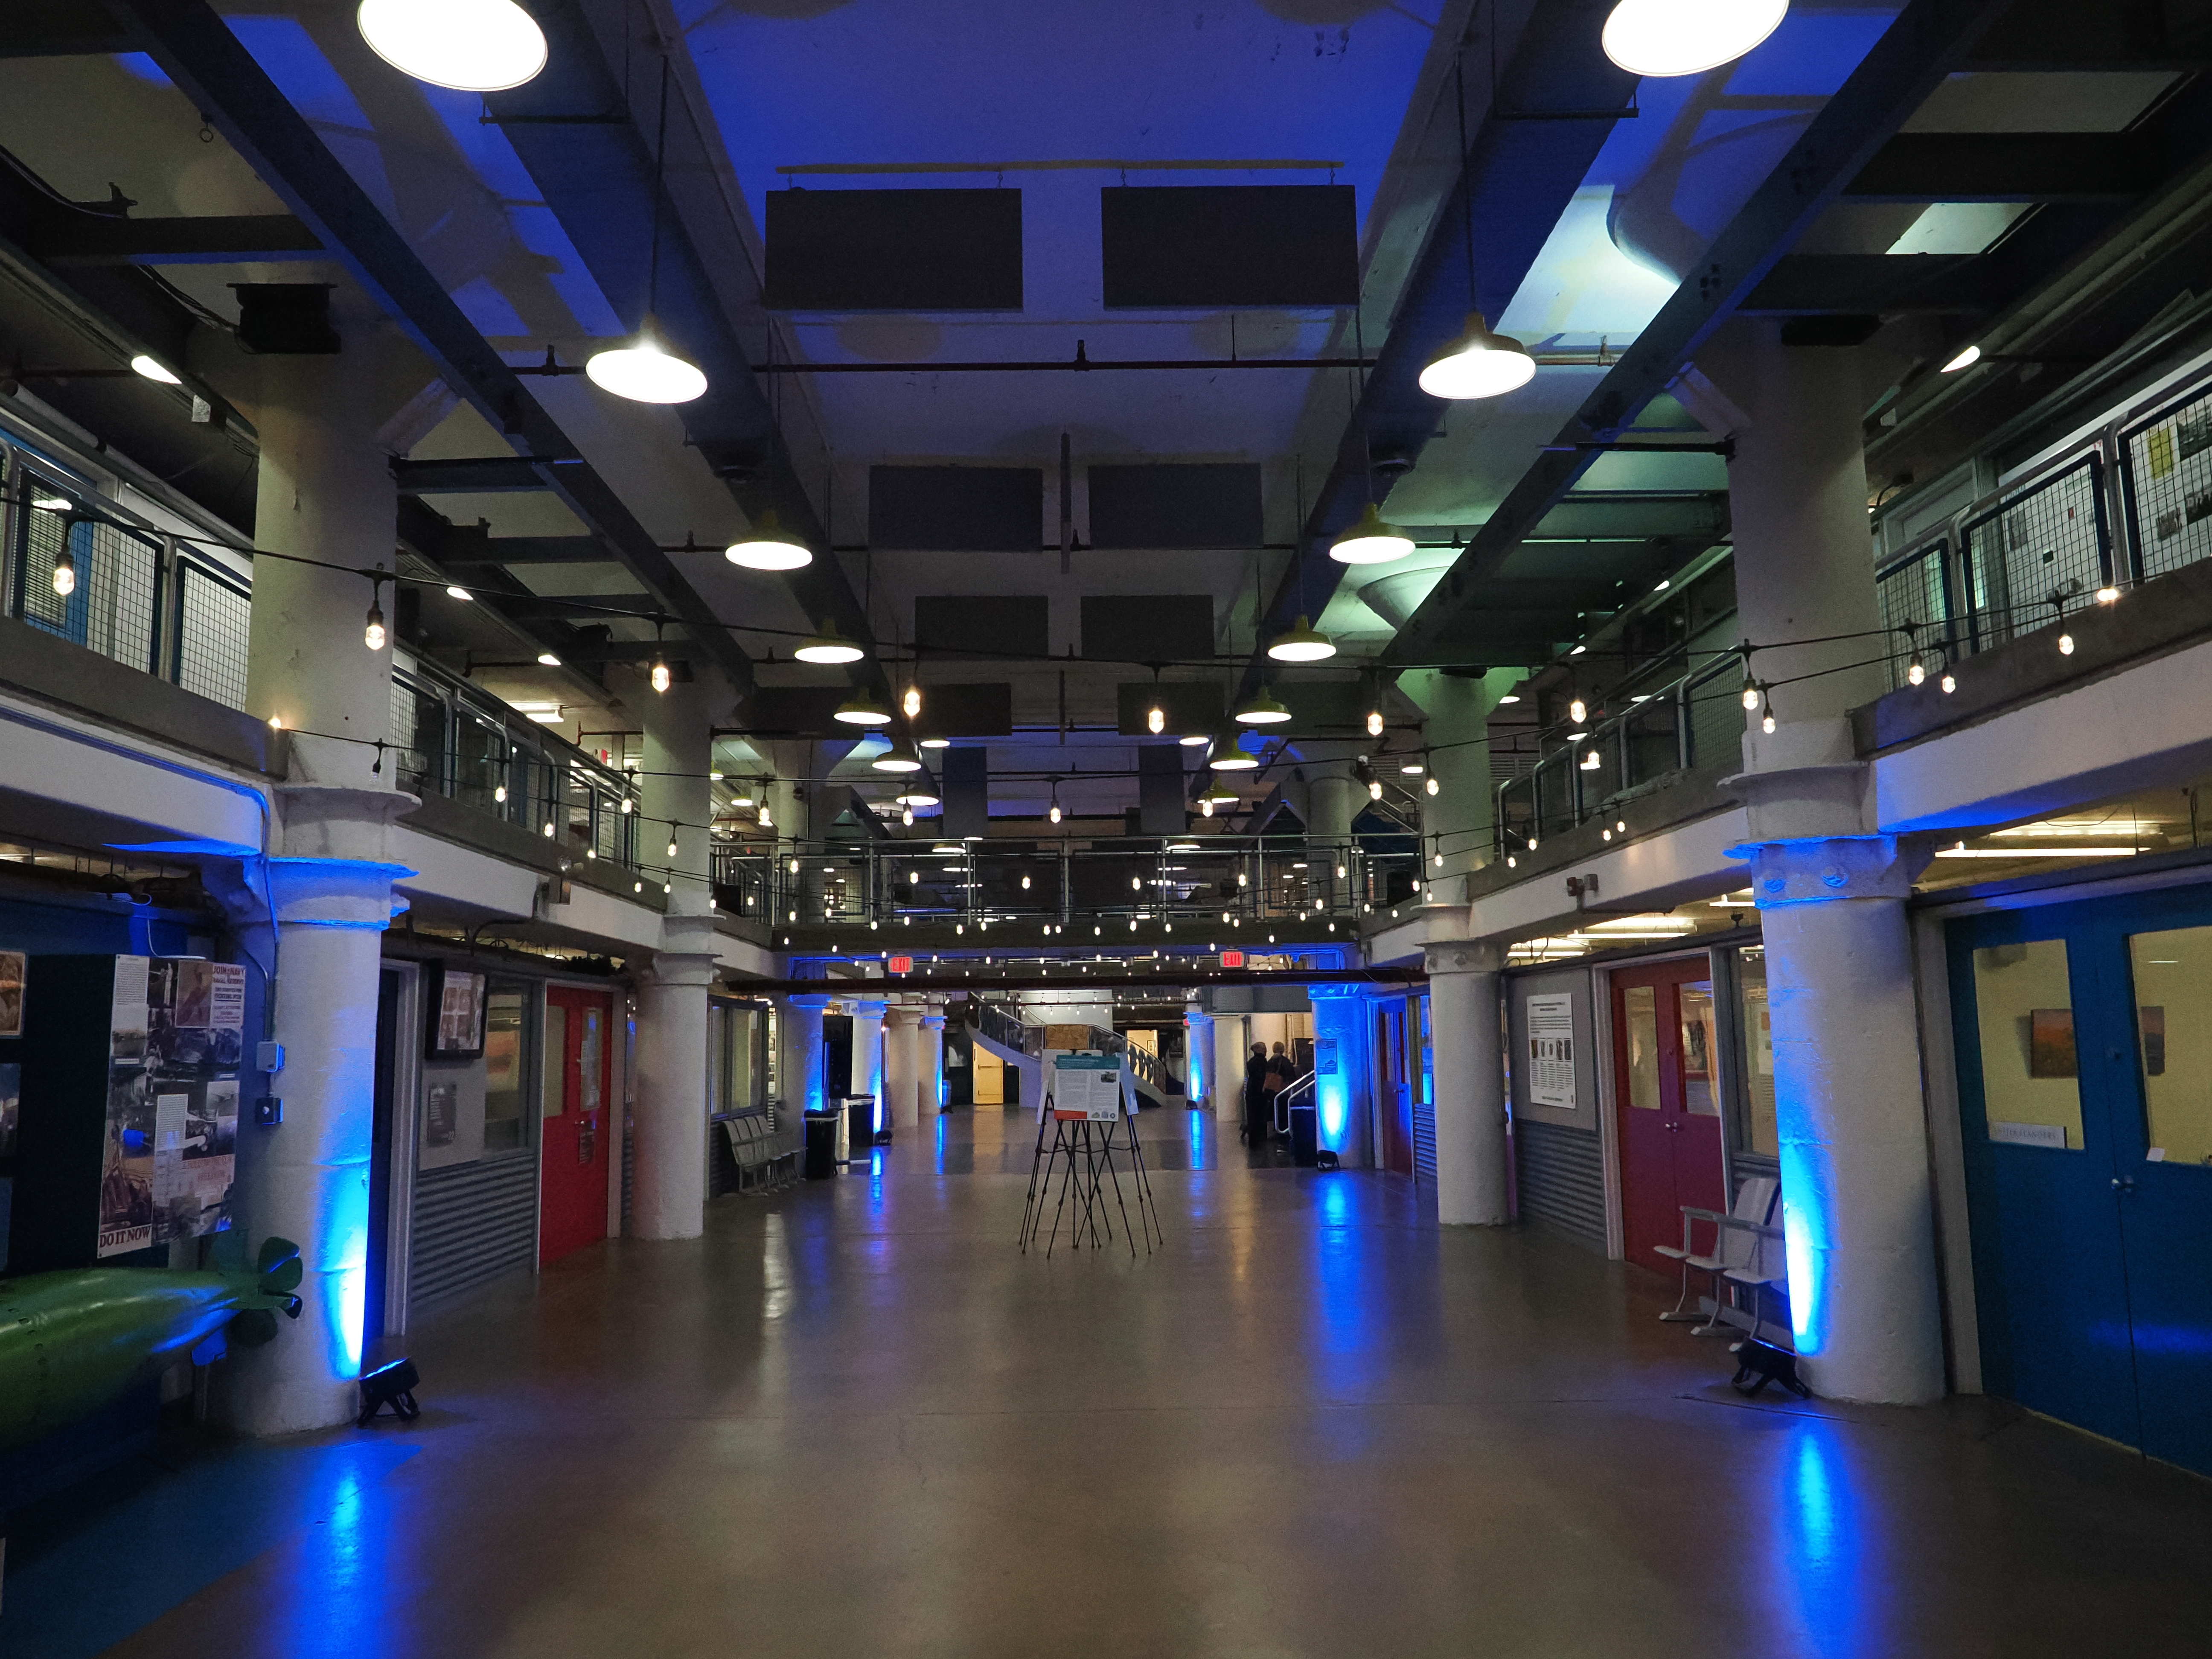
Overall, I’m quite impressed with the low-light performance of the OM-1. For a camera with a smaller sensor, it holds off image noise quite well. I’ve frankly been surprised how good its low-light performance is–it’s much better than I expected. Of course, every photographer is going to have a different set of preferences for when the image quality is too degraded, and it’s also going to vary from scene to scene and the use it’s being put to.
Precisely where the threshold between “normal” and “high” ISO is obviously a highly subjective judgment. For these purposes, I’m going to put it around ISO 3200 to ISO 6400.
I’m referring to this camera here as the Olympus OM-1, in part because it carries the Olympus name right there on the front of the camera. But it’s also referred to as the OM System OM-1. As a technical matter, the company that makes it is actually now known as OM System. The Olympus brand is now focused on medical and scientific products, and it seems likely that the OM-1 will be the last new camera to sport the name.
The original RAW files for the images in this post are available to subscribers to my newsletter on the RAW file downloads page. The page is password-protected; the password is in the newsletter’s welcome email. The JPG versions linked in the captions stay free.

Native vs extended ISO
The full ISO range of the OM-1 when shooting photos is from 80 to 102400, but not all of that is the same.1 What I mean by that is that digital cameras have a native ISO range, which refers to the natural sensitivity of the hardware (in this case, the sensor). And then many cameras, the OM-1 included, have an extended ISO range, which is where in-camera software adds a boost.
ISO 200 is the baseline of the OM-1, and it’s the setting that offers the best combination of minimum noise and maximum dynamic range. The lower settings–L100 and L80–are technically in the extended range.
The image quality often falls off a cliff once you get into the upper extended ISO range, and you can see that pretty clearly in the shots below once they get up around ISO 64000, ISO 80000, and ISO 102400. But having that extra headroom can still be useful in those shooting situations where getting the shot with poor image quality is better than not getting the shot at all.
On the OM-1, the threshold between the native and extended ISO ranges isn’t clearly delineated. But the default setting for the upper ISO when using automatic ISO is 25600, and that seems a likely point for the cutoff.
Images at high ISOs from the Olympus OM-1
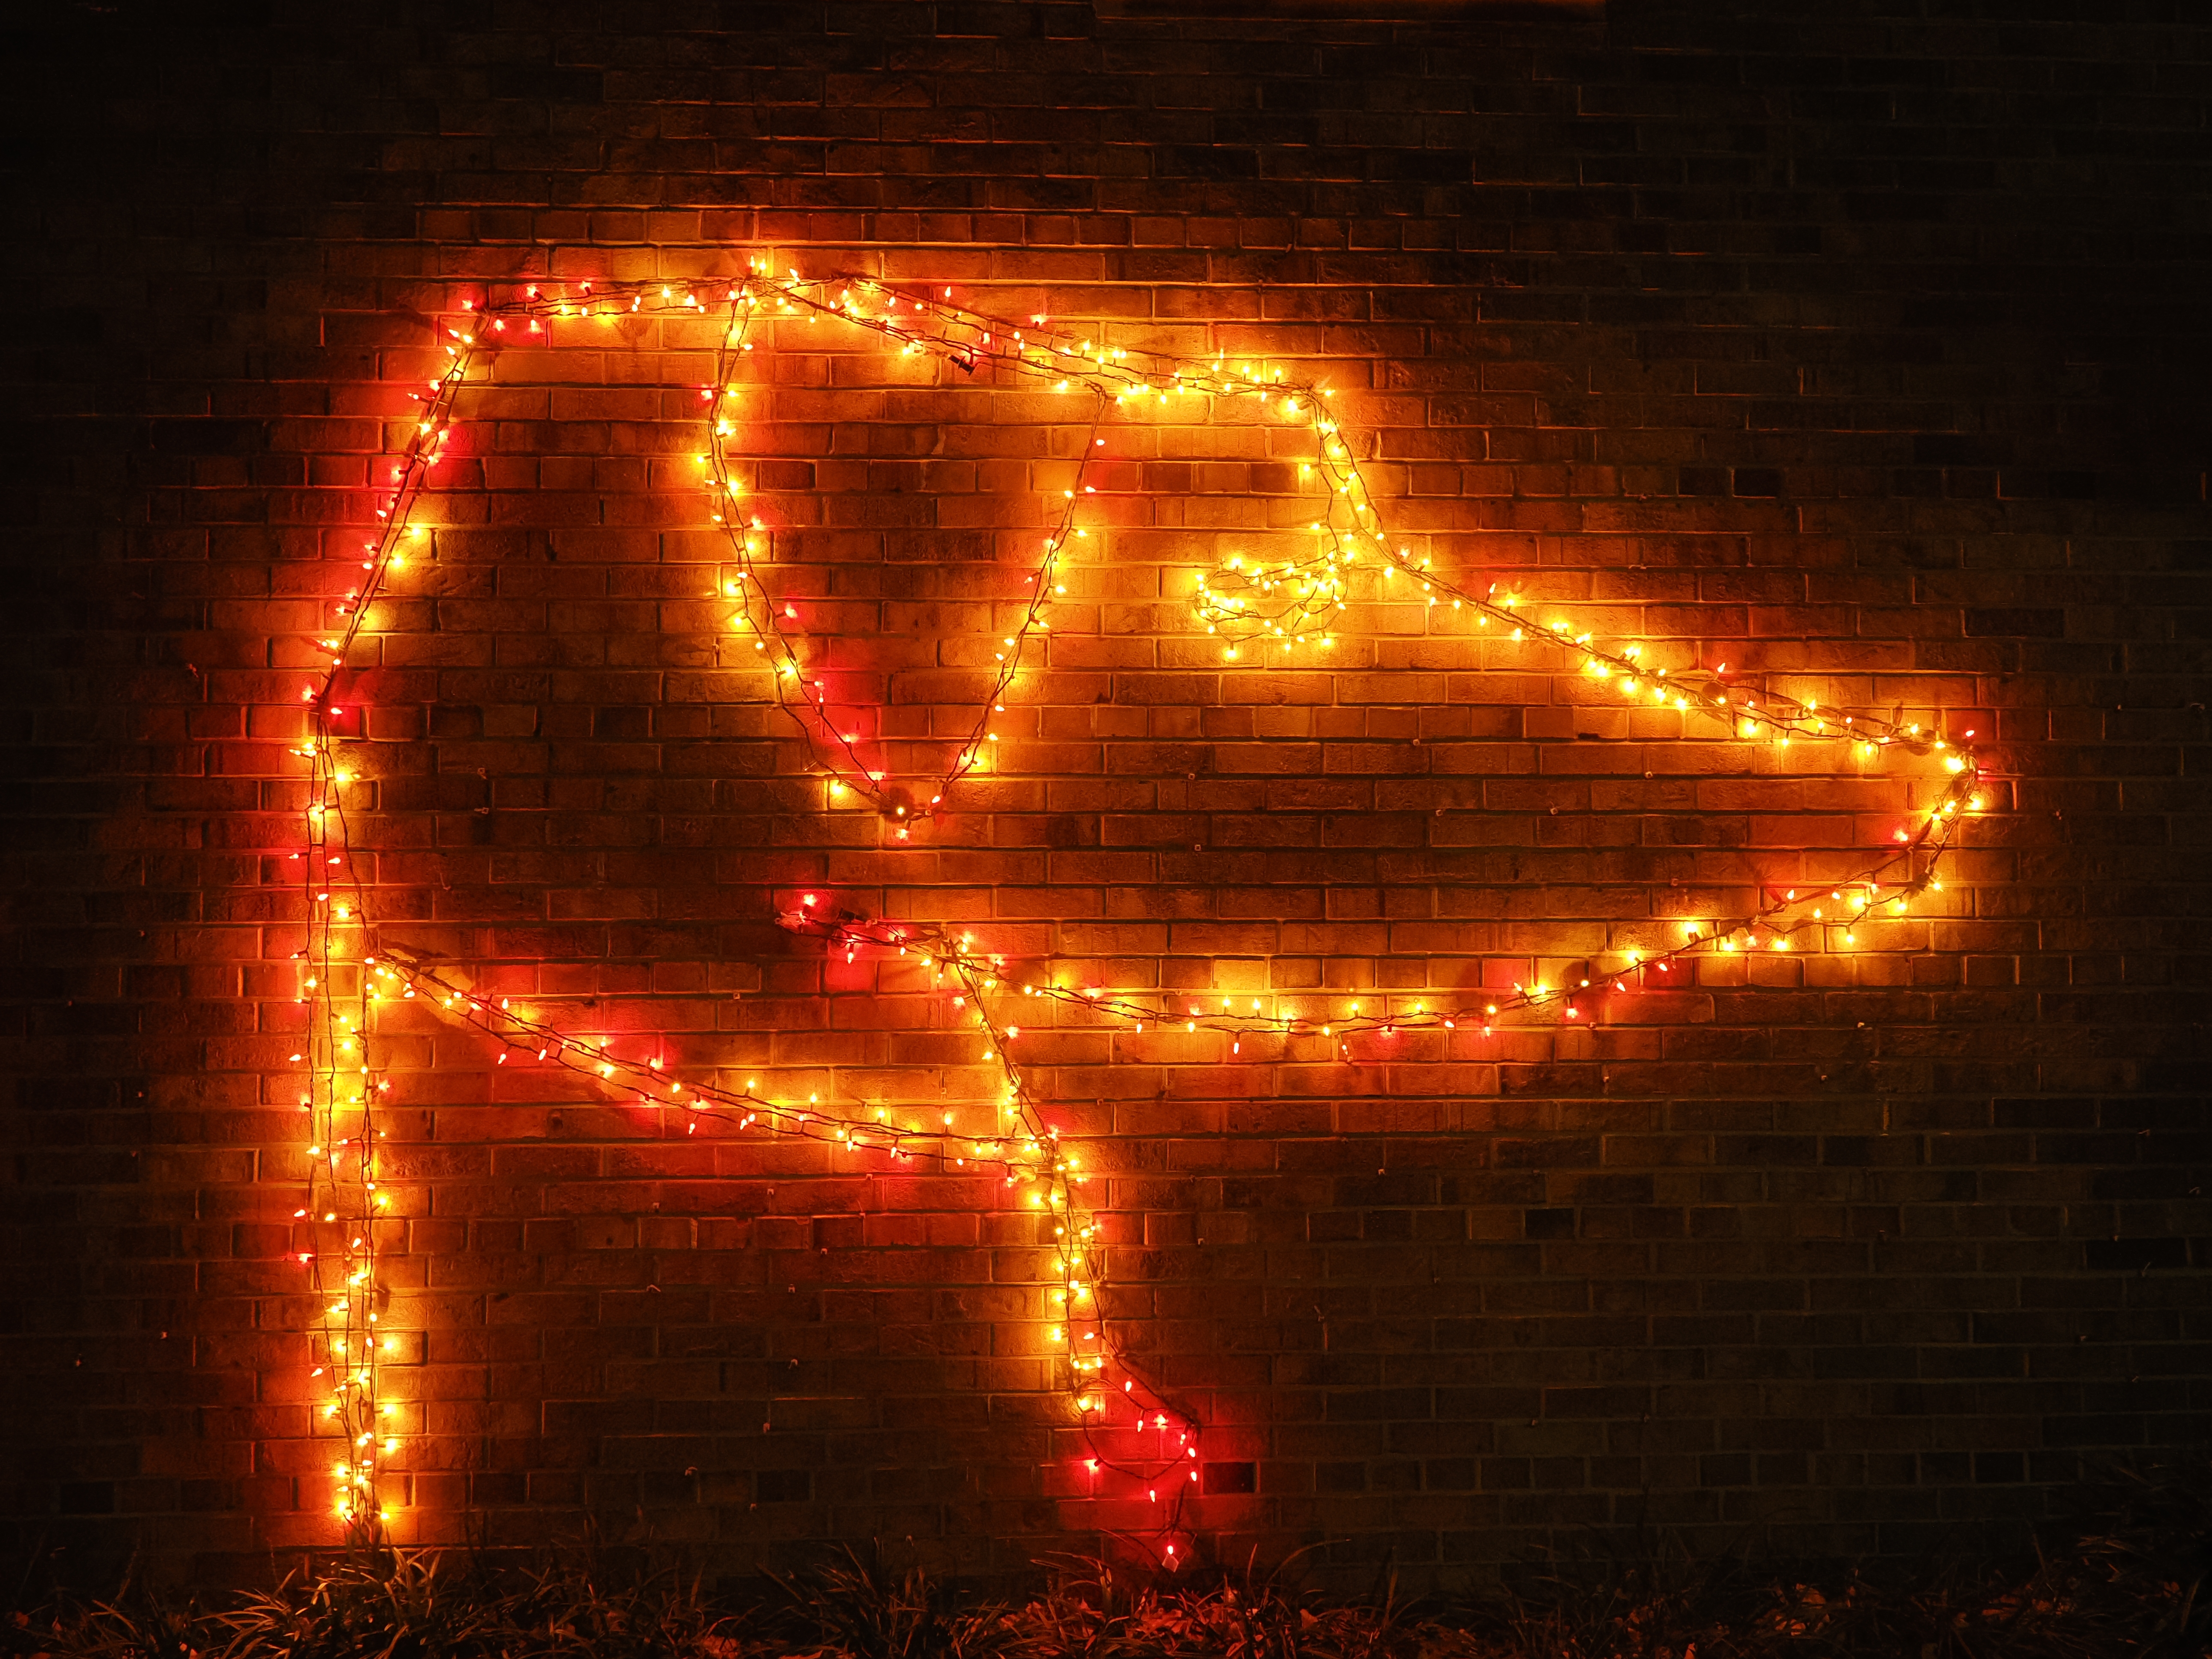
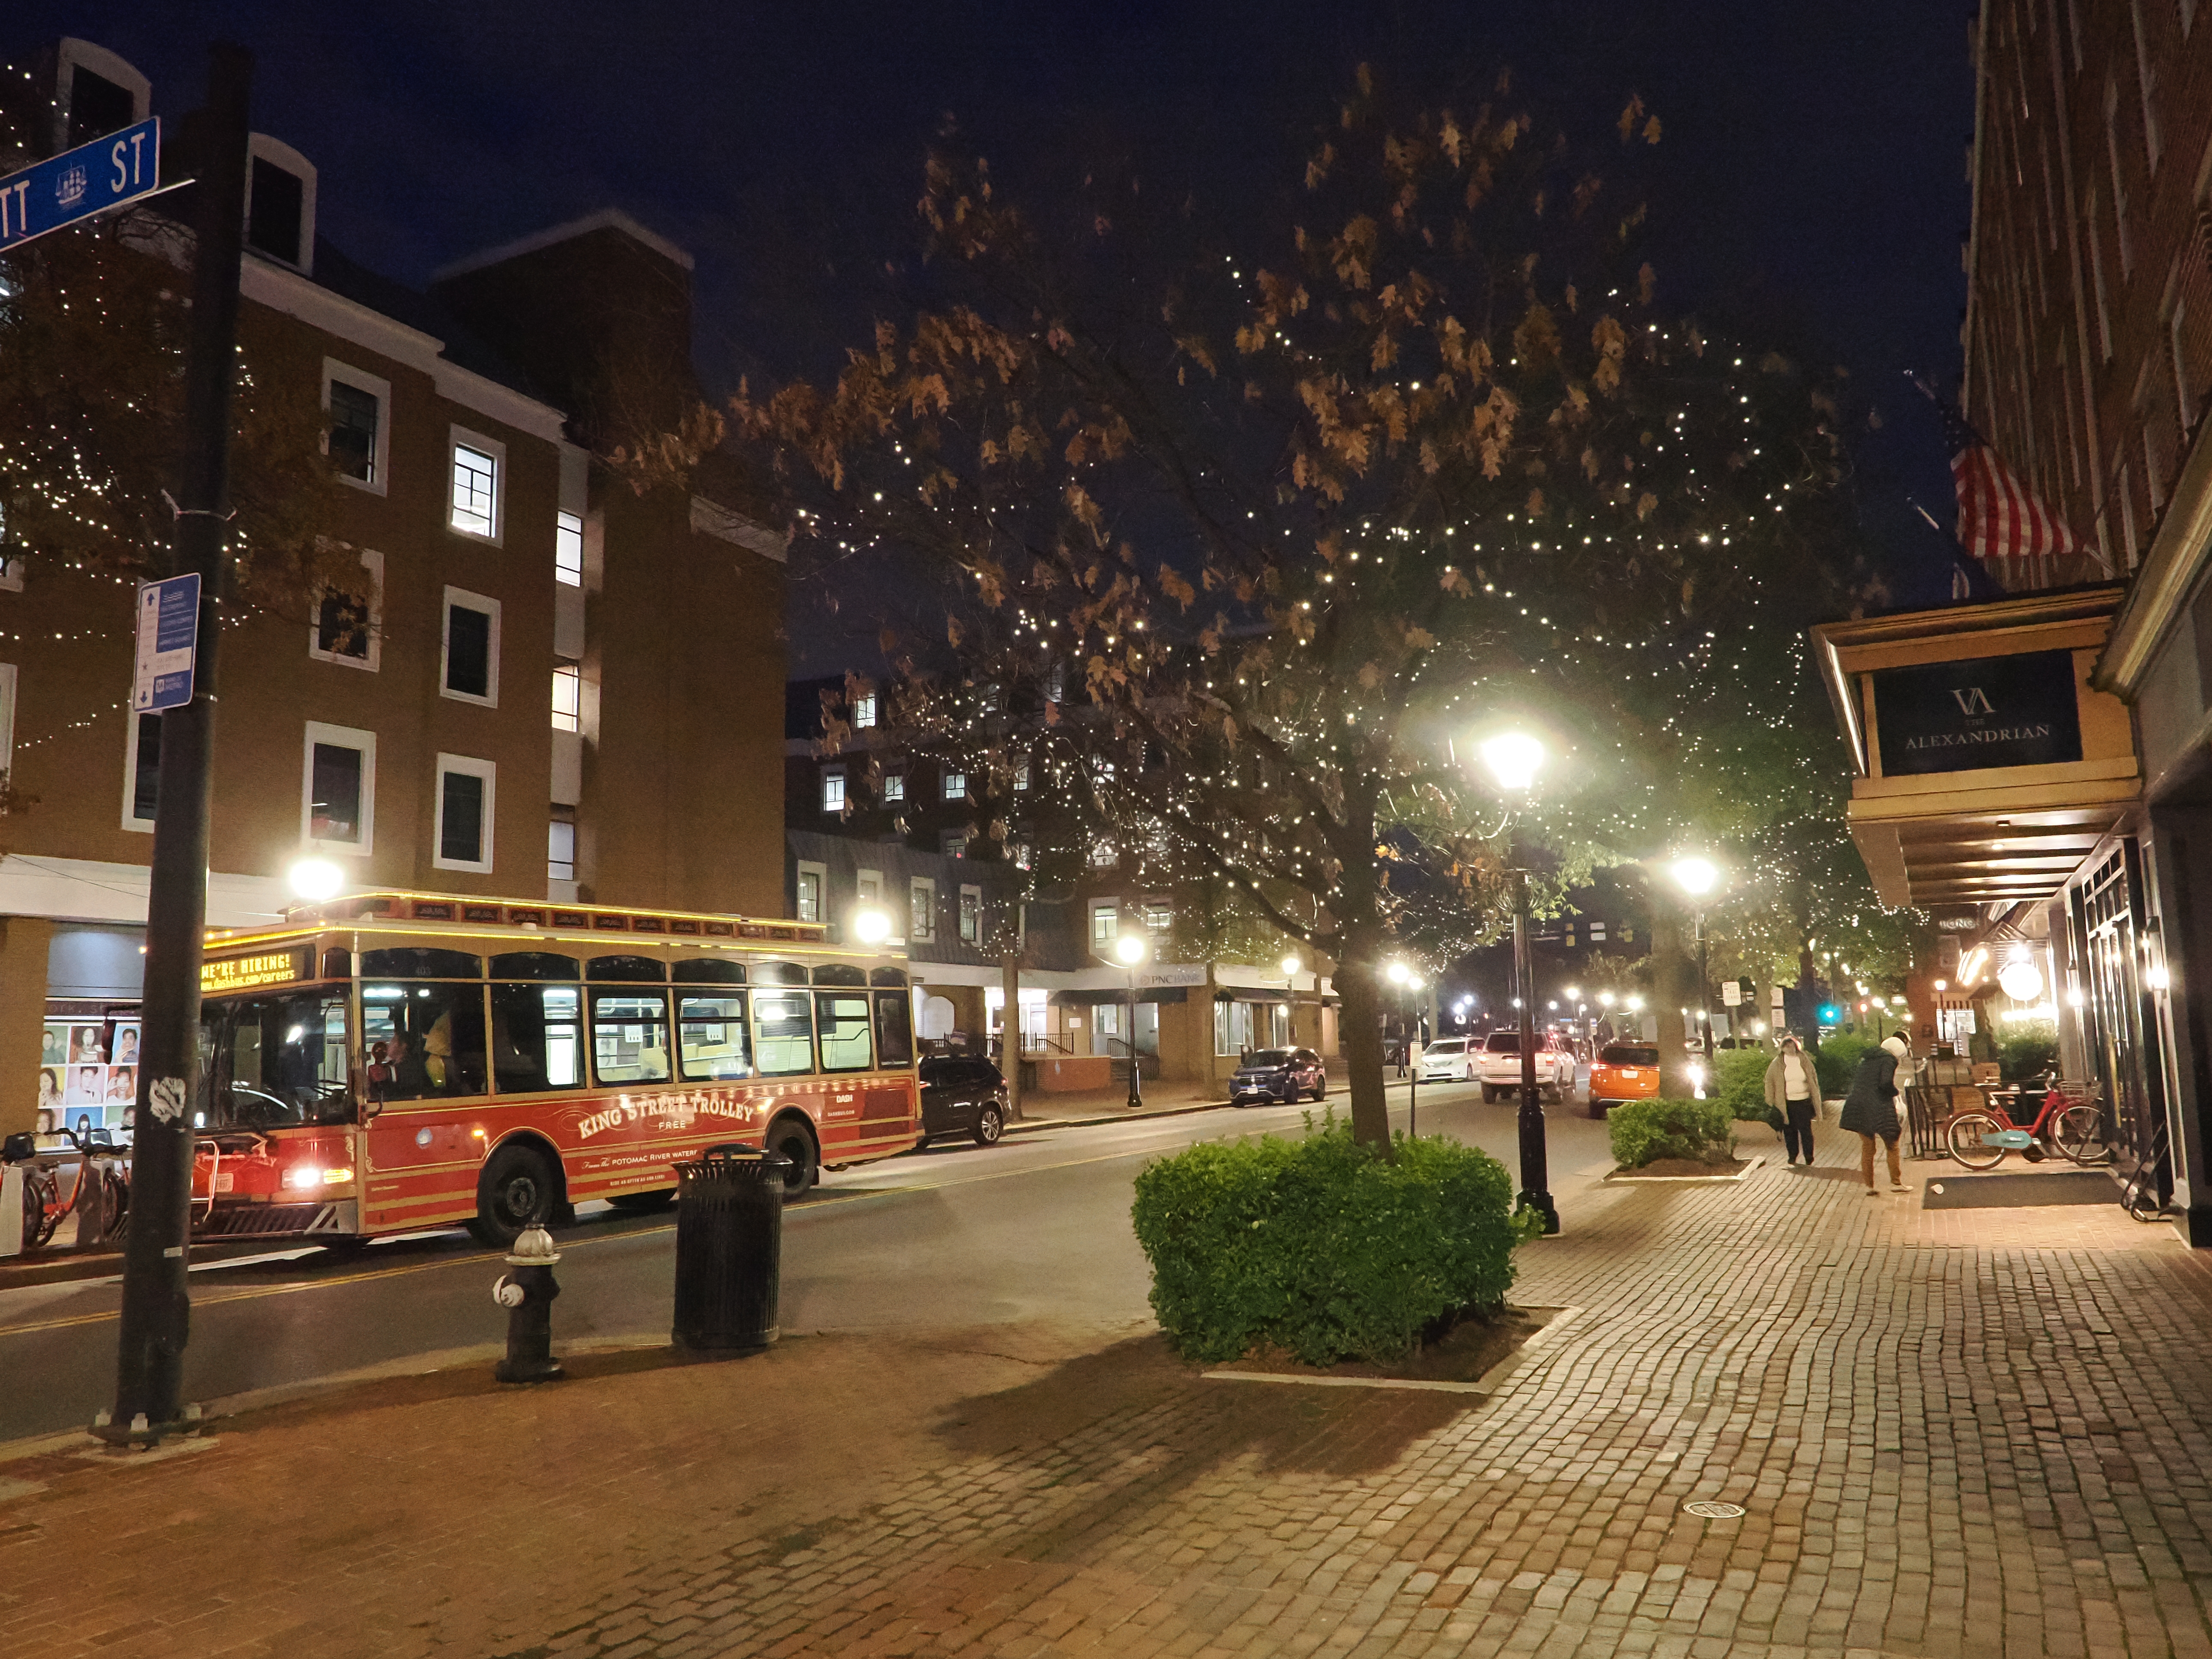
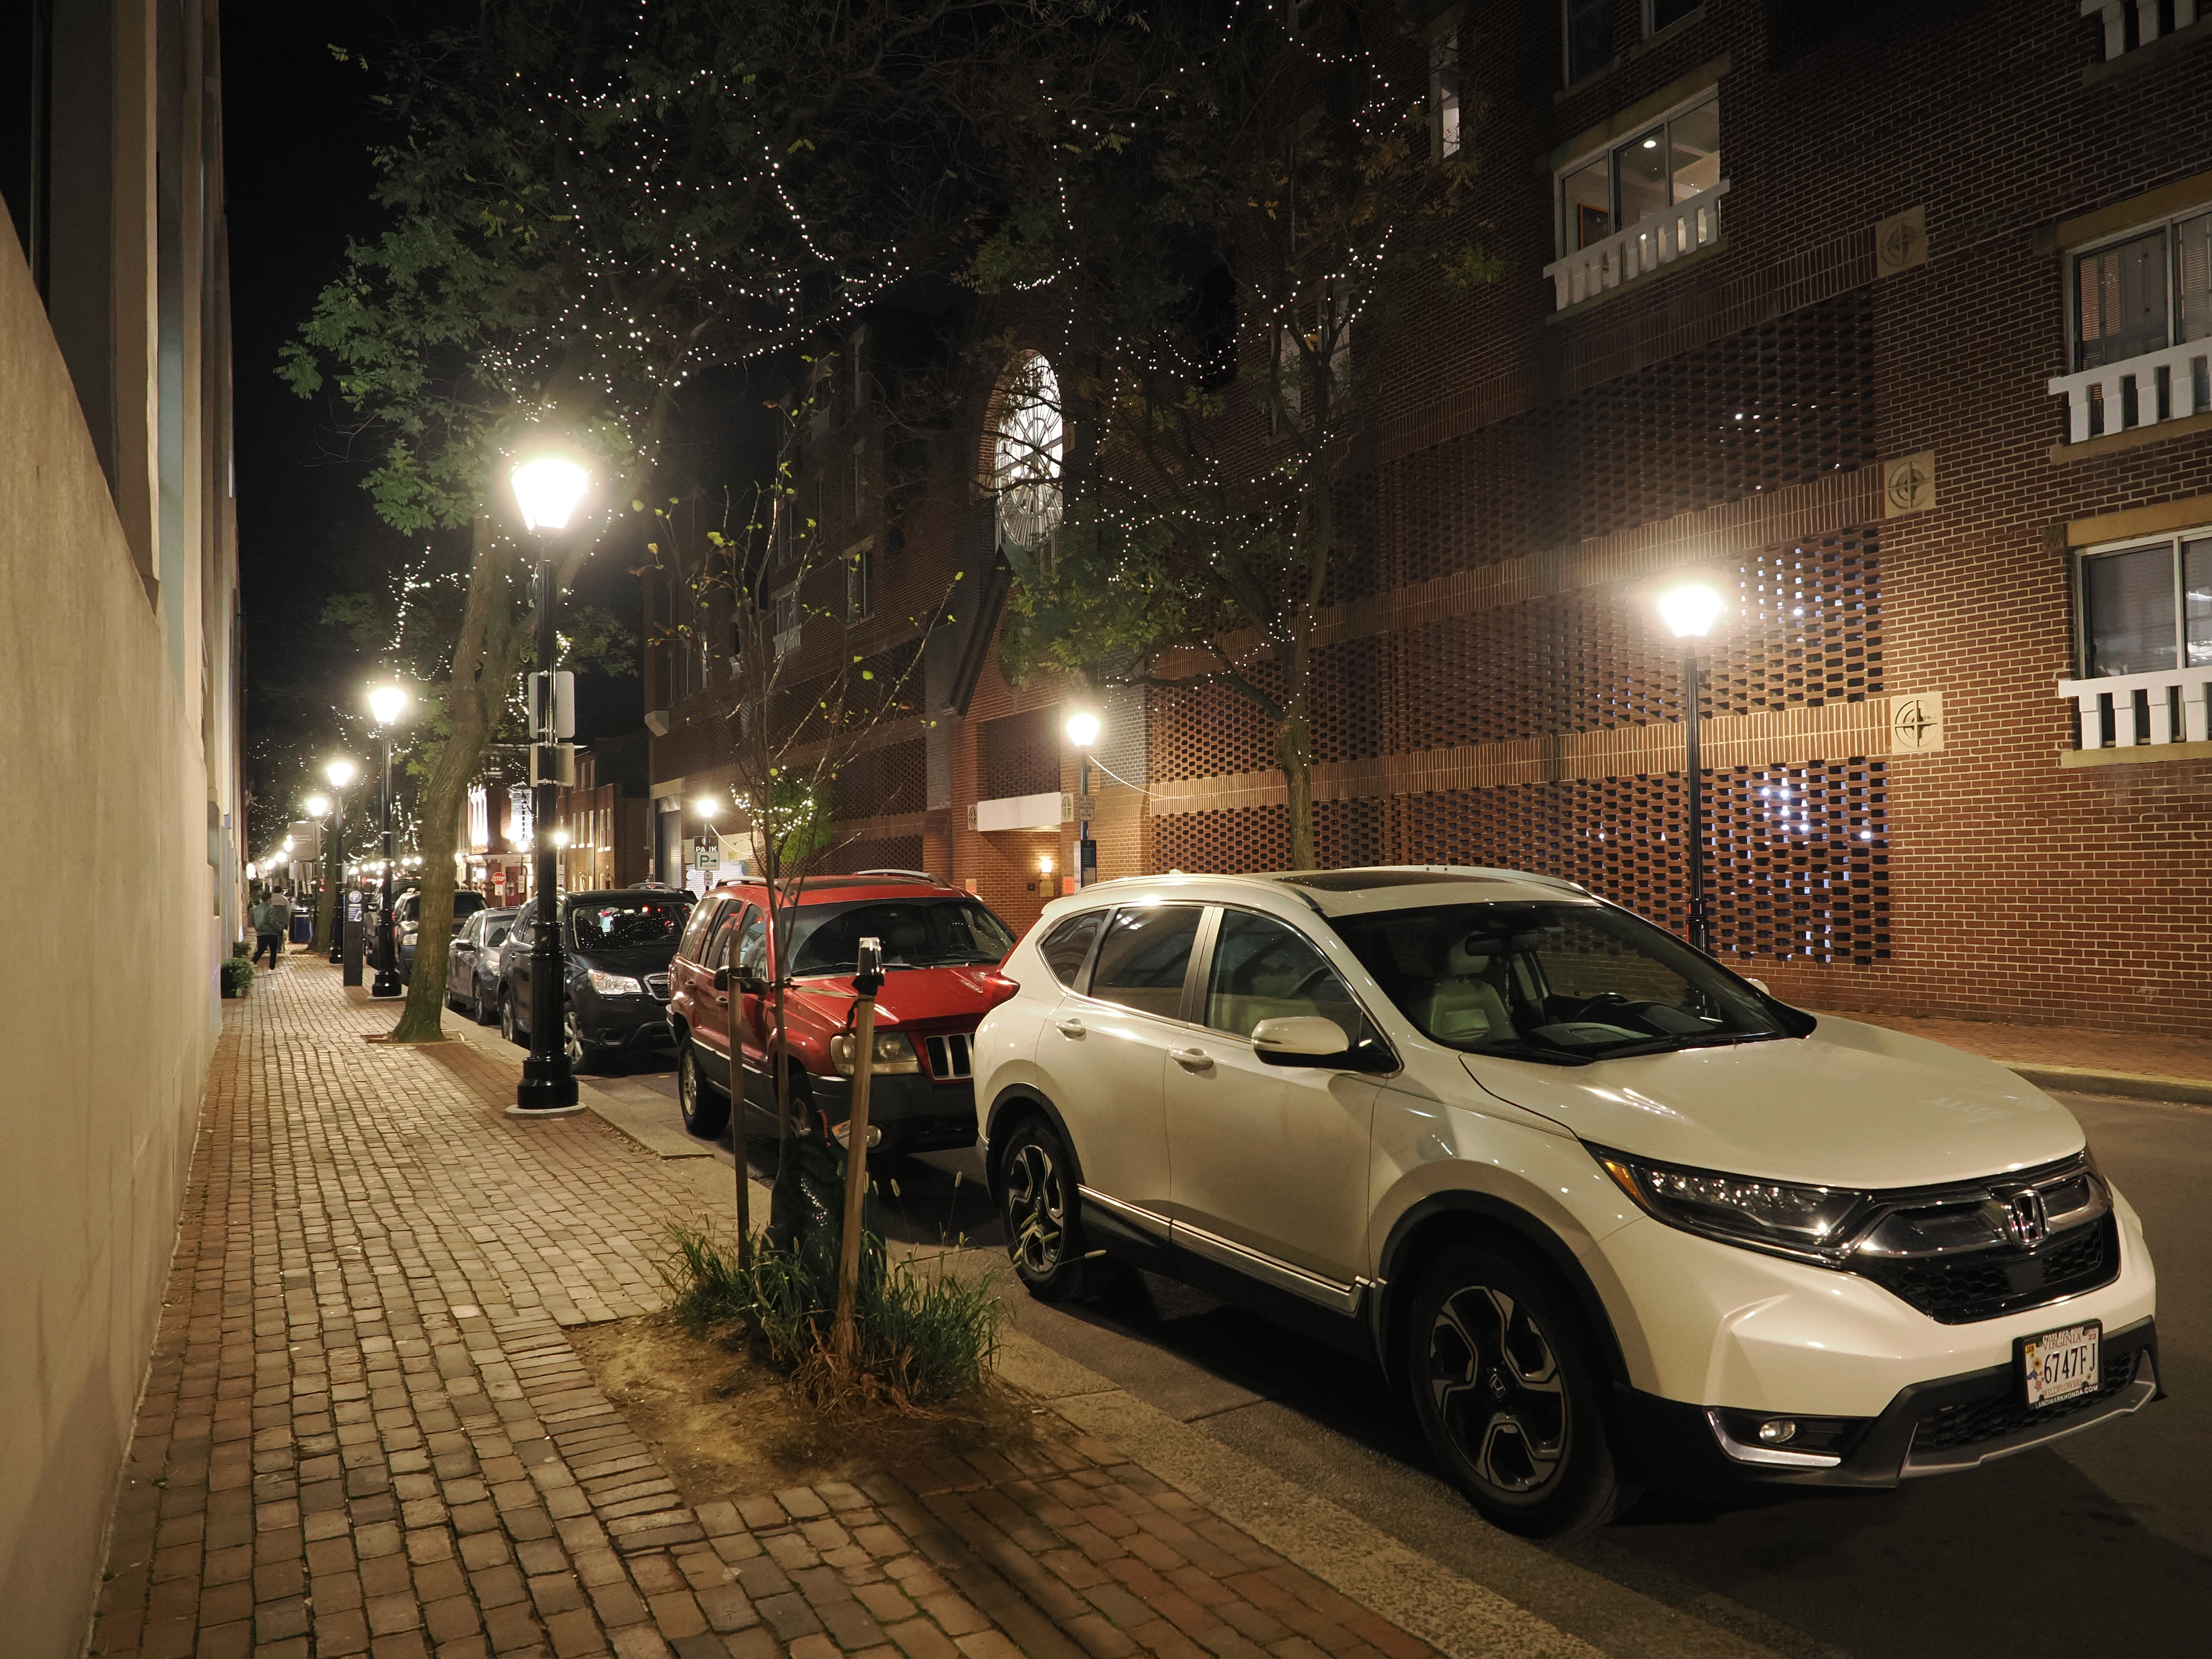
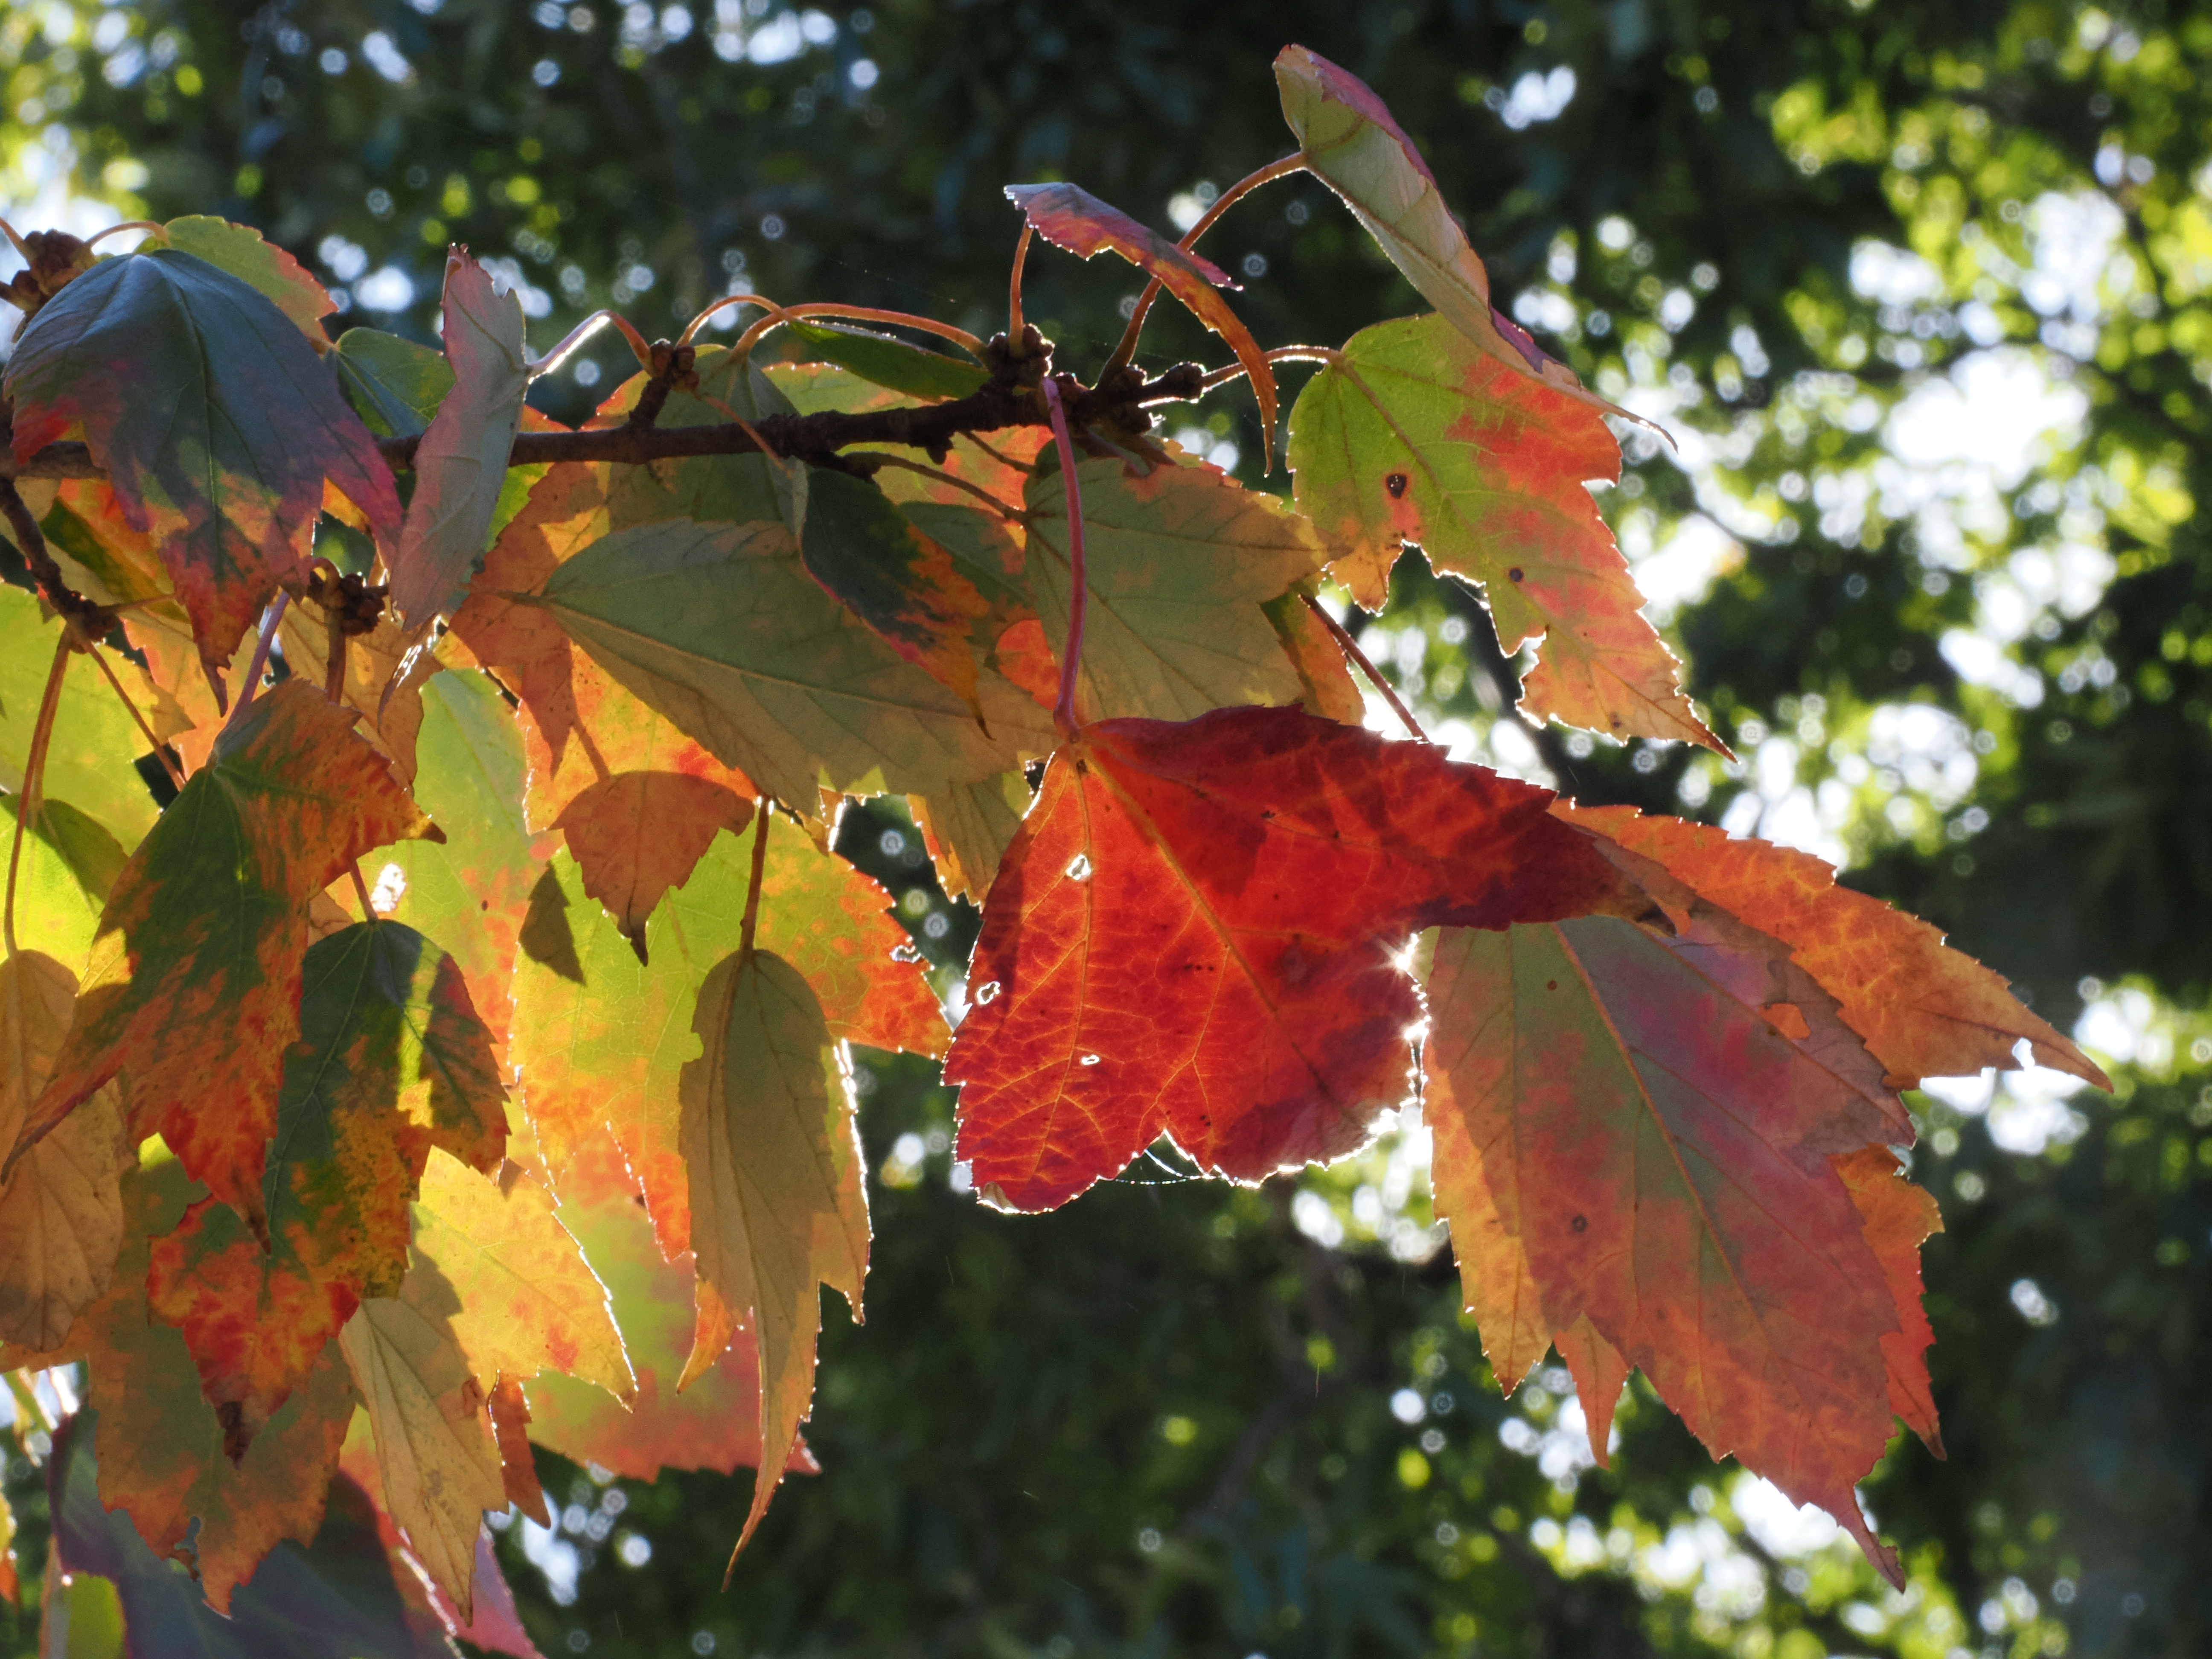
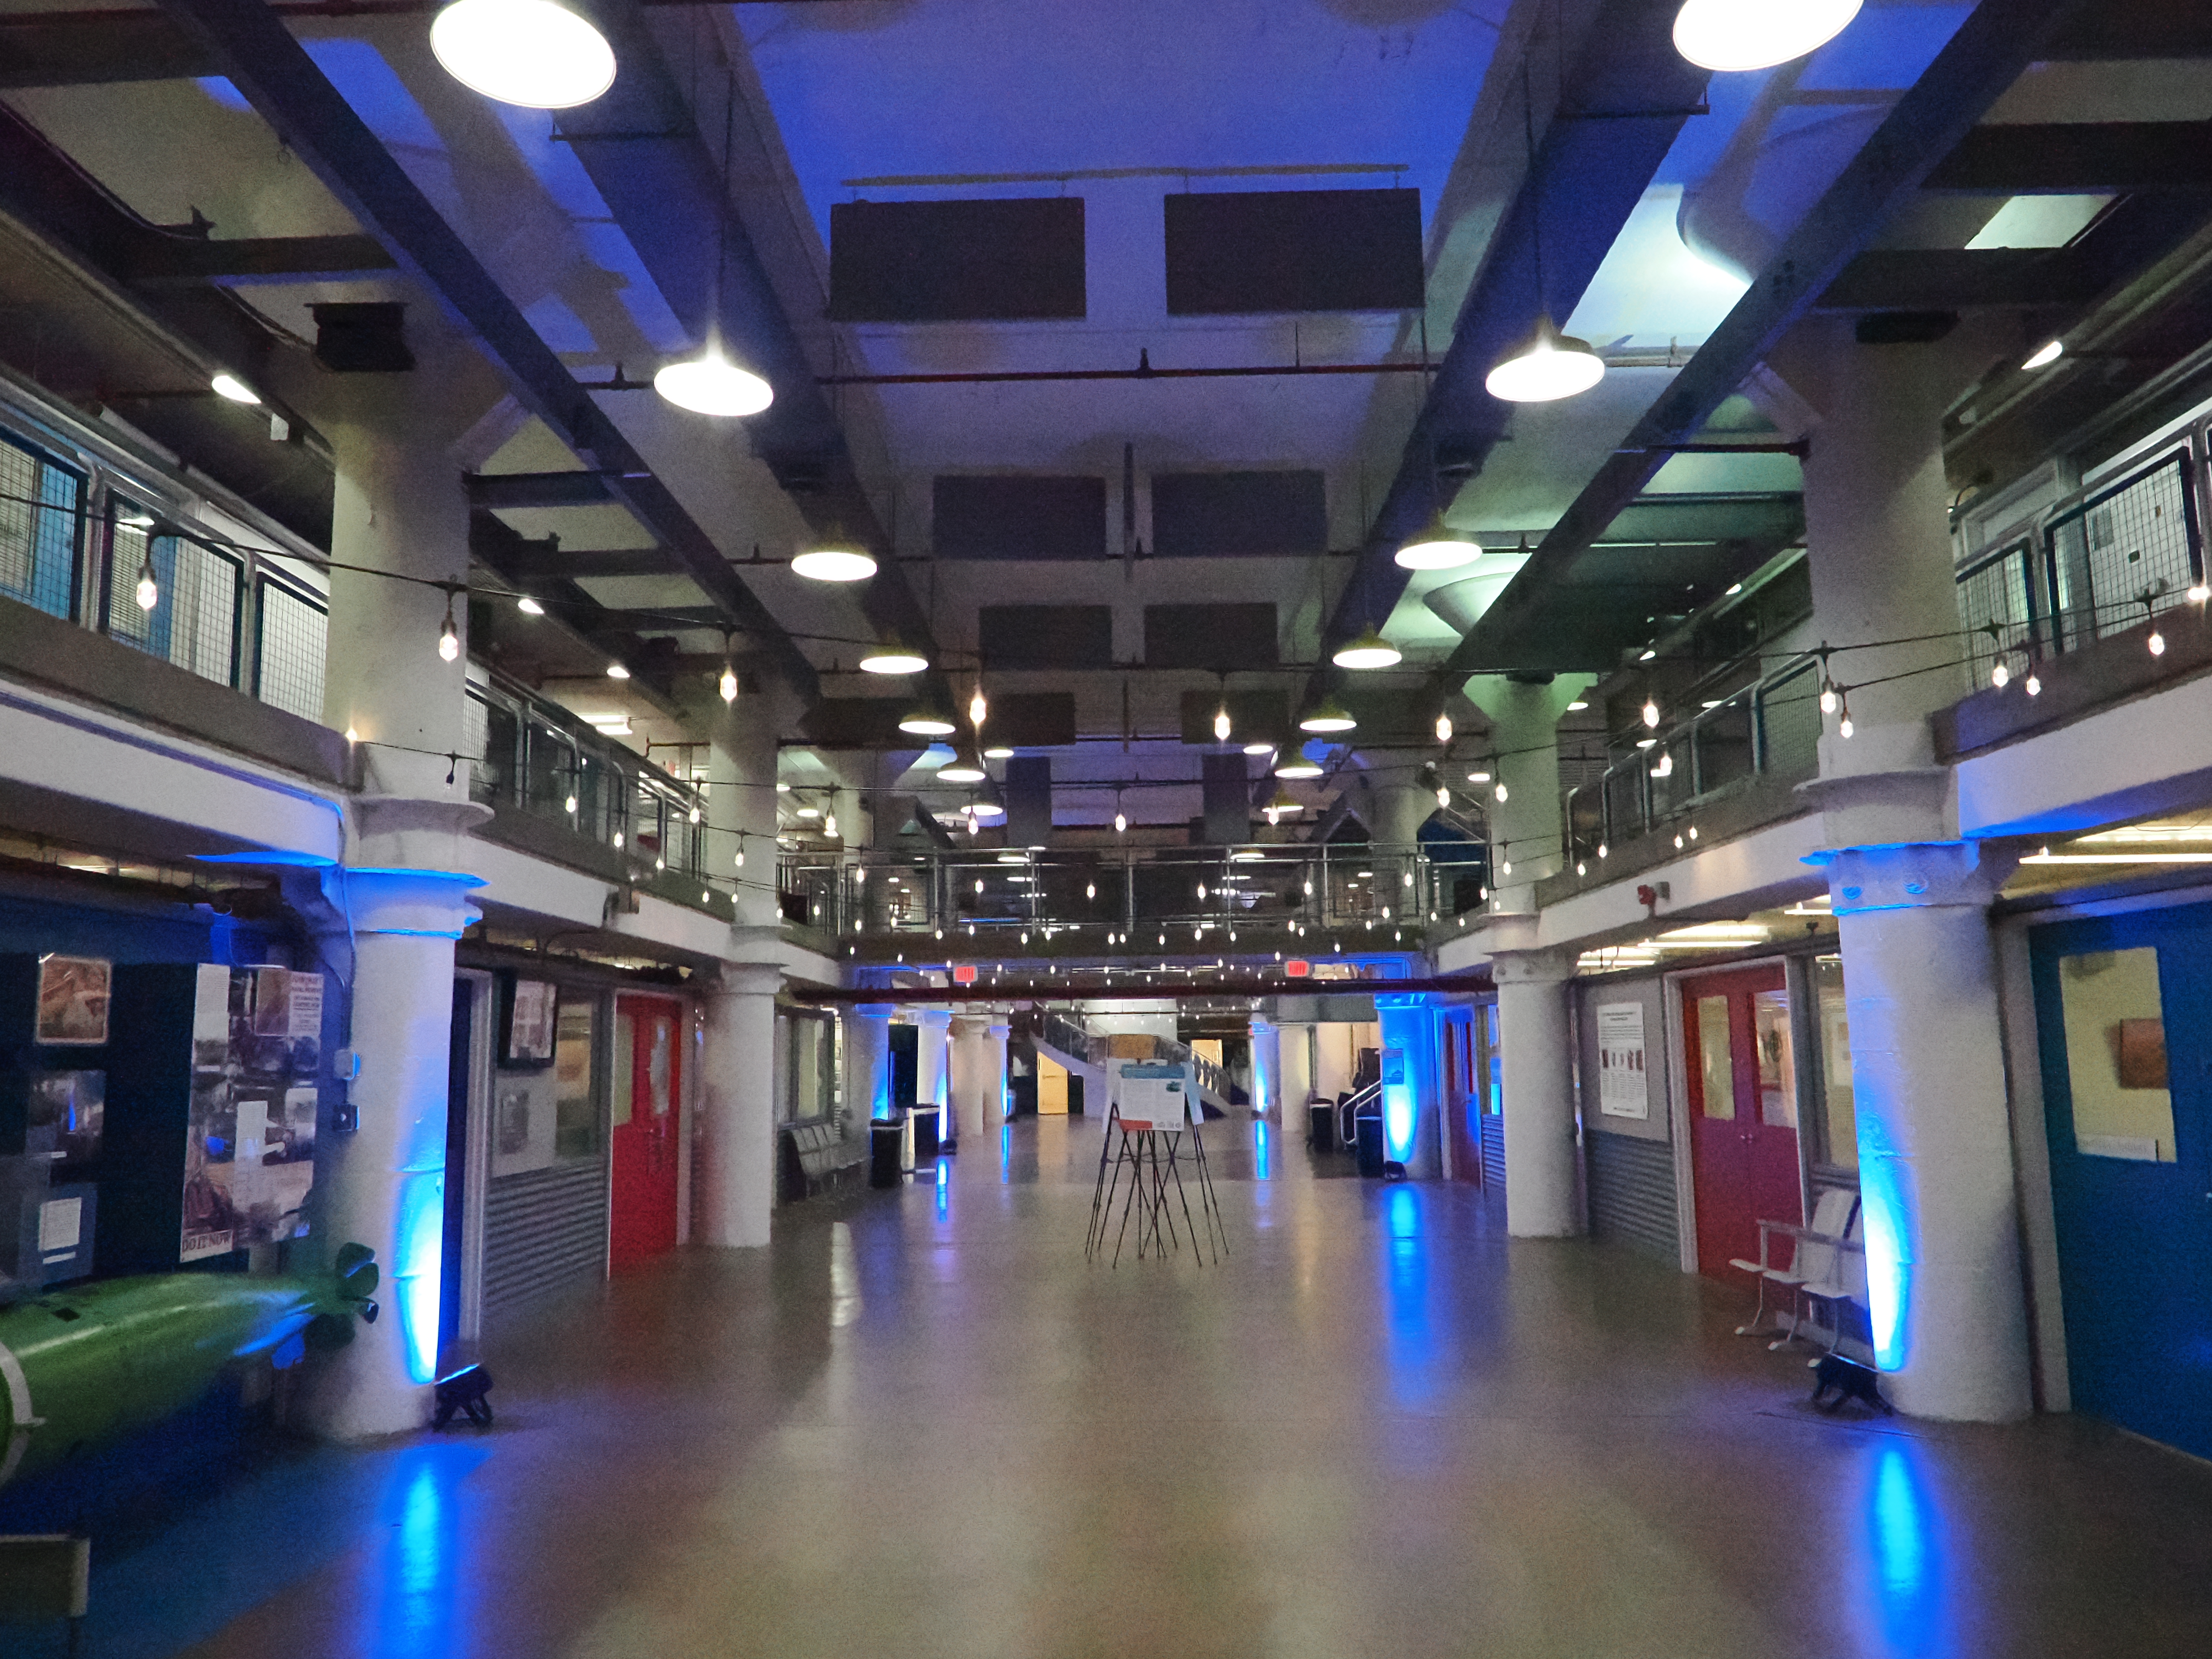
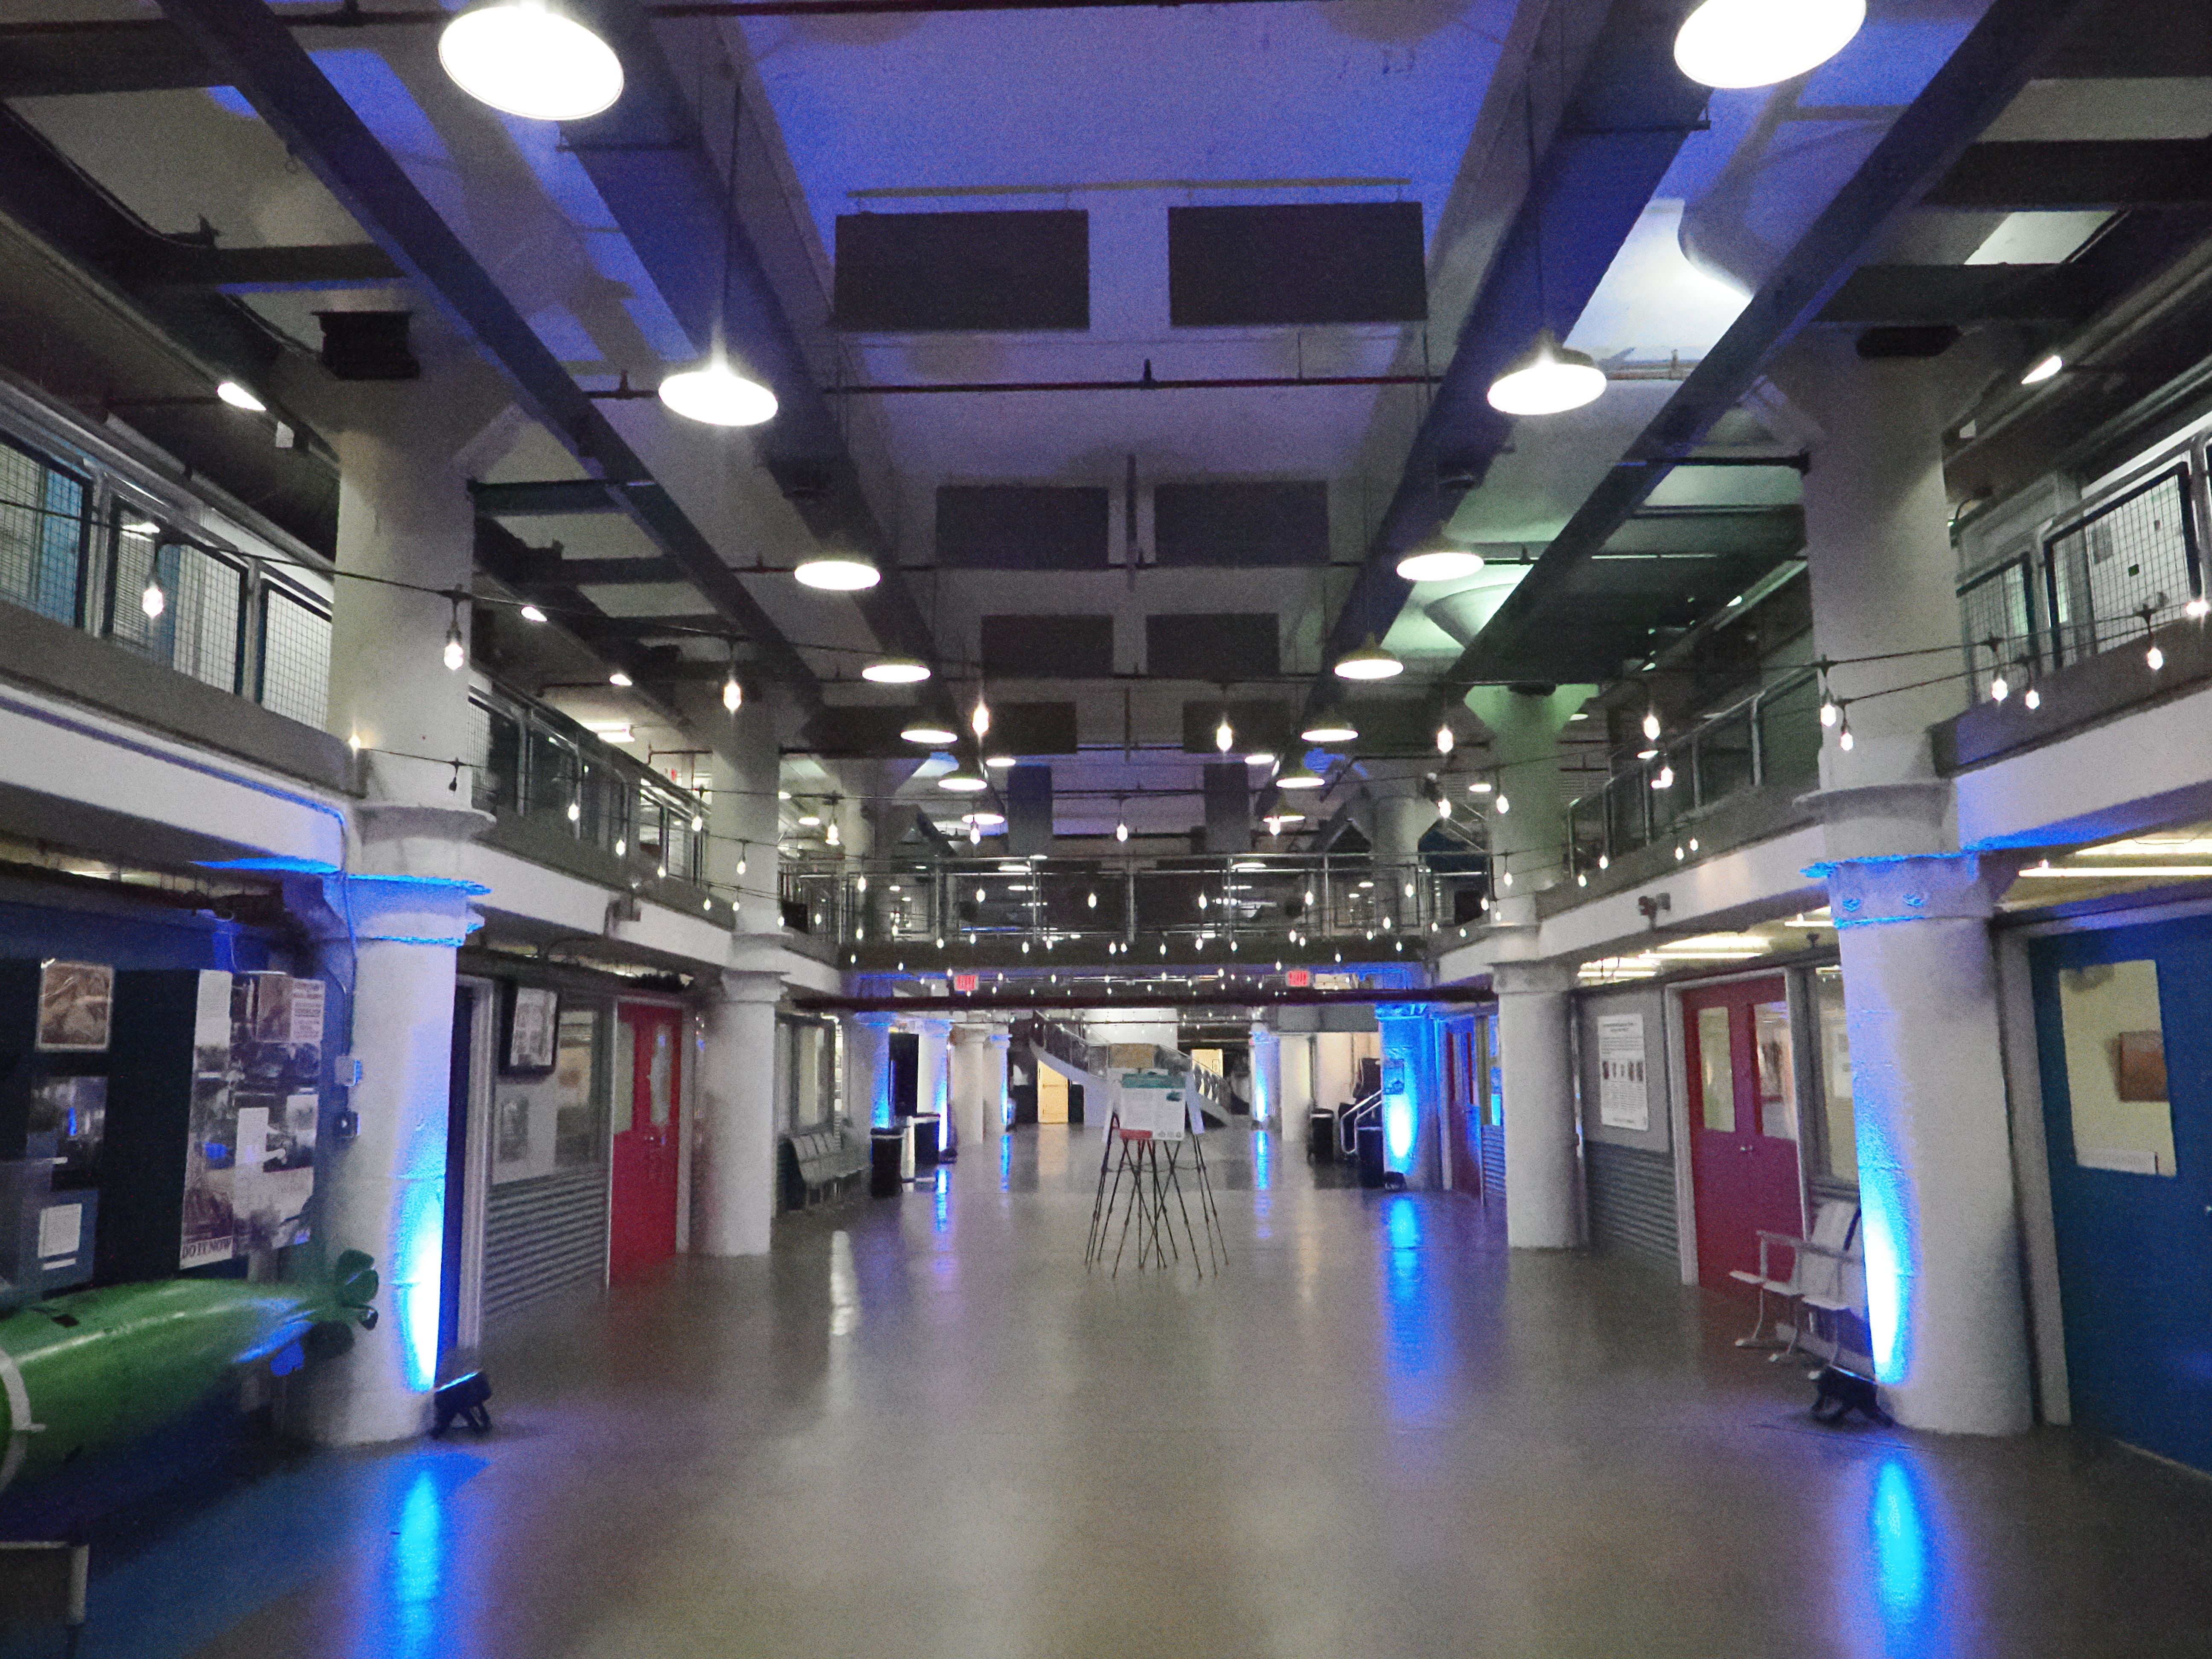
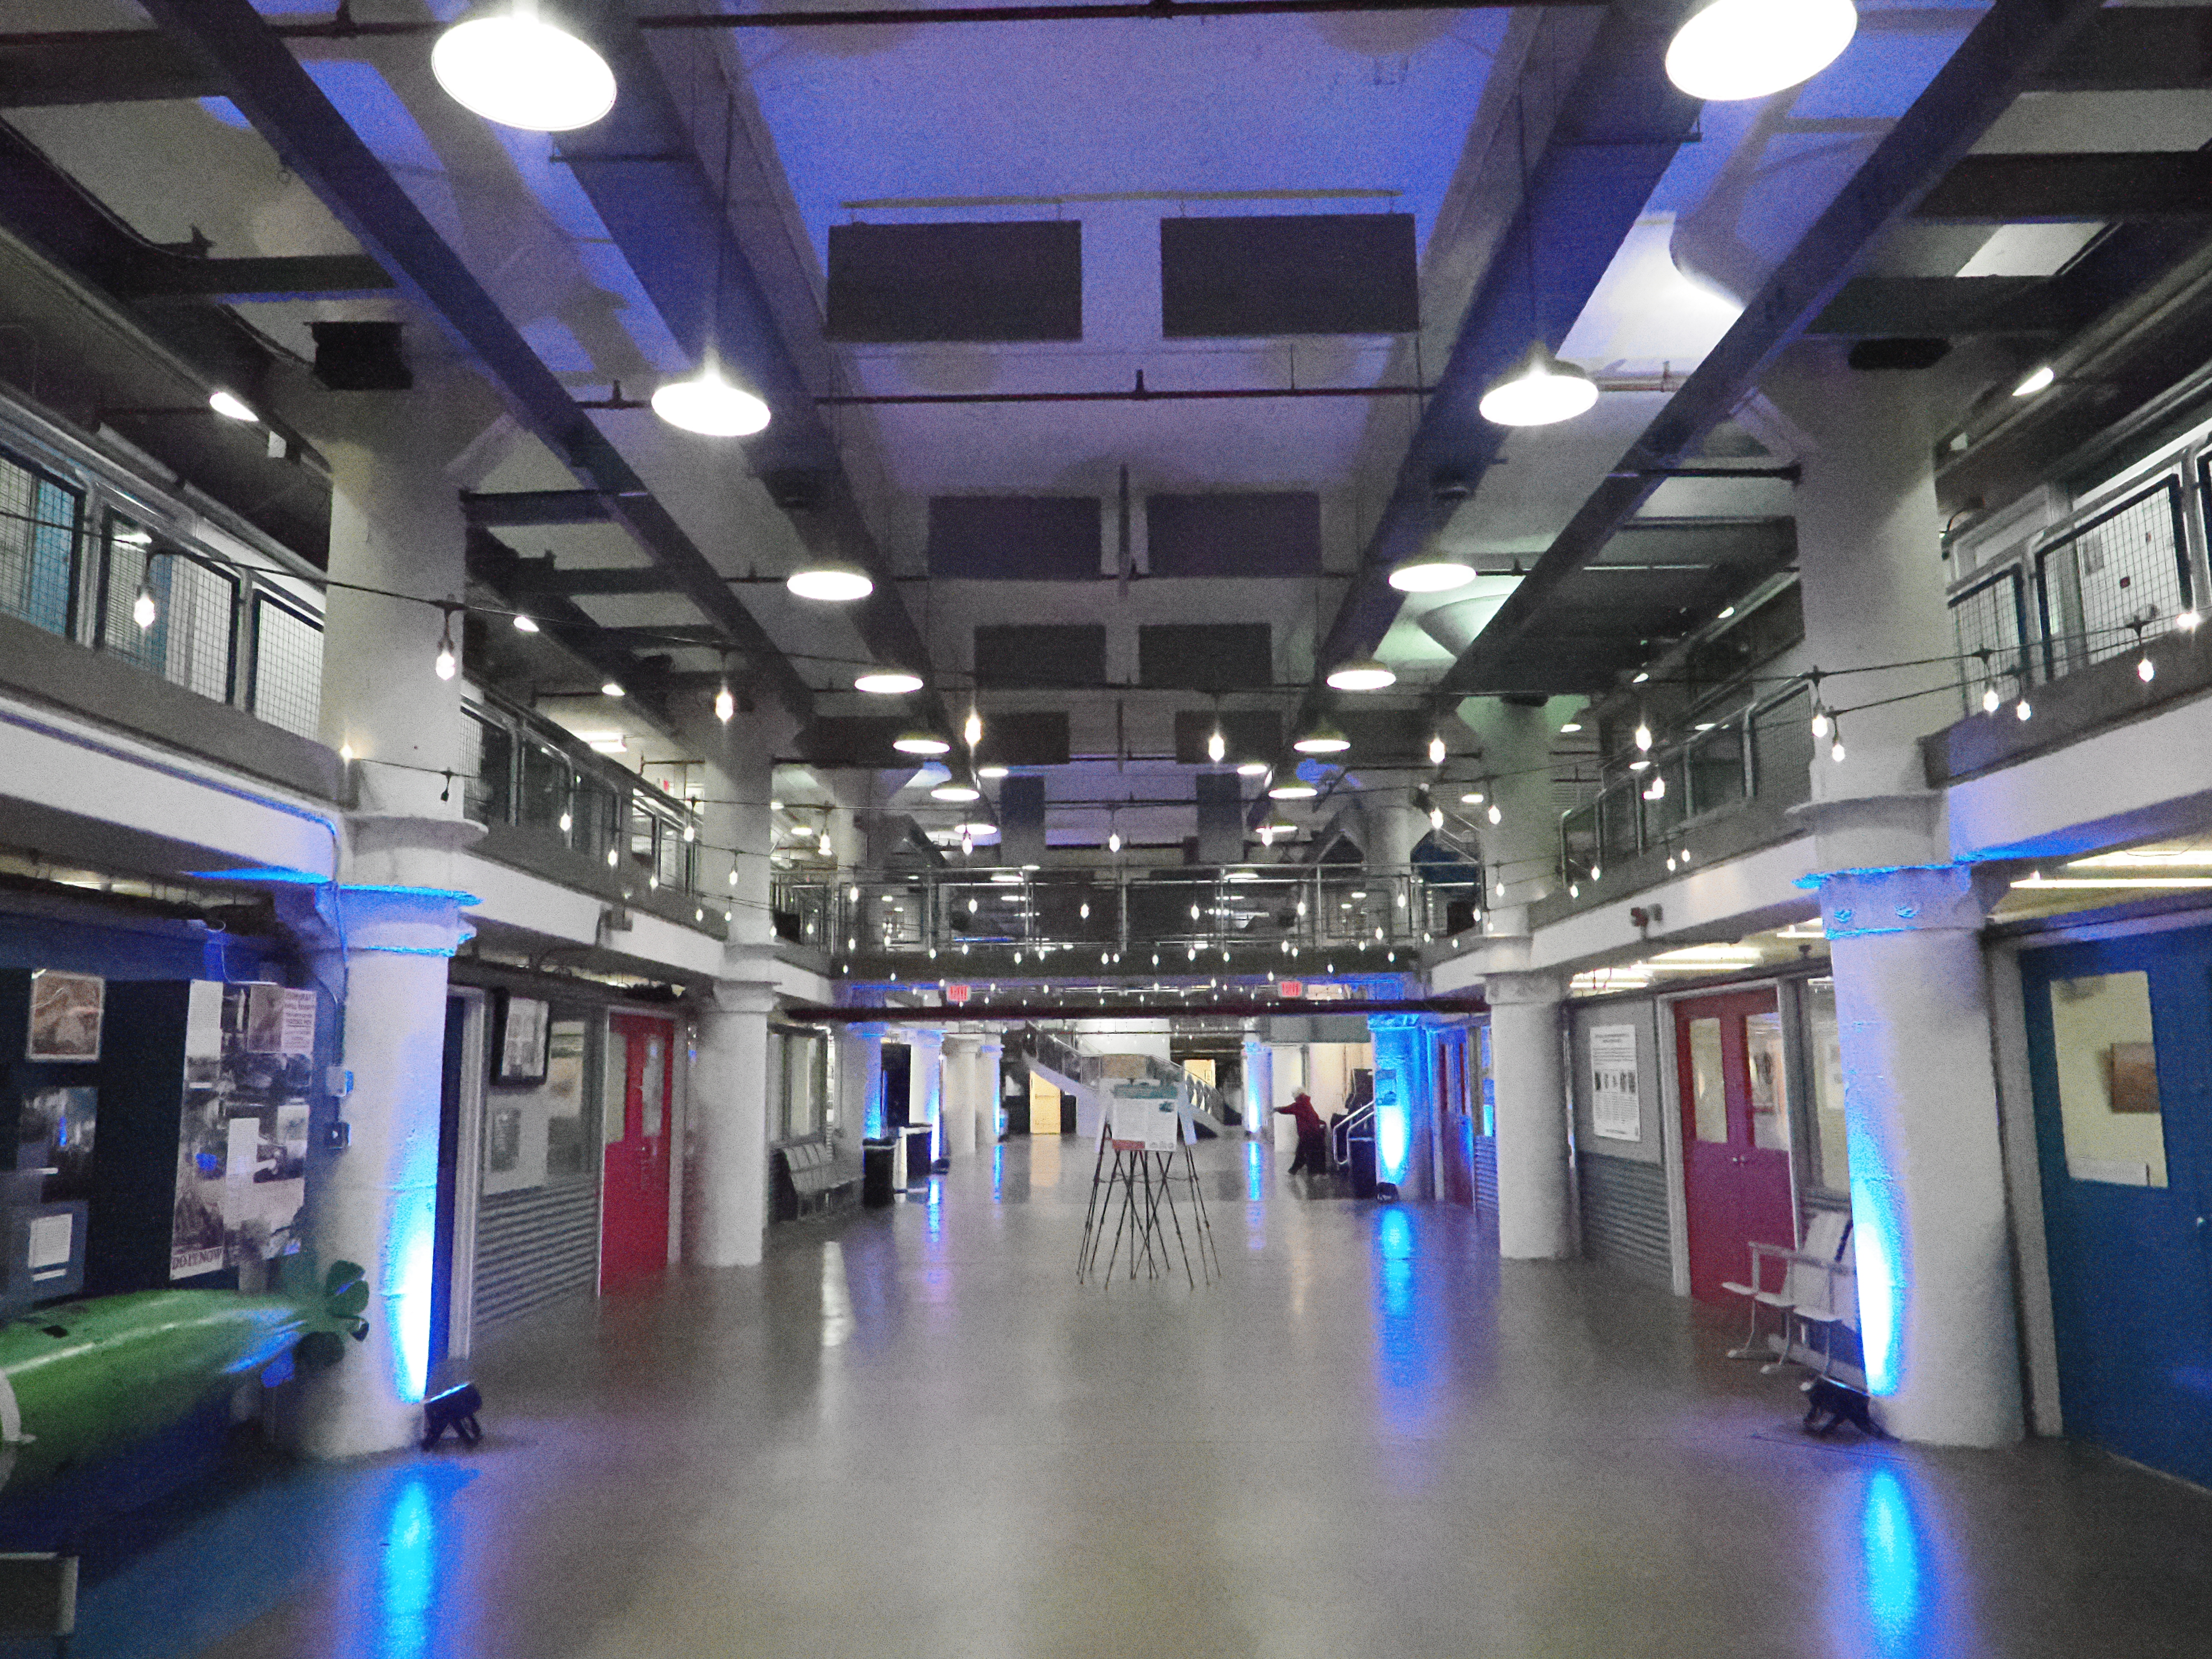
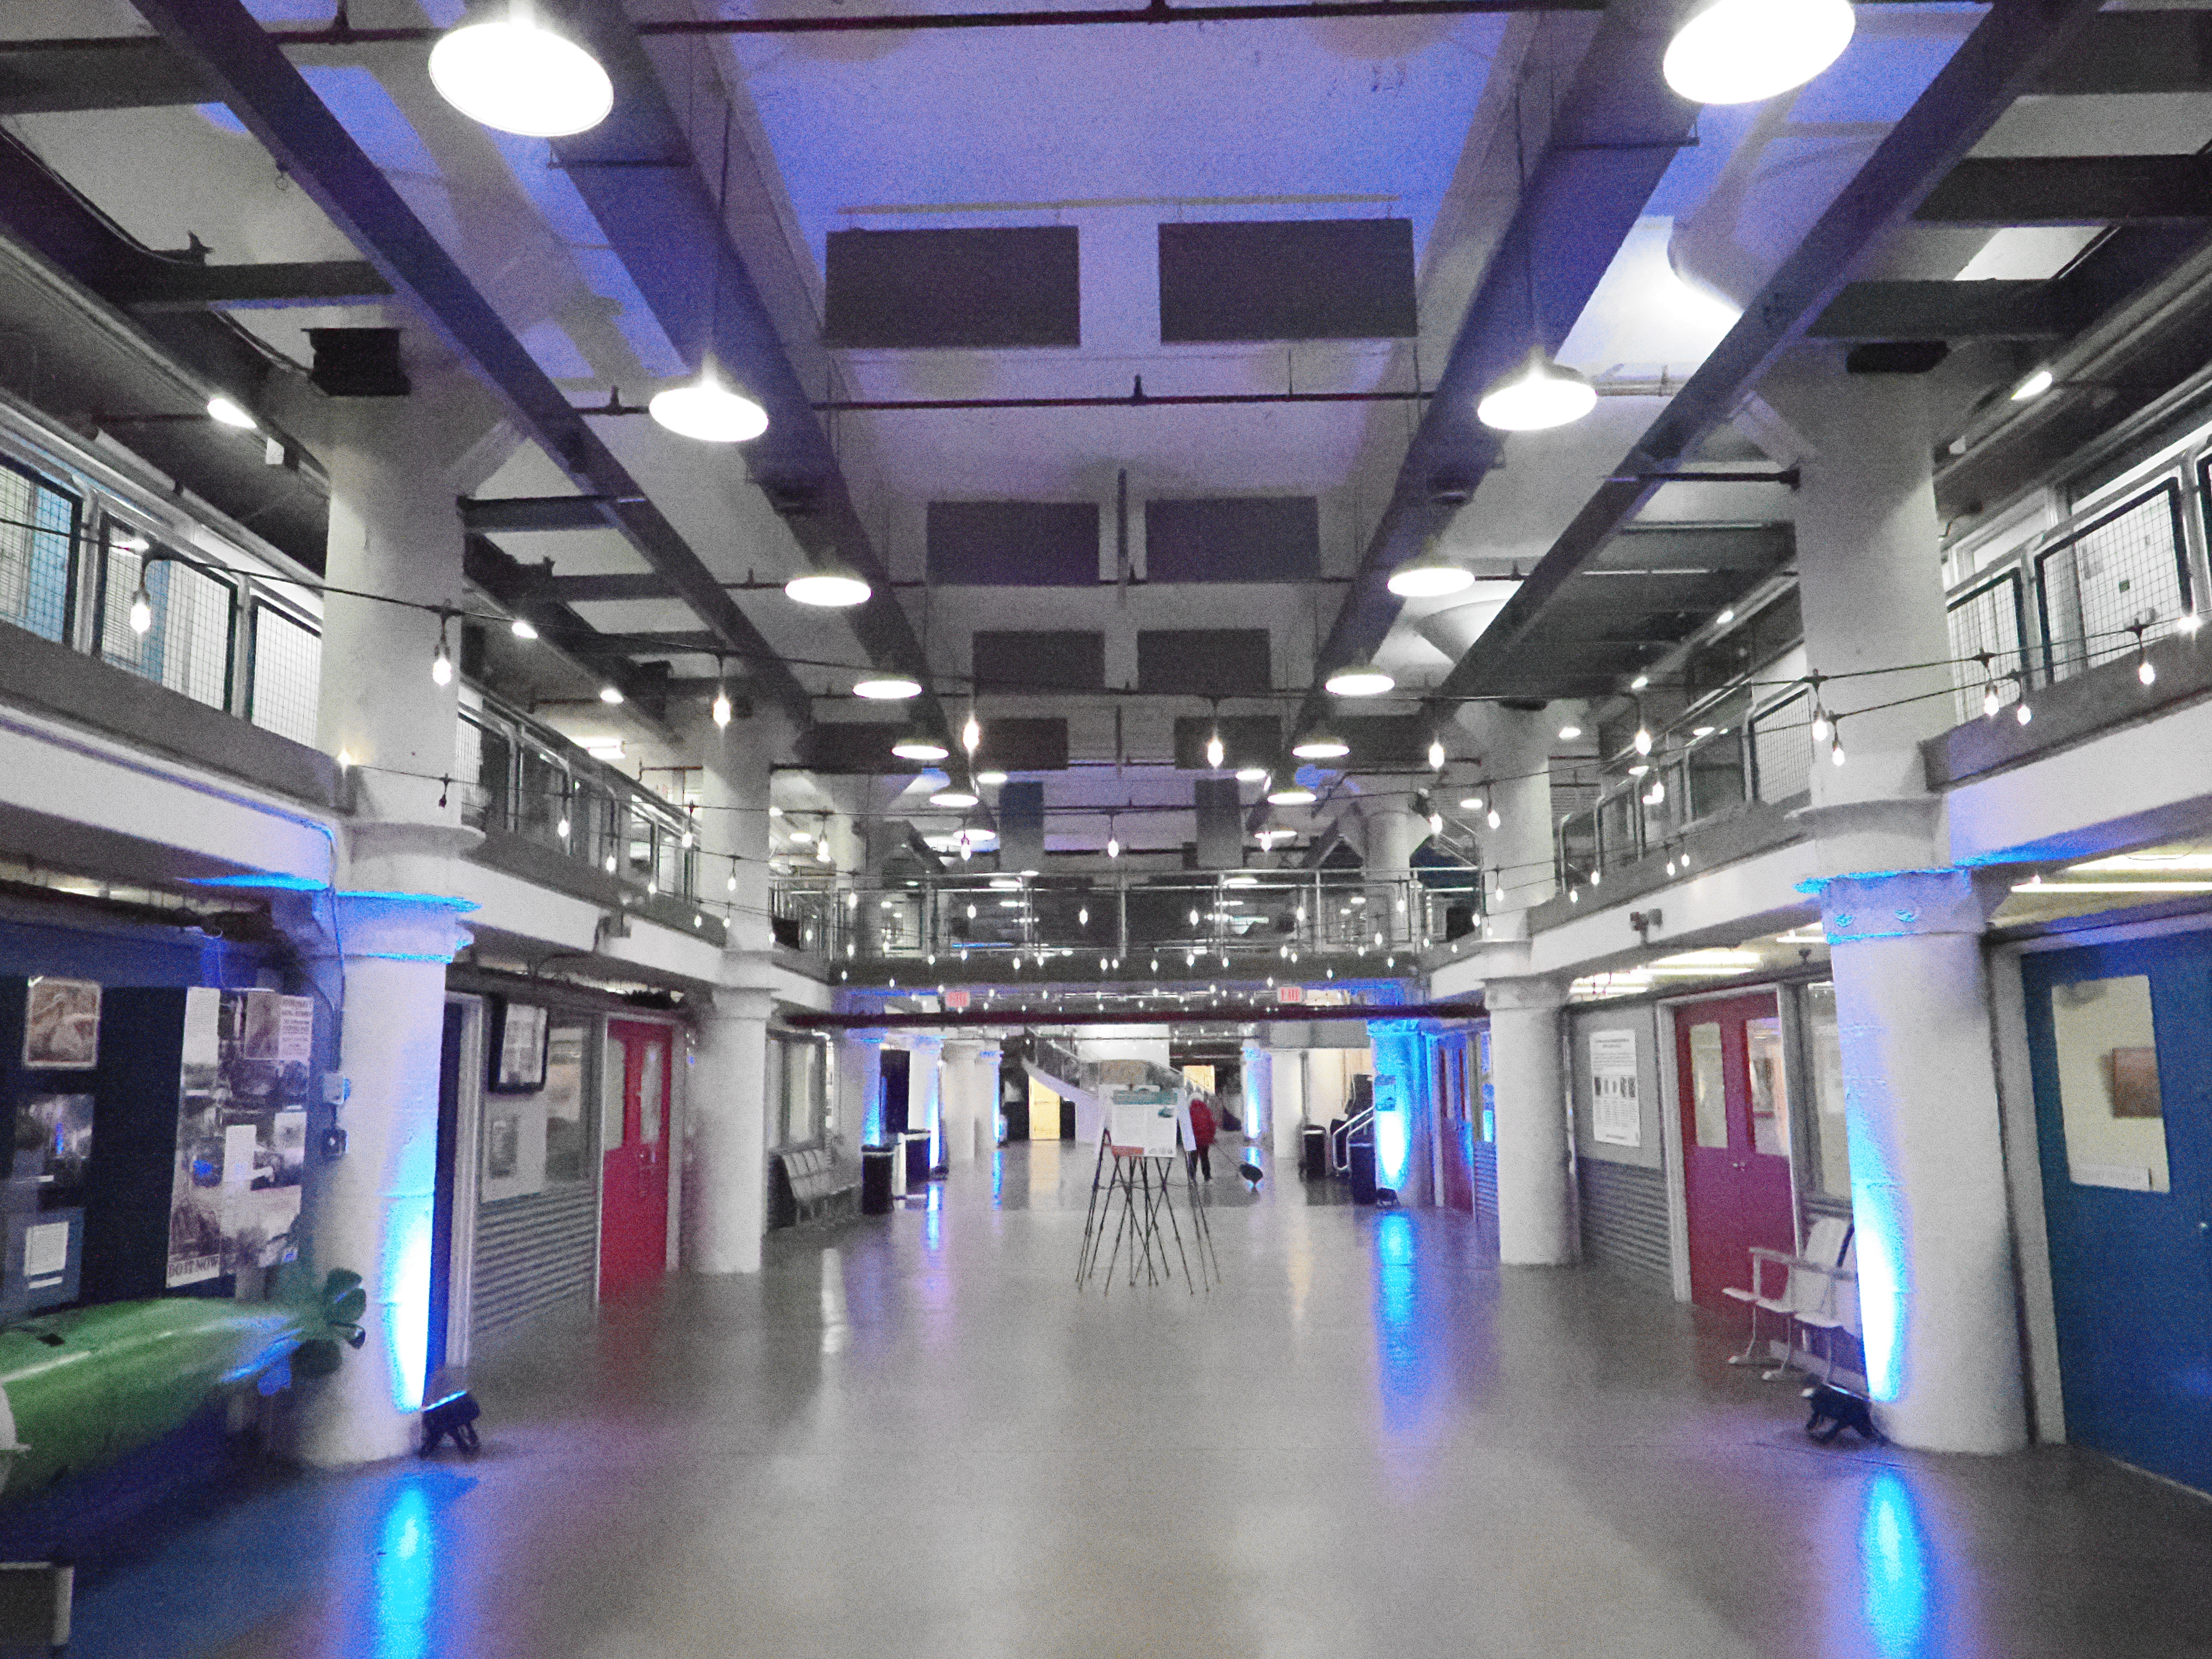
Here’s a small selection of high-ISO images I’ve shot with the Olympus OM-1. (I’ve also posted a more general collection of Olympus OM-1 sample images.)
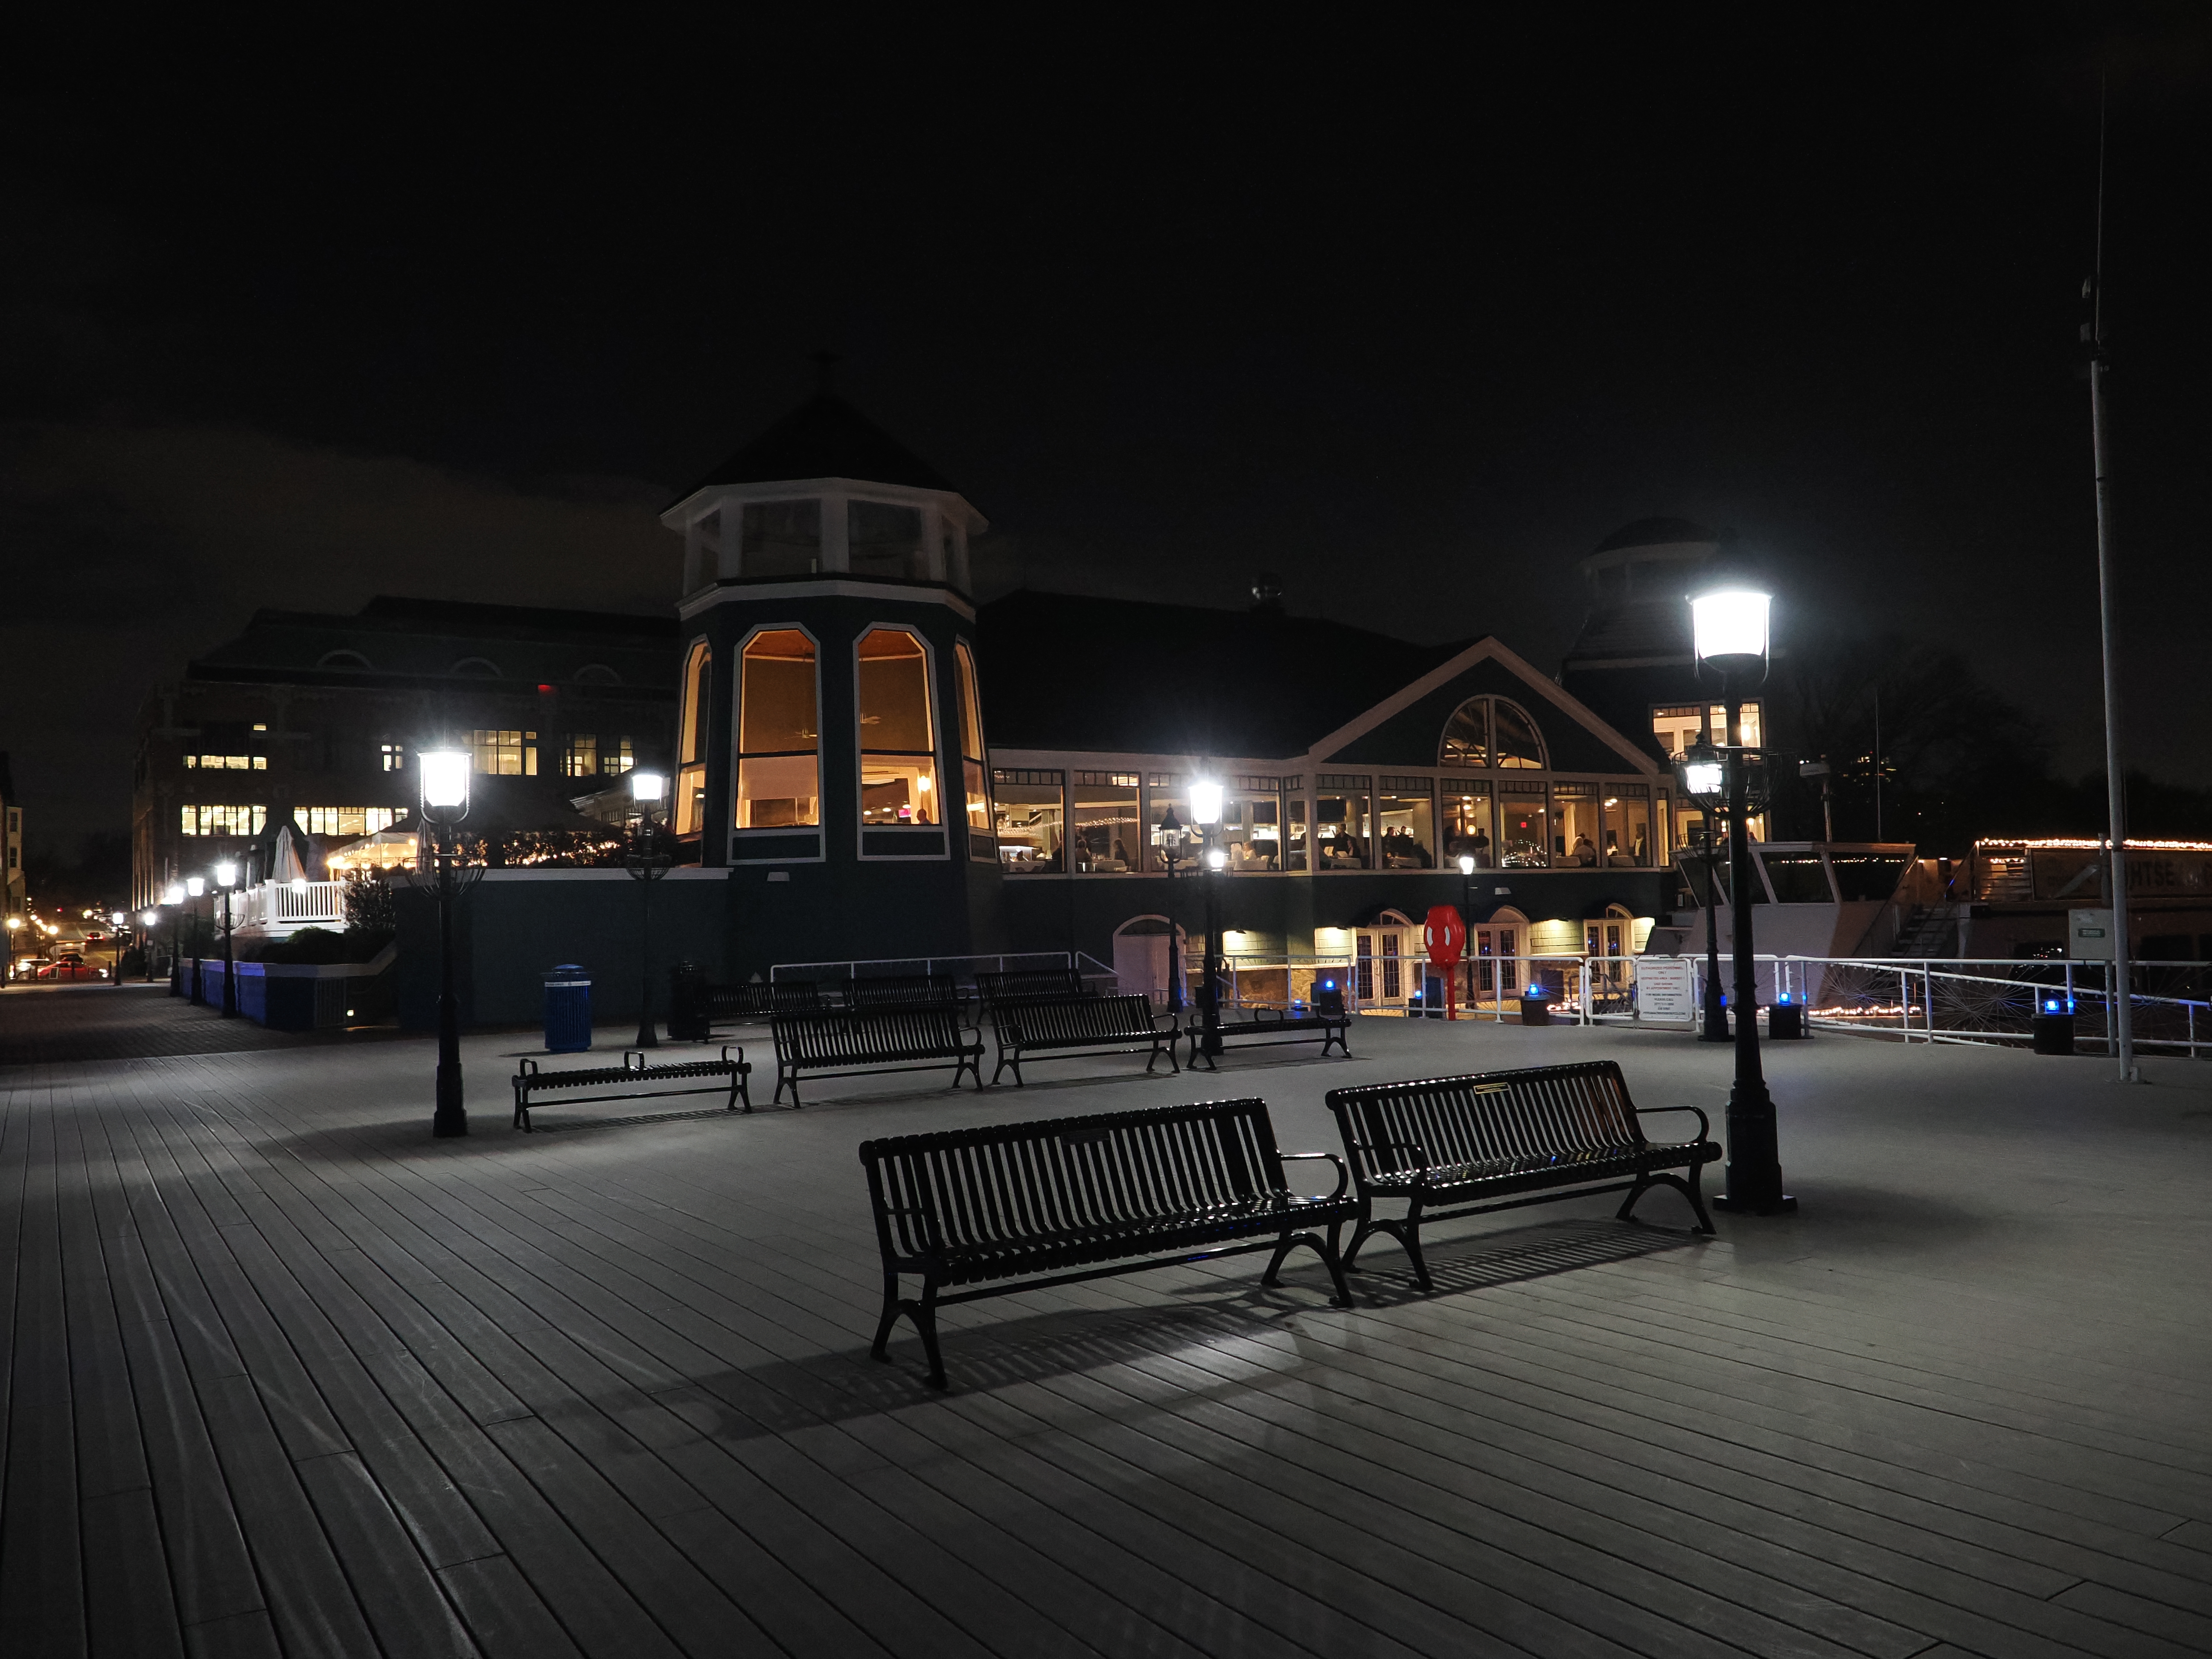
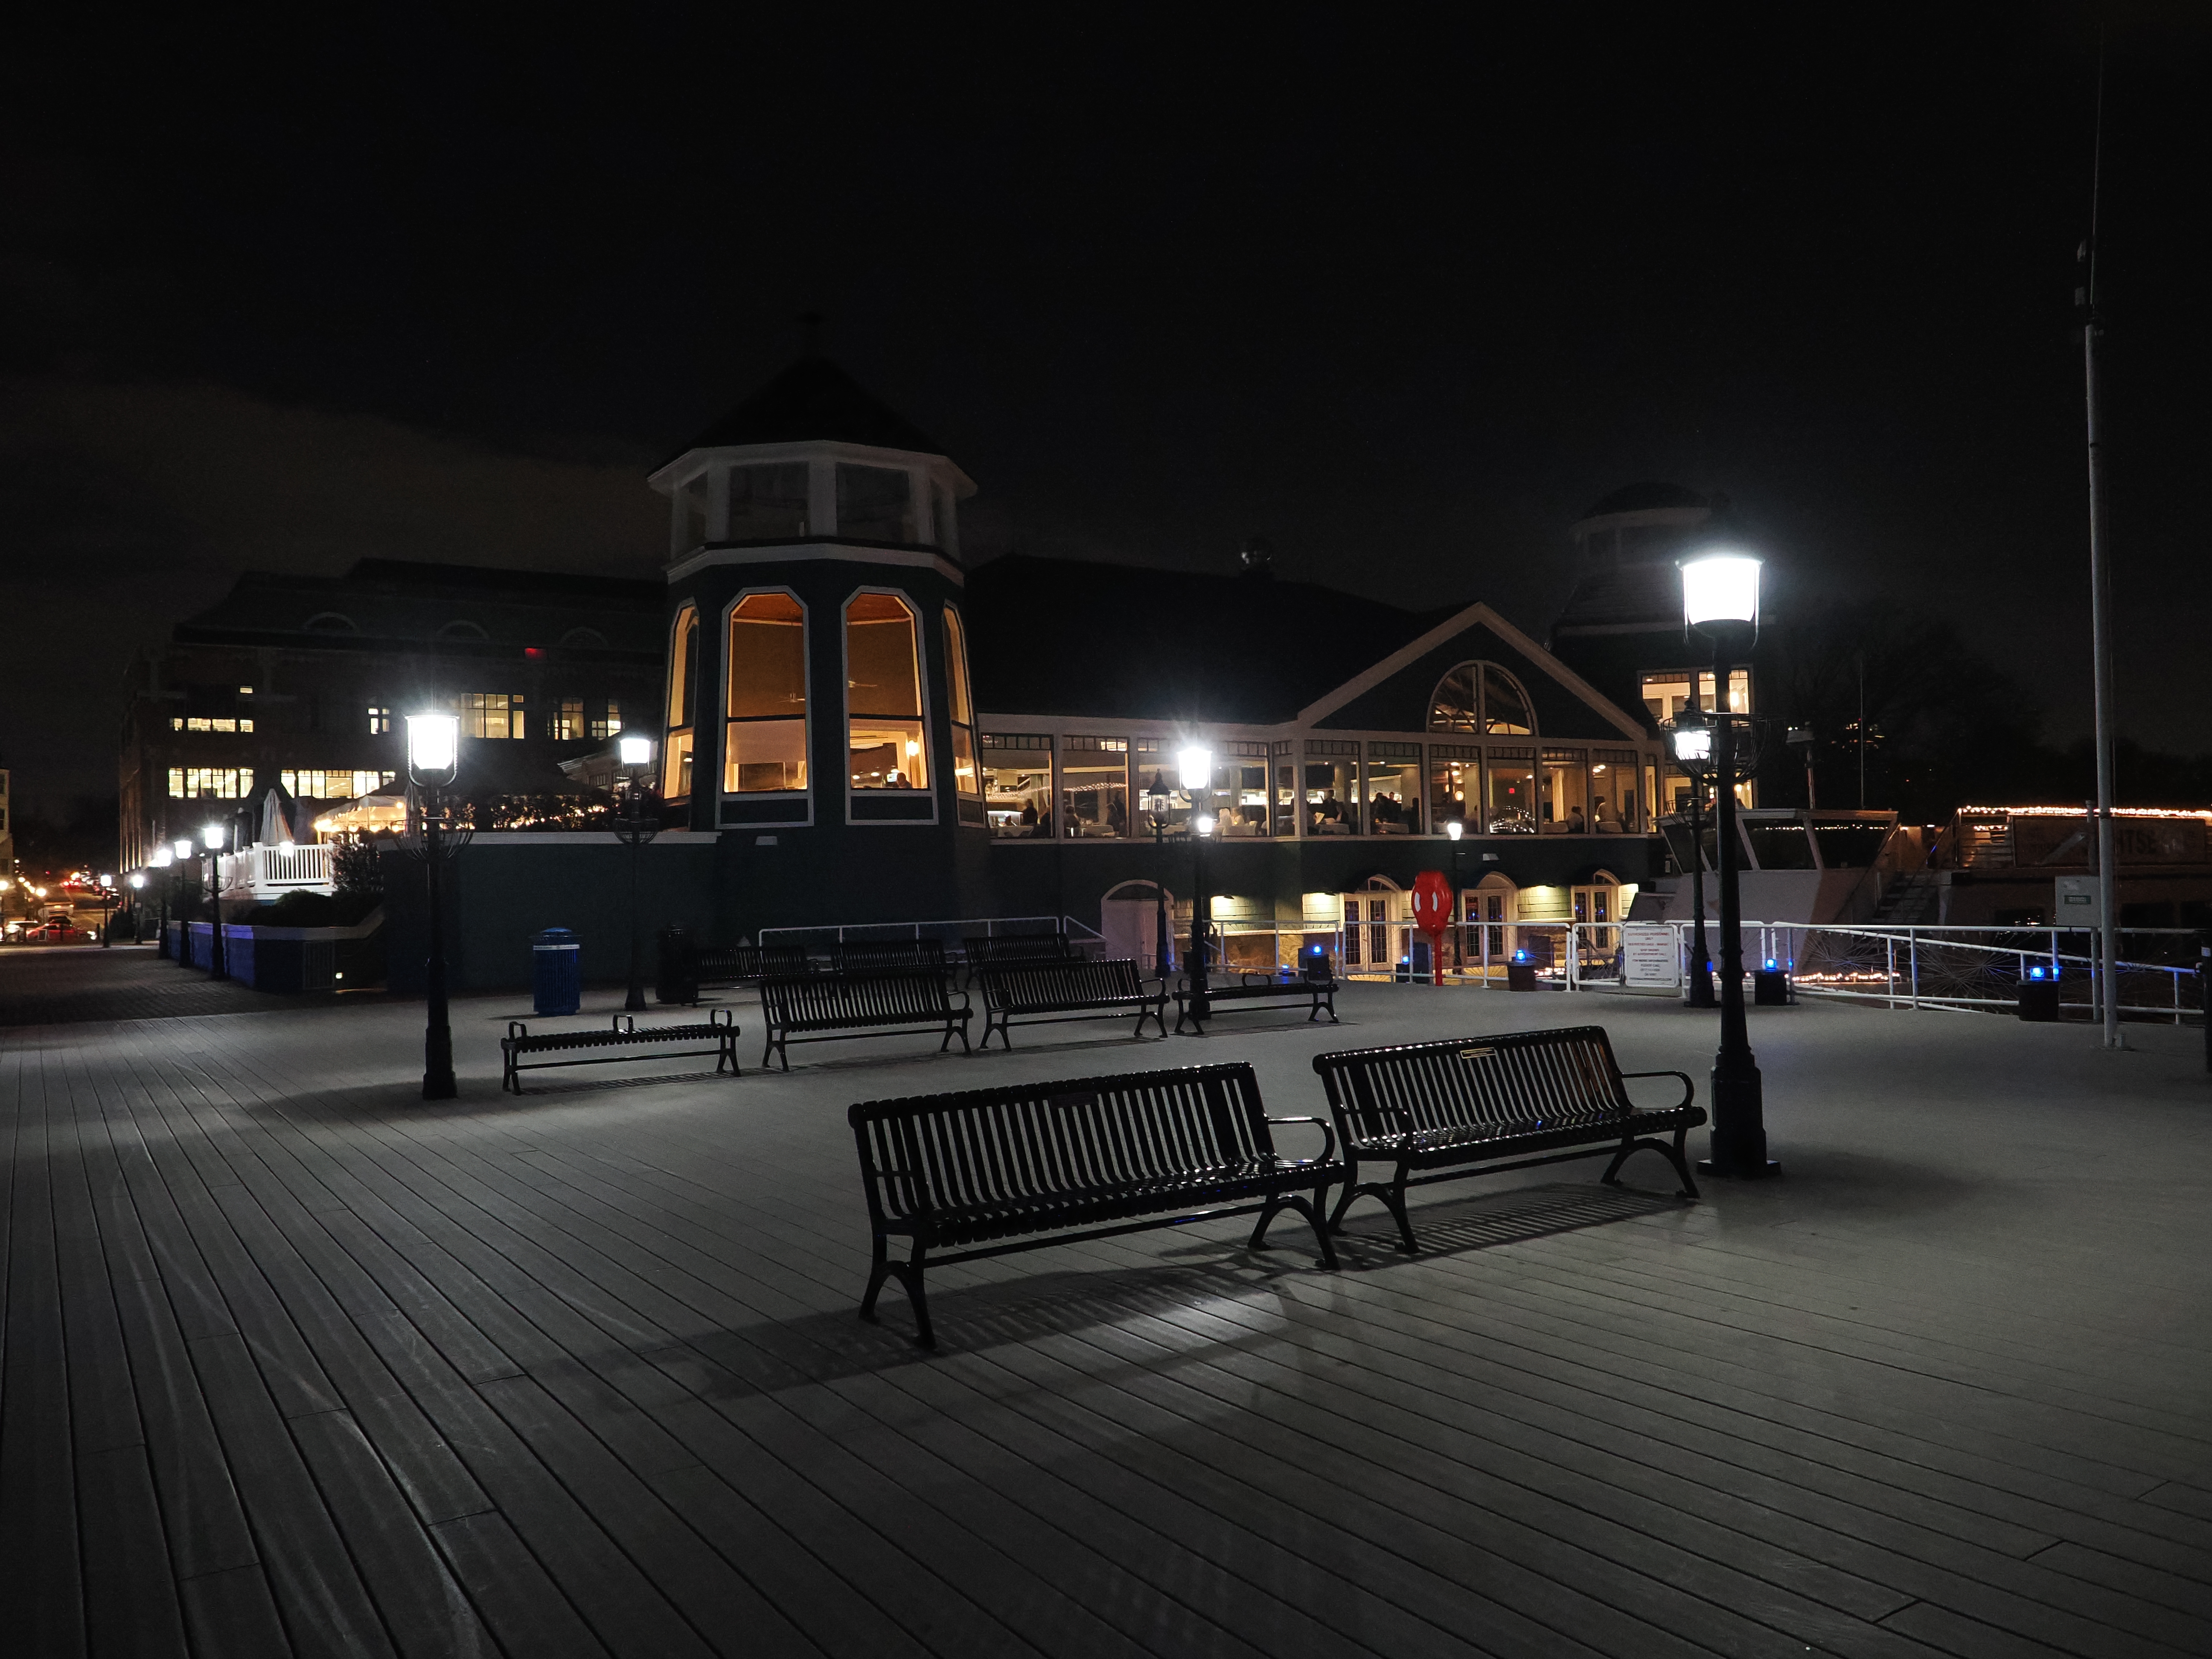
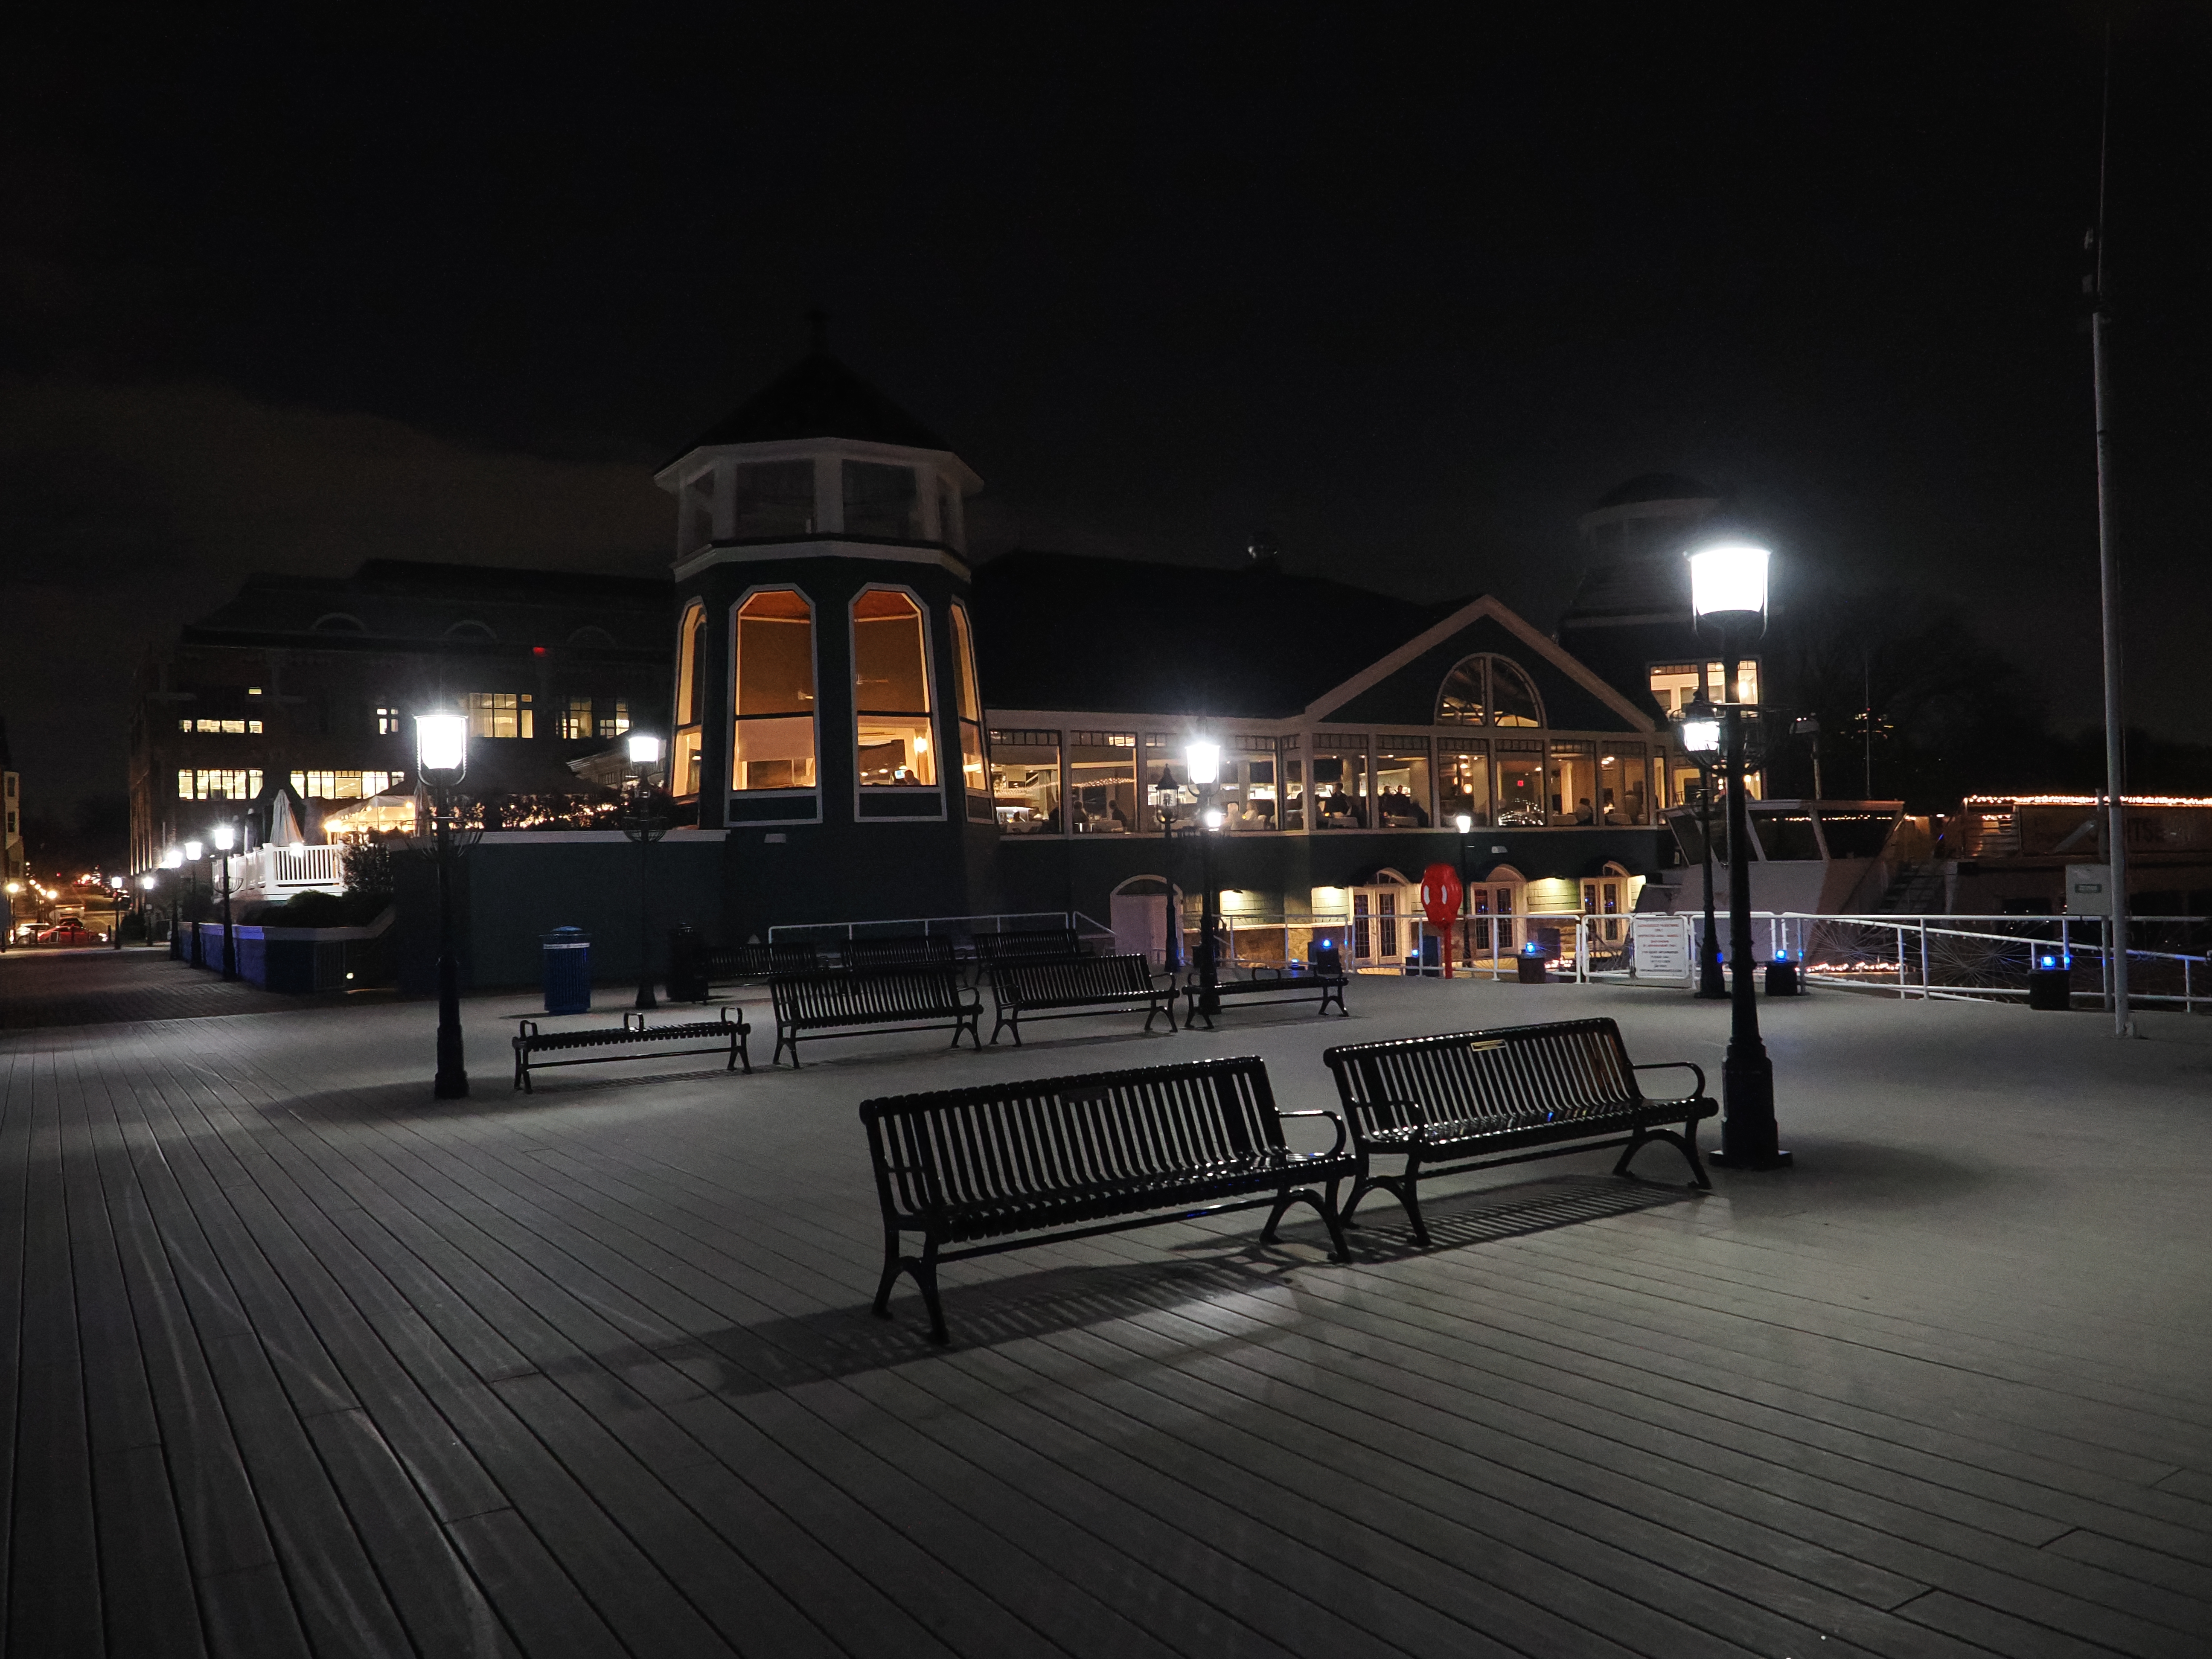
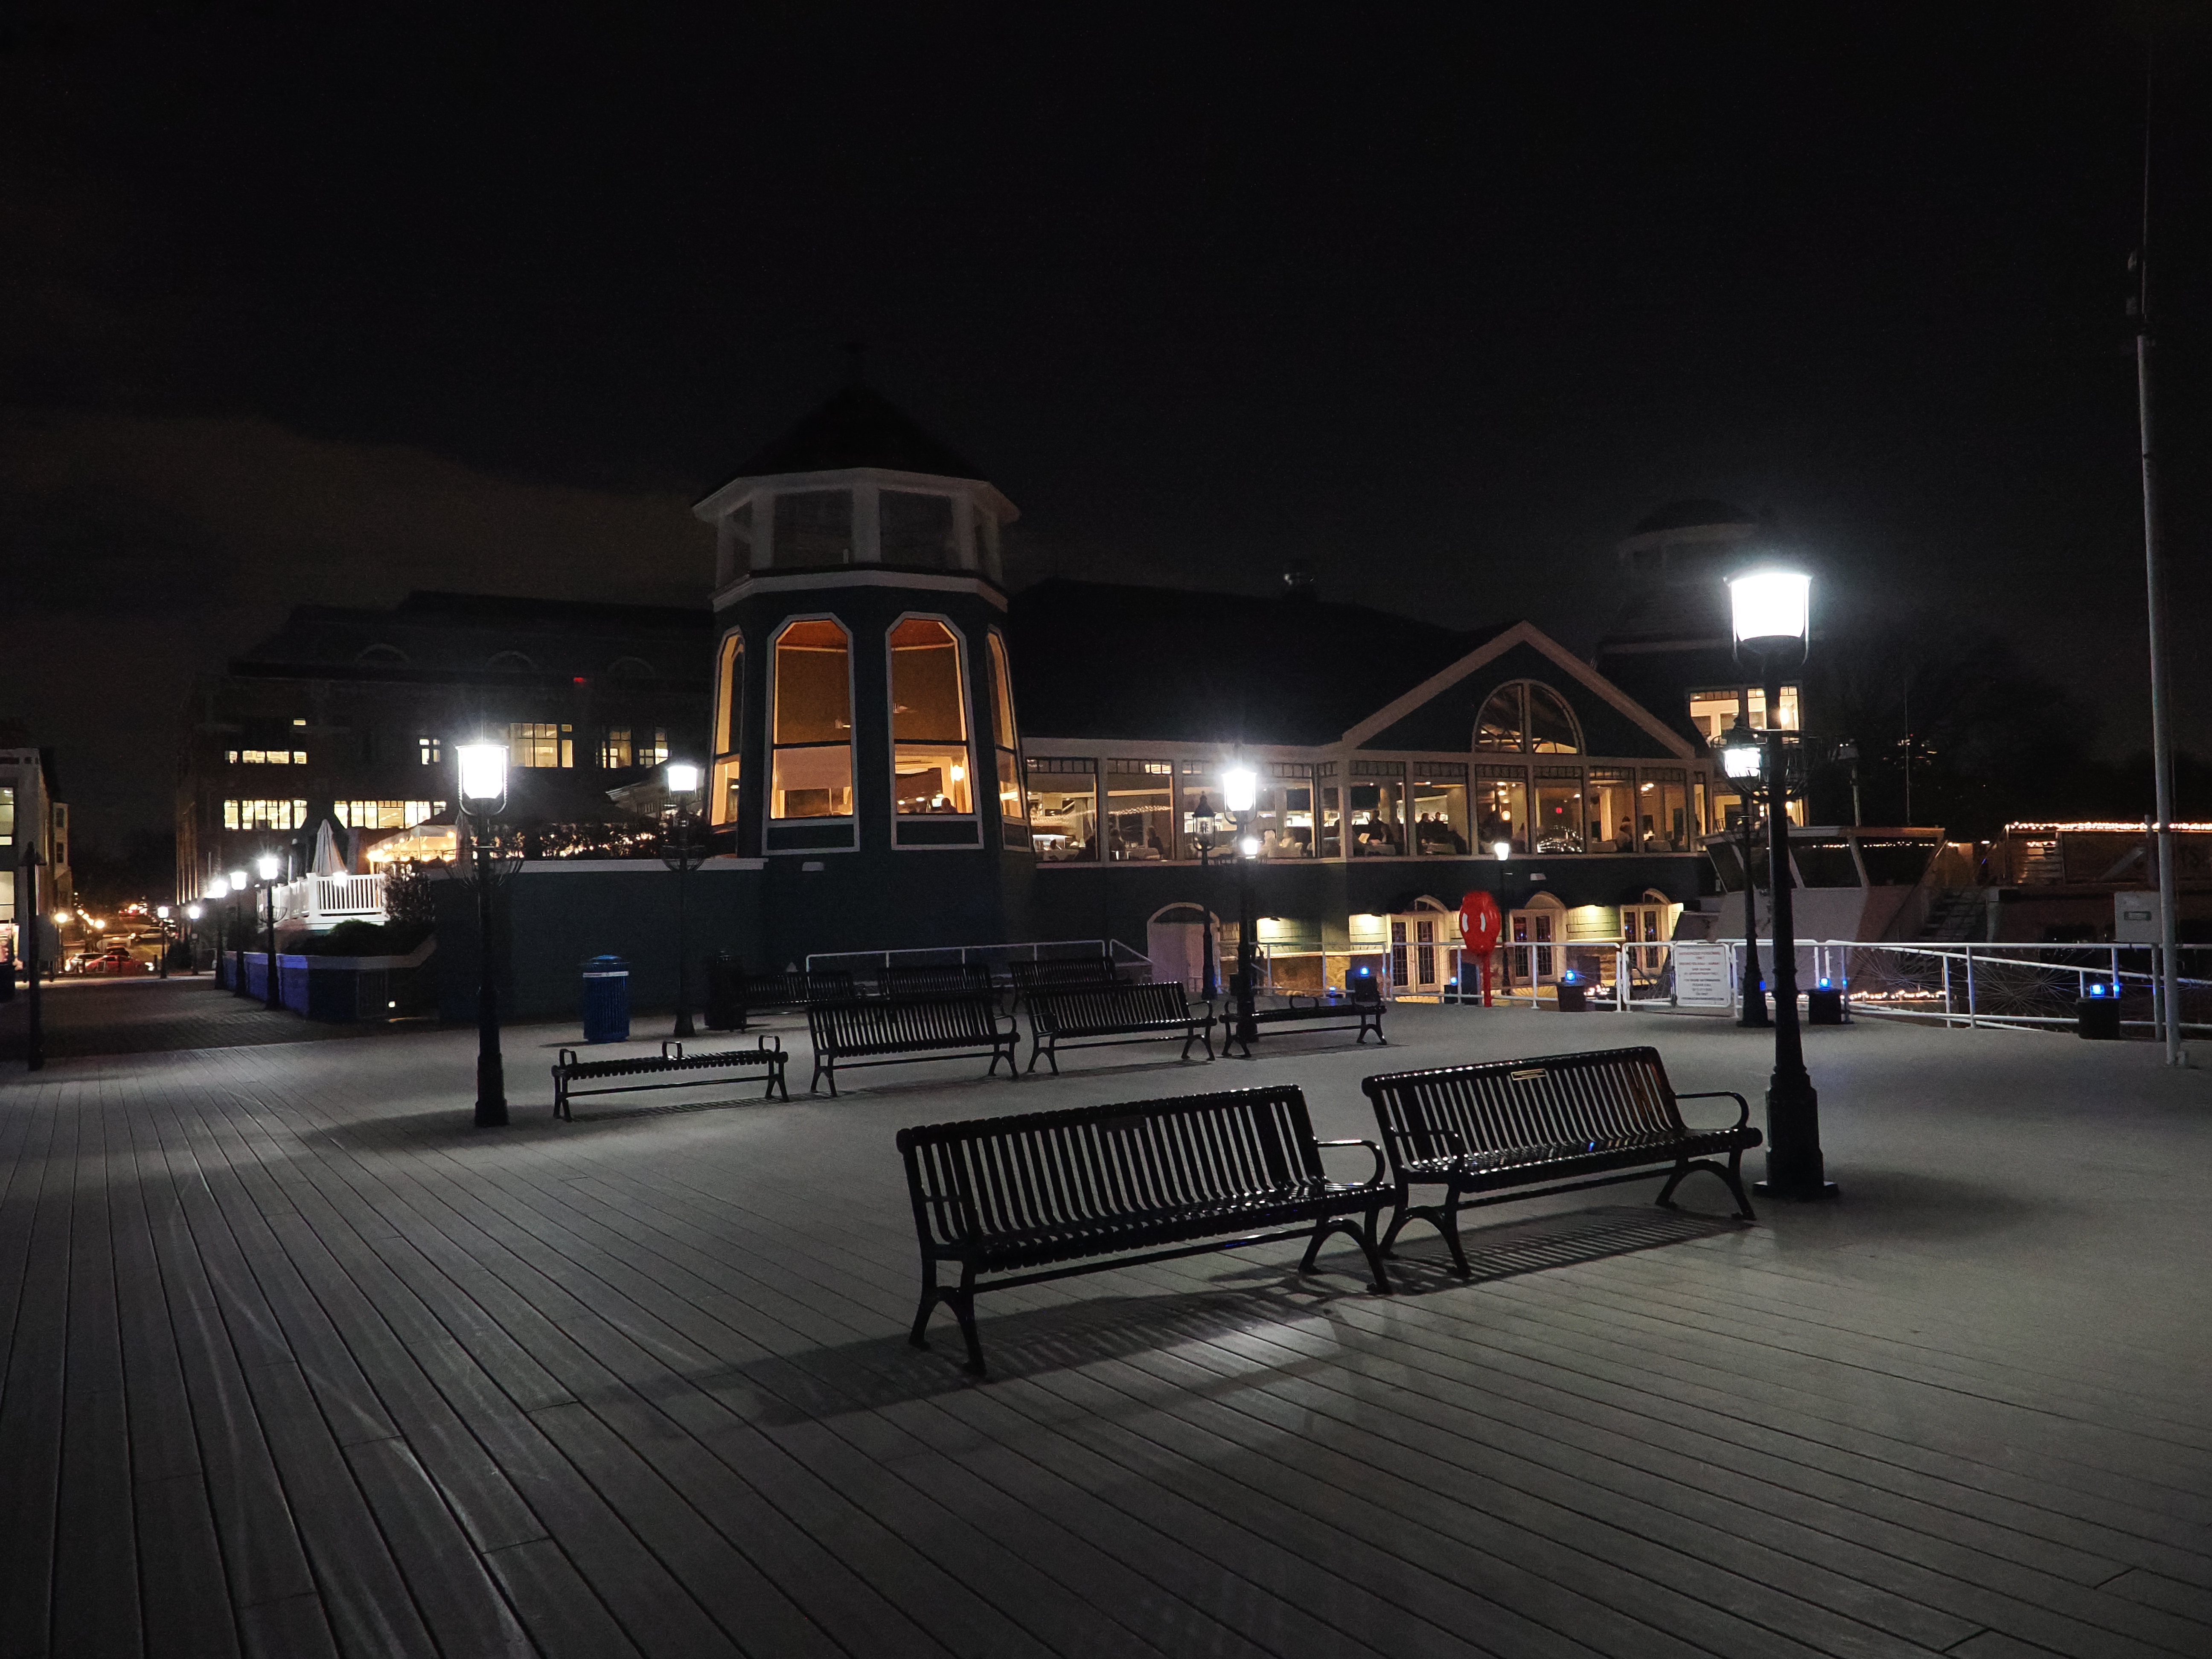
At the top are some general images. Below that are some sequences of the same scene running from ISO 6400 up to ISO 102400.
These are mostly unedited; here’s some slight increase in the slider exposure on some of the display versions, but none of the originals at the links. Normally, I’d apply more post-processing to these, but since objective here is to look at the results straight out of camera, I’ve left these untouched. The display versions on this page are from the JPG versions, which have the camera’s own noise reduction applied. You can also download the original unedited version straight from the camera (both JPG and RAW).


For these, I’ve left the OM-1 on its default setting for noise reduction (Standard). But it’s possible to turn it off or choose a Low, Standard, or High setting by going to:
MENU > Camera 1 > 3. ISO/Noise Reduction > Noise FilterI’ve included the ISO used for each in its caption along with links to the original, straight-out-of-camera JPGs (with the camera’s default Standard Noise Filter applied) and RAW (.orf) files.


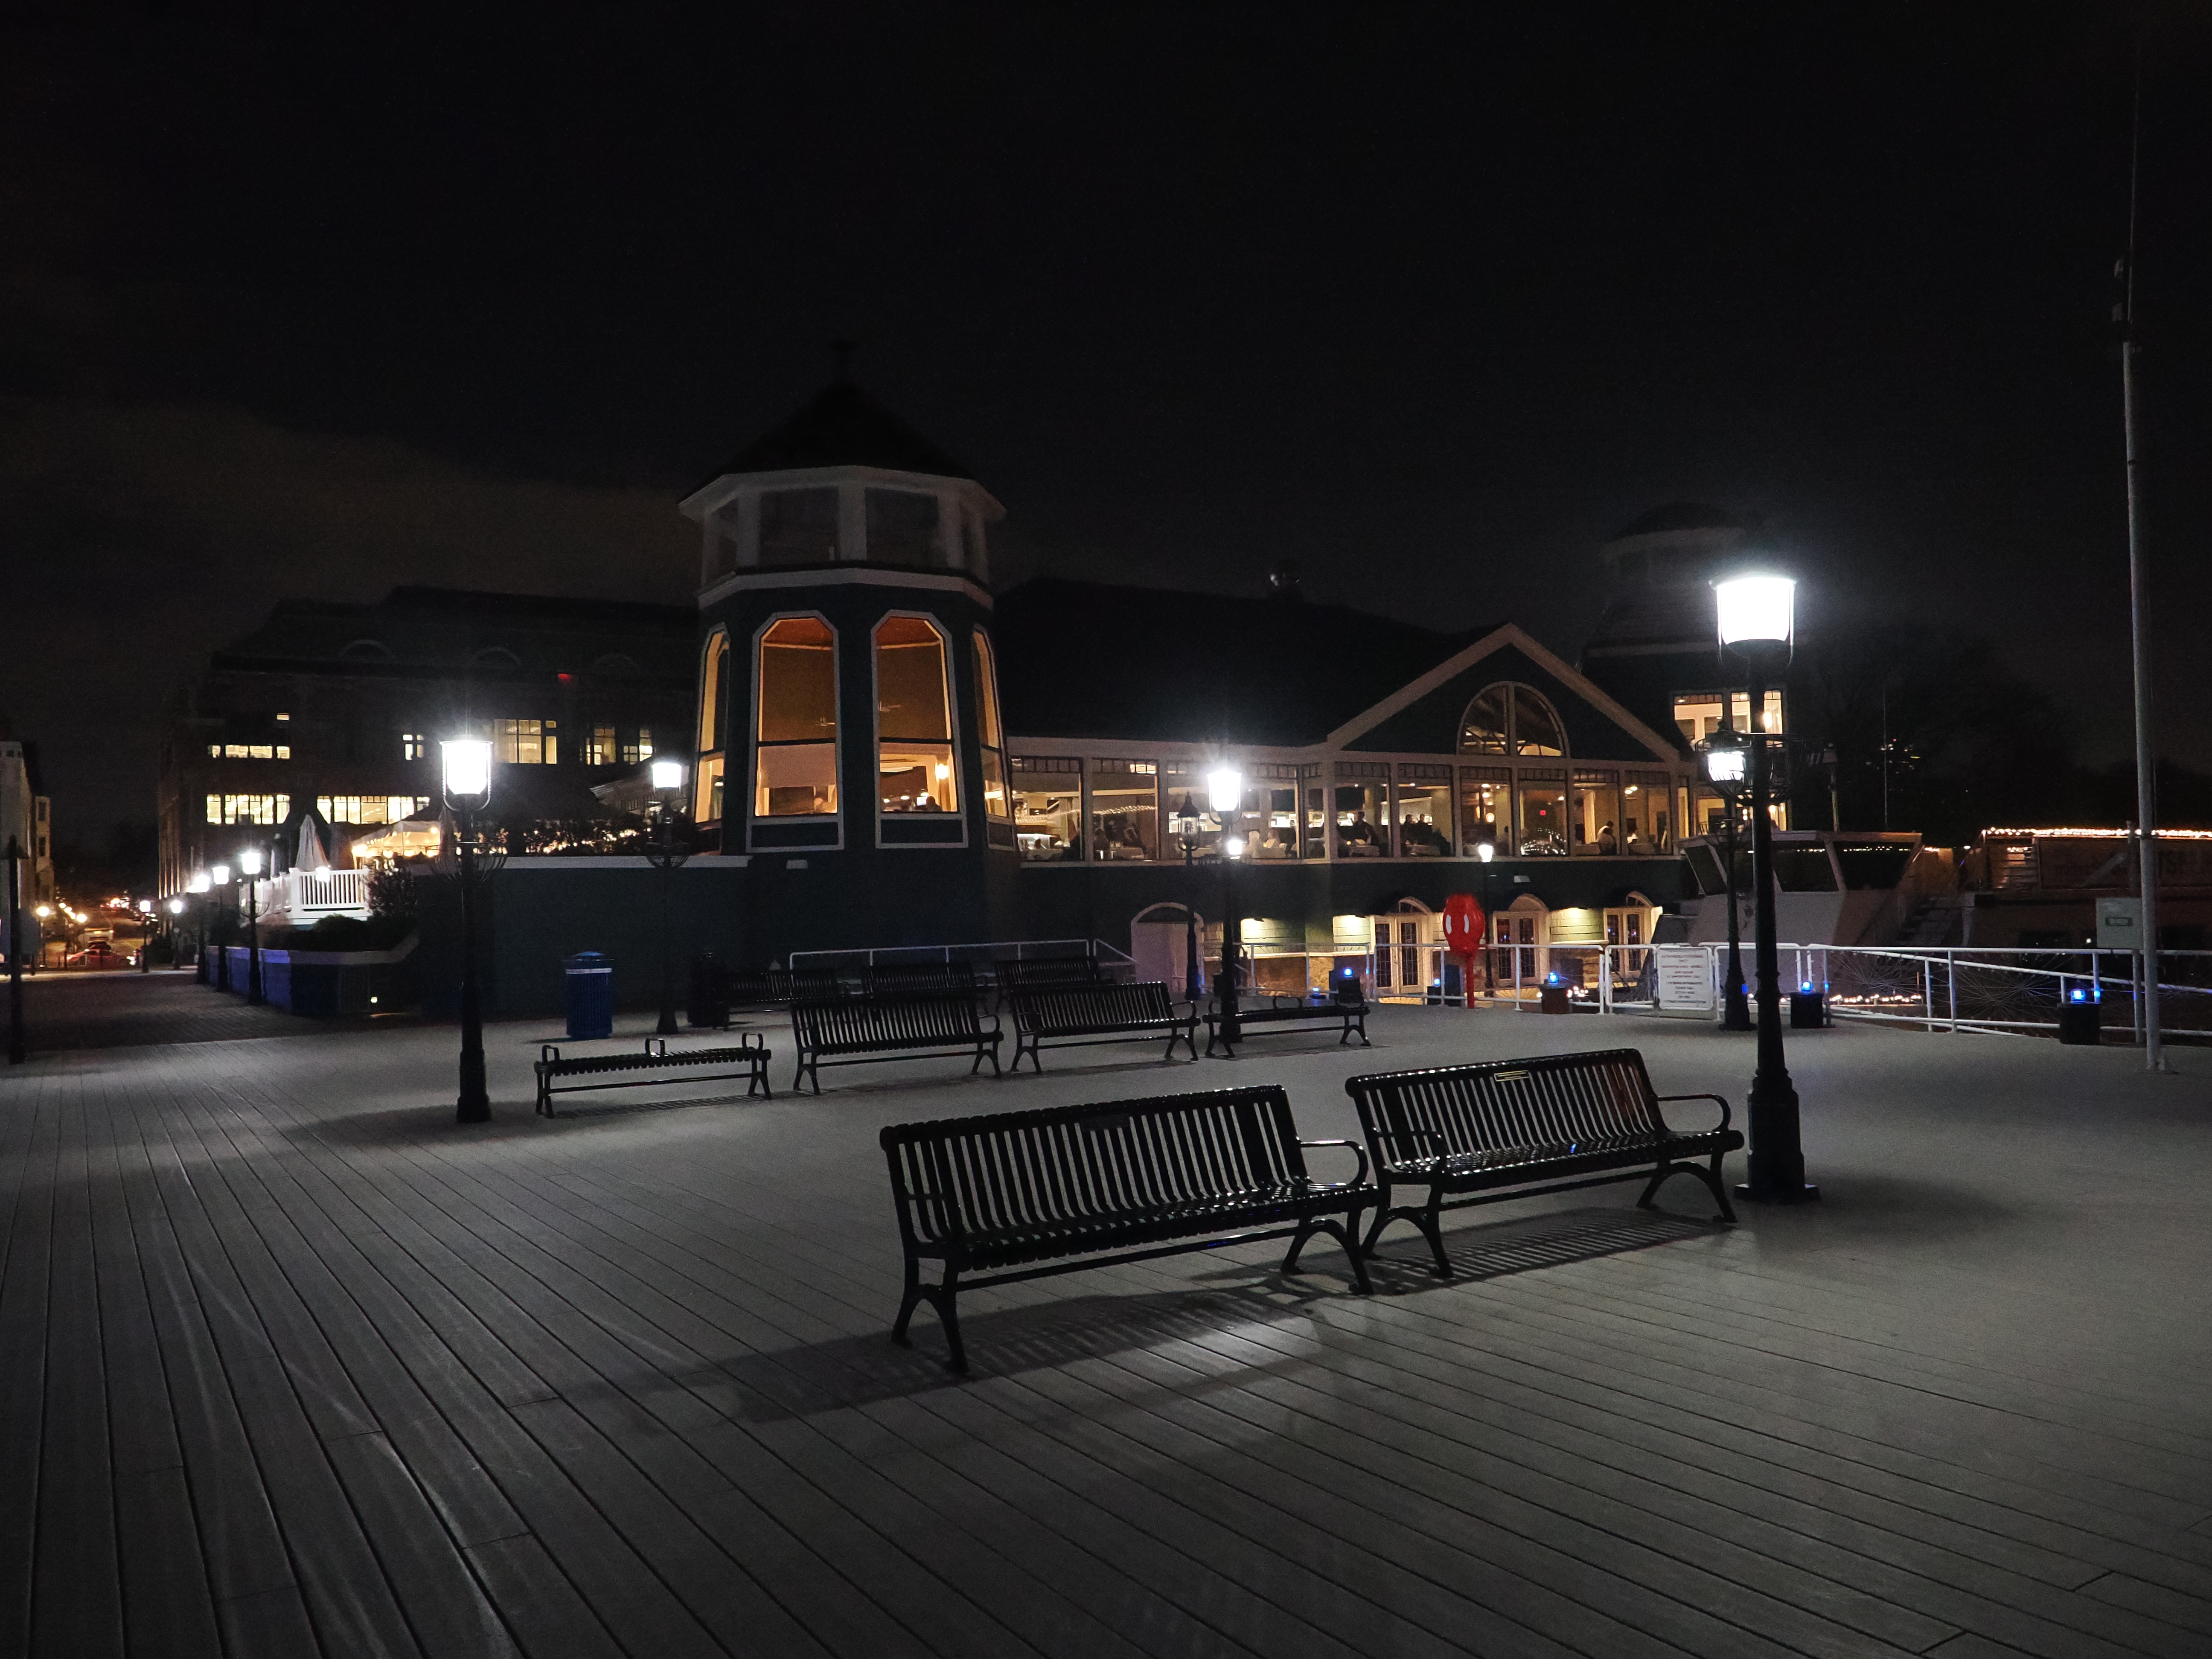
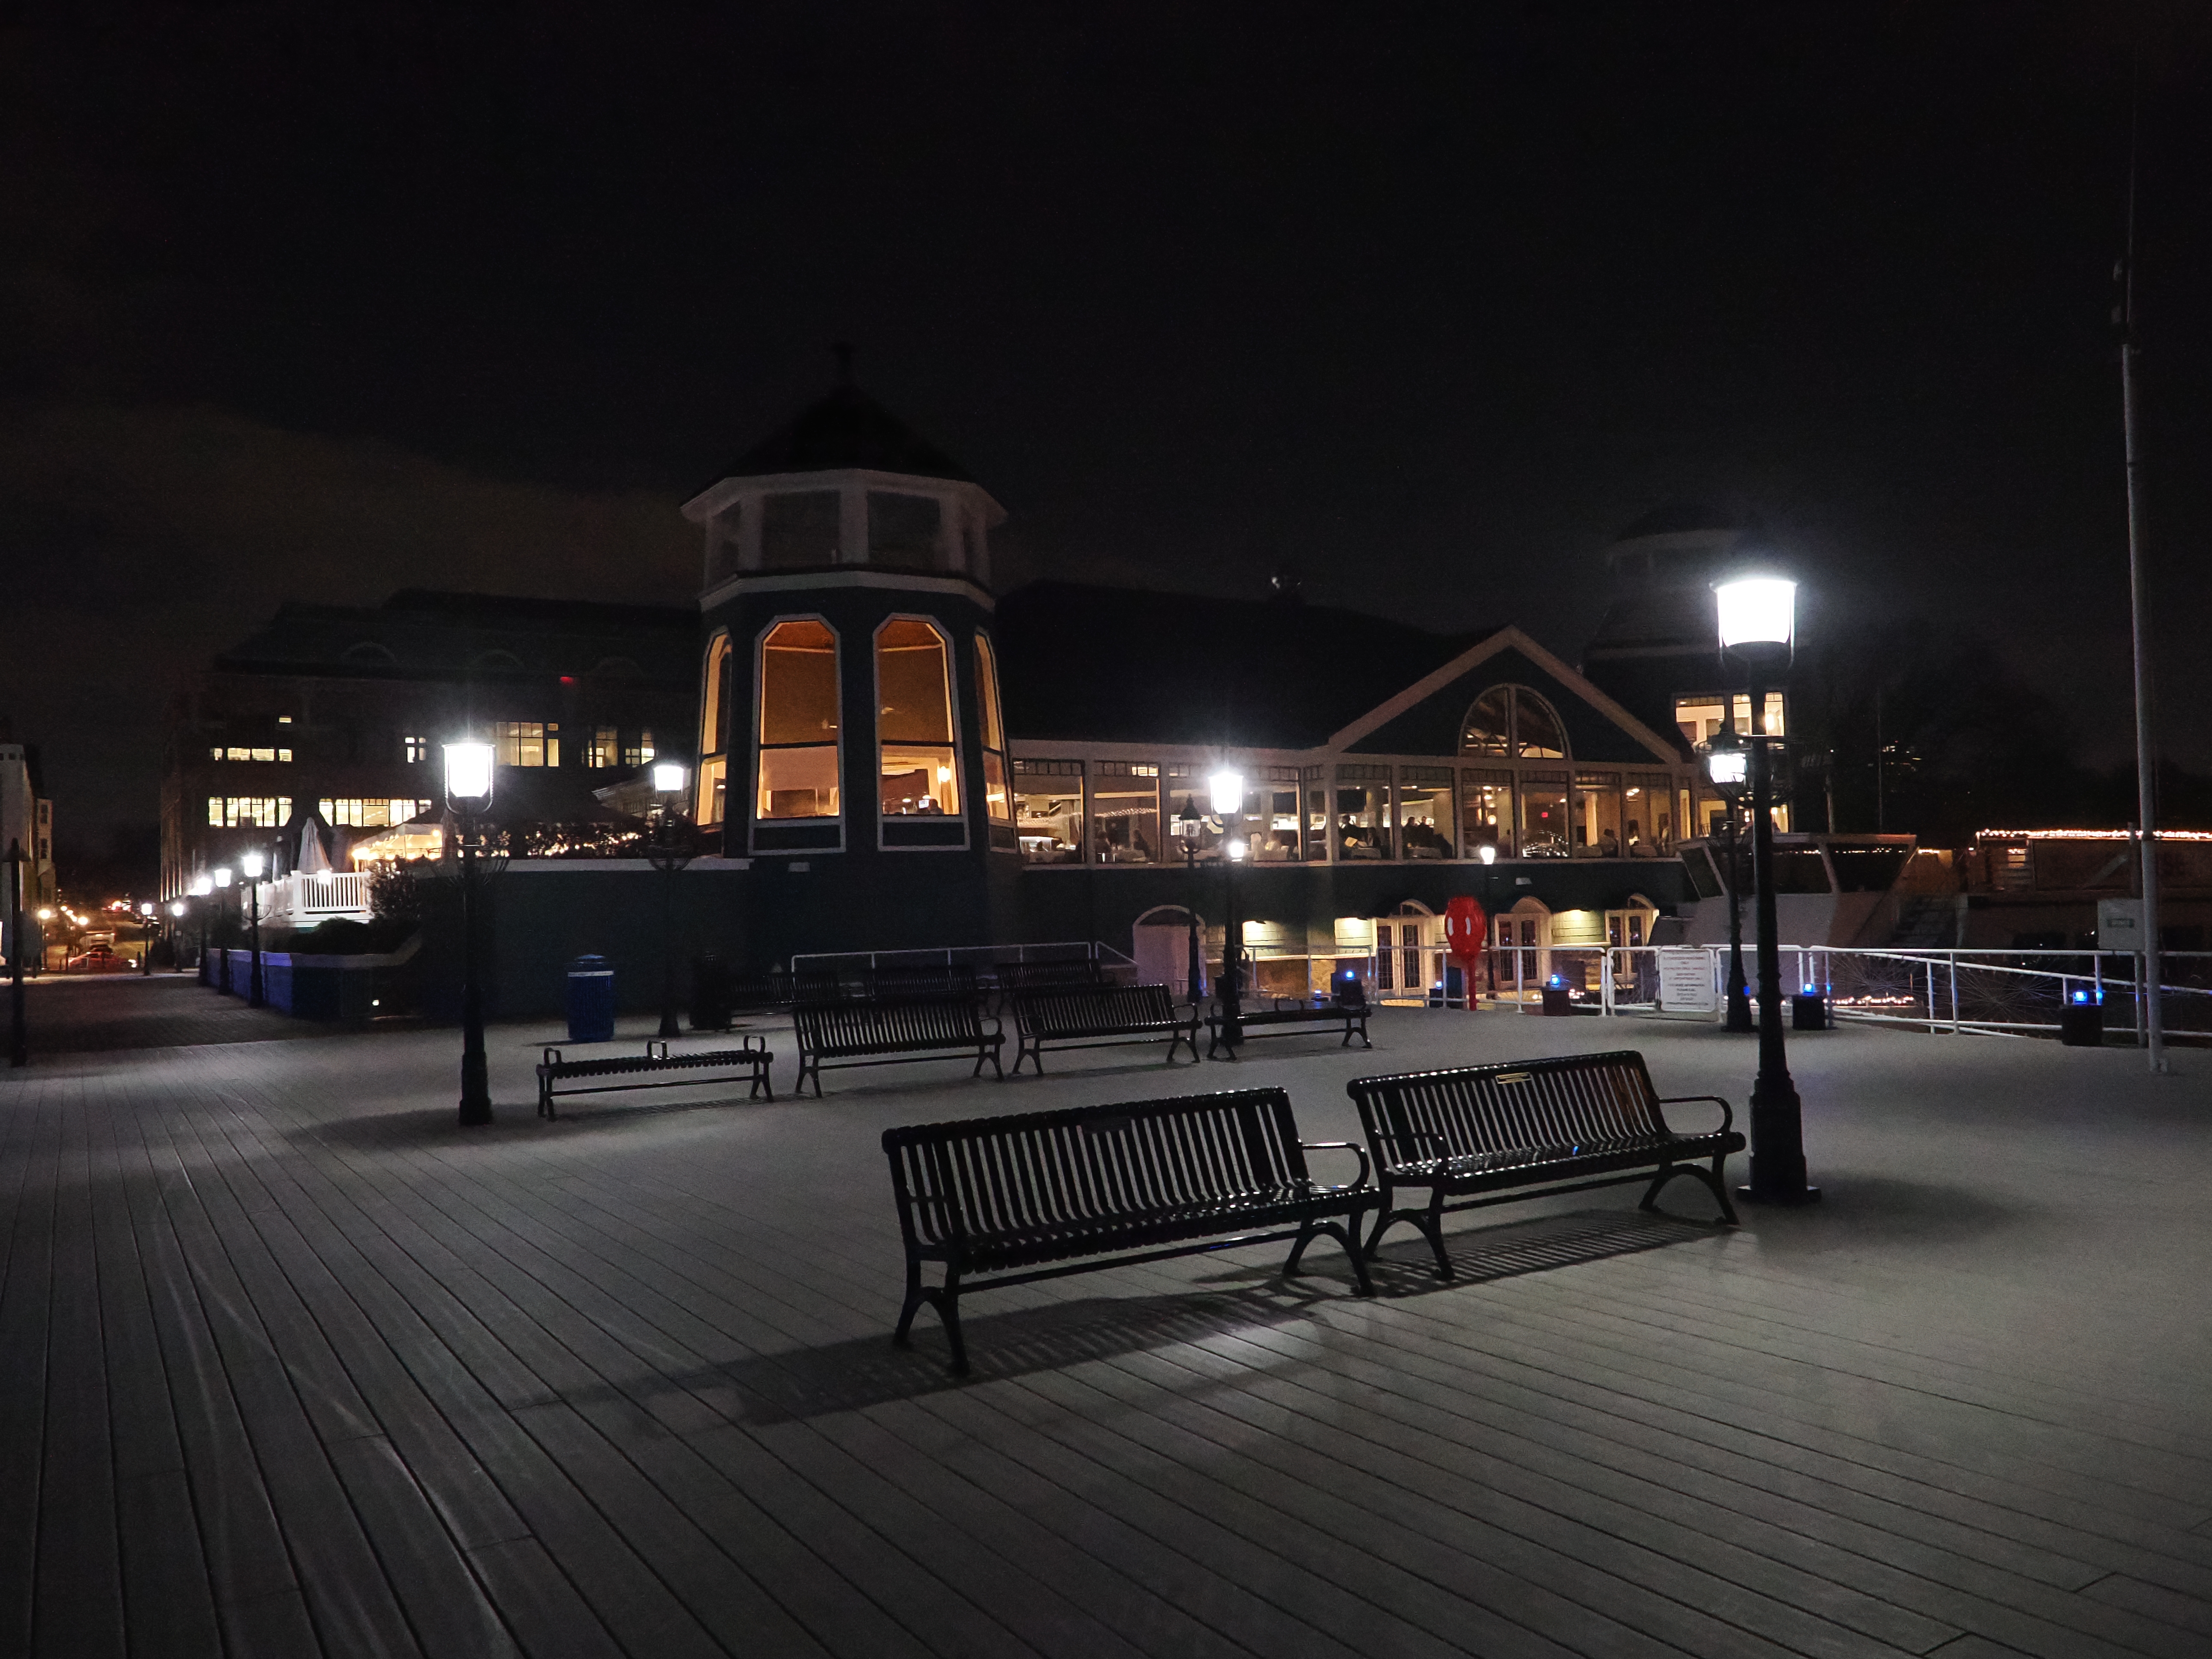
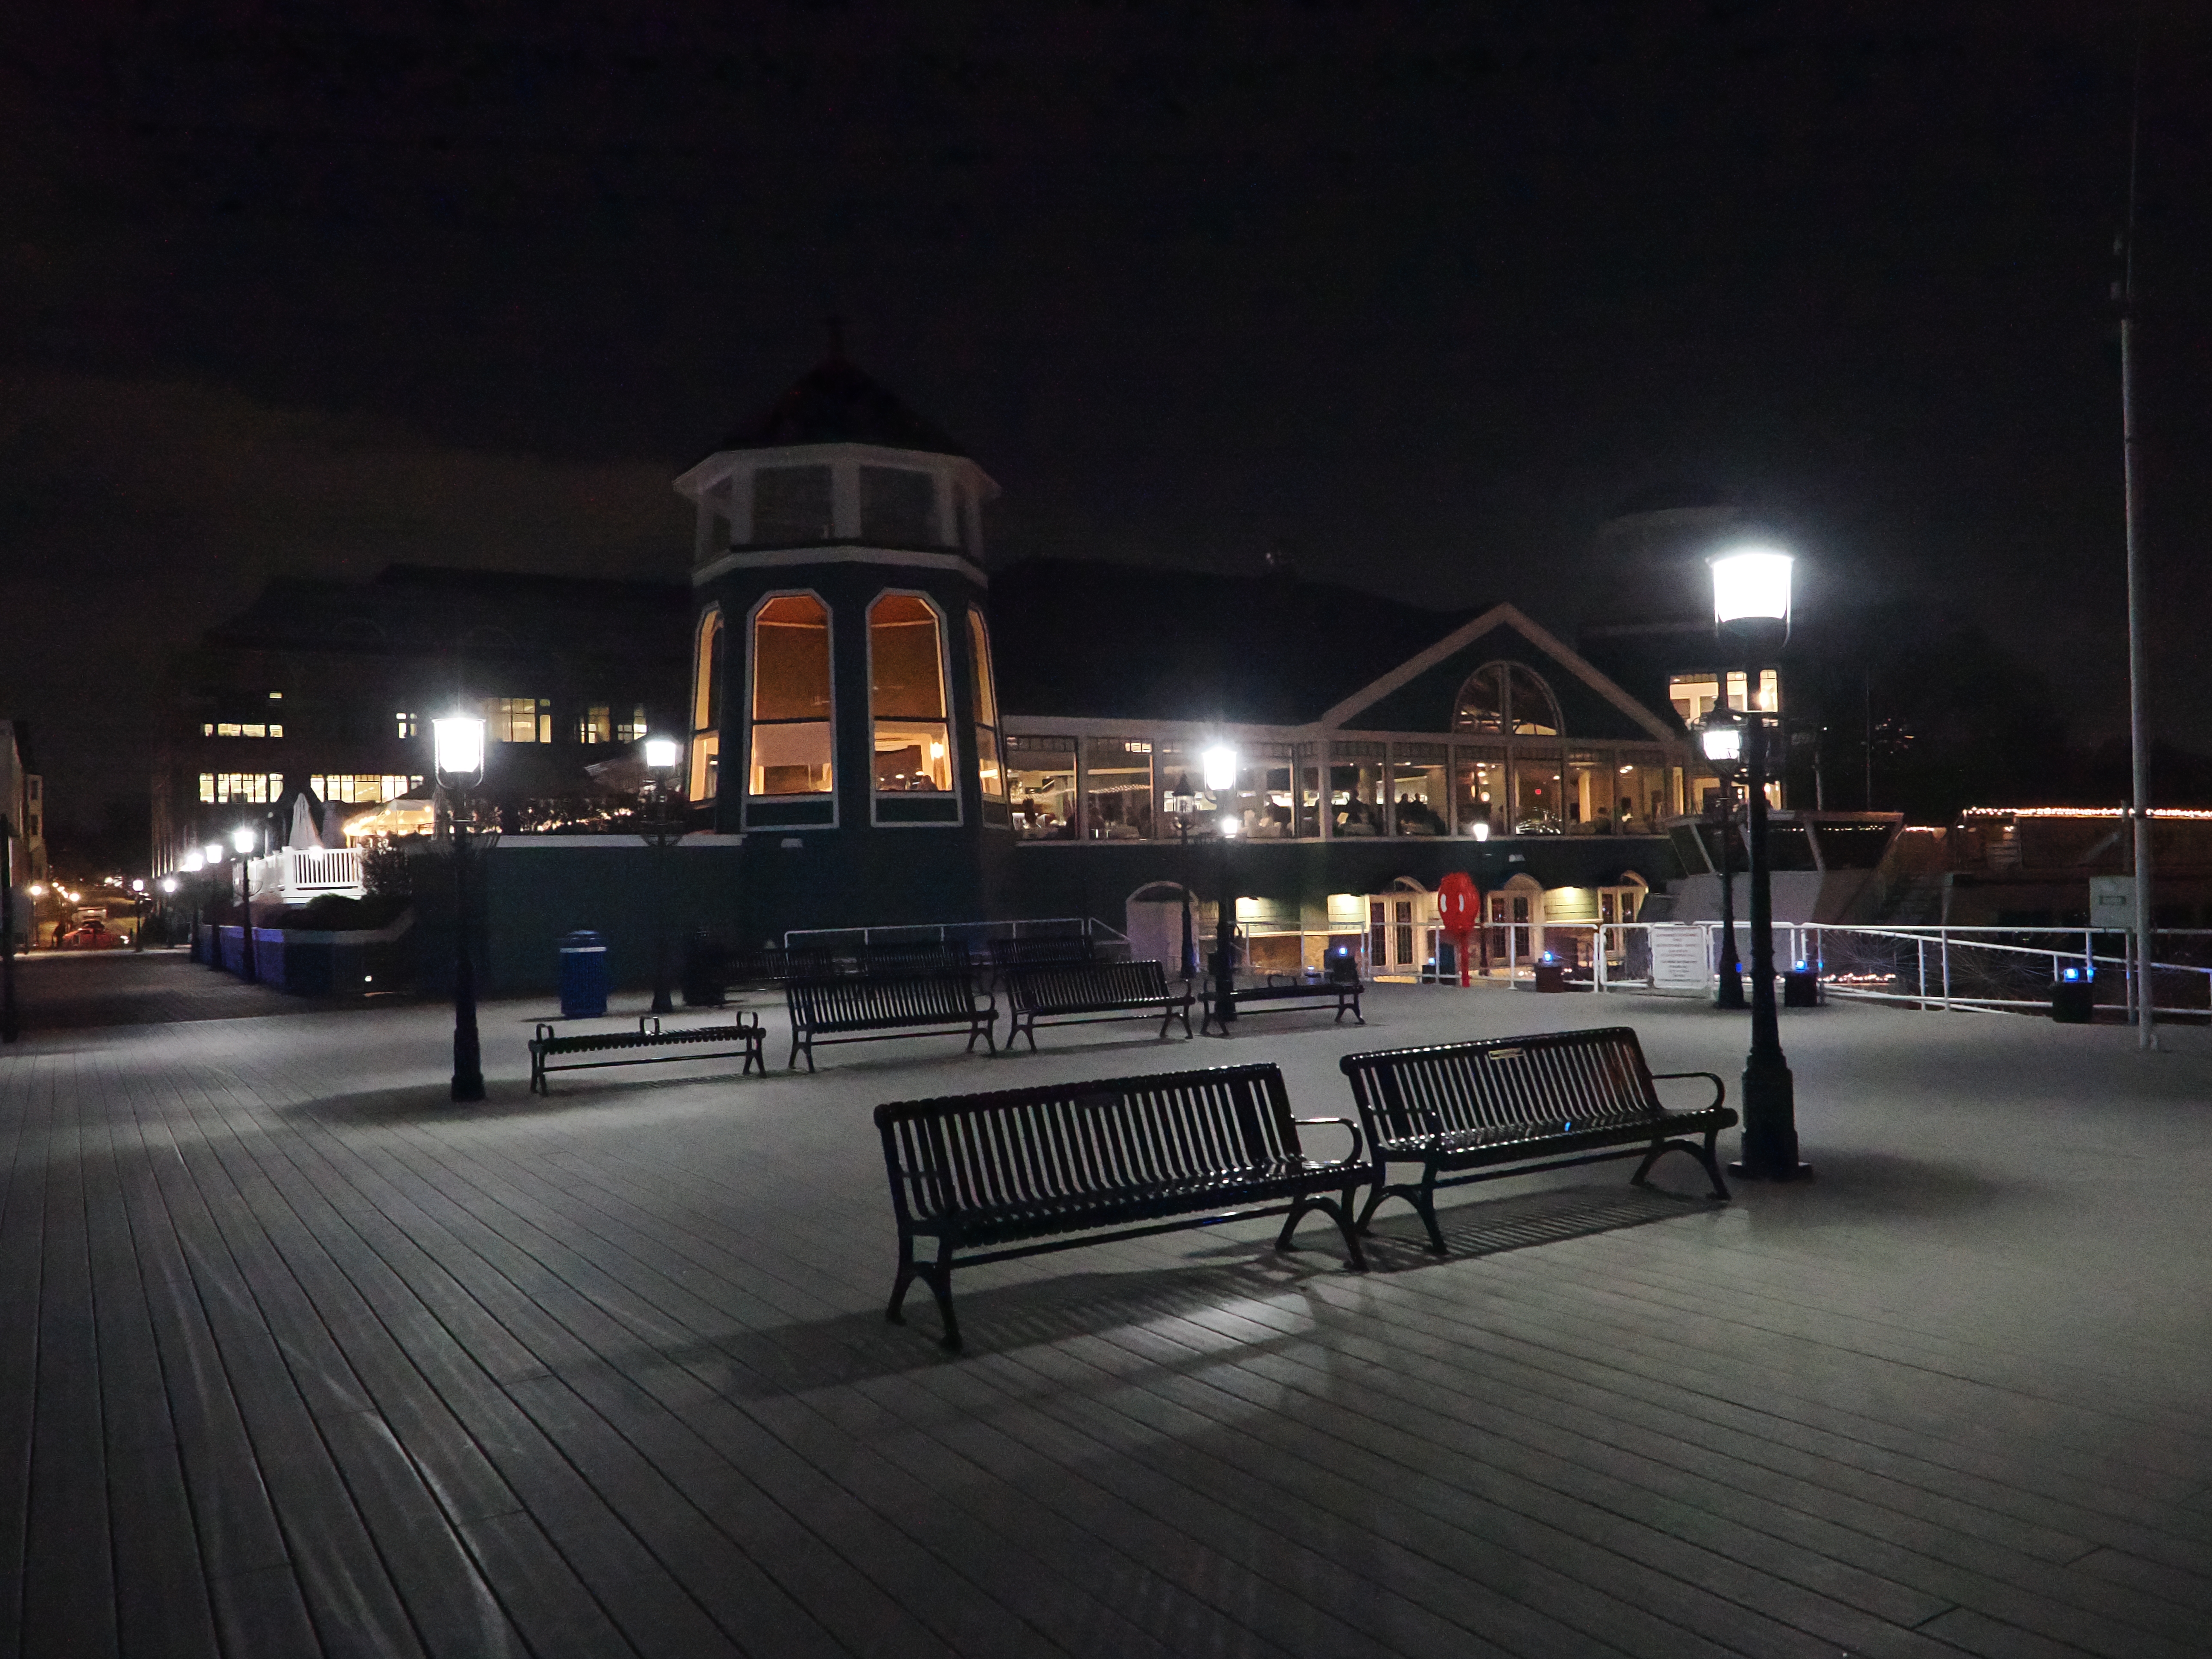
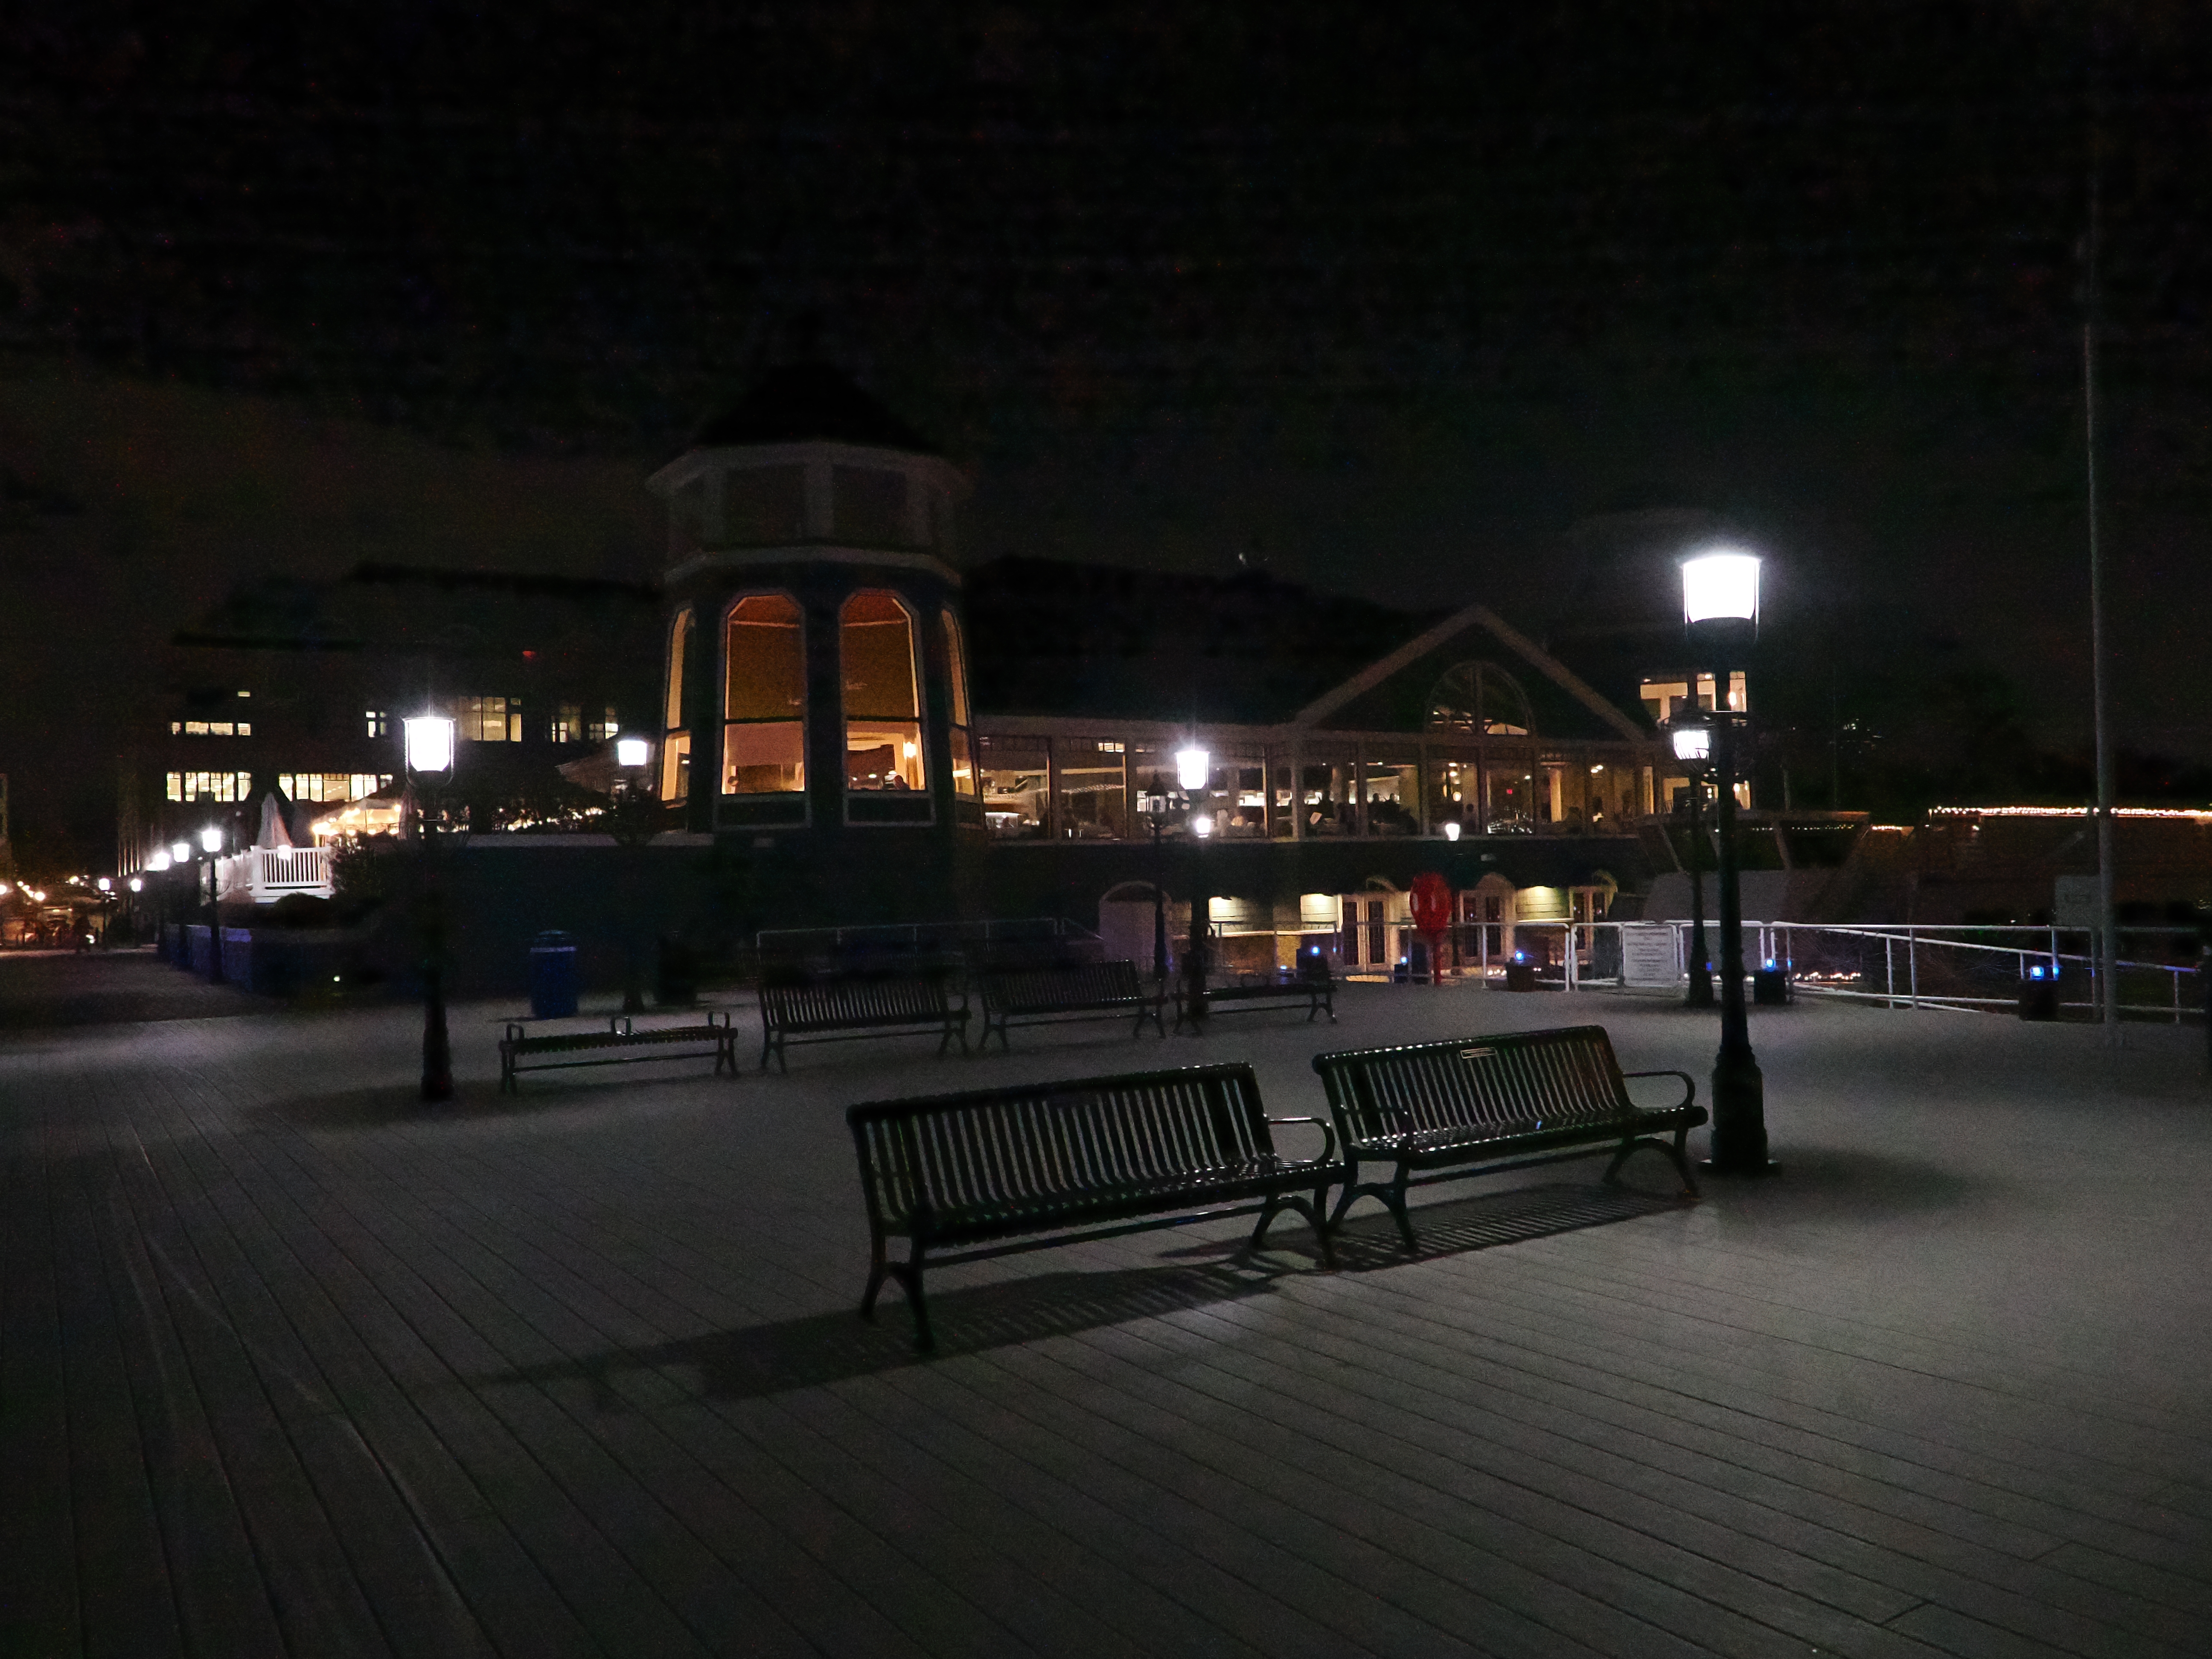
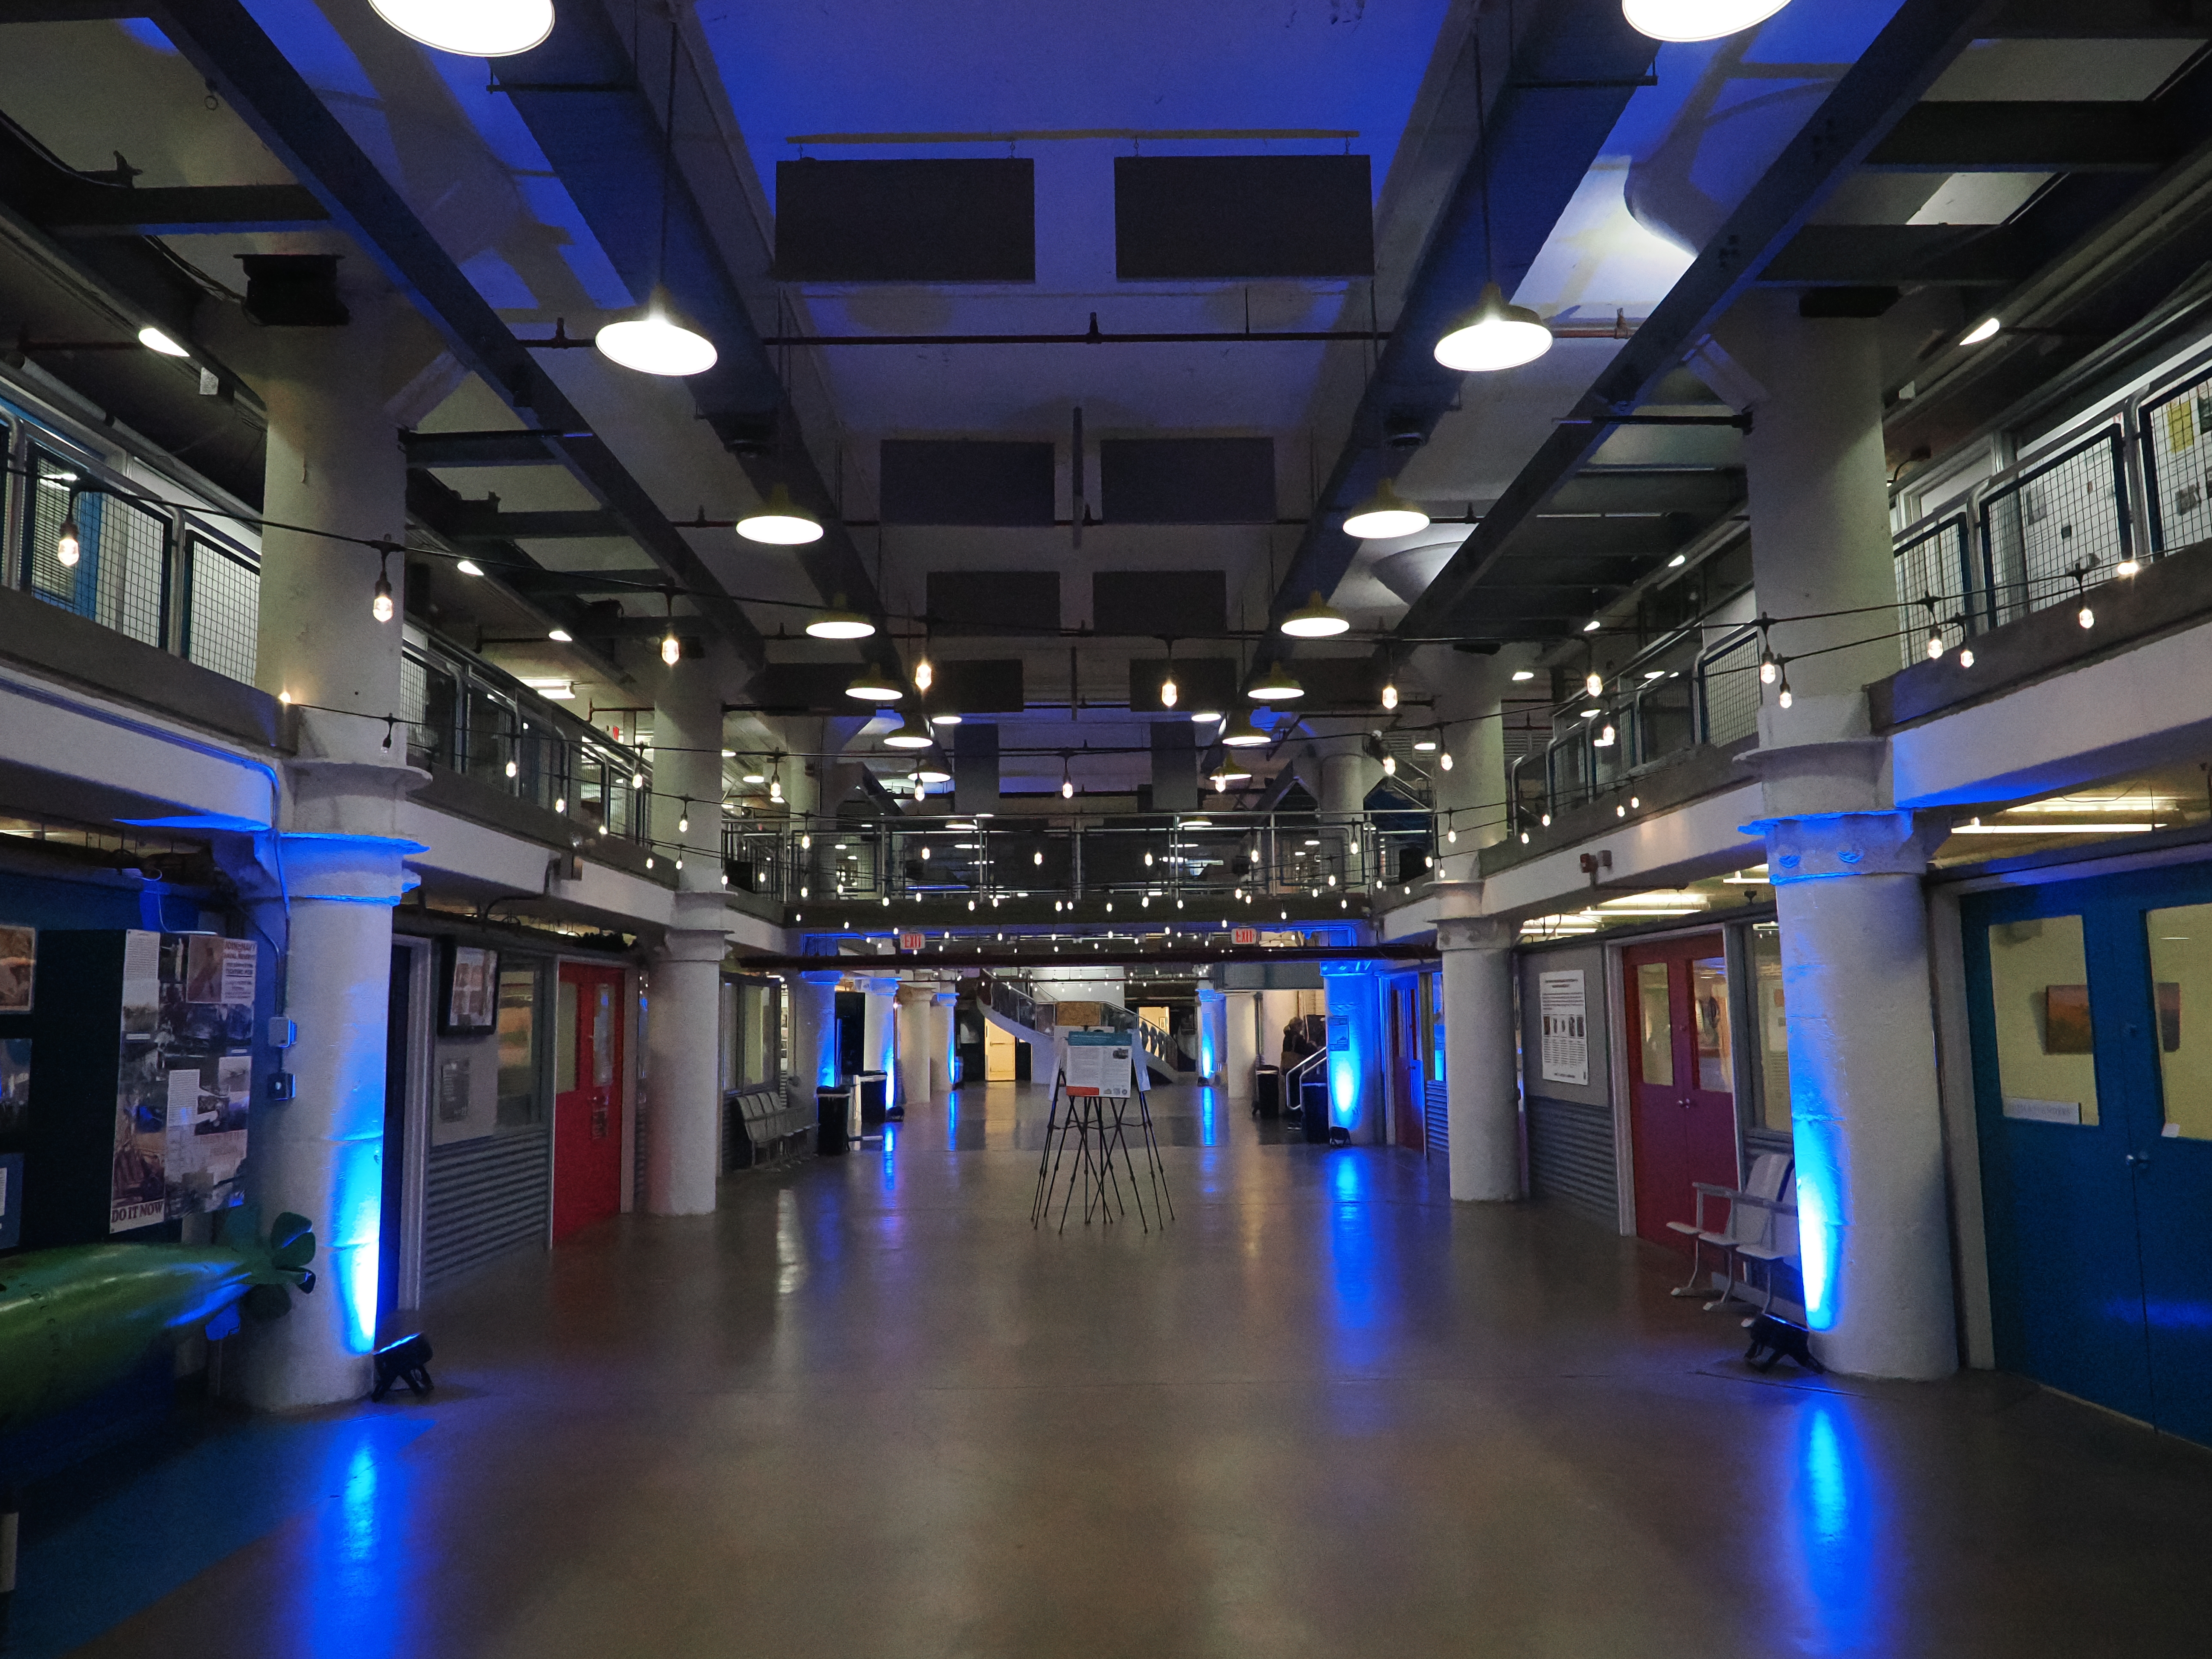
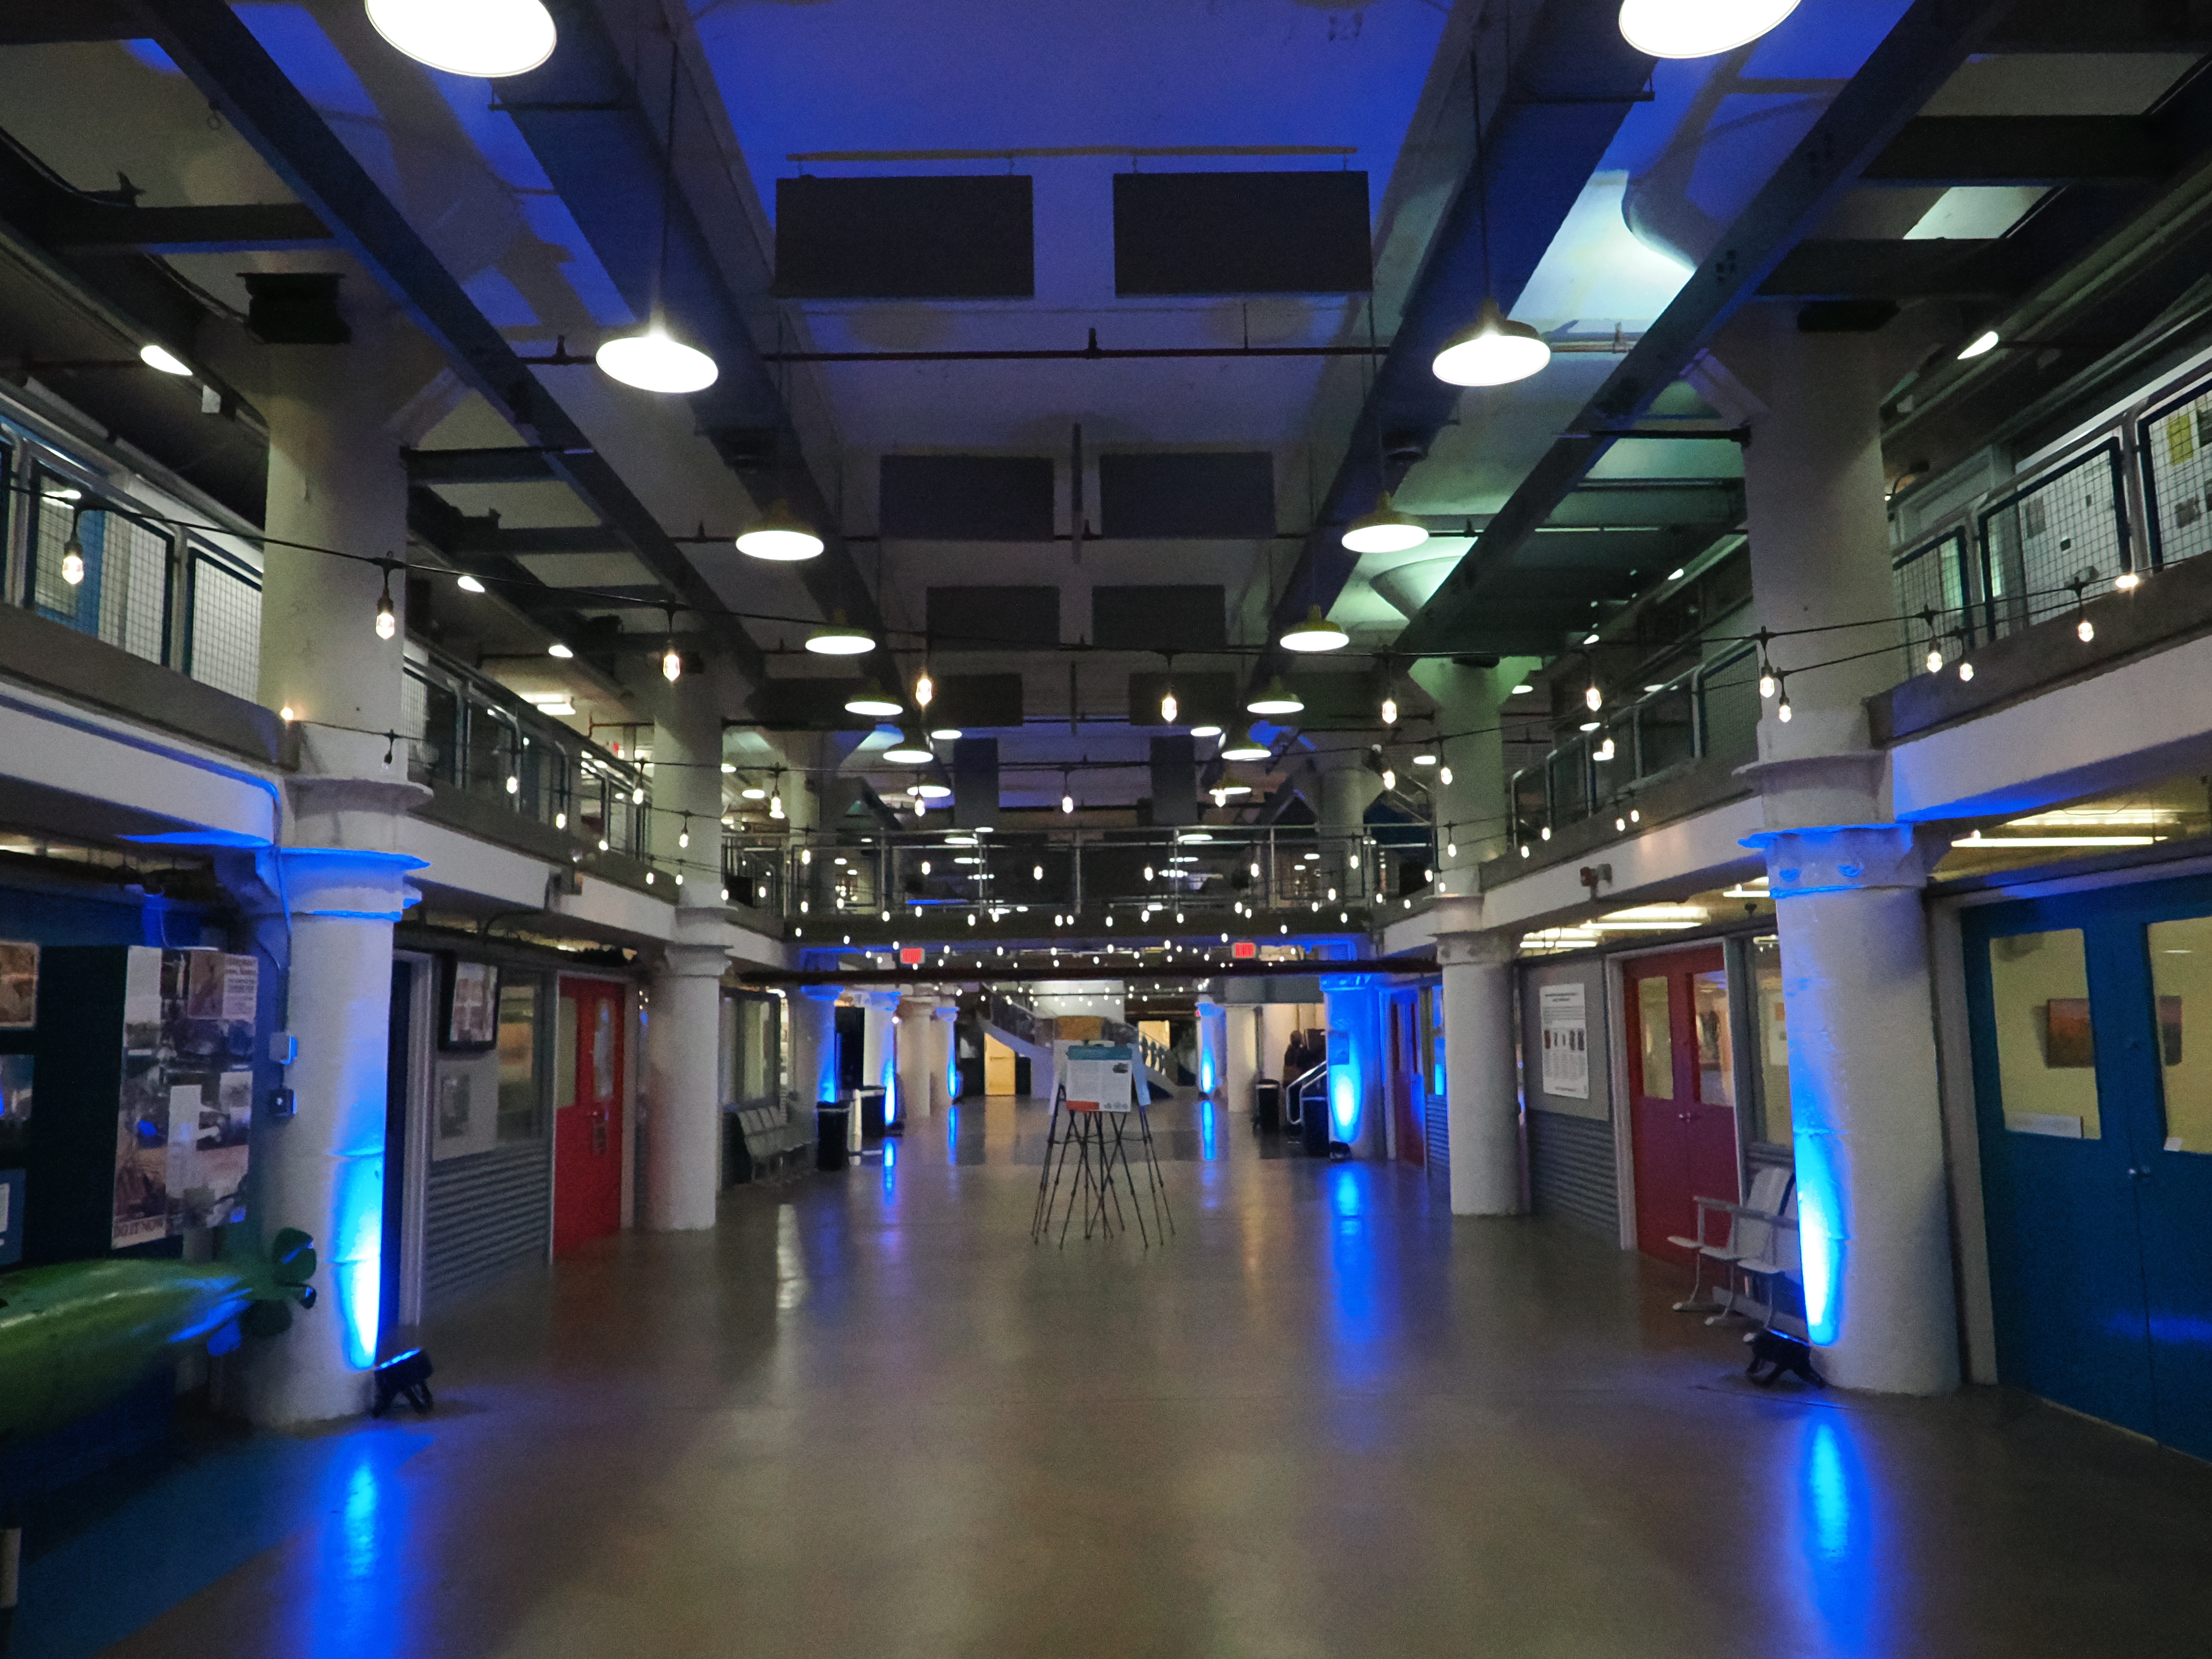
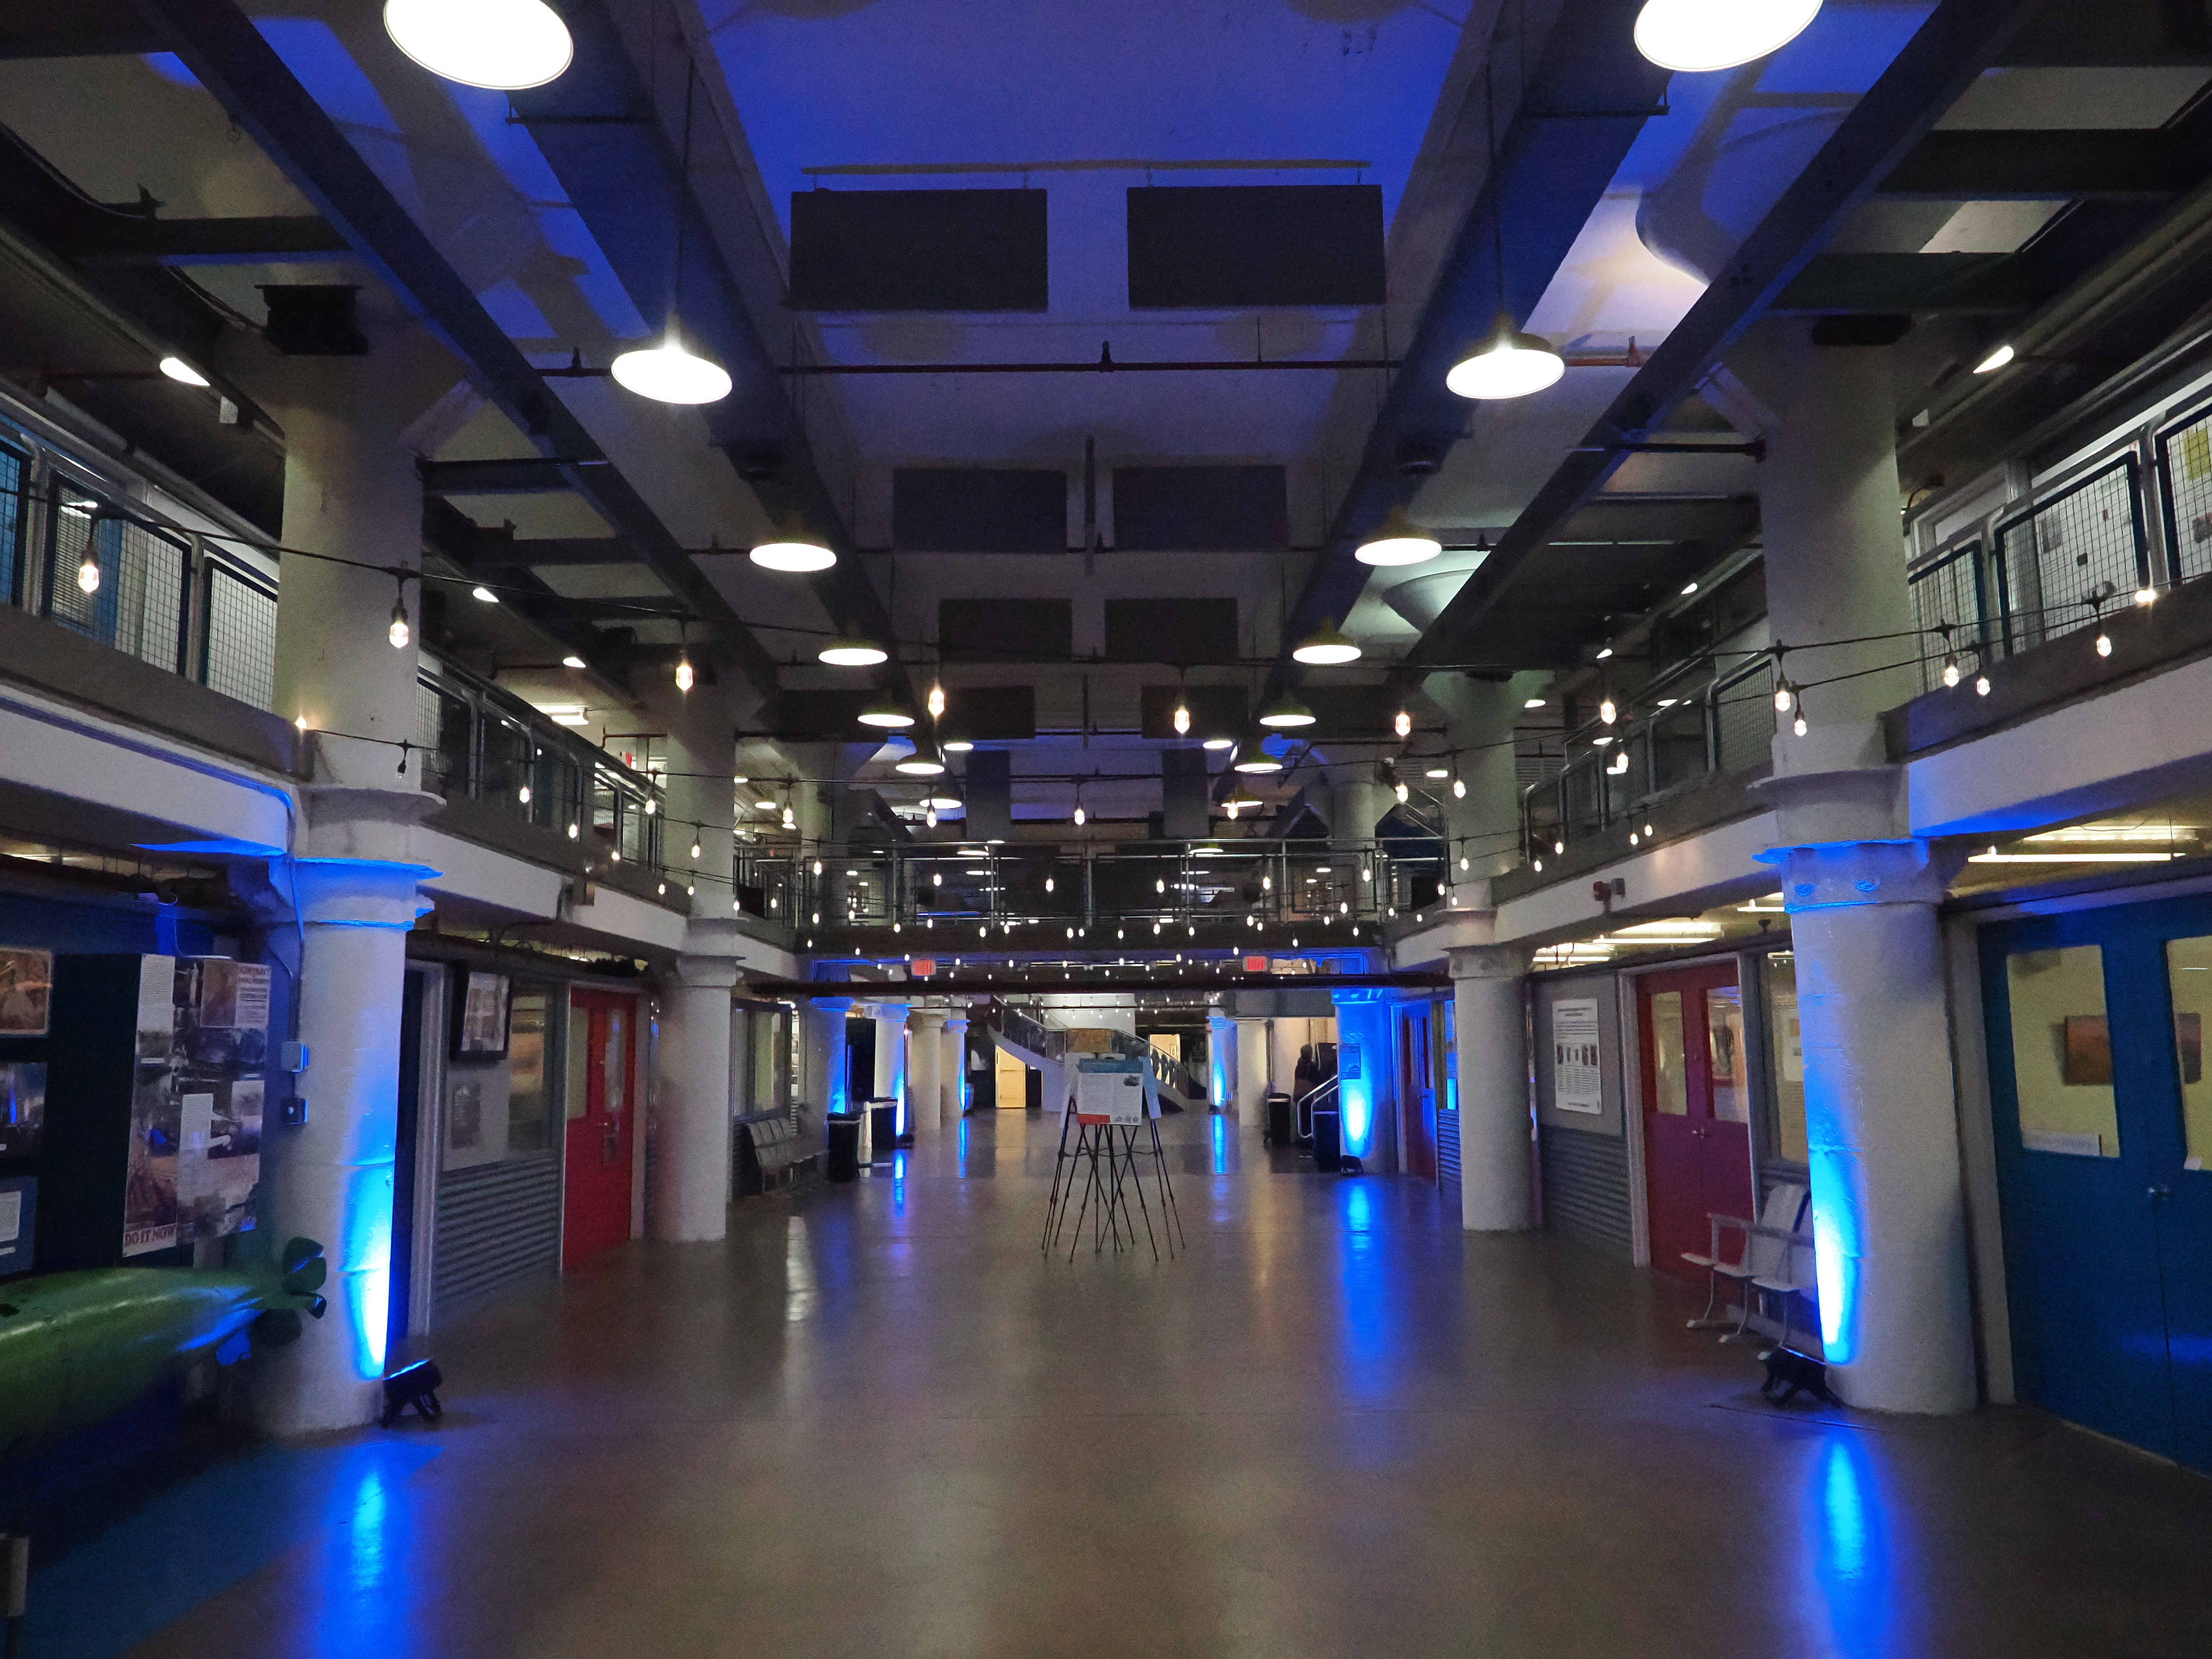
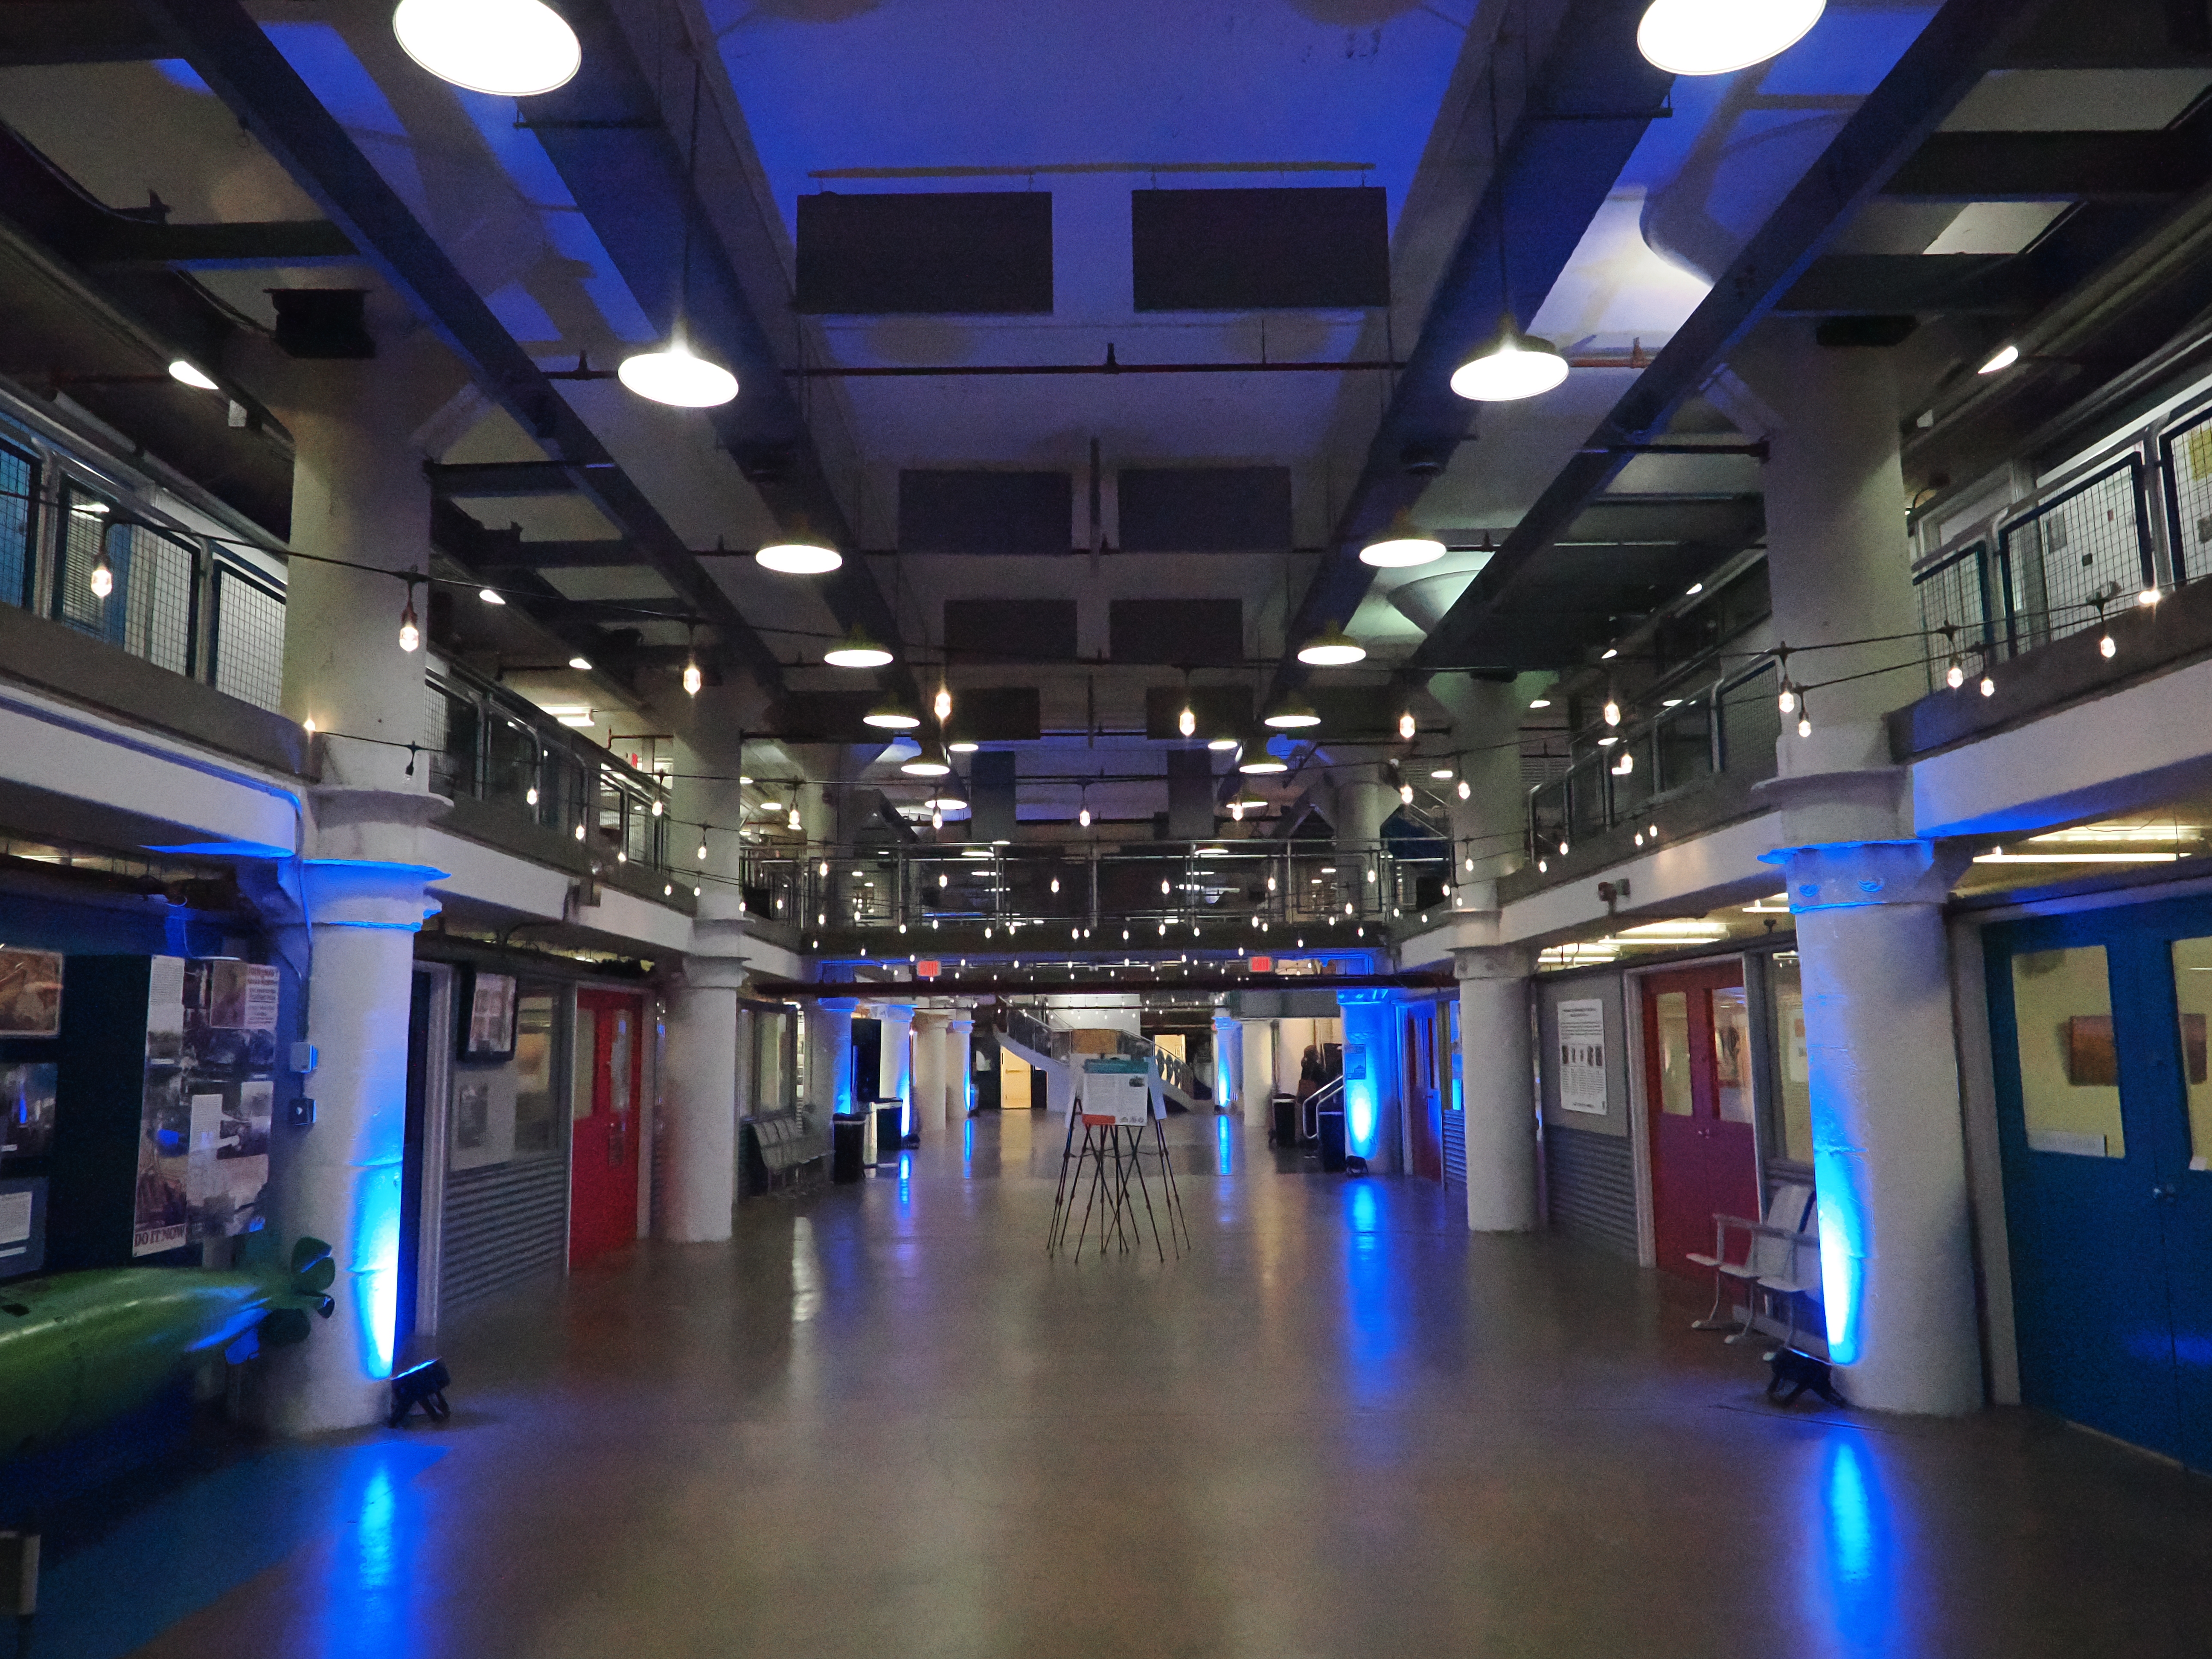
ISO 6400-102400 / set 1
Here’s a set shot in sequence moving up through the ISO range. I shot these handheld, not with a tripod, so the alignment isn’t perfect (although it’s still pretty good).


ISO 6400-102400 / set 2
Again, these were shot handheld, not with a tripod. So the alignment might be slightly off from shot to shot.


Fixing image quality problems in post
The general rule of thumb in photography is that it’s better to get the shot right at the time of capture rather than trying to fix it later.
That’s a great aspiration, but it’s not always possible to do if you’re shooting in especially challenging conditions or bumping up against limitations or flaws in gear, conditions, or technique.
But it’s worth mentioning that there are some excellent tools available to help address common image quality issues with digital images. And they’re getting better and better all the time as the power of AI machine learning ramps up.
They can deal remarkably well with anything from sensor issues like high-ISO image noise to lens issues like distortion, softness, vignetting, and chromatic aberration. (Note: I’m focusing here on corrections related to image quality, not image enhancement tools — that’s a different kettle of fish.)
All-round image processing apps like Lightroom Classic and Capture One have solid tools built in that are very good places to start.
But it’s also possible to take it much further with more specialized tools.
If you shoot in challenging conditions regularly and find room for improvement in the image quality coming out of the camera, these might well be worth a look (and they have free trials). Some are stand-alone apps; some integrate into image editing suites such as Lightroom Classic.
Some of these work only with RAW files, and those are the ones I’ve had the best results with. But there are also good options if you’re working with JPG or TIFF files.
Fixing image noise & high ISO artifacts
The newest generation of tools can do some pretty remarkable improvements to image noise. These are some of the best tools for reducing image noise in photos. Most of them include a free trial to test out the results for yourself.
- Lightroom Classic’s Denoise tool. This was quietly added to recent versions of Lightroom Classic, and you can find it in the Develop module’s Detail panel. It only works on RAW files. It doesn’t have some of the more advanced features and more granular controls of some of the other apps here, but if you’re already using Lightroom, it’s a great option to have available.
- DxO PureRAW 5. Like Lightroom Classic’s Denoise tool, it only works on RAW files. It has become my go-to app for this kind of thing. I’m consistently amazed at how it can rescue photos with otherwise dodgy image quality from noise. It can also help with lens distortion, lens vignetting, and lens softness.
- DxO Nik Dfine. This product originated with the Nik Collection, and it focuses on the more traditional approach to digital image noise reduction. Something that’s especially notable about Dfine is that you can use U-point selections for precise application of different settings to different parts of the image.
- ON1 NoNoise AI. Its “deblurring” features are particularly notable, with an emphasis on restoring sharpness that is often a casualty in denoising operations. It works on JPG and TIFF files, and you can create sophisticated masks to apply corrections to specific parts of an image.
- Topaz Labs Photo AI. Topaz Labs used to offer its NoNoise AI as a standalone product, but it has now been integrated alongside several other image improvement tools in its Photo AI app.
Fixing lens-related optical issues
- DxO PureRAW. Again offers an impressive suite of automatic fixes that are applied before you start editing the images.
- DxO ViewPoint. Correcting for lens distortion and geometry skews. Lightroom Classic and Capture One also have excellent built-in tools for this.
- Topaz Labs Photo AI. Topaz Labs used to offer its sharpening tools as a standalone product, but it has now been integrated alongside several other image improvement tools in its Photo AI app.
Price & availability of the Olympus OM-1
The Olympus OM-1 has an MSRP of $2199 for the body. It’s also available bundled with an impressive OM SYSTEM M.Zuiko Digital ED 12-40mm f/2.8 PRO II kits lens (MSRP of $2799 on the bundle).
Check the current price and availability at:
Olympus OM-1 accessories
These are the model numbers for the official accessories for the Olympus OM-1.
- Battery: BLX-1 lithium-ion rechargeable battery
- External Charger: BCX-1 (or SBCX-1, which includes a spare battery)
- USB-AC Adapter: F-7AC AC wall adapter
- Grip/Extended Battery Holder: HLD-10 grip
- Remote: RM-WR1 wireless remote control
- Eyecup: EP-18
- Flash:
Related
Notes & References:
- When shooting video, the available ISO sensitivity range is different: ISO 200 to ISO 12800. [↩︎]














These are remarkably better than my EM5 III. Is OM-5 this good too?
I haven’t had a chance to shoot with the OM-5 yet but am looking forward to doing so sometime soon.
I’ve just posted some high-ISO examples shot with the OM-5.